
Let’s be honest for a second: Halloween treats usually fall into two categories. You either get elaborate baked goods that take six hours and a degree in fine arts, or questionable green-dyed concoctions that look like a mad scientist’s accident. But what if you want pure, adorable spooky vibes without losing your sanity?
Enter the magic of kawaii Halloween brownies.
We’re taking dense, rich, fudgy chocolate brownies and dressing them up in the cutest Japanese-inspired spooky aesthetics imaginable. Think pastel frosting, oversized googly eyes, chubby little ghosts, and bats that look like they just want a hug. Whether you’re hosting a spooky party, prepping treats for kids, or just treating yourself to a midnight chocolate binge while watching horror movies, these recipes hit the absolute sweet spot.
Grab your mixing bowl, crank up your favorite playlist, and let’s whip up the most adorable tray of halloween brownies your kitchen has ever seen.
1.
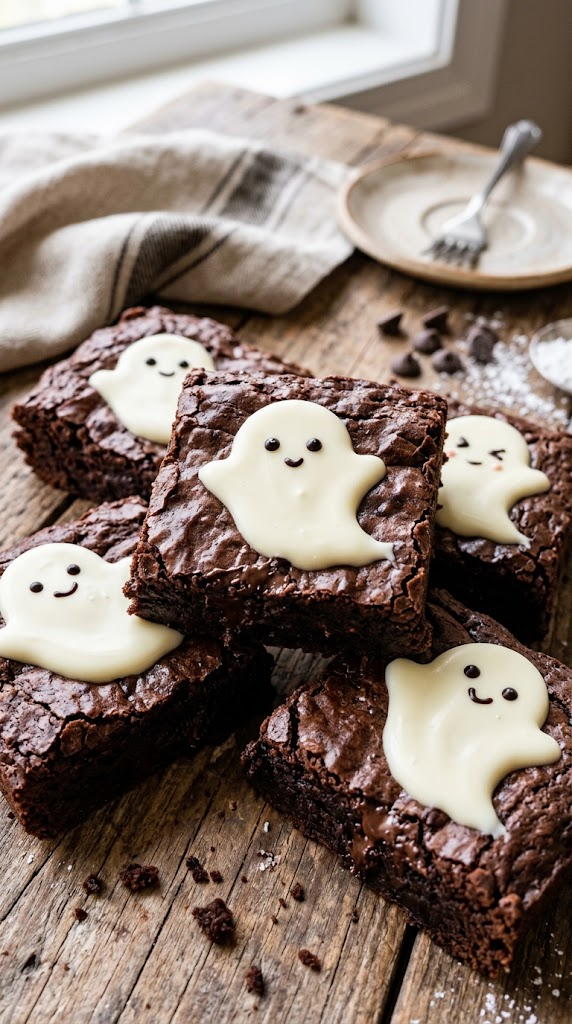
Who says ghosts have to be terrifying? These little marshmallow phantoms melt right onto your hot brownies, creating a soft, gooey topper that looks like an absolute dream.
Ingredients
- 1 cup unsalted butter, melted
- 2 cups granulated sugar
- 4 large eggs (at room temperature)
- 1 cup all-purpose flour
- 1 cup unsweetened Dutch-process cocoa powder
- 1/2 tsp salt
- 16 large marshmallows
- 1/2 cup white chocolate chips, melted
- Black gel food color or edible food marker
Step-by-Step Instructions
- Preheat your oven to 350°F (175°C) and line an 8×8-inch baking pan with parchment paper.
- Whisk the melted butter and sugar together in a large bowl until glossy and smooth.
- Beat in the eggs one at a time, whisking vigorously after each addition until the batter looks silky.
- Sift in the cocoa powder, flour, and salt. Fold gently with a rubber spatula until just combined—don’t overmix if you want maximum fudginess!
- Pour the batter into your prepared pan and bake for 25–28 minutes.
- Pull the pan out 2 minutes before it finishes baking. Immediately place 16 marshmallows evenly across the top.
- Return the pan to the oven for 2 minutes until the marshmallows puff up slightly.
- Cool completely, melt your white chocolate, spoon a tiny blob over each marshmallow to create a draped sheet look, and draw tiny dot eyes with black gel food color.
Why You’ll Love It
The way the warm brownie softens the marshmallow creates an almost s’mores-like texture that is completely irresistible. IMO, Dutch-process cocoa is non-negotiable here; it gives that dark, dramatic contrast against the bright white ghosts!
2. Cute Bandage Mummy Fudge Squares
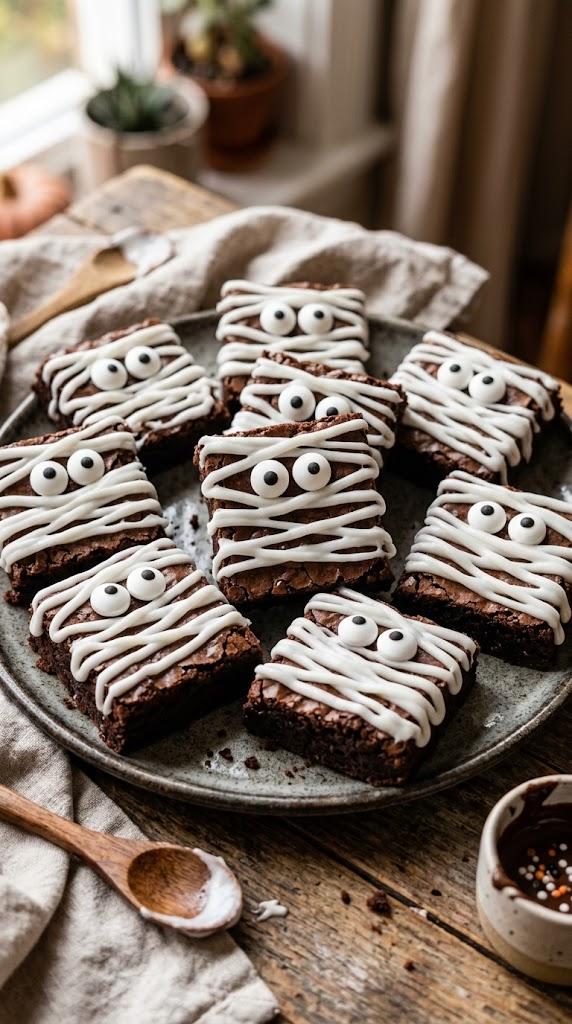
If you can drizzle icing in messy zig-zags, congrats—you already possess the master-level skills required for these charming mummies!
Ingredients
- 1 box favorite dark chocolate brownie mix (plus required oil, water, and eggs)
- 1/2 cup semisweet chocolate chunks
- 1 cup vanilla buttercream frosting (store-bought or homemade)
- 30–40 candy eyes (large size for extra cuteness)
Step-by-Step Instructions
- Prepare the brownie mix according to package directions, stirring in the extra chocolate chunks for double the richness.
- Bake in a parchment-lined pan and cool completely before cutting into clean, uniform squares.
- Scoop your vanilla buttercream into a piping bag fitted with a flat basketweave tip (or just a ziplock bag with a tiny corner cut off).
- Press two candy eyes onto the top half of each brownie square.
- Pipe overlapping diagonal strips of buttercream across the brownie, leaving just the big round eyes peeking out.
Why You’ll Love It
You don’t need any piping skills to make these look amazing—in fact, the messier the icing bandages are, the cuter they look! They take less than 10 minutes to decorate after baking.
3. Chubby Buttercream Pumpkin Patch Brownies
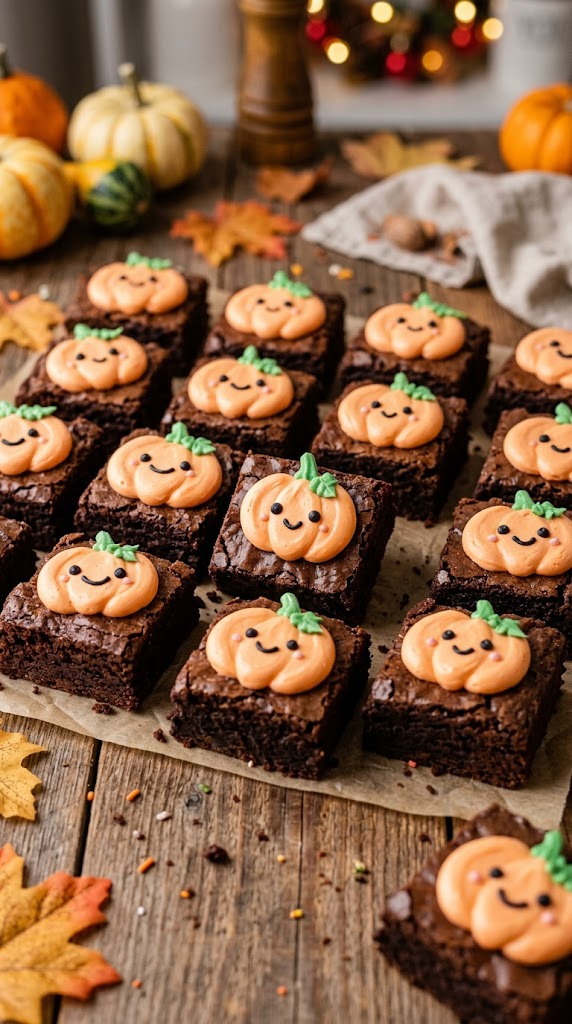
Move over, basic pumpkin spice! These thick brownie slabs feature tiny, round pastel-orange pumpkins with cheerful smiley faces.
Ingredients
- 8 oz bittersweet chocolate (chopped)
- 3/4 cup unsalted butter
- 1 cup light brown sugar, packed
- 1/2 cup granulated sugar
- 3 large eggs
- 3/4 cup all-purpose flour
- 1/4 cup cocoa powder
- 1 cup vanilla buttercream
- Orange and green gel food coloring
- Black edible marker or melted dark chocolate
Step-by-Step Instructions
- Melt the chopped bittersweet chocolate and butter together in a heatproof bowl over a pot of simmering water.
- Remove from heat, whisk in both sugars, and let cool for 5 minutes.
- Whisk in eggs one by one, then gently fold in the flour and cocoa powder.
- Spread into a pan and bake at 350°F (175°C) for 30 minutes. Let cool.
- Tint 3/4 of your buttercream orange and the remaining 1/4 green.
- Pipe round, plump orange dollops onto each brownie square using a round piping tip.
- Add a tiny green stem and vine coil to each pumpkin, then draw tiny smiling faces using black edible marker once the frosting sets in the fridge.
Why You’ll Love It
Using real melted bittersweet chocolate gives these brownies a deep, truffle-like texture that pairs ridiculously well with sweet buttercream. They look like something straight out of a cozy boutique bakery.
4. Midnight Black Cat Brownies
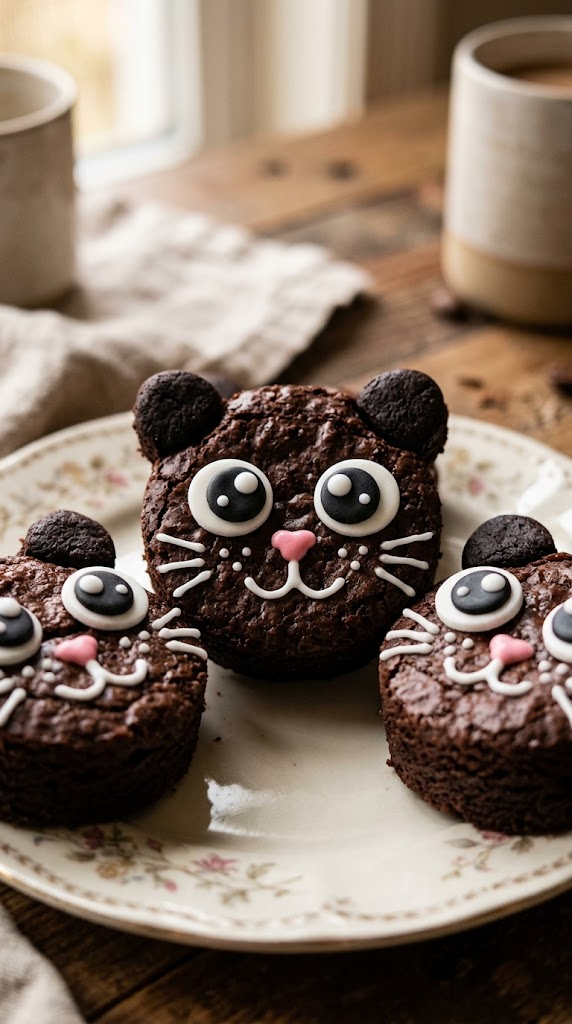
Black cats get a bad rap around Halloween, but these adorable chocolate treats are pure good luck (and pure deliciousness).
Ingredients
- 1 batch baked chocolate brownies (cut into squares)
- 1/2 cup dark chocolate ganache (or chocolate frosting)
- 24 chocolate chips (for the ears)
- 12 pink heart sprinkles (for tiny noses)
- 24 large white candy melt disks
- Black gel color (for pupil detail)
Step-by-Step Instructions
- Spread a smooth layer of dark chocolate ganache over each cooled brownie square.
- Insert two chocolate chips upside-down near the top corners of each brownie to form pointy cat ears.
- Place two white candy melt disks in the center for big anime-style eyes.
- Use black gel color to pipe big, cute pupils onto the candy melts.
- Place a tiny pink heart sprinkle upside-down right beneath the eyes for the nose, and pipe tiny white whisker lines if desired!
Why You’ll Love It
The combination of dark ganache and crunchy candy ears creates a fantastic mix of textures. Plus, who can resist a cat treat with giant, sparkling cartoon eyes? 🙂
5. Friendly Frankenstein Matcha-Frosted Brownies
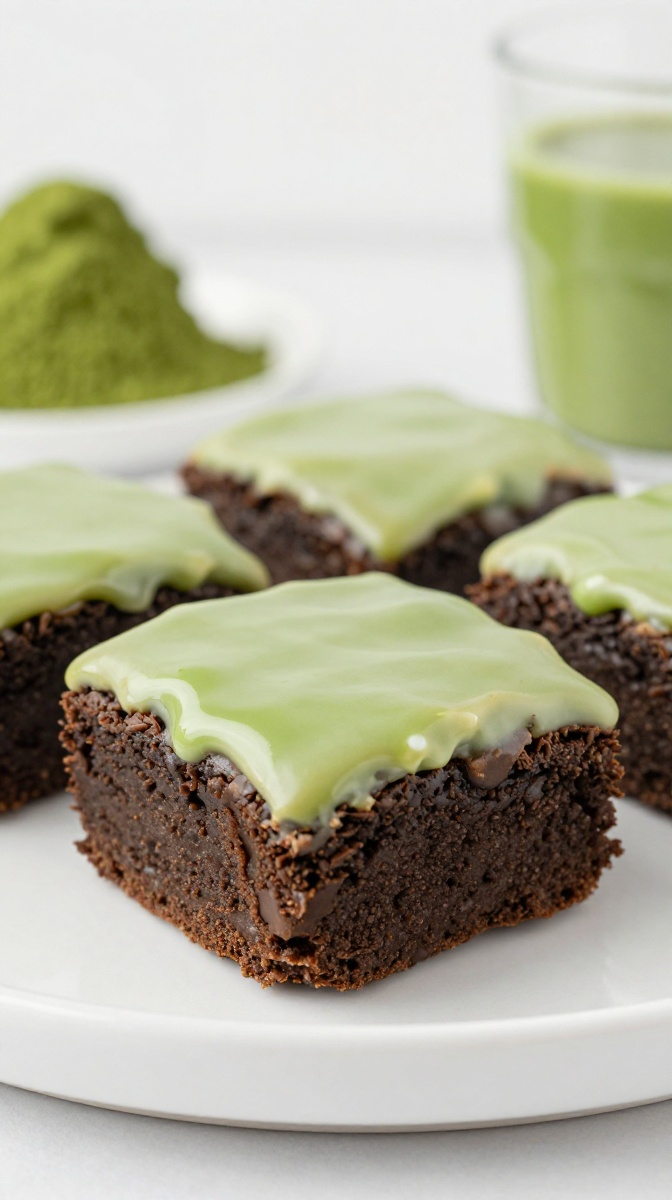
Frankenstein doesn’t have to be scary! With a vivid green matcha frosting layer and cute chocolate stitches, these squares bring a fun pop of color to your spooky dessert spread.
Ingredients
- 1 cup unsalted butter, melted
- 1.5 cups sugar
- 3 eggs
- 3/4 cup flour
- 3/4 cup dark cocoa powder
- 1.5 cups powdered sugar
- 1/2 cup butter, softened
- 1.5 tbsp culinary grade matcha powder (for natural green color!)
- 1/4 cup melted dark chocolate
Step-by-Step Instructions
- Mix melted butter, sugar, eggs, flour, and dark cocoa powder into a smooth batter. Bake in an 8×8 pan for 25 minutes at 350°F. Cool completely.
- Beat softened butter, powdered sugar, and matcha powder together until light, fluffy, and vibrant green.
- Spread an even layer of matcha buttercream over the entire brownie slab.
- Cut into neat rectangular bars.
- Pipe a messy zigzag of melted dark chocolate at the top of each bar for hair.
- Pipe tiny chocolate eyes, a cheeky smile, and stitch marks along the sides of the face.
Why You’ll Love It
The earthy tea notes from the matcha balance out the sweet chocolate brownie base in the most delicious way possible. It’s colorful, fun, and totally natural!
6. Cute Little Bat Fudgy Bites
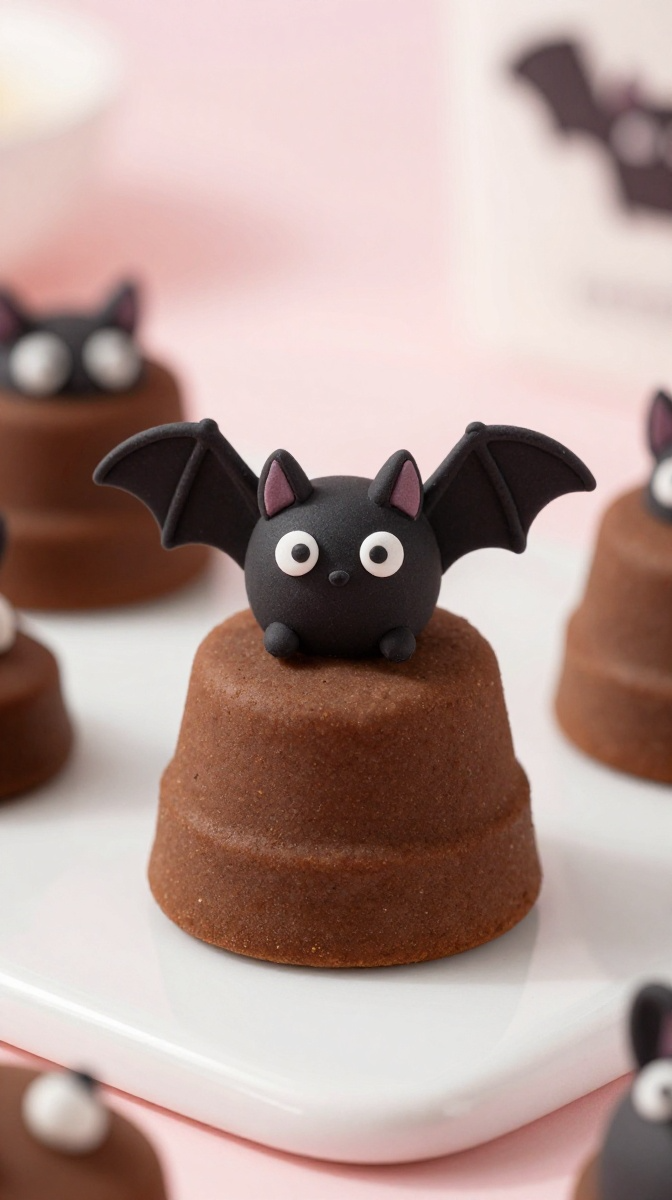
Turn basic bite-sized brownies into fluttering night creatures using simple sandwich cookies for wings!
Ingredients
- 1 pan baked fudgy brownies, cut into small mini-squares
- 12 Oreo cookies
- 24 mini candy eyes
- 1/2 cup chocolate frosting (used as edible glue)
Step-by-Step Instructions
- Carefully twist open your Oreo cookies and scrape away the white cream filling.
- Break each chocolate cookie half neatly in two to create curved bat wings.
- Pipe a small dollop of chocolate frosting on the back of two cookie wing halves.
- Press the wings into the left and right sides of each mini brownie square.
- Pipe two tiny dots of frosting on the front and attach the mini candy eyes.
Why You’ll Love It
You get double the cookie crunch in every single bite! It takes zero baking expertise, making this an ideal recipe to whip up with kids or roommates.
7. Pastel Candy Corn Swirl Brownies
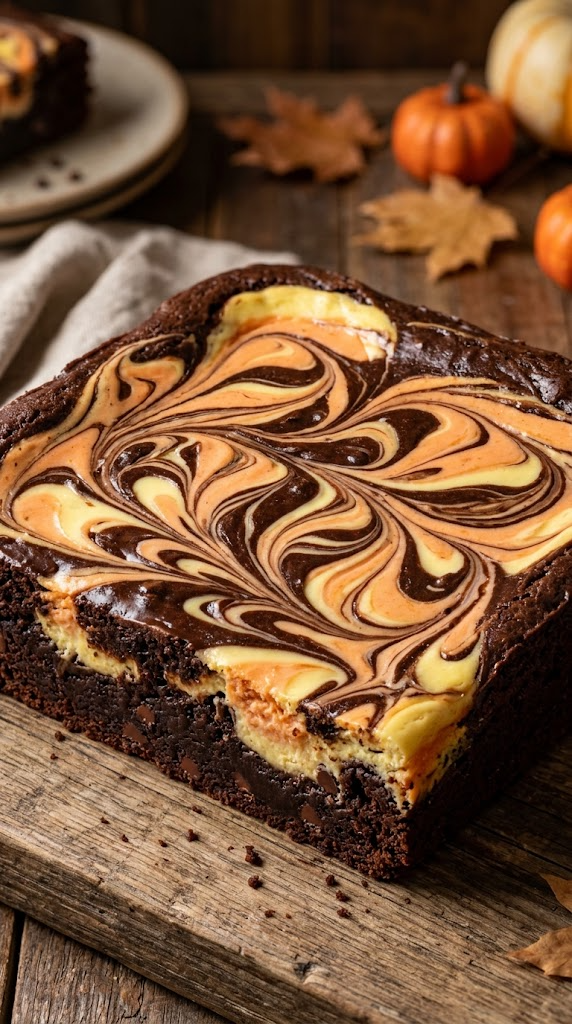
If you think candy corn tastes like wax, don’t worry—we’re skipping the actual candy and using delicious orange and yellow cream cheese swirls instead!
Ingredients
- 1 batch homemade chocolate brownie batter
- 8 oz cream cheese, softened
- 1/4 cup granulated sugar
- 1 egg yolk
- Yellow and orange gel food coloring
Step-by-Step Instructions
- Prepare your chocolate brownie batter and pour 80% of it into your lined baking pan.
- Beat the cream cheese, sugar, and egg yolk together until creamy and smooth.
- Divide the cream cheese mixture into two small bowls; tint one bowl pastel orange and the other pastel yellow.
- Drop alternating spoonfuls of orange cream cheese, yellow cream cheese, and remaining chocolate batter over the top.
- Take a butter knife or toothpick and gently swirl the colors together to make lovely marble patterns.
- Bake at 350°F (175°C) for 30–32 minutes until the center is set.
Why You’ll Love It
You get all the gorgeous aesthetic vibes of candy corn with the rich, tangy goodness of cheesecake swirled right into dark chocolate brownies. Win-win!
8. Silly Spiderweb Cookie Dough Brownies
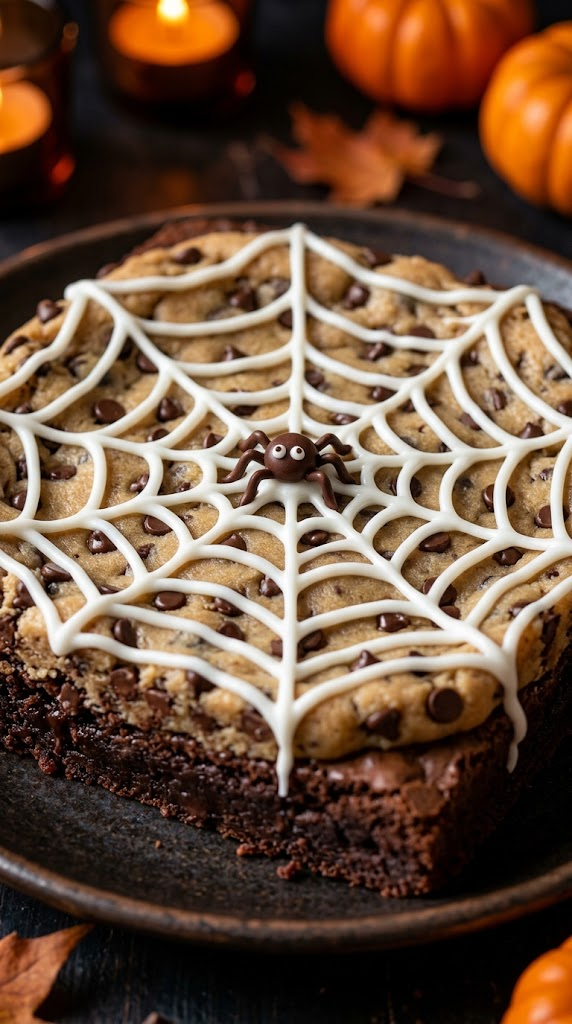
What’s better than a brownie? A brownie topped with a thick layer of safe-to-eat chocolate chip cookie dough and a cute web design!
Ingredients
- 1 pan baked brownies (cooled)
- 1/2 cup softened butter
- 1/2 cup packed brown sugar
- 1/4 cup white sugar
- 2 tbsp milk
- 1 cup heat-treated flour (heat in microwave for 1 min to make safe)
- 1/2 cup mini chocolate chips
- 1/3 cup white icing
Step-by-Step Instructions
- Cream the butter, brown sugar, and white sugar until smooth. Stir in milk.
- Add the heat-treated flour and mini chocolate chips, mixing until a dough forms.
- Press the edible cookie dough in an even layer over your cooled brownie base.
- Pipe concentric circles of white icing on top of the cookie dough layer.
- Drag a toothpick from the center outward to create a spiderweb pattern.
Why You’ll Love It
Combining edible cookie dough with fudgy brownies is an absolute game-changer. It’s rich, decadent, and keeps everyone coming back for seconds.
9. Vampire Monster Eye Brownie Bites
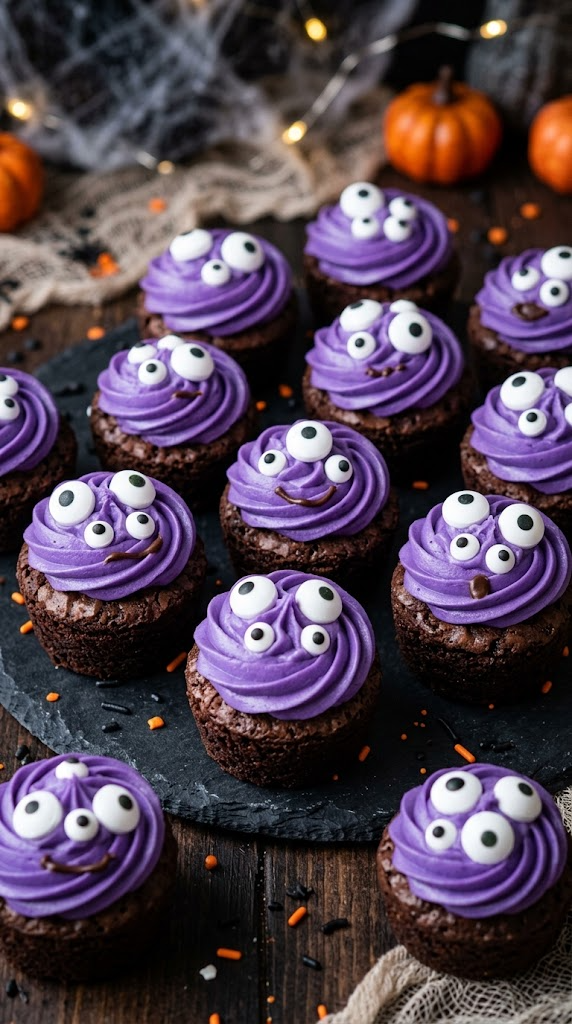
These vibrant purple monster brownies feature multiple cartoonish eyes staring back at you in the most adorable way possible.
Ingredients
- 1 box fudgy brownie mix
- 1 cup white frosting
- Purple gel food coloring
- Assorted sizes of candy eyes (small, medium, large)
Step-by-Step Instructions
- Bake brownies in a mini muffin tin to form cute round brownie bites. Let cool completely.
- Tint your white frosting a bright, vivid purple.
- Pipe a generous swirl of purple frosting onto each brownie bite.
- Cluster 3 to 5 candy eyes of different sizes across the frosting swirl.
Why You’ll Love It
Bite-sized treats are built for party platters! The multi-eyed look gives total vintage monster movie vibes while remaining silly and cute.
10. Cute Witch Hat Brownie Pops
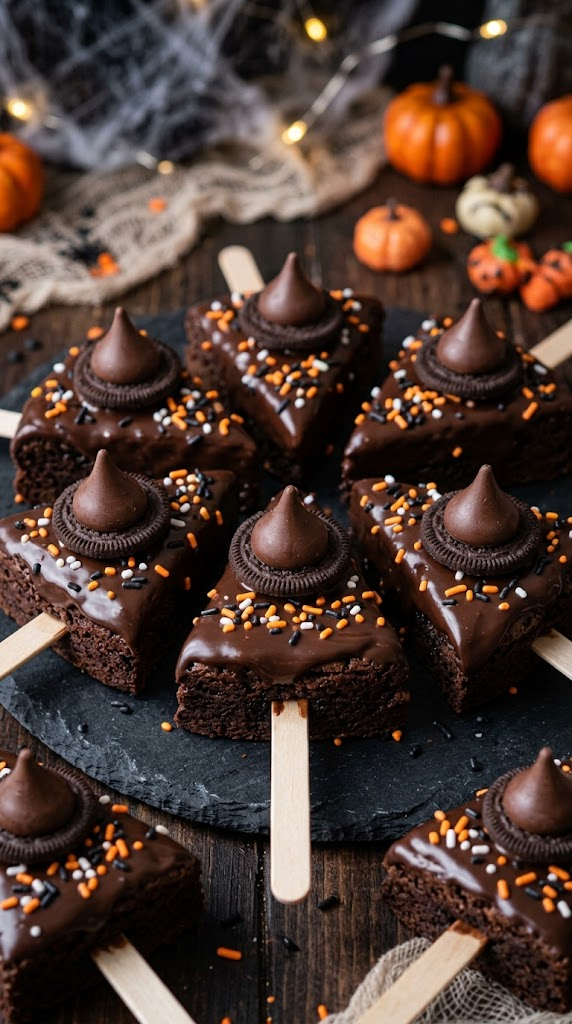
Put these fudgy brownie squares on popsicle sticks, dip them in chocolate, and cap them with mini witch hats for the ultimate portable party snack!
Ingredients
- 1 pan baked dense brownies, cut into triangles
- 12 wooden popsicle sticks or lollipop sticks
- 1.5 cups dark chocolate melting wafers
- 12 chocolate kiss candies
- 12 round chocolate cookies (like Ritz or thin chocolate wafers)
- Sprinkles for decoration
Step-by-Step Instructions
- Carefully insert a popsicle stick into the bottom base of each brownie triangle.
- Chill the brownie pops in the freezer for 15 minutes so they firm up.
- Dip the entire triangle into melted dark chocolate, letting the excess drip off.
- Assemble witch hats by gluing a chocolate kiss onto a round chocolate cookie using a dab of melted chocolate.
- Place a mini witch hat at the top of each dipped brownie pop before the chocolate sets, then toss on festive sprinkles!
Why You’ll Love It
Serving desserts on a stick immediately elevates any gathering! They are mess-free, easy to hold, and double as awesome edible photo props.
The Secret to Perfect Fudgy Kawaii Brownies Every Time
Before you hit the kitchen, keep these simple brownie-baking golden rules in mind:
- Don’t overbake: Brownies keep cooking in the hot pan after you pull them out of the oven. Take them out when a toothpick inserted into the center comes out with a few moist crumbs—never bone dry!
- Cool before decorating: Warm brownies will instantly melt your buttercream, marshmallow ghosts, and candy eyes into a chocolate puddle. Patience pays off!
- Use gel colors: Liquid food dye adds unwanted moisture to frosting and dilutes the color. Gel food color gives you those vibrant pastel purples, greens, and oranges without altering the texture.
Which one of these kawaii treats are you going to bake first? Happy Halloween baking! 🎃🍫