
XWho declared that Halloween food has to require a master’s degree in sugar sculpting? Last October, I spent three painstaking hours baking a three-tier “ghost cake” that ended up looking less like a friendly phantom and more like a melted marshmallow tragedy. The worst part? The kids ate two bites of frosting and abandoned it for a bag of store-bought tortilla chips. Talk about a reality check! :/
If you’re exhausted just looking at elaborate Pinterest boards featuring edible haunted mansions that require 47 obscure ingredients, take a deep breath. You’re in the right place. We need food that looks festive, tastes fantastic, and takes under twenty minutes of real-life effort before the trick-or-treating chaos starts.
How do we satisfy tiny, picky humans without completely burning ourselves out before sundown? The secret is simple: take classic, foolproof comfort foods and give them a quick 2-minute Halloween makeover. Here are 8 kid-friendly Halloween food ideas that are criminally cute, absurdly easy, and guaranteed to make you the cool house on the block.
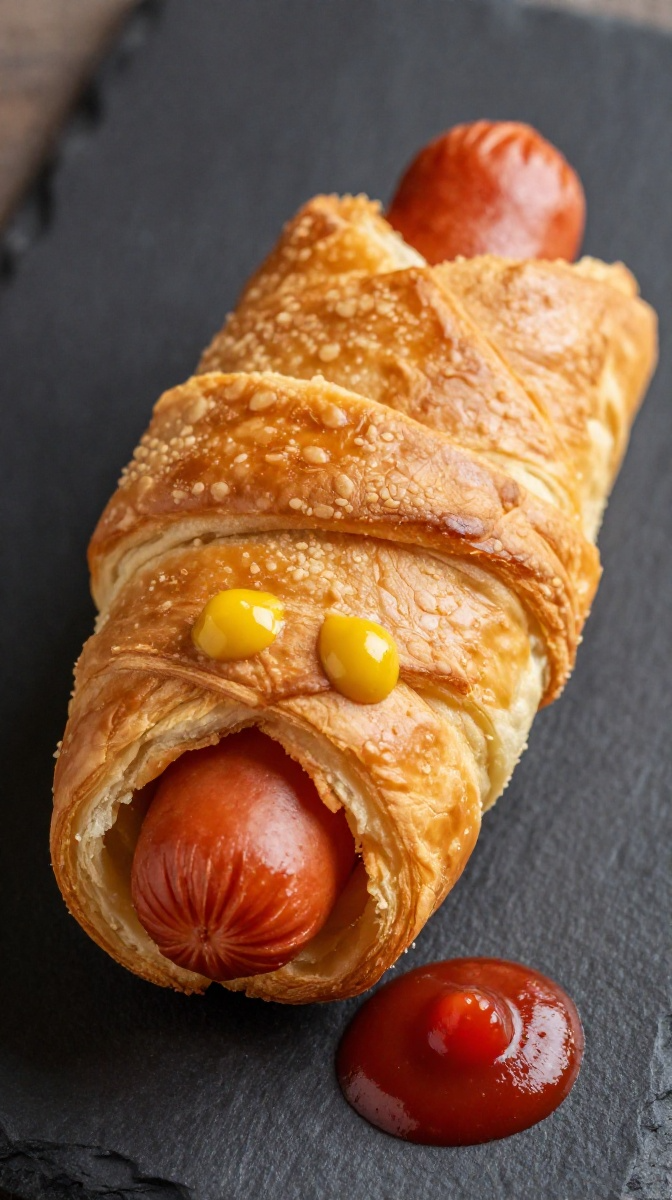
1. Crescent Roll Mummy Dogs
The indisputable monarch of spooky snacks that requires zero actual cooking talent
Ingredients
- 1 can (8 oz) refrigerated crescent roll dough
- 10 standard uncooked hot dogs or beef franks
- 2 tbsp yellow mustard or ketchup (for the eyes)
- 1 tbsp melted butter (optional, for that golden shine)
Step-by-Step Instructions
- Heat your oven to 375°F (190°C) and line a baking sheet with parchment paper.
- Unroll the crescent dough onto a cutting board and press the diagonal seams together to form rectangle sheets.
- Use a pizza cutter to slice the dough lengthwise into thin, narrow strips (you’ll need about 4–5 strips per hot dog).
- Wrap the dough strips around each hot dog, crisscrossing them back and forth to look like mummy bandages. Make sure to leave a small gap near the top for the mummy’s face!
- Place them on your baking sheet, brush lightly with melted butter, and bake for 12 to 15 minutes until the dough turns a gorgeous golden brown.
- Let them cool for 3 minutes, then use a toothpick dipped in mustard to dot two tiny eyes onto each exposed face gap.
Why You’ll Love It
These disappear faster than candy on Halloween night. Kids love the whimsical shape, and you’ll love that prep time takes under ten minutes flat. Want my honest take? Skip the elaborate candy eyes—they melt into creepy puddle goo in the oven. Stick with simple mustard dots for stress-free prep! IMO, all-beef franks give the best savory flavor boost here.
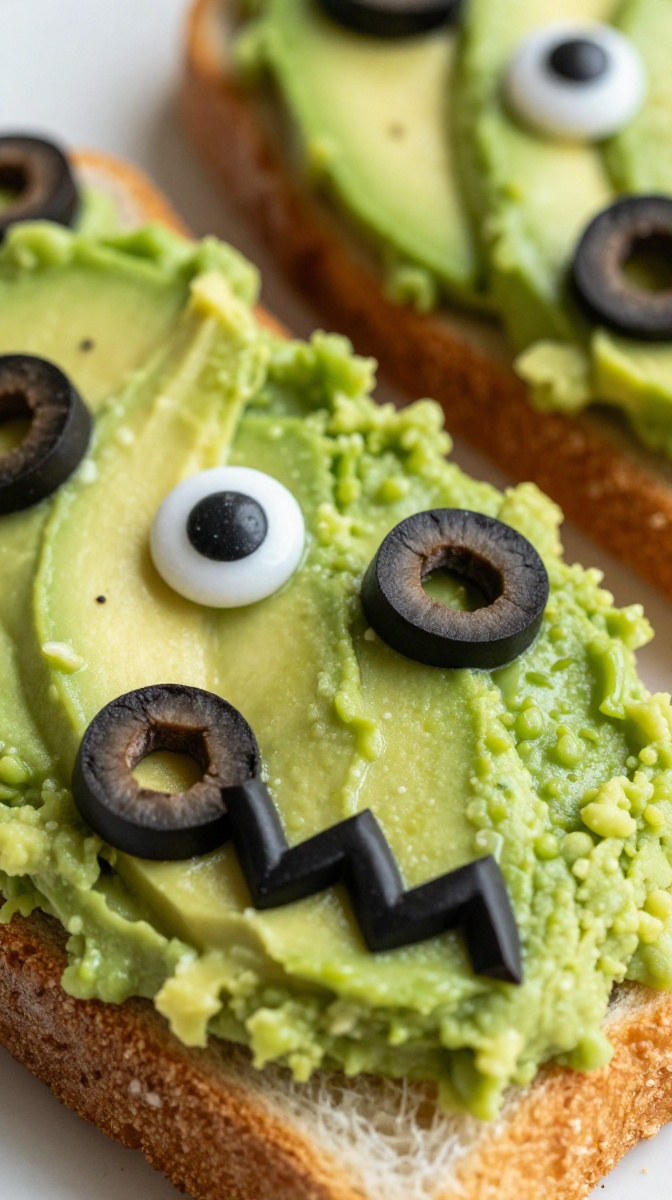
2. Mini Frankenstein Avocado Toasts
Who says Halloween snacks can’t sneak in a hit of wholesome greens?
Ingredients
- 4 slices square bread (whole wheat or white), toasted crisp
- 2 ripe avocados
- 1 tbsp fresh lemon juice (prevents browning)
- 1/4 cup black olives, sliced into strips and small triangles
- 8 edible candy eyes (or slice mozzarella rounds)
- Pinch of salt and garlic powder
Step-by-Step Instructions
- Slice the toasted bread in half to create rectangular monster face bases.
- In a small bowl, mash the ripe avocados with lemon juice, salt, and garlic powder until smooth.
- Spread a thick, even layer of mashed avocado over each bread rectangle.
- Arrange sliced black olives at the top edge of each toast to create jagged, spiky Frankenstein hair.
- Press two edible candy eyes into the middle of the green avocado spread.
- Use thin olive slices to create a stitched scar mouth and two small olive triangles on the sides for neck bolts.
Why You’ll Love It
It’s bright, savory, and shockingly cute! You get healthy fats into your kids’ bellies before they consume their weight in chocolate. I once tried using cut nori seaweed for the hair, but it wilted instantly against the damp avocado—stick to sliced olives for sharp monster lines that hold up on the party table.
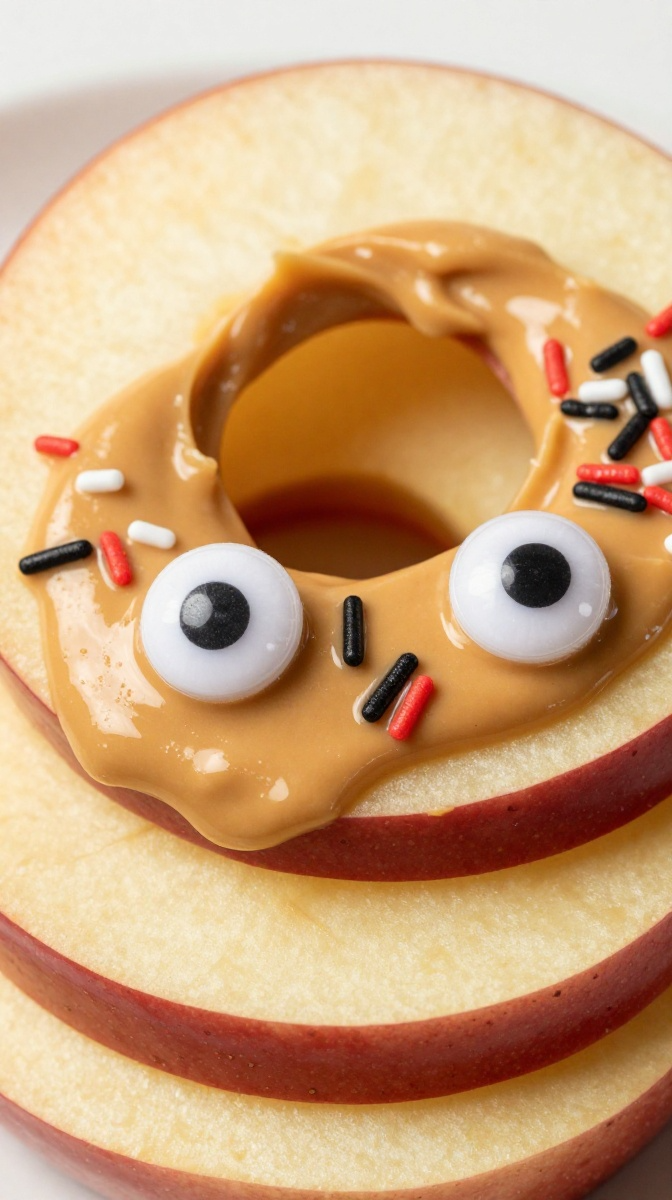
3. Monster Apple Doughnuts
A crisp, crunchy fruit treat that disguises real fiber as a sugary carnival confectio
Ingredients
- 3 large Honeycrisp or Granny Smith apples
- 1/2 cup creamy peanut butter or sunflower seed butter
- 2 tbsp cream cheese or Greek yogurt (tinted with green or orange food dye)
- 1/4 cup Halloween sprinkles (black, orange, purple)
- Candy eye decorations
Step-by-Step Instructions
- Slice the apples horizontally into 1/2-inch thick rings. Use a small round cookie cutter or apple corer to remove the center core from each ring, creating a doughnut shape.
- Pat the apple slices thoroughly dry with paper towels (this step is vital for getting the spread to stick!).
- Spread a generous layer of peanut butter or colored cream cheese over the top of each apple ring.
- Drizzle leftover tinted cream cheese over the top for a monster-slime effect.
- Scatter festive sprinkles and press candy eyes into the nut butter spread before serving instantly.
Why You’ll Love It
They deliver that satisfying, juicy crunch without forcing you to fry actual dough. Who doesn’t love a treat that comes together in under ten minutes? FYI, if you skip drying the apple slices with paper towels, your peanut butter will literally slide off onto the floor. Learn from my past tears! 🙂
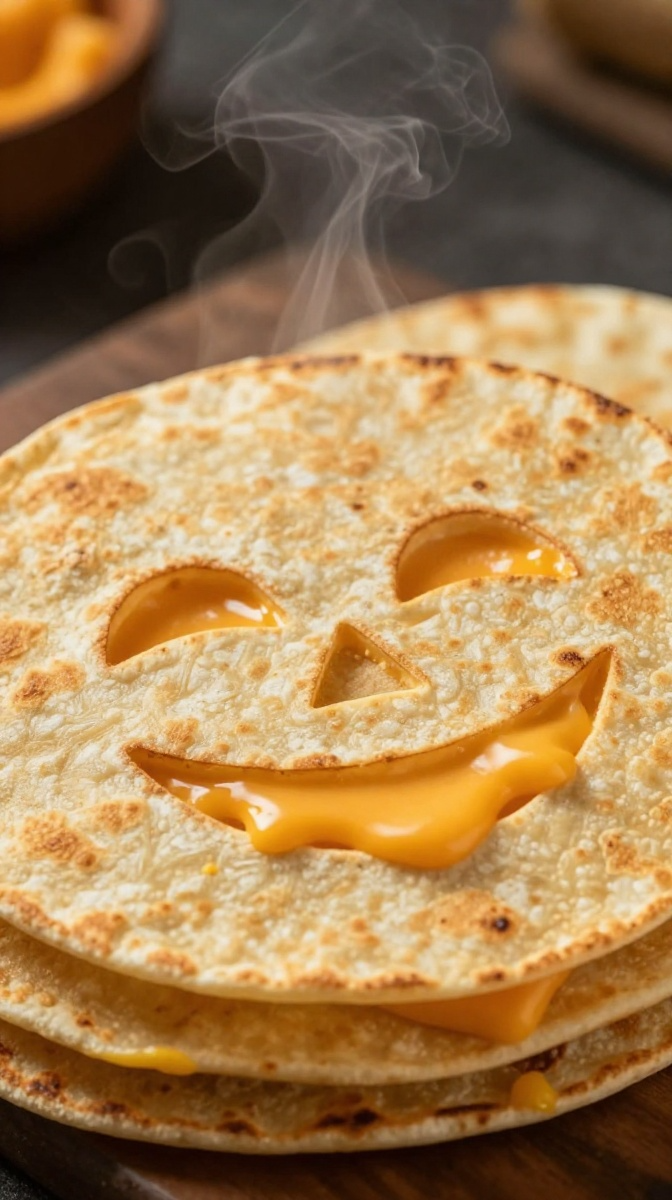
4. Spooky Jack-o’-Lantern Quesadillas
The ultimate warm, gooey dinner hack that takes basic cheese quesadillas to scary-good heights.
Ingredients
- 8 medium flour tortillas
- 2 cups shredded cheddar cheese (or Mexican blend)
- 1 tbsp unsalted butter for skillet frying
- Optional: 1/2 cup cooked shredded chicken or black beans
- Salsa and sour cream for serving dip
Step-by-Step Instructions
- Lay four tortillas flat on a cutting board. Use a sharp paring knife to carve Jack-o’-lantern faces (triangle eyes and jagged smiles) into these top tortillas. Leave the bottom four tortillas whole.
- Melt a little butter in a non-stick skillet over medium heat.
- Place a whole tortilla in the pan and sprinkle a generous half-cup layer of shredded cheese (and shredded chicken, if using) evenly across the surface.
- Place one carved tortilla face on top of the melting cheese layer.
- Cook for 2–3 minutes until the bottom is golden-crisp, then carefully flip and cook for another 1–2 minutes until the cheese bubbles up through the cut-out face holes.
- Slice into quarters and serve warm alongside salsa.
Why You’ll Love It
It turns everyday lunch staples into a theatrical Halloween event. The melted orange cheddar oozing out of the carved eyes looks brilliantly spooky. Some people try using corn tortillas here, but they crack when you try to carve the tiny smile details—stick to pliable flour tortillas every single time.
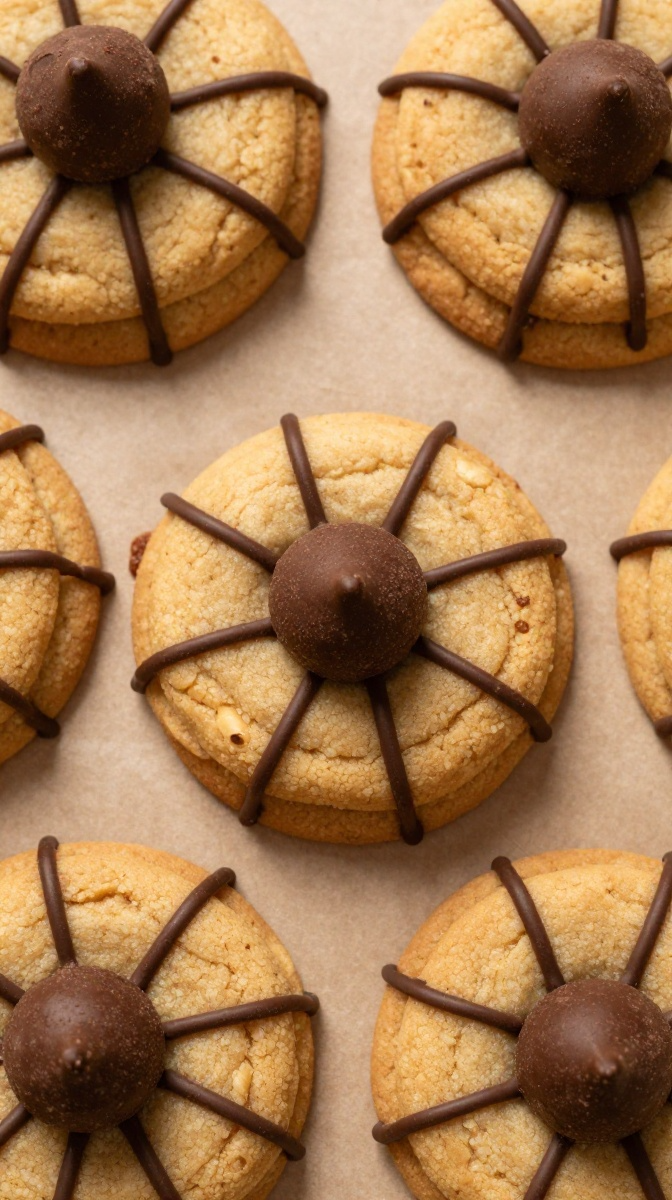
5. Peanut Butter Spider Cookies
Sweet, nutty, and featuring tiny chocolate bodies that kids will devour with sinister glee.
Ingredients
- 12 pre-baked peanut butter cookies (store-bought or homemade)
- 12 round chocolate truffles or peanut butter cups
- 1/2 cup semisweet chocolate chips, melted
- 24 mini candy eyes
Step-by-Step Instructions
- If baking cookies fresh, press a small round dent into the center of each cookie immediately after removing them from the oven while they are still soft. Let them cool completely.
- Spoon the melted chocolate chips into a small resealable ziplock bag and snip off a tiny corner tip.
- Dab a tiny dot of melted chocolate into the center dent of each cookie, then gently press a chocolate truffle down to act as the spider’s body.
- Pipe eight chocolate legs extending out from the truffle body onto the cookie surface (four on each side).
- Use tiny dots of melted chocolate to attach two candy eyes to the front of each chocolate truffle head.
- Let the chocolate sit for 15 minutes to firm up before stacking or serving.
Why You’ll Love It
These look like they came straight out of a boutique bakery display case. They hit that sweet-and-salty combination that everybody craves. A quick tip from personal experience: if you place the chocolate truffles on warm cookies, they will melt into flat brown puddles! Wait until the cookies are 100% cool before adding your spiders.
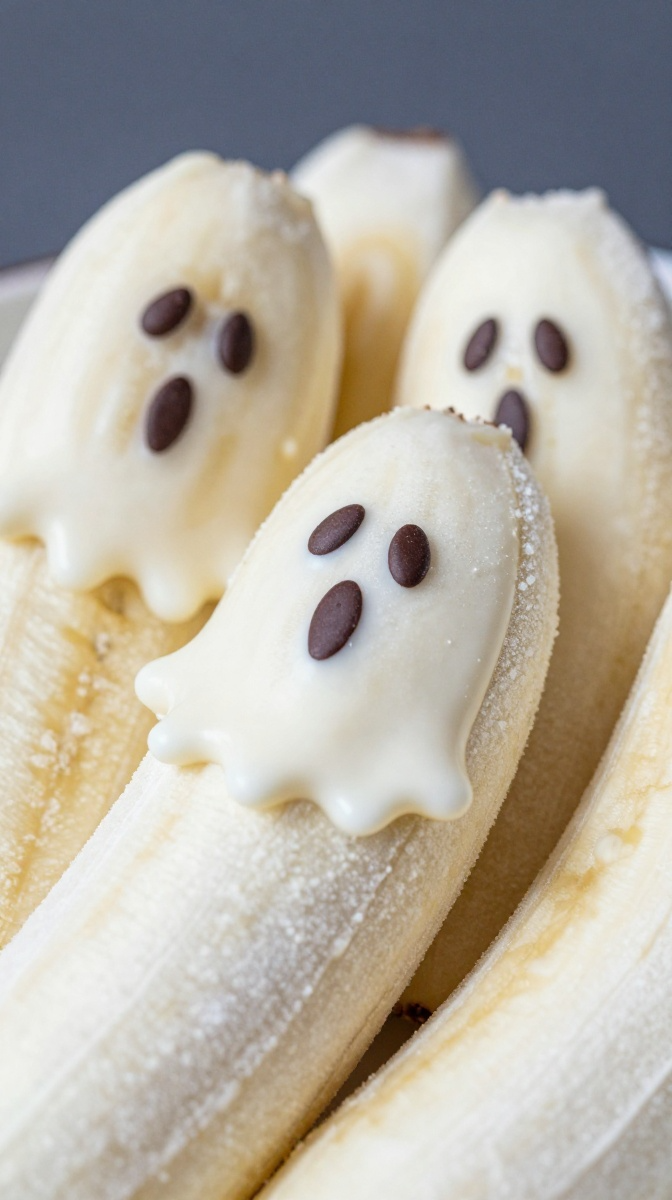
6. Ghostly Banana Pops
A three-ingredient frozen fruit treat that feels like eating gourmet ice cream on a stick.
Ingredients
- 4 firm bananas
- 1.5 cups white chocolate melting wafers or vanilla yogurt
- 1 tsp coconut oil (helps white chocolate melt smoothly)
- 24 mini chocolate chips
- 8 popsicle sticks
Step-by-Step Instructions
- Peel the bananas and cut each one in half crosswise. Insert a wooden popsicle stick into the cut bottom end of each banana half.
- Place the banana pops on a baking sheet lined with wax paper and freeze for 30 minutes.
- In a deep microwave-safe glass or mug, combine white chocolate wafers and coconut oil. Microwave in 30-second bursts, stirring in between, until completely smooth.
- Dip each frozen banana into the melted white chocolate, turning quickly to coat evenly.
- Immediately press two mini chocolate chips (pointy side down) into the coating for eyes, and one chocolate chip for an open “BOO!” mouth before the chocolate sets.
- Return to the freezer for 20 minutes until firm.
Why You’ll Love It
It’s refreshing, sweet, and practically effortless. Frozen bananas take on an amazingly creamy texture that genuinely feels like eating vanilla ice cream bars. I prefer white chocolate over Greek yogurt here because chocolate sets with a crisp shell snap that holds up much better during busy monster parties.
7. Clementine Pumpkins & Celery Stalks
The ultimate zero-cook 60-second snack for parents running on pure caffeine and sheer panic.
📌 Pinterest Image Concept (9:16 Vertical Ratio)
- Visual Composition (80-90% Food Framing): Vibrant pile of peeled orange clementines topped with vibrant green celery stems. Rich orange and green contrast filling the entire portrait frame.
Ingredients
- 10 clementine oranges or Satsuma mandarins
- 2 stalks fresh celery
Step-by-Step Instructions
- Peel the clementine oranges carefully, keeping the whole circular citrus fruit intact. Clean off any loose white pith strands.
- Wash the celery stalks and slice them lengthwise into thin, narrow strips.
- Chop those strips into tiny 1-inch wooden-stem pieces.
- Gently press one celery piece directly into the top center hole of each peeled clementine to mimic a green pumpkin stem.
- Arrange them on a platter and serve instantly!
Why You’ll Love It
You can make fifty of these in under five minutes. No heat, no bowls, and zero dishwashing required afterward! It brings a gorgeous pop of bright orange color to your Halloween party table. You could try using pretzel sticks for stems, but celery adds a fun punch of bright green color that makes them look like actual pumpkins!
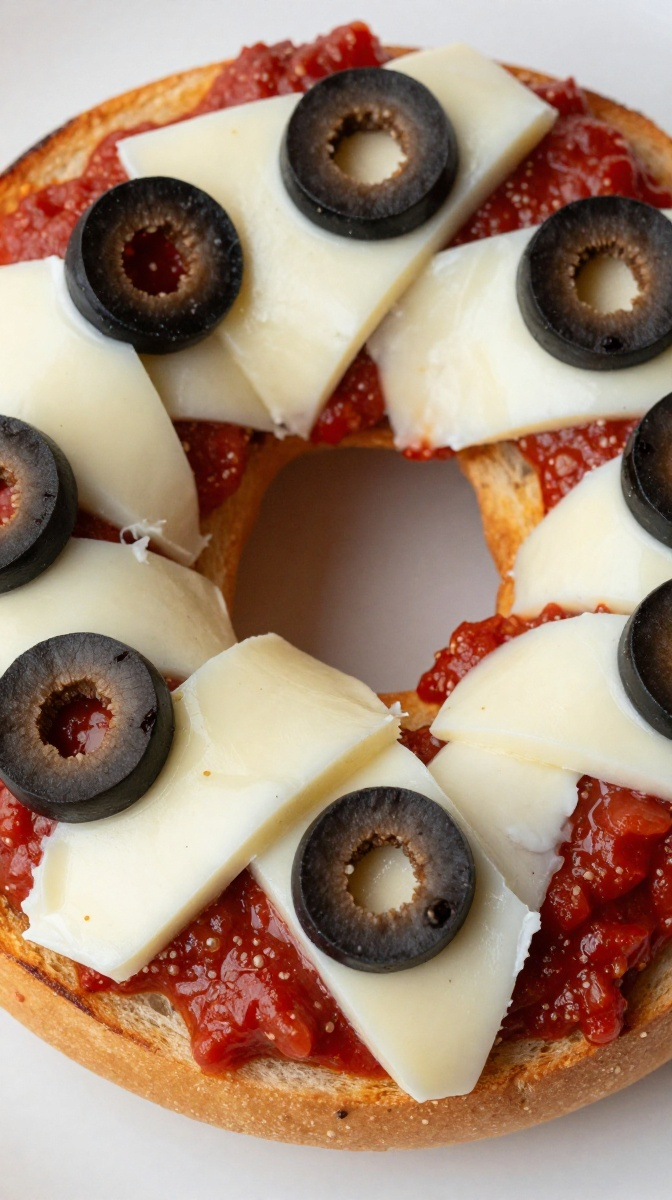
8. Mummy Mini Pizza Bagels
Warm, savory comfort food wrapped in cheesy bandage strips that kids will beg for every week.
Ingredients
- 4 plain mini bagels, sliced in half
- 1/2 cup marinara or pizza sauce
- 6 mozzarella cheese sticks (string cheese)
- 1/4 cup sliced black olives
Step-by-Step Instructions
- Preheat your oven or toaster oven to 400°F (200°C) and line a baking tray with foil.
- Arrange the mini bagel halves face-up on the baking sheet. Spread 1 tablespoon of marinara sauce evenly over each half.
- Peel the mozzarella string cheese apart into thin individual strands.
- Lay the cheese strands across the marinara sauce in overlapping diagonal strips, mimicking mummy bandages. Leave a small gap near the top for eyes!
- Place two black olive slices inside the gap on each bagel half to serve as mummy eyes.
- Bake for 8 to 10 minutes until the bagel edges are crispy and the cheese is melted but still retains its strip shape.
Why You’ll Love It
They are hot, savory, and satisfy even the pickiest eaters. String cheese works ten times better than shredded mozzarella because shreds melt into a blob instantly, wiping out your cool bandage effect. Serve these warm for ultimate cheesy perfection!
Wrapping Up the Spooky Feast
Creating memorable Halloween memories for your kids shouldn’t feel like a stress-inducing marathon. These 8 kid-friendly Halloween food ideas prove you can deliver big festive smiles, incredible flavors, and adorable spooky vibes without losing your mind or spending four hours locked in the kitchen.
Whether you’re wrapping up hot dog mummies before trick-or-treating or popping banana ghosts into the freezer for movie night, remember that perfection is totally overrated! The kids won’t care if a spider leg is slightly crooked or if a quesadilla smile looks a little goofy. They’ll remember the fun, the laughs, and the delicious treats you made together. Pick two or three of these ideas for your party sheet this weekend and give yourself a well-deserved high five. Happy Halloween snacking!