
Look, I get it. Every October, Pinterest turns into a high-stakes arena of edible masterwork. You scroll through your feed and see three-tiered dark chocolate castle cakes, blown-sugar ghosts, and hand-painted sugar cookies that look like they belong in a museum rather than your mouth. Meanwhile, you’re sitting there wondering if you can melt chocolate without scorching the pan or turning your kitchen into a sticky crime scene.
Who actually has four free hours on a Tuesday night to carve fondant pumpkins? Certainly not me. I once tried making an elaborate gingerbread haunted house from scratch, only for the entire roof to cave in, crushing my spirit and leaving my dog with a very sneaky sugar high. Never again
That is precisely why we are keeping things deliciously, effortlessly simple this spooky season. You don’t need a culinary degree, a professional piping bag, or an army of custom tools to pull off adorable treats. Whether you need a quick batch for your kid’s school party or just want something sweet to nibble while rewatching Hocus Pocus for the hundredth time, these eight beginner-friendly Halloween baking ideas will deliver maximum cute with minimum panic. Grab your whisk, pop open your favorite chill autumn playlist, and let’s make some kitchen magic happen!
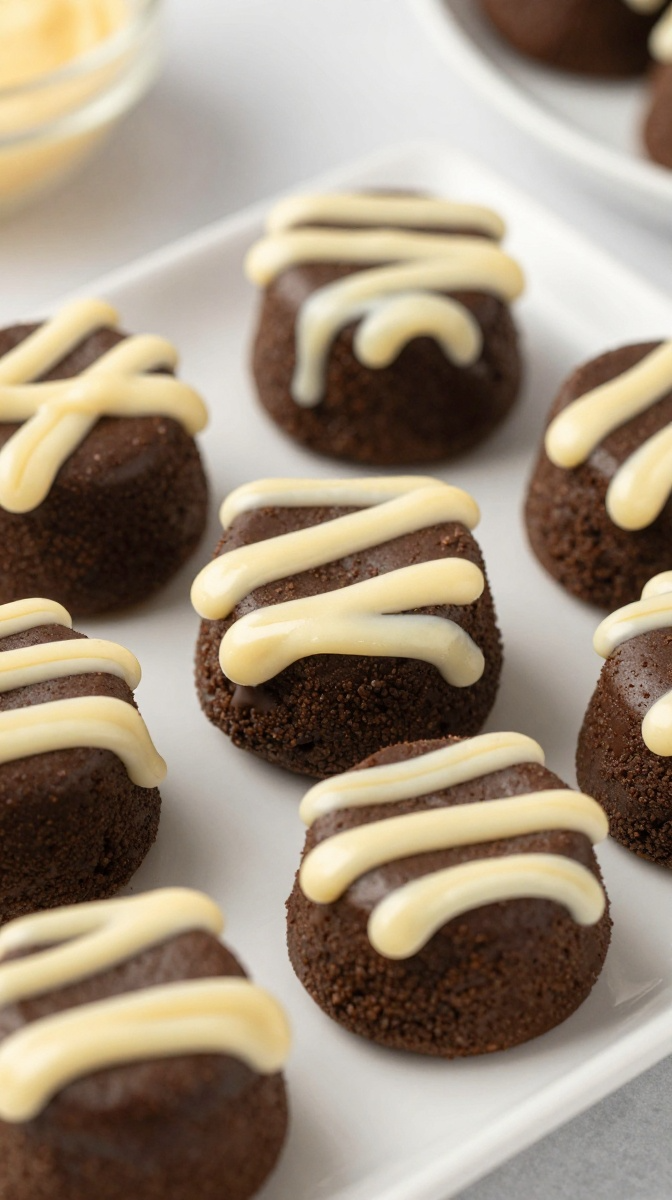
1. Lazy Mummy Brownie Bites
Fudgy store-bought shortcut turned spooky showstopper in under 15 minutes!
Ingredients
- 1 box brownie mix (plus eggs/oil listed on box) OR 12 pre-baked store-bought brownie bites
- 1 cup white chocolate chips or white candy melts
- 1 tsp coconut oil (helps the chocolate melt silky smooth)
- 24 edible candy eyes
Step-by-Step Instructions
- Bake the brownie mix in a mini muffin tin at 350°F (175°C) for 15 minutes, or pop open your pre-baked store-bought bite package. Cool completely.
- Combine white chocolate chips and coconut oil in a microwave-safe bowl. Microwave in 20-second bursts, stirring in between, until creamy.
- Transfer melted chocolate into a small ziplock bag and snip off a tiny tip of the corner.
- Drizzle crisscross white chocolate “bandage” lines back and forth across each brownie bite.
- Press two candy eyes through the chocolate ribbons before the drizzle sets.
Why You’ll Love It
Who doesn’t love a treat that looks like an elaborate bakery item but takes less effort than making toast? These rich, fudgy bites give you instant host credibility with zero stress. FYI, using box mix is entirely valid here!
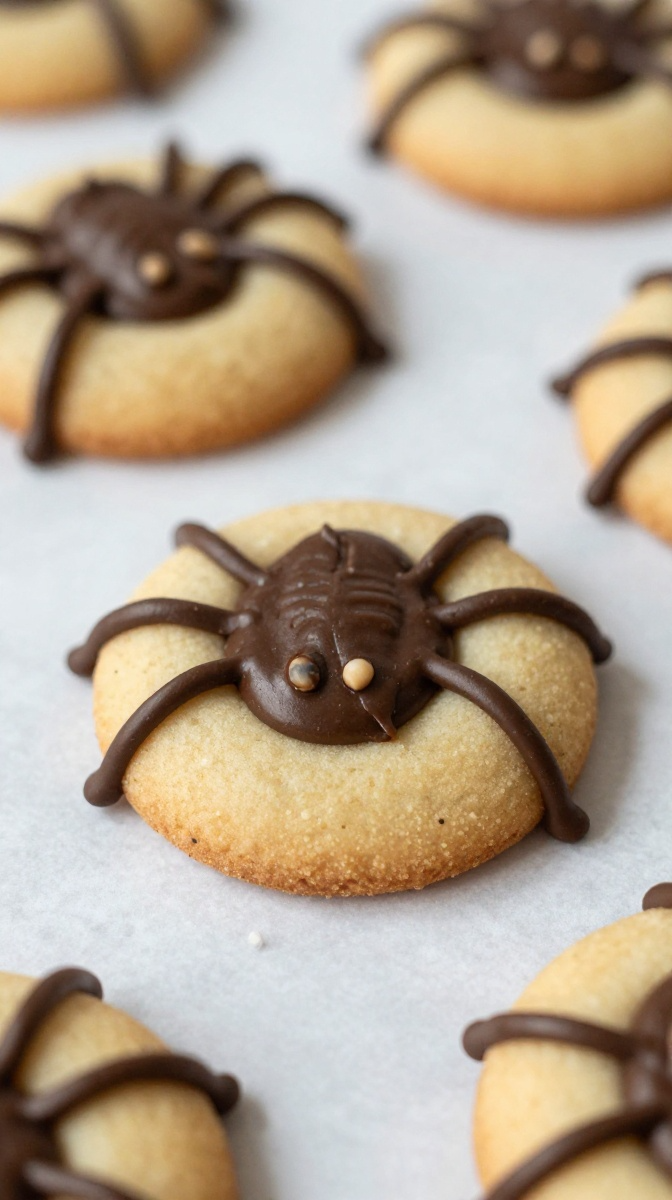
2. Peanut Butter Spider Cookies
Classic soft peanut butter cookies topped with cute, creepy malted milk ball spiders.
Ingredients
- 1 cup creamy peanut butter
- 1 cup granulated sugar
- 1 large egg
- 16 round chocolate truffles or malted milk balls
- 1/2 cup dark chocolate chips (melted)
- 32 candy eyes
Step-by-Step Instructions
- Mix peanut butter, sugar, and egg together in a bowl until a smooth dough forms.
- Roll into 16 balls, place on a lined baking sheet, and press down gently with a fork.
- Bake at 350°F (175°C) for 10 minutes. The second they leave the oven, press a round chocolate ball in the center to create a deep well. Let cookies cool completely so the chocolate ball doesn’t melt entirely!
- Pipe 8 tiny chocolate legs coming out from each chocolate ball using melted dark chocolate.
- Dab two drops of melted chocolate onto the spider head and attach candy eyes.
Why You’ll Love It
Three-ingredient dough means you spend zero time measuring flour. Plus, these sweet and salty arachnids are way more friendly than the real ones residing in your basement!
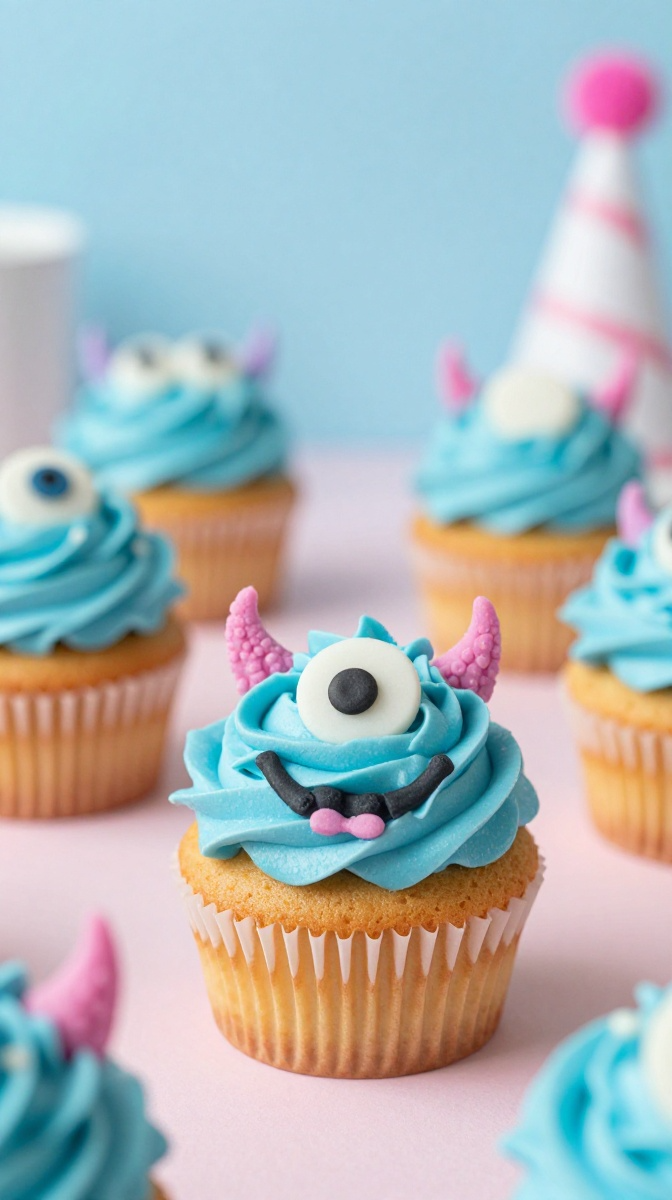
3. Silly Monster Cupcakes
Bright vibrant colors, messy piping, and zero rules—perfectionism is strictly banned here!
Ingredients
- 12 baked cupcakes (vanilla or chocolate)
- 2 cups buttercream frosting
- Neon gel food coloring (purple, green, or orange)
- Assorted candy eyes (various sizes)
- Grass piping tip (Wilton #233) or a star tip
Step-by-Step Instructions
- Tint your buttercream with vibrant neon gel food coloring. Split frosting into two bowls if you want two-tone monsters.
- Fit a piping bag with a grass tip for realistic “fur” or a simple star tip for textured dollops.
- Pipe furry squeezes all over the cupcake top. Pull straight up quickly to create shaggy spikes.
- Cluster 3, 5, or 7 candy eyes erratically across the top. The more mismatched they look, the better!
Why You’ll Love It
Messing up actually makes these look better. If your hand shakes or the frosting slants sideways, congratulations—you just gave your monster extra personality!
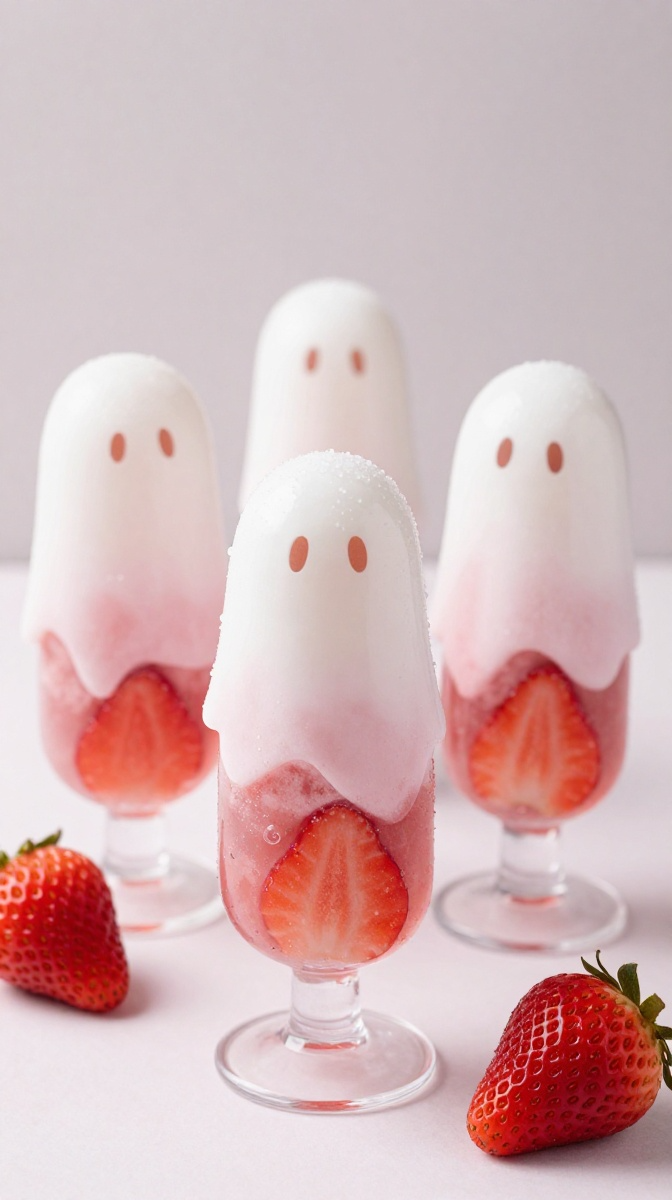
4. Ghostly Strawberry Pops
A refreshing, fruit-forward Halloween bite dipped in glossy white chocolate.
Ingredients
- 1 lb fresh large strawberries (washed and thoroughly dried)
- 1.5 cups white melting wafers
- 1/4 cup dark chocolate chips
- Wooden cake pop sticks
Step-by-Step Instructions
- Insert a wooden stick into the stem end of each completely dry strawberry. (Water is white chocolate’s mortal enemy—make sure they are 100% dry!).
- Melt white chocolate wafers in a deep glass bowl until completely smooth.
- Dip strawberries into white chocolate, swirling to cover. Lift and let excess drip back down to create a ghostly “tail” at the tip.
- Lay on parchment paper to set for 10 minutes.
- Melt dark chocolate chips and pipe two oval eyes and an elongated ‘O’ mouth onto each ghost.
Why You’ll Love It
You can trick yourself into thinking you’re eating health food while enjoying creamy white chocolate goodness. IMO, these outshine traditional candy apples every single time.
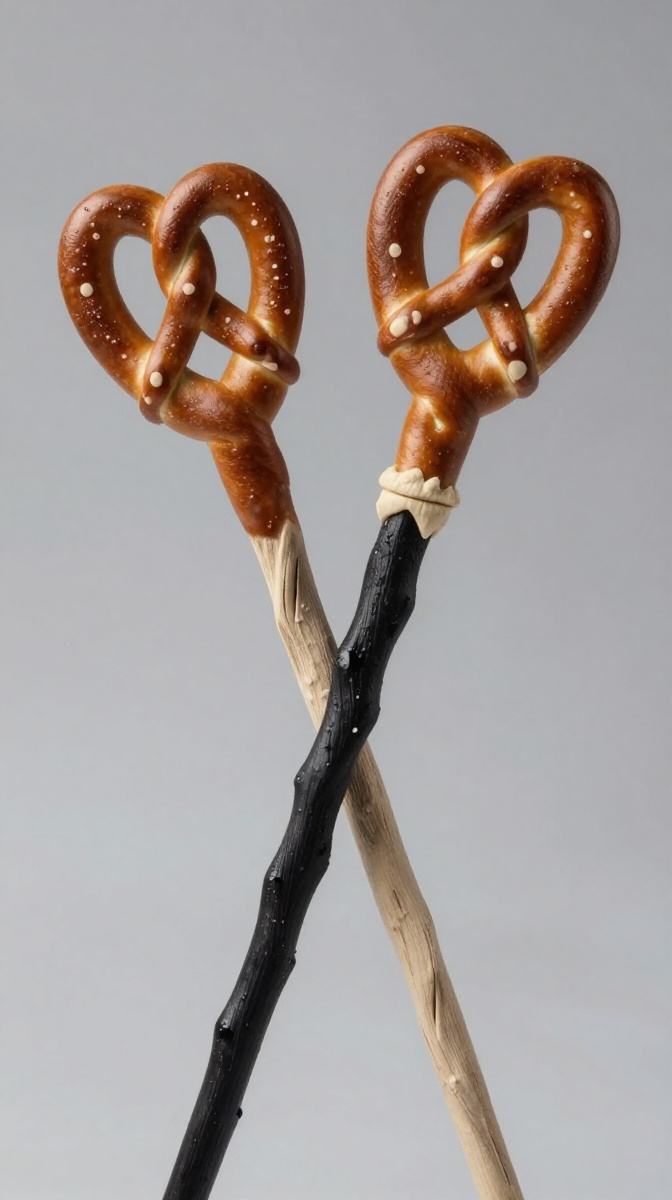
5. Pretzel Rod Witch Wands
Salty, sweet, crunchy, and zero actual baking required!
Ingredients
- 1 bag thick pretzel rods
- 1.5 cups green vibrant candy melts
- Halloween sprinkle mix (purple nonpareils, orange jimmies, edible stars)
- Edible glitter (optional, but highly recommended!)
Step-by-Step Instructions
- Melt green candy melts in a tall tumbler glass. (Pro tip: tall glasses make dipping long pretzels ridiculously easy!).
- Dip each pretzel rod 2/3 of the way down into melted green chocolate.
- Gently tap rod against the edge of the glass to remove excess liquid chocolate.
- Immediately shower with Halloween sprinkles and edible glitter over a baking sheet before the coating hardens.
Why You’ll Love It
Sweet meets salty in the best possible way. Kids adore waving these around like magic wands before eating them, and you don’t even have to turn on your oven!
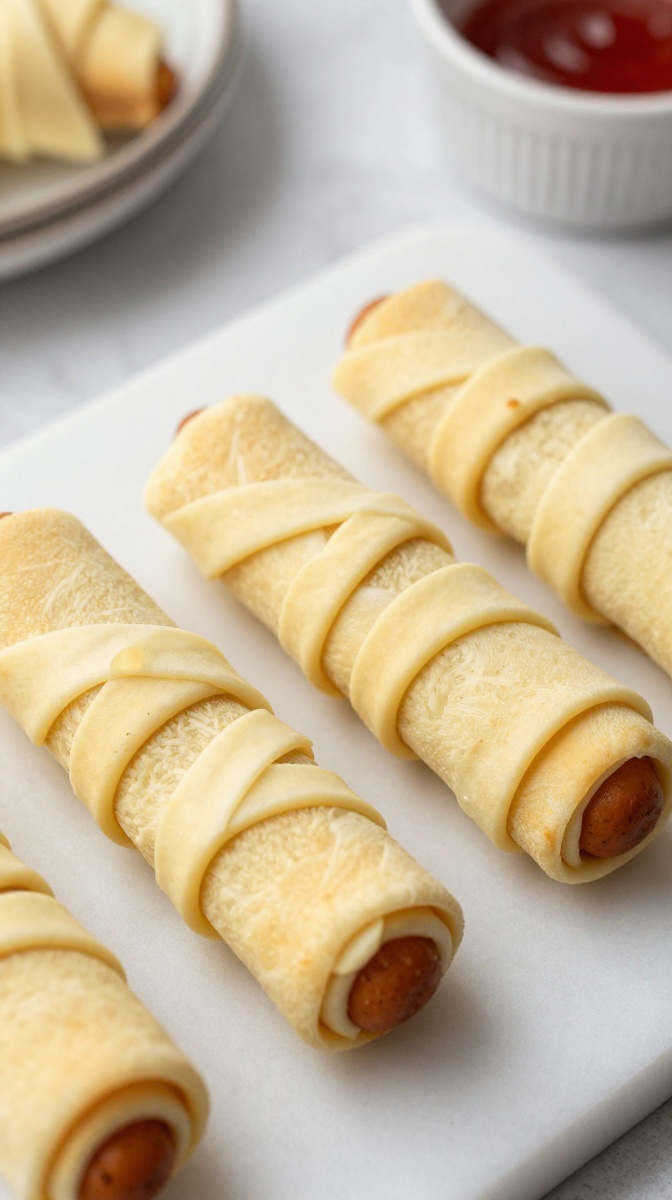
6. Crescent Roll Mummy Dogs
Savory bite alert! Crisp flaky pastry wrapped around juicy, cheesy hot dogs.
Ingredients
- 1 can refrigerated crescent roll dough
- 10 hot dogs or jumbo franks
- 5 slices American cheese (cut into small strips)
- Yellow mustard or ketchup for face details
Step-by-Step Instructions
- Unroll crescent dough and press seams together. Cut dough lengthwise into thin strips using a pizza cutter.
- Place a thin strip of cheese along each hot dog.
- Wrap dough strips around hot dogs, crisscrossing to look like mummy bandages. Leave a small opening near the top for the eyes!
- Bake at 375°F (190°C) for 13-15 minutes until dough is golden brown.
- Dot two yellow mustard eyes in the open slot before serving with extra dip.
Why You’ll Love It
Not everyone wants sugar overload on Halloween. These warm, flaky mummies provide a fun savory balance and make a fantastic pre-trick-or-treating dinner!
7. Mini Pumpkin Patch Donuts
Cinnamon-sugar glazed cake donuts masquerading as adorable little garden pumpkins.

Ingredients
- 12 plain mini cake donuts
- 1 cup powdered sugar
- 2 tbsp milk
- Orange gel food coloring
- 6 Tootsie Rolls (cut in half for stems)
- Green decor icing tube
Step-by-Step Instructions
- Whisk powdered sugar, milk, and orange gel dye to create a thick orange glaze.
- Dip tops of mini donuts into orange glaze, shaking off excess. Place on a wire rack.
- Press a half Tootsie Roll into the top center hole of each donut while glaze is wet.
- Pipe a tiny green leaf or curly vine accent right beside the stem using your icing tube.
Why You’ll Love It
They look like tiny pumpkins sitting in an autumn garden! Super cute on an autumn brunch platter, and you can pull them together in literally 10 minutes flat.
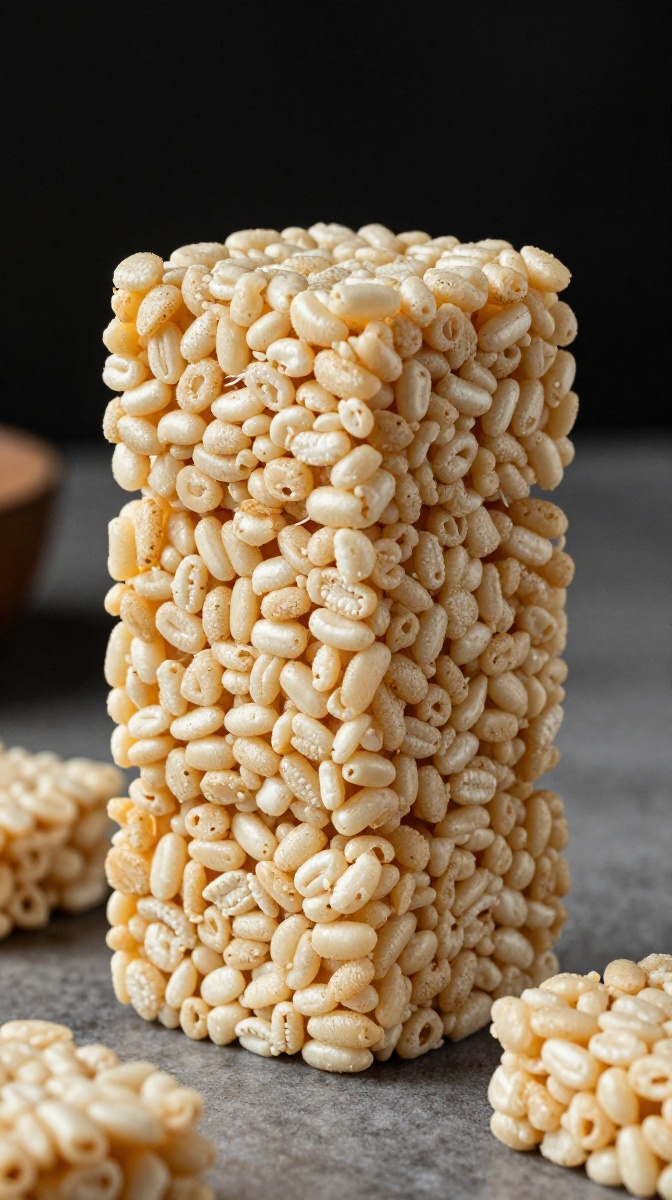
8. Frankenstein Rice Krispie Blocks
Chewy marshmallow treat classics transformed into lovable green monsters.
Ingredients
- 3 tbsp butter
- 10 oz mini marshmallows
- Green gel food coloring
- 6 cups Rice Krispies cereal
- 1/2 cup dark chocolate chips (melted)
- Candy eyes & mini Rolos (for neck bolts)
Step-by-Step Instructions
- Melt butter and marshmallows in a large pot over low heat. Stir in green food coloring until brightly tinted.
- Fold in cereal until coated, press into a greased 9×13 pan, and let cool. Slice into long rectangles.
- Dip the top 1 inch of each green bar into melted dark chocolate to create jagged hair.
- Attach two candy eyes and pipe a black line with hatch marks for the stitched smile.
- Attach a mini Rolo candy to each side near the base using melted chocolate for neck bolts.
Why You’ll Love It
Classic nostalgic childhood flavors combined with adorable Frankenstein styling. They hold up great at room temperature, making them perfect party tray material!
Which Spooky Treat Are You Baking First?
And there you have it—proof positive that you don’t need an advanced culinary arts degree, five stress-filled hours, or fancy baking tools to make adorable Halloween magic in your kitchen!
Whether you choose to whip up the 3-ingredient spider cookies, wrap up crescent mummy dogs, or keep it ultra-lazy with white-chocolate brownie bites, remember that perfection is totally overrated. The slight imperfections and goofy crooked smiles give these spooky bakes their undeniable charm. So put on your favorite cozy sweater, turn up your favorite tunes, and enjoy every single delicious bite. Happy Halloween baking, my friend! 🙂