
Ever hosted a October bash, spent four hours crafting elaborate sugar paste figurines, and watched a six-year-old knock them straight onto the rug? Yeah, me too. Lesson learned. When spooky season rolls around, you do not need a pastry degree from Paris to blow everyone away. You just need rich, ultra-fudgy chocolate brownies and a few ridiculously clever decorating tricks.
Whether you need a last-minute trick-or-treat treat or a show-stopping dessert board for horror movie night, these 8 Halloween brownie shapes and character ideas deliver maximum spooky impact with minimal effort. Grab your favorite mixing bowl, fire up the oven, and let’s turn a simple pan of fudgy goodness into spooky perfection. 🙂
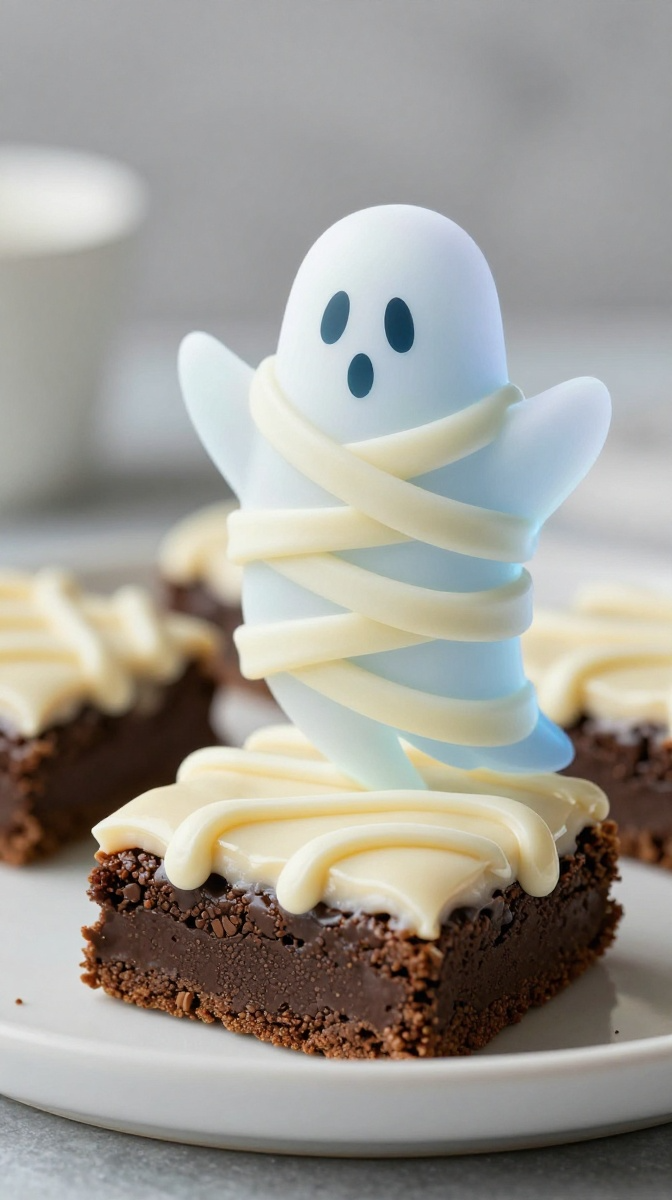
1. Ghostly Mummy Brownie Bars
These adorable wrapped mummies prove that you don’t need neat piping skills to create an absolute showstopper. In fact, the messier your icing lines look, the more authentic your mummy bandages turn out!
Ingredients
-
1 batch baked chocolate brownies (chilled and cut into rectangular bars)
-
1 cup white chocolate chips (or vanilla buttercream icing)
-
1 teaspoon coconut oil (helps the chocolate melt silky smooth)
-
Candy eyeballs (medium size)
Step-by-Step Instructions
-
Bake your favorite brownie recipe in a rectangular pan, let it cool completely, and chill in the fridge for 30 minutes so you get razor-sharp cuts.
-
Cut the brownie slab into neat 2×4-inch rectangular bars.
-
Melt the white chocolate chips and coconut oil together in short 25-second microwave bursts, stirring until smooth.
-
Transfer the melted chocolate into a zip-top bag and snip off a tiny corner.
-
Pipe haphazard diagonal lines across each brownie bar to create textured mummy bandages, leaving a tiny gap near the top.
-
Press two candy eyeballs into the open gap while the chocolate icing is still warm.
Why You’ll Love It
You can make these in under 15 minutes flat after baking, and kids love helping pipe the bandages. IMO, the white chocolate drizzle adds the perfect creamy contrast to dense dark chocolate fudginess.
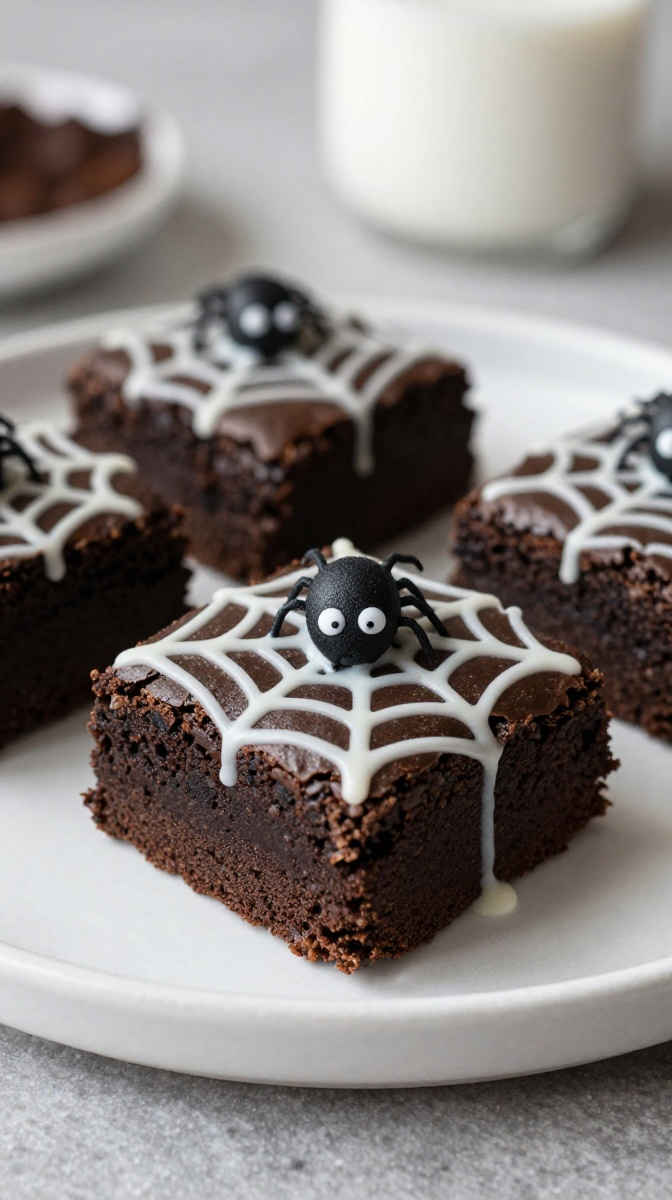
2. Creepy-Crawly Spiderweb Brownies
Want a sleek, elegant Halloween look without spending hours decorating? These spiderweb brownies look straight out of an upscale bakery, yet rely on a simple toothpick trick you can master in 10 seconds.
Ingredients
-
1 batch warm baked brownies (8×8 or 9×9 inch pan)
-
1/2 cup marshmallow fluff (or melted white chocolate)
-
1/2 cup dark chocolate ganache (or chocolate frosting)
-
Plastic spiders (for serving garnish)
Step-by-Step Instructions
-
Spread a smooth layer of warm dark chocolate ganache across the entire uncut pan of brownies.
-
Heat the marshmallow fluff in the microwave for 10 seconds until it becomes warm and fluid.
-
Pipe concentric circles of marshmallow fluff starting from the center outward onto the wet ganache.
-
Drag a toothpick lightly from the center circle outward to the edges in 8 radial lines to drag the fluff into a spiderweb design.
-
Let the ganache set completely before cutting into neat individual squares.
-
Top each square with a tiny candy or plastic spider right before serving.
Why You’ll Love It
Who doesn’t love a visual shortcut that looks like high-end food art? The sticky marshmallow webbing pulls into dramatic gooey strands with every single bite.
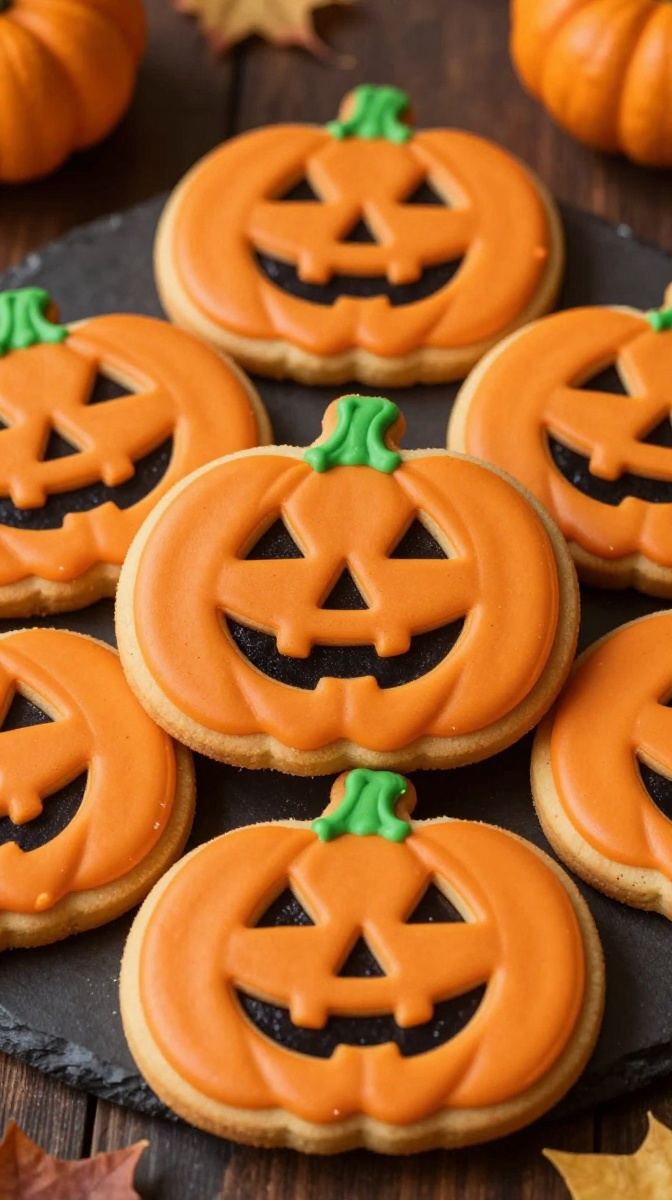
3. Jack-O’-Lantern Pumpkin Cutouts
Skip the messy pumpkin carving this year and carve out soft, chocolatey brownie pumpkin cutouts instead. Drenched in vibrant orange icing, these bright cuties light up any dessert table instantly.
Ingredients
-
1 batch baked dark chocolate brownies (baked on parchment paper)
-
Pumpkin-shaped cookie cutter (3-inch size)
-
2 cups powdered sugar
-
3 tablespoons full-fat milk
-
Orange food coloring gel
-
Black piping gel (or melted dark chocolate)
Step-by-Step Instructions
-
Lift the cooled brownie sheet out of the pan using the parchment paper overhang.
-
Press your pumpkin cookie cutter firmly into the brownies to cut out clean pumpkin shapes.
-
Whisk powdered sugar, milk, and orange food coloring gel together until thick and glossy.
-
Dip the top of each pumpkin brownie into the orange glaze, letting excess drip back into the bowl.
-
Allow the glaze to set for 15 minutes until a light crust forms.
-
Pipe classic triangle eyes, jagged mouths, and spooky grins onto each orange face using black piping gel.
Why You’ll Love It
They give you classic October nostalgia without sticky pumpkin pulp everywhere. Don’t throw away the brownie scraps around the cutouts—toss them with vanilla ice cream for the ultimate midnight chef snack!
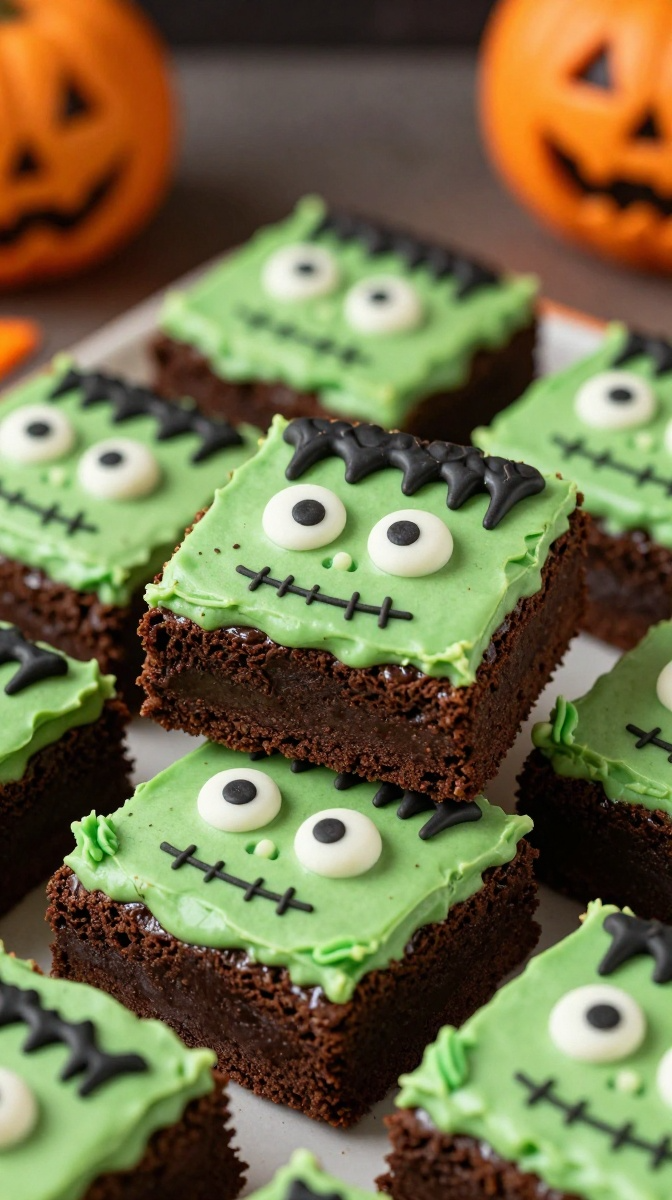
4. Frankenstein Monster Squares
Bring your dessert table to life with vibrant green Frankenstein squares! These playful monsters bring big personality, bold colors, and a satisfying crunch thanks to clever sprinkle accessories.
Ingredients
-
1 batch dense chocolate brownies (cut into tall squares)
-
1.5 cups neon green candy melts (or green-tinted white chocolate)
-
Chocolate jimmies (black sprinkles for hair)
-
Large candy eyes
-
Black edible marker or melted dark chocolate
Step-by-Step Instructions
-
Slice your cooled brownies into bold, uniform 3×3-inch squares.
-
Melt the neon green candy melts according to package instructions until completely smooth.
-
Dip the top third of each brownie square into the green candy melt, coating the front face evenly.
-
While green coat is wet, press black chocolate jimmies along the top edge to craft jagged monster hair.
-
Stick two large candy eyes onto the center of the green face.
-
Draw stitches and a grumpy horizontal line mouth using your black edible marker once set.
Why You’ll Love It
Frankenstein brownies are an absolute hit with kids because every single face turns out unique and quirky. Plus, neon green candy melts taste like sweet vanilla cream over deep cocoa brownies.
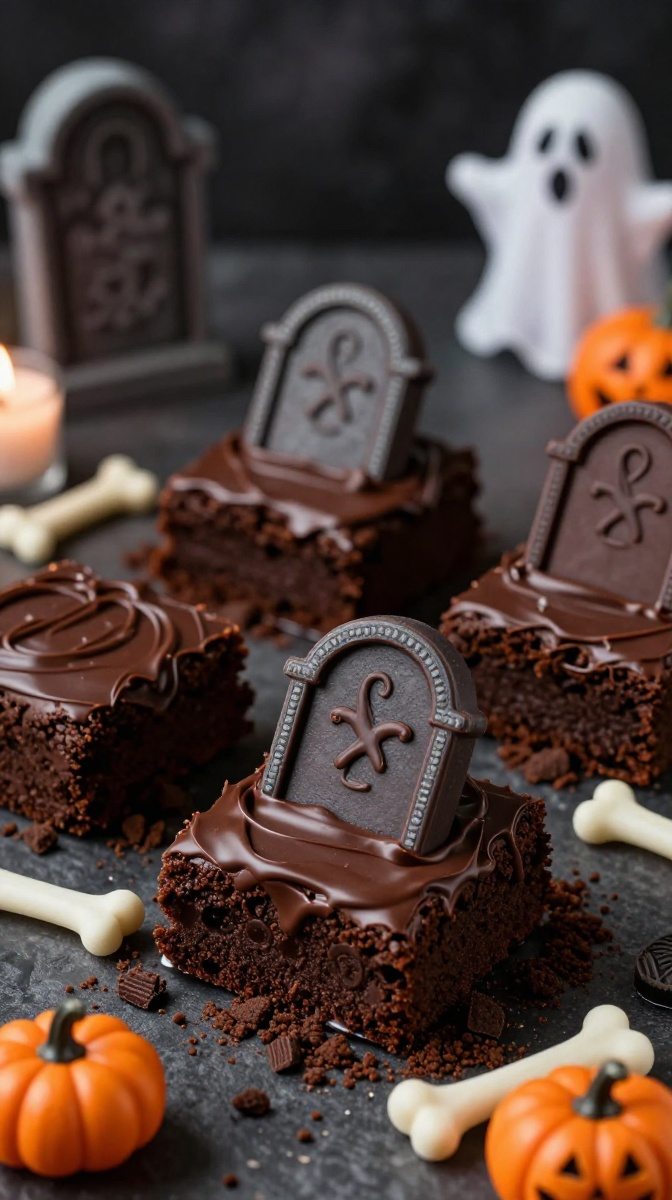
5. Graveyard Tombstone Bites
Turn a simple baking sheet into a spooky haunted cemetery! These graveyard tombstone bites use crushed cookies for dirt and oval biscuits for gravestones, creating an awesome 3D edible landscape.
Ingredients
-
1 batch rich fudgy brownies
-
1 package Milano cookies (or oval butter biscuits)
-
1 cup Oreo cookies (crushed into fine crumbs)
-
Green buttercream frosting (fitted with a grass piping tip)
-
Melted dark chocolate (for writing)
Step-by-Step Instructions
-
Cut your baked brownie pan into 2×3-inch rectangles.
-
Pipe a thin layer of chocolate ganache over each brownie and dip top into crushed Oreo dirt crumbs.
-
Pipe tiny tufts of green buttercream grass around the base of each brownie using a grass piping tip.
-
Write classic phrases like “R.I.P.” or “BOO” on the top half of Milano cookies using melted dark chocolate.
-
Cut a small slit into the top of each brownie rectangle and press the base of the cookie tombstone securely inside.
Why You’ll Love It
The crunchy texture of the biscuit combined with Oreo dirt crumbs and fudgy brownie base creates an elite textural combo. FYI, this idea works amazingly well on larger sheet cakes too!
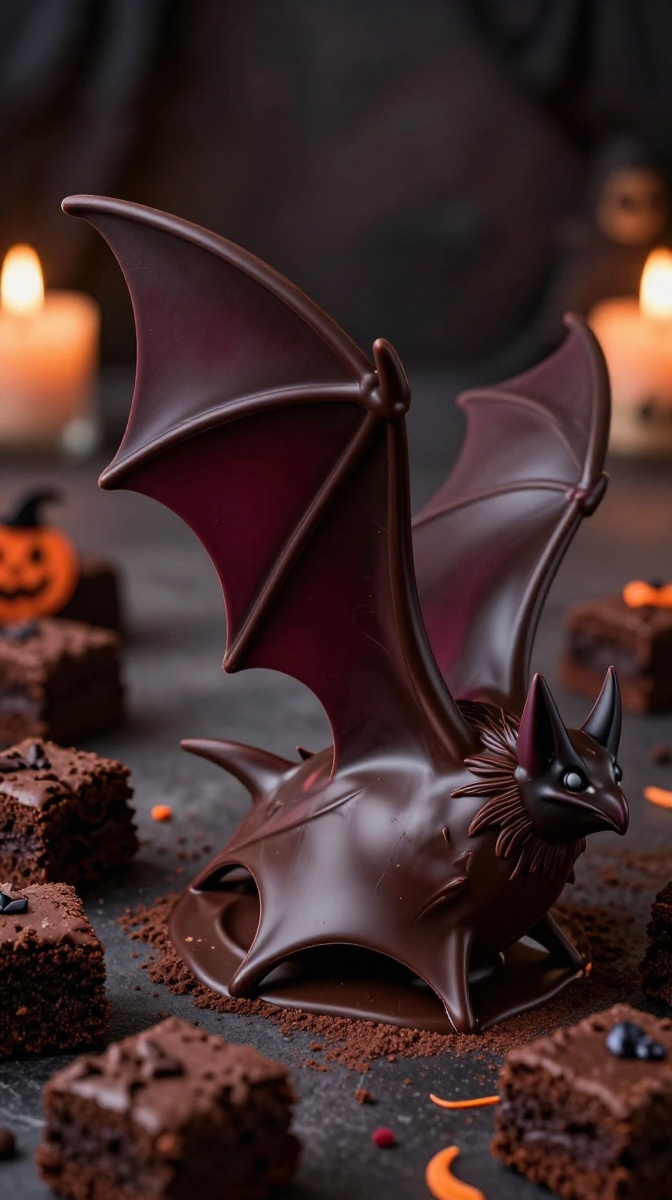
6. Vampire Bat Wings
Dramatically dark and delicious, these triangular bat wing brownies feature crimson red ganache drips and sharp white chocolate fangs that look delightfully theatrical.
Ingredients
-
1 batch dark cocoa brownies
-
1 cup dark chocolate chips + 1/3 cup heavy cream (for dark ganache coating)
-
1/4 cup raspberry puree or red decorating gel (for blood drips)
-
White chocolate chips (cut into sharp triangle fangs)
Step-by-Step Instructions
-
Slice your pan of baked brownies diagonally to form sharp, dramatic triangles.
-
Heat heavy cream until steaming, pour over dark chocolate chips, and stir into a glossy dark ganache.
-
Dip each triangle brownie into the dark ganache to coat completely.
-
Drizzle raspberry puree or red gel along the pointed bottom edge to simulate spooky blood drips.
-
Press two sharp white chocolate chip fangs near the center point of each triangle.
-
Let cool until set before serving on a dark platter.
Why You’ll Love It
The tartness of real raspberry puree cuts right through rich dark chocolate ganache, balancing out heavy sweetness. I once swapped raspberry for cherry gel and wow—never going back!
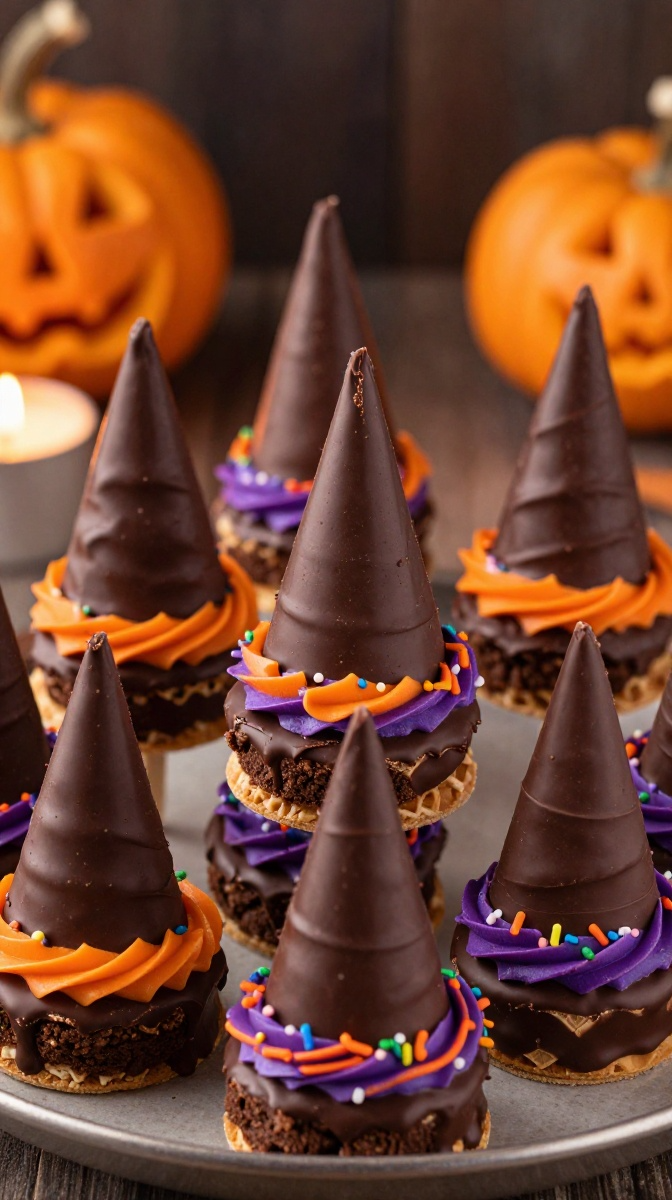
7. Witch Hat Cone Pops
These 3D witch hat pops elevate simple brownies into cute handheld treats on a stick. By using mini sugar cones on top of round brownie bases, you get a fun ice cream cone vibe with zero melting risk.
Ingredients
-
1 batch baked brownies
-
12 mini sugar cones
-
2 cups dark chocolate melted wafer dip
-
Purple or orange ribbon sprinkles (or colored decorative sugar)
-
Round cookie cutter (2.5-inch diameter)
Step-by-Step Instructions
-
Use your round cookie cutter to cut circular bases out of your cooled brownie slab.
-
Dip the open end of each mini sugar cone into melted dark chocolate and attach it to the center of a brownie circle to create a hat shape.
-
Freeze the assembled hats for 10 minutes so the bond freezes solid.
-
Dip the entire assembled witch hat into melted dark chocolate until fully coated.
-
Wrap a line of purple or orange decorative sugar around the base seam where cone meets brownie to create a hat band.
Why You’ll Love It
They add incredible vertical height and fun structure to your Halloween treat spread. Eating a crunchy sugar cone filled with soft brownie center is an absolute game changer.
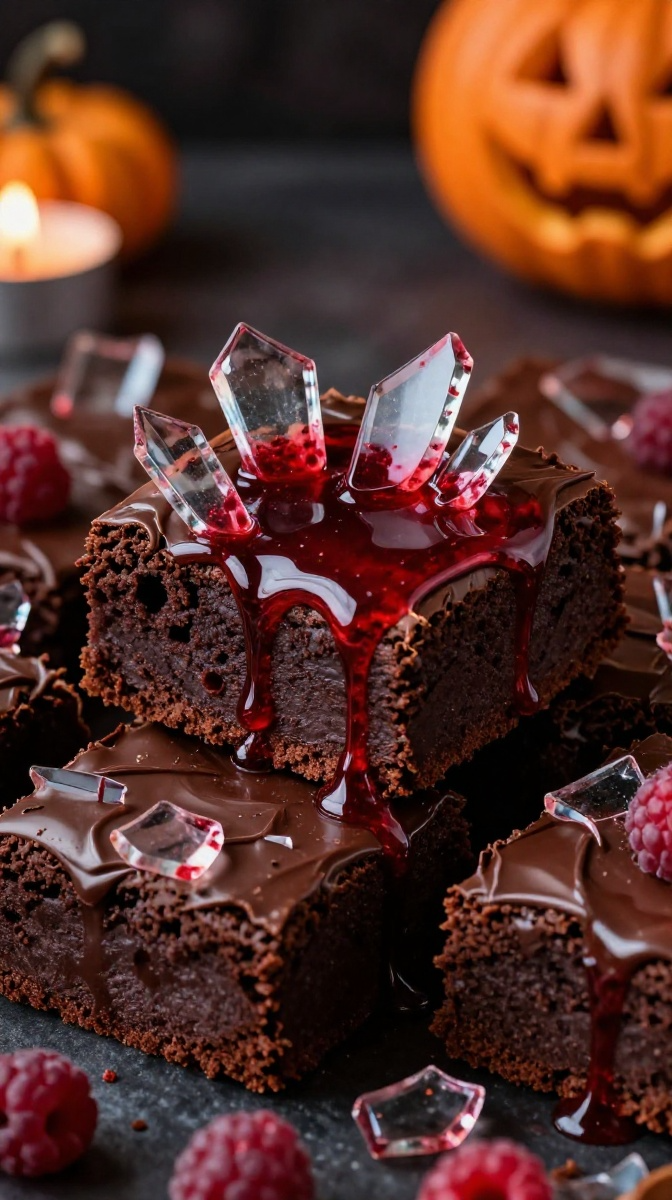
8. Bloody Glass Shard Brownies
Looking for something truly dramatic and edgy for an adult horror party? These sugar glass shard brownies look like they came straight out of a Hollywood movie set, yet they are 100% edible and sweet.
Ingredients
-
1 batch dark espresso chocolate brownies (sliced into neat squares)
-
1 cup white granulated sugar + 1/2 cup light corn syrup (for sugar glass)
-
1/2 cup raspberry jam (strained into a smooth liquid)
-
Red food dye
Step-by-Step Instructions
-
Boil granulated sugar, corn syrup, and 1/4 cup water in a small saucepan until it reaches 300°F (hard crack stage) on a candy thermometer.
-
Pour clear hot syrup onto a parchment-lined baking sheet and let cool completely until hard as glass.
-
Crack the clear sugar sheet with the back of a spoon into sharp, jagged glass shards.
-
Press 2-3 sugar glass shards straight down into the center of each dark espresso brownie square.
-
Splatter strained red raspberry jam across the sugar glass and top of the brownie to resemble realistic blood stains.
Why You’ll Love It
The shock factor on this recipe is off the charts! It looks terrifyingly real, yet delivers crisp sugary crunch and tart berry sweetness against intense espresso brownie notes.
Conclusion
Halloween treats don’t need to be stressful or require professional cake-decorating gear. With a basic pan of rich fudgy brownies and a dash of creativity, you can whip up everything from cute wrapped mummies to dramatic sugar-glass shards in no time.
The best part? Brownies are forgiving, insanely customizable, and always taste incredible regardless of whether your spiderweb pipes perfectly straight or a little crooked. Pick two or three of these ideas, grab your favorite toppings, and turn your kitchen into a spooky bakery laboratory this weekend. Happy baking!