
Ever stared at a blank wall and thought, “You need flowers. Lots of them.”? Same. Today we’re making DIY floral wall decor that looks boutique-bought but costs way less. No florist skills required, I promise. Grab a glue gun and let’s turn that sad wall into a garden.
Why DIY Floral Wall Decor Is Worth Your Weekend
Fresh flowers die. We’ve all cried over a wilted bouquet. Faux and dried floral decor, though? It sticks around for years. You get the romantic look without the weekly flower bill.
Plus, wall decor is stupidly expensive at big-box stores. A basic floral arrangement can run you $60 to $150. DIY versions often land under $25. That’s a win in my book.
And here’s the best part: you control the colors. Match your couch, your rug, or that weird teal accent wall you regret. Your wall, your rules.
Materials and Tools You’ll Need
Before you start, gather your supplies. Most of this you can grab at a dollar store or craft store. FYI, thrift stores are goldmines for cheap frames and baskets.
- Faux flowers (roses, peonies, eucalyptus, or whatever screams “you”)
- Dried flowers (pampas grass, lavender, bunny tails)
- Hot glue gun plus extra glue sticks
- Floral wire and floral tape
- Wooden hoop or embroidery hoop (8–14 inches works great)
- Scissors or wire cutters
- Twine or ribbon for hanging
- Command strips or small nails
- Optional: spray paint, acrylic paint, or glitter
Cheap Substitutes That Actually Work
No floral wire? Twist ties from bread bags work in a pinch. No hoop? A wire hanger bent into a circle is ugly but functional. No glue gun? Craft glue works, but it dries slow. Be patient or buy the gun.
Skip real flowers unless you’re okay with a one-week lifespan. Dried and faux hold up way better on walls.
Project 1: The Classic Floral Hoop
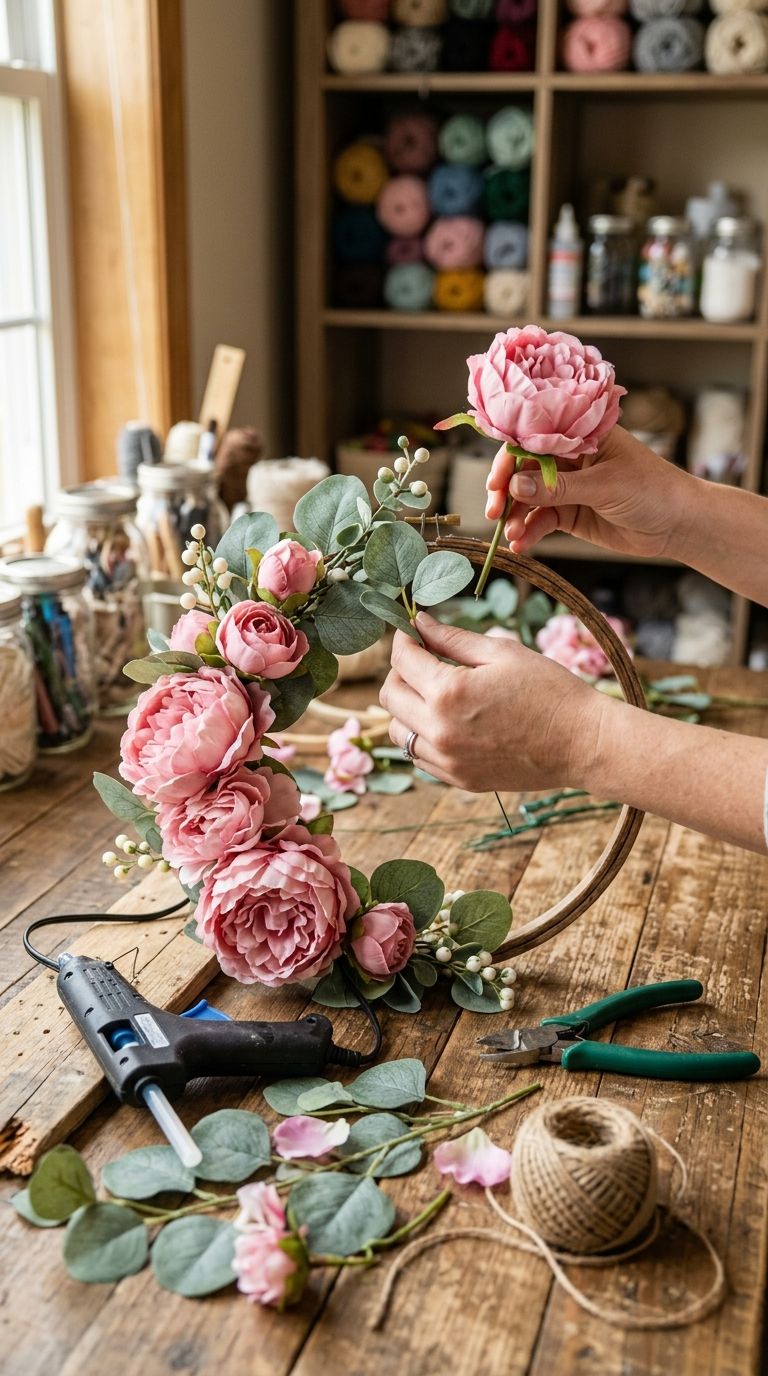
This is the gateway project. It’s easy, fast, and looks like you tried way harder than you did.
- Lay your hoop flat on a table. If it’s wooden, you can paint it first. Let it dry completely.
- Cut flower stems so they’re about 2–3 inches long. Keep some greenery longer for a cascading look.
- Arrange flowers on the hoop without gluing. Move them around until you love the layout.
- Snap a phone photo of the arrangement. Trust me, you’ll forget where things went.
- Glue the largest flowers first. Hold each one for 10 seconds so it sets.
- Fill gaps with smaller blooms and greenery. Overlap stems for a fuller look.
- Tie twine or ribbon around the top of the hoop for hanging.
- Hang it up. Step back. Admire. Maybe take a selfie with it.
Design Variations to Try
Go monochrome with all-white flowers and silver accents. Or do a boho vibe with pampas grass and dried palm. Seasonal? Use orange and rust for fall, pastels for spring.
You can also make a cluster of three hoops in different sizes. Group them on one wall for serious impact.
Project 2: Floral Letter or Monogram Wall Art
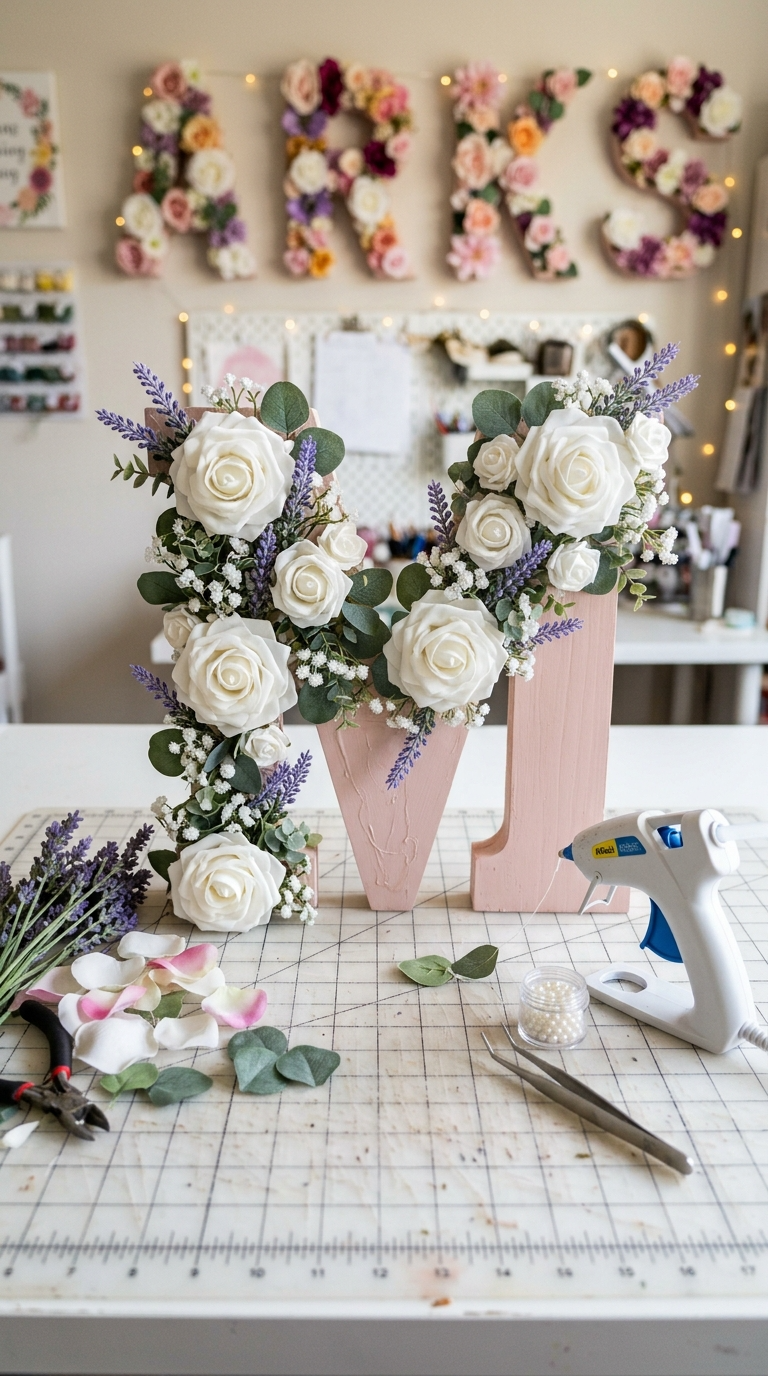
Want something personal? Grab a wooden or cardboard letter from a craft store. Cover it in blooms. Boom, instant statement piece.
- Paint the letter’s base a color that matches your flowers. This hides gaps.
- Cut flower heads off stems, leaving a tiny nub.
- Start at the edges and work inward. Glue flowers tightly together.
- Add small leaves or filler flowers in gaps.
- Let it dry for an hour before hanging.
Troubleshooting Common Mistakes
Flowers falling off? You probably used too little glue. Add more and press firmly.
Looks sparse? You can see the base. Add more filler or greenery. Density is your friend.
Glue strings everywhere? Touch the glue gun tip to the flower, then pull away slowly. Or just pick off the strings later. No one will notice.
Project 3: Dried Floral Wall Hanging
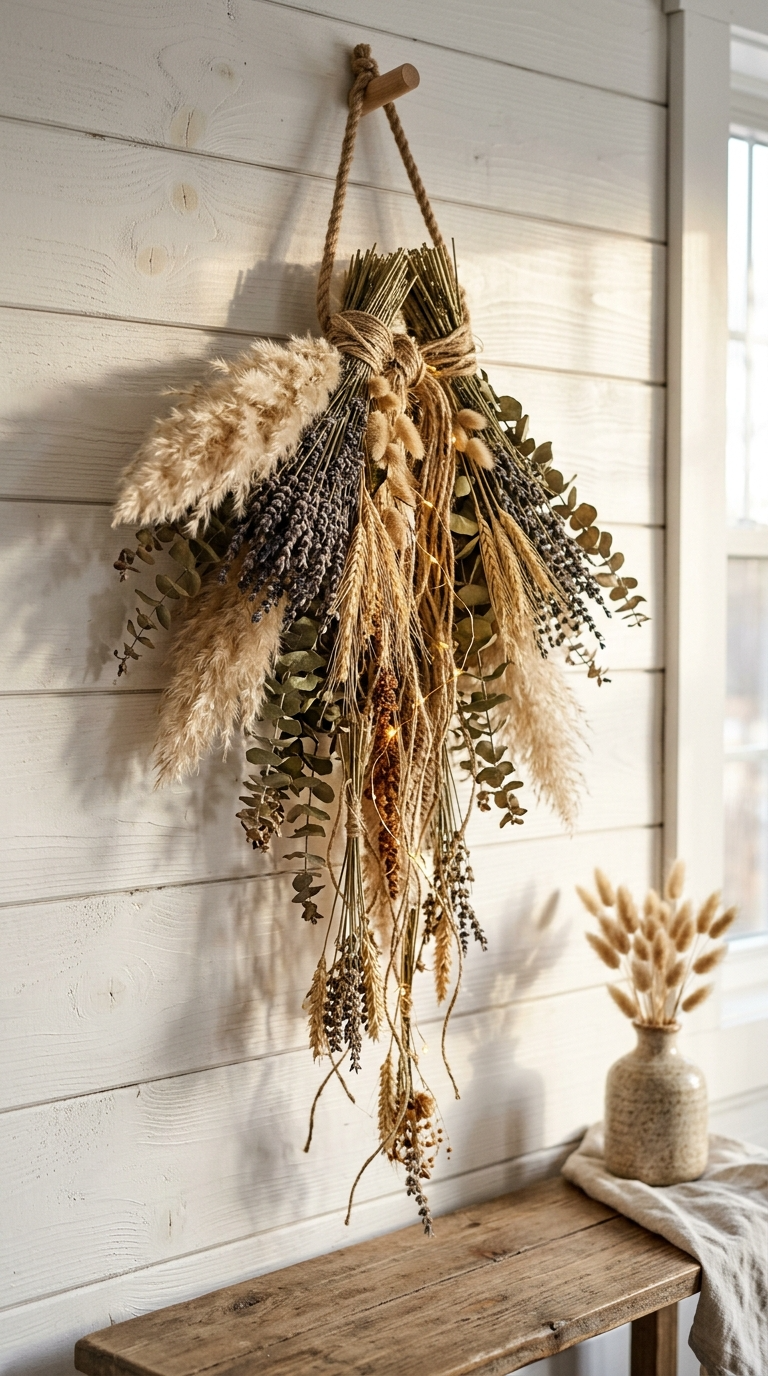
This one gives major earthy, organic vibes. It’s perfect for rentals because it’s lightweight and hangs with one small hook.
- Cut a piece of twine or yarn about 3 feet long. Fold it in half and knot the top to create a loop.
- Tie smaller strings across the main twine at different heights.
- Attach dried flowers to each string with glue or floral tape.
- Work from the bottom up so you can see the shape forming.
- Trim any messy ends. Hang and fluff.
Best Dried Flowers for Hanging
Pampas grass, wheat, lavender, and eucalyptus are sturdy and won’t crumble. Stay away from super brittle flowers like dried hydrangeas. They shed like a golden retriever in summer.
Customization Ideas That Cost Almost Nothing
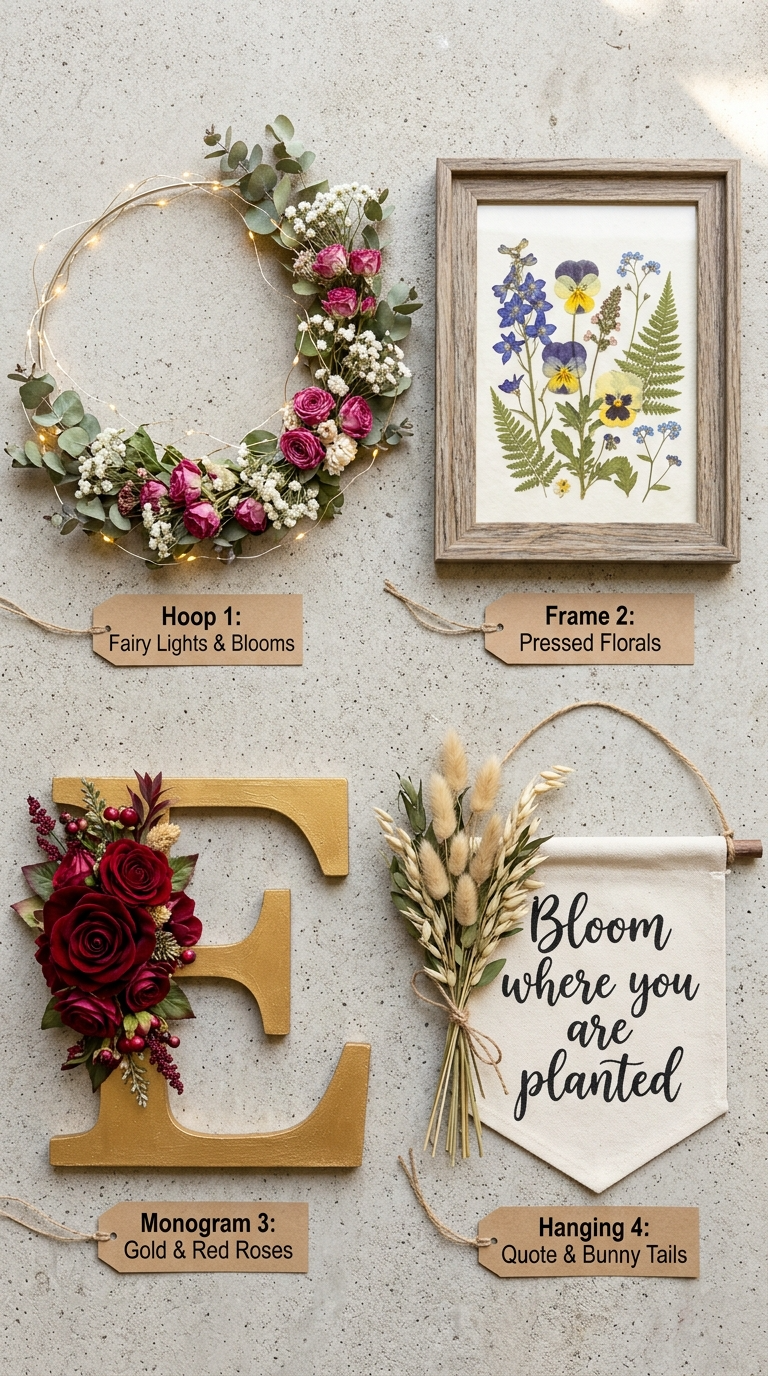
Bored of the same old look? Try these tweaks:
- Add fairy lights. Wrap a small string of battery-powered lights around your hoop.
- Paint the flowers. Yes, really. A light coat of spray paint can unify mismatched blooms.
- Mix textures. Combine fabric flowers, paper flowers, and dried stems.
- Use a frame. Glue flowers to an old picture frame for a shadow-box effect.
- Add a quote. Paint or vinyl a short phrase on the wall behind the flowers.
How to Display, Gift, or Use Your Floral Wall Decor
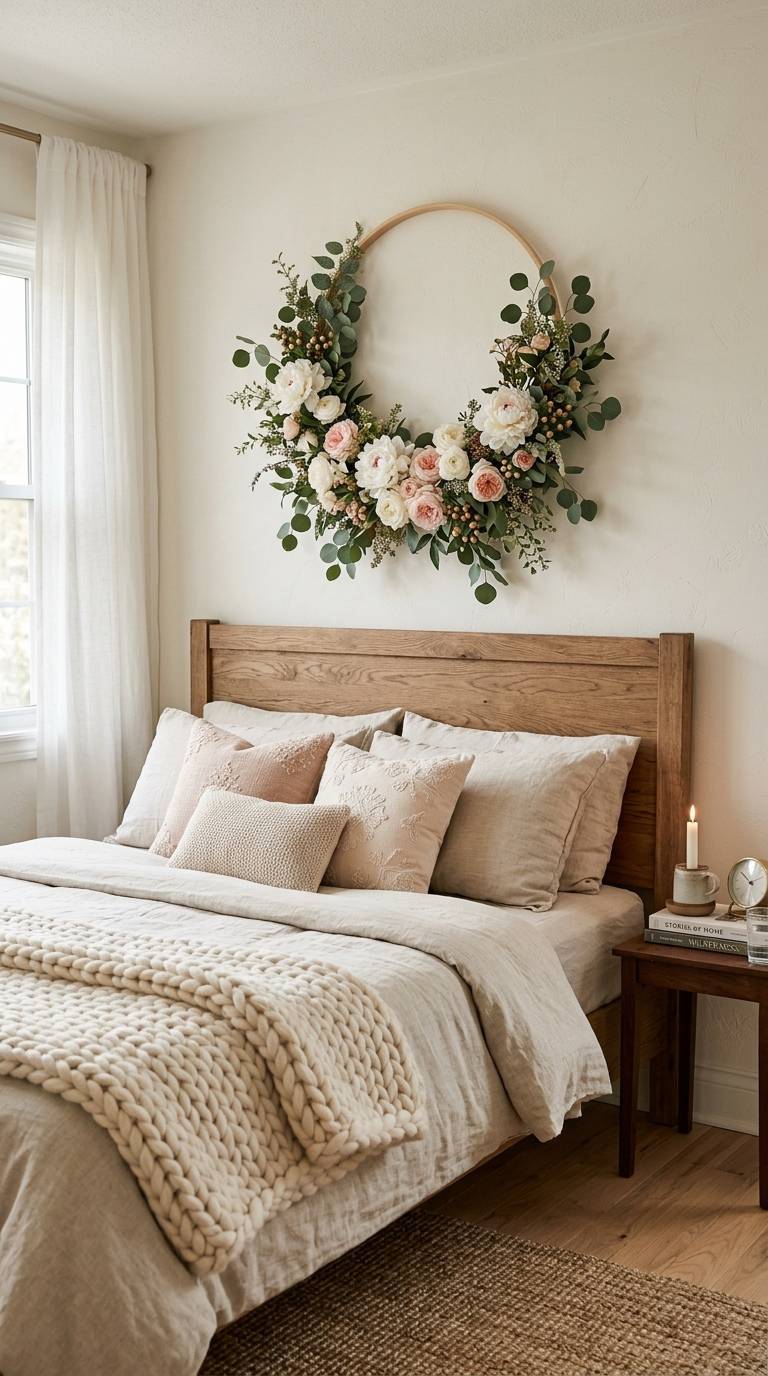
Hang your creation above a bed, couch, or entryway table. It also looks adorable in a nursery or bathroom. Just avoid steamy showers. Glue and moisture aren’t friends.
Gifting? These make great housewarming or wedding presents. Personalize the colors to match the recipient’s home. IMO, handmade gifts beat store-bought every time.
Want to sell them? Craft fairs eat this stuff up. Price based on materials plus your time. Don’t undersell yourself.
FAQ’s
How do I keep faux flowers from looking cheap?
Stick to muted, natural colors. Shiny plastic flowers scream “dollar store.” Matte finishes and realistic textures look way better. Also, mix in dried elements for variety.
Can I use real flowers for wall decor?
You can, but they’ll wilt and drop petals. If you want real, press them first or dry them completely. Otherwise, faux and dried are the way to go.
What’s the best way to hang these without damaging walls?
Command strips work for lightweight pieces. For heavier hoops, use a small nail or picture hook. Renters, go with the strips and keep your deposit.
How long does a DIY floral wall piece last?
Faux flowers last years if kept out of direct sunlight. Dried flowers last 1–3 years. Keep them away from humidity and they’ll stay pretty.
Can I make this with kids?
Absolutely, but skip the hot glue gun for little ones. Use craft glue and let them arrange the flowers. You handle the gluing part.
What if my flowers keep falling off?
More glue. Press longer. And rough up the surface of the hoop or letter with sandpaper first. Glue sticks better to textured surfaces.
Go Make Something Beautiful
Your wall is begging for a glow-up. Pick a project, grab your supplies, and just start. It doesn’t have to be perfect. Imperfect is charming. Imperfect is handmade.
So, which one are you trying first? The hoop, the monogram, or the dried hanging? Whichever you pick, have fun with it. And if you glue your fingers together, welcome to the club.
Now go turn that blank wall into a blooming masterpiece. You’ve got this.