
Want fresh-looking flowers that never wilt? You’re in the right place. These DIY flowers for home decoration come together with cheap supplies and zero gardening skills. We’re making crepe paper blooms that actually look real — no pressure, no perfection required. Grab a coffee, clear the table, and let’s make something pretty.
Why Crepe Paper Flowers Win at Home Decor
Real flowers are gorgeous. They’re also expensive, temporary, and dramatic about everything. Crepe paper flowers stick around for years and match any color scheme you throw at them.
They’re also forgiving. Mess up a petal? Cut another one. Bend a stem too far? Straighten it out. Try doing that with a $40 bouquet.
What You’ll Love About This Project
- Budget-friendly: Most supplies come from the dollar store or your junk drawer.
- Beginner-safe: If you can cut and twist, you can do this.
- Endlessly customizable: Peonies, roses, poppies — same basic technique.
- Long-lasting: No water, no wilting, no sad petal cleanup.
Materials and Tools You’ll Need
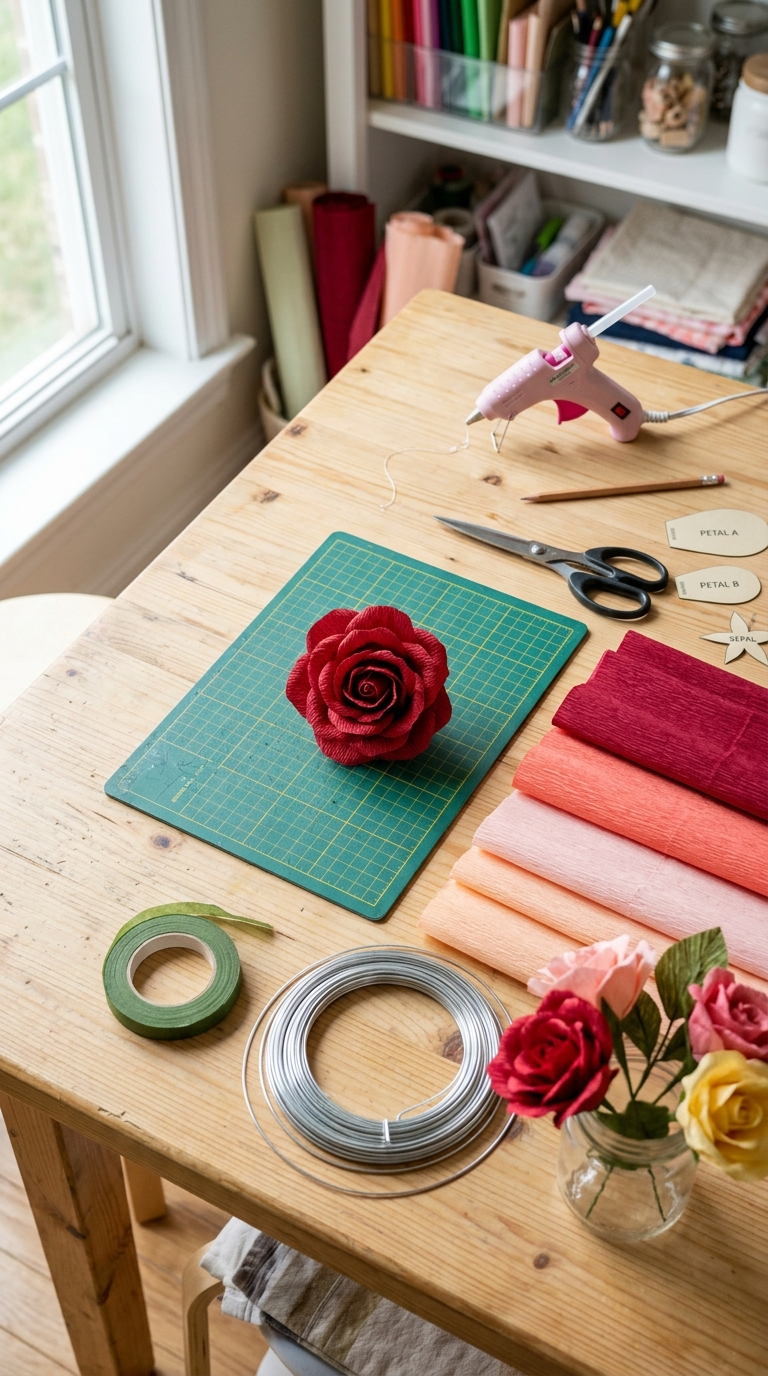
Here’s your shopping list. Nothing here requires a trip to a specialty craft store — unless you want one, and honestly, same.
- Crepe paper sheets in your chosen colors (double-sided works best)
- Floral wire — 18 or 20 gauge for stems, 24 gauge for petals
- Green floral tape
- Scissors (sharp ones — dull scissors shred crepe paper)
- Hot glue gun and glue sticks
- Petal templates — cardstock or just freehand it
- Pencil for tracing
- Needle-nose pliers (optional, saves your fingers)
- Vase or jar for display
Affordable Substitutes
No floral tape? Wrap stems in green crepe paper strips with a dab of glue. No floral wire? Pipe cleaners work for small blooms, though they’re floppier. No hot glue gun? Tacky glue works; it just dries slower — and yes, you’ll need to hold each piece longer, which is its own arm workout.
Step-by-Step: How to Make Crepe Paper Flowers
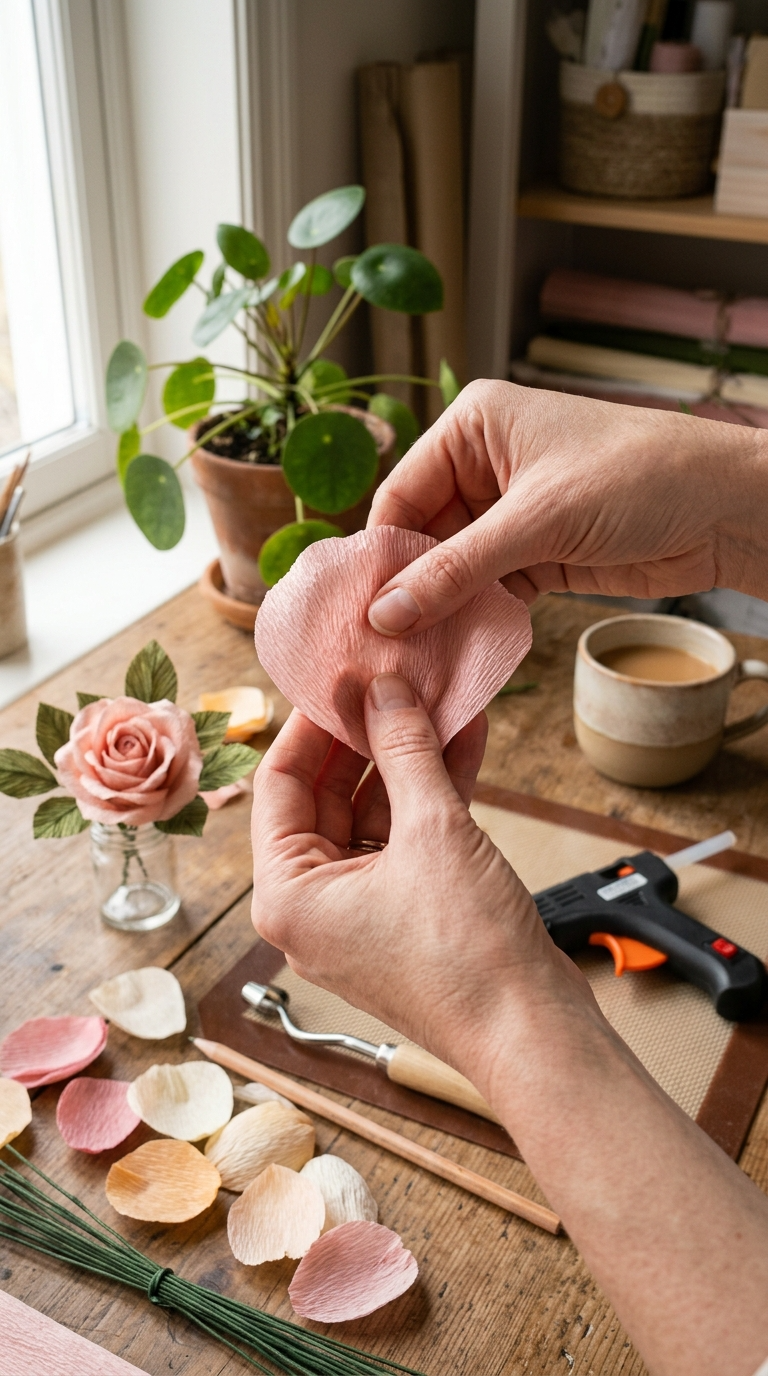
Pick one flower type to start. Roses and peonies are the friendliest for beginners. Let’s walk through it.
- Cut your petals. Trace petal shapes onto folded crepe paper and cut through several layers at once. Aim for 8–12 petals per flower. The grain of crepe paper should run vertically so you can stretch the petals later.
- Shape the petals. Gently stretch the center of each petal with your thumbs. This creates a soft cup shape. Don’t pull too hard — crepe paper rips fast.
- Curl the edges. Wrap the top edge of each petal around a pencil or your finger. This gives that natural, slightly rolled look.
- Build the center. Cut a small strip of crepe paper, fold it, and roll it into a tight bud. Glue it to the top of your floral wire stem.
- Attach petals in layers. Glue petals around the bud, one at a time. Start with tight inner petals, then work outward with looser, larger ones. Overlap each petal slightly.
- Wrap the stem. Starting at the base of the flower, wrap floral tape tightly down the wire. Stretch the tape as you go — it sticks better that way.
- Fluff and adjust. Gently open the petals outward and bend the stem. Congrats, you’ve made a flower.
Pro tip: Make flowers in batches. Cut all petals first, then shape them all, then assemble. Assembly-line crafting is way faster than finishing one flower at a time.
Common Mistakes (And How to Dodge Them)
Everyone makes these. Nobody talks about them. Let’s fix that.
Petals Look Flat and Fake
You skipped the stretching step, didn’t you? Cupping and curling is what makes crepe paper read as real petals. It takes 10 extra seconds per petal and changes everything.
Glue Everywhere
Hot glue strings are the glitter of the glue world — they get everywhere. Use small dots, not big blobs. Less glue means cleaner flowers and fewer burn marks.
Stems That Won’t Stand Up
Too-thin wire is the culprit. Use 18 gauge for tall stems. If your flower droops like a tired houseplant, upgrade the wire.
Colors That Clash
Stick to 2–3 colors per arrangement. More than that and it starts looking like a craft store exploded. Which, honestly, some people love. You do you.
Fun Customization Ideas
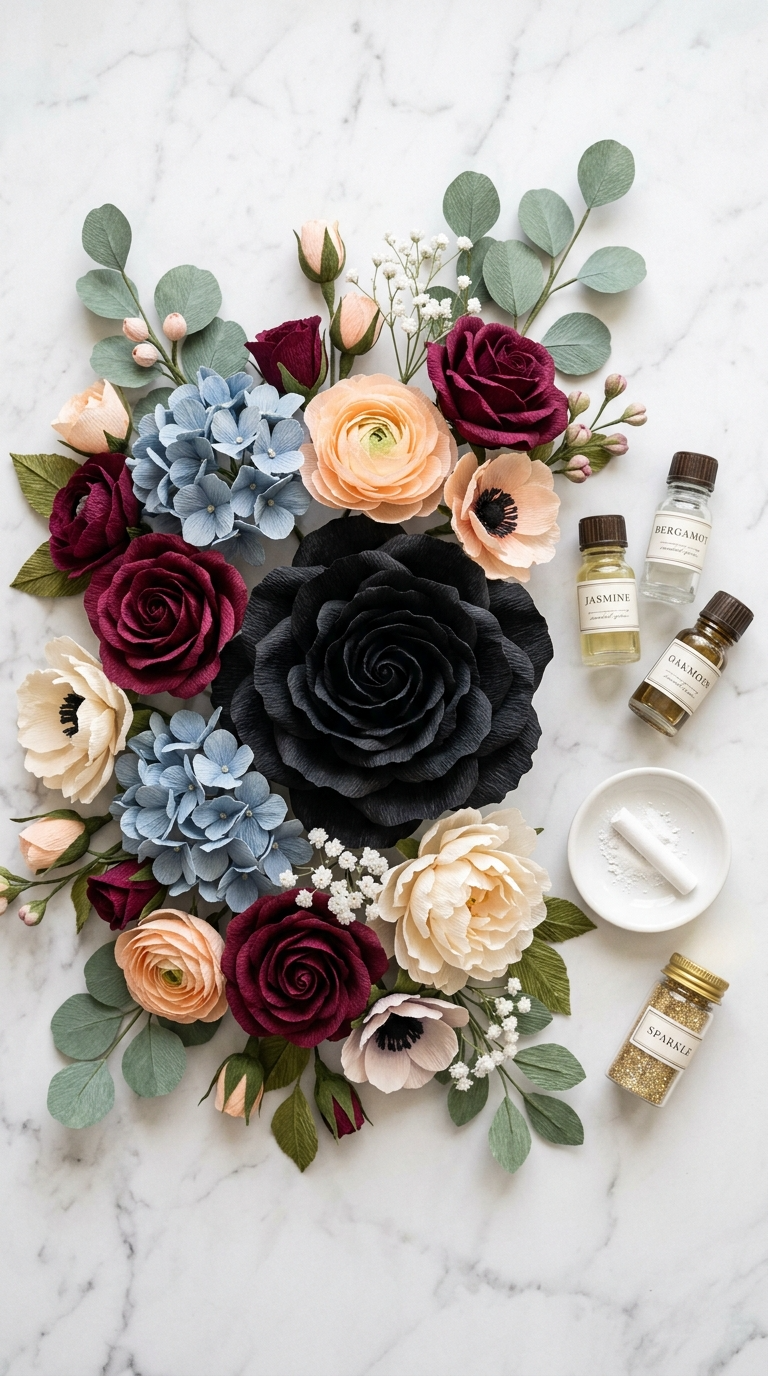
Once you’ve nailed the basics, get weird with it.
- Add fragrance: Dab a little essential oil on the petals. Lavender or rose works great.
- Mix sizes: Big blooms plus tiny filler flowers make arrangements look professional.
- Try unconventional colors: Black roses? Blue peonies? Crepe paper doesn’t judge.
- Add greenery: Simple crepe paper leaves fill gaps and add realism.
- Frosted look: Brush petal edges with a little white chalk or glitter for a winter vibe.
How to Display, Gift, or Use Your Flowers
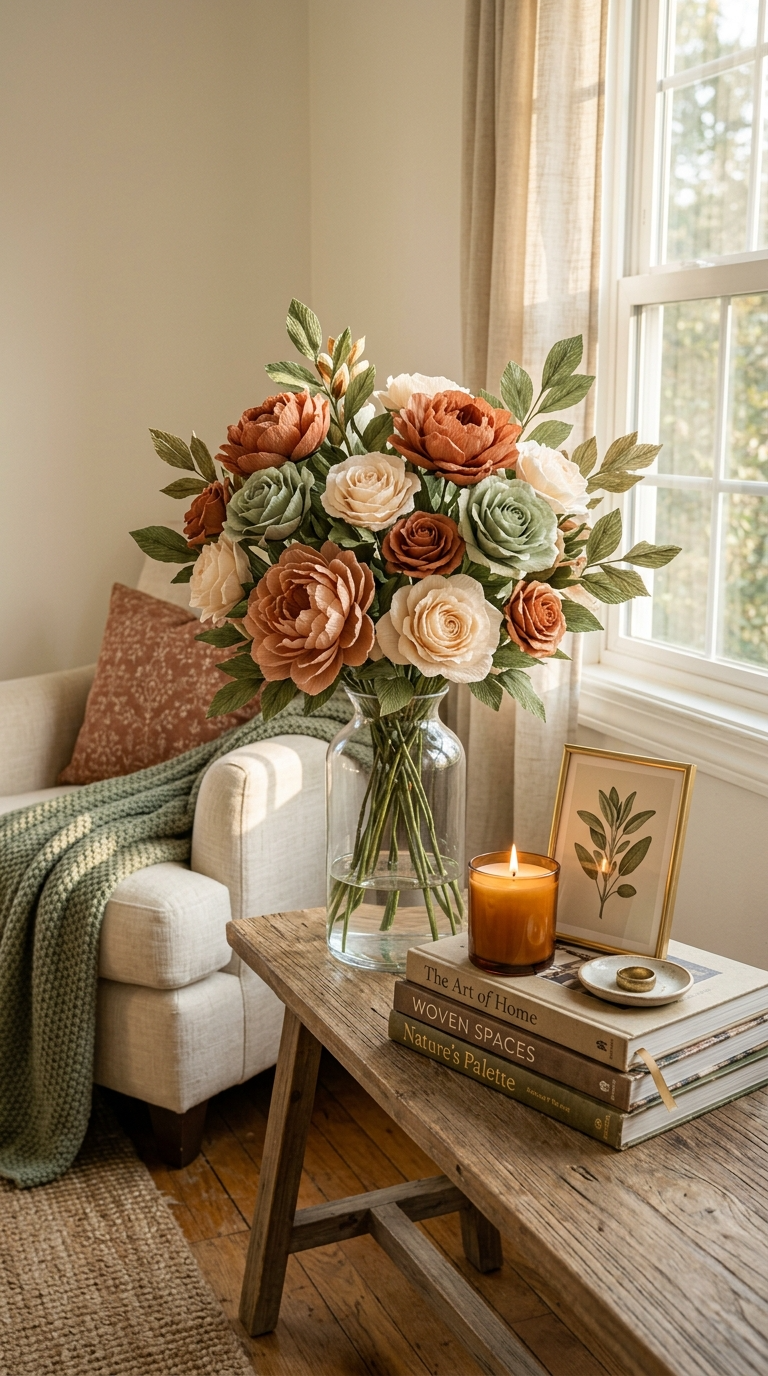
These blooms work almost anywhere. Toss them in a mason jar for a farmhouse look. Arrange them in a tall vase for a statement piece. Tape a few to a gift box instead of a bow.
They also make great gifts for teachers, neighbors, or anyone who kills real plants. FYI, a handmade bouquet beats a gas station rose every single time.
Arrangement Tips
Odd numbers look best — three, five, or seven stems. Vary the heights so it doesn’t look like a flat wall of flowers. And bend some stems outward for a natural, garden-picked feel.
Storage
Keep them away from direct sunlight, which fades crepe paper over time. A closed box or cabinet works fine. Dust them gently with a soft brush when needed.
FAQ’s
How long do crepe paper flowers last?
Years, if you keep them out of direct sun and damp rooms. They’re paper, so moisture is the enemy. A dry shelf is their happy place.
Can I use tissue paper instead of crepe paper?
You can, but tissue tears easily and doesn’t hold shape well. Crepe paper has that crinkly stretch that makes petals look real. IMO, it’s worth the extra dollar.
Do I really need floral tape?
It’s the easiest option, but green crepe paper strips with glue work too. Floral tape just looks cleaner and holds tighter.
What’s the easiest flower for beginners?
Roses. The layered petal style hides mistakes, and you don’t need a perfect petal count. Start there, then level up to peonies.
How many petals should each flower have?
Roses need 8–12. Peonies want 12–15 for that full, fluffy look. More petals equals more realism, but also more cutting. Pace yourself.
Can kids help with this project?
Absolutely, with supervision. Let them cut and shape petals while you handle the hot glue. Everyone wins, and no tiny fingers get burned.
Make Something Bloom
You’ve got the supplies list, the steps, and the troubleshooting guide. Now it’s just about sitting down and doing it. Start with one flower. Then make three more. Before you know it, you’ll have a vase full and a suspicious amount of crepe paper scraps on the floor.
These DIY flowers for home decoration are cheap, fun, and basically foolproof. So grab that glue gun and make your space a little brighter. Your mantel will thank you.