
Fresh flowers cost a fortune and die in four days. Fake ones look, well, fake. So what’s a home decor lover supposed to do? Make your own flower decorations, obviously. Grab some paper, fabric, or even coffee filters, and let’s turn your place into a botanical wonderland without emptying your wallet.
Why DIY Flower Decorations Are Worth Your Time
Store-bought floral arrangements are pricey. A decent bouquet runs you $25 to $50, and it wilts before you finish the week. DIY flowers? They last as long as you want them to.
Plus, you control the colors, sizes, and styles. Want giant paper peonies in blush pink for your bedroom? Done. Need tiny felt daisies for a nursery wall? Easy. You’re the boss here.
And honestly, crafting is therapeutic. There’s something weirdly satisfying about turning a flat sheet of paper into something that looks like it grew in a garden. You save money, you get custom decor, and you feel like a creative genius. Not bad for a Saturday afternoon.
Materials and Tools You’ll Need
Before we dive into specific projects, let’s talk supplies. Most DIY flower decorations use the same basic kit, so stock up once and you’re set for months.
- Paper — Crepe paper, tissue paper, cardstock, or even old book pages. Crepe paper stretches beautifully for realistic petals. Tissue paper is cheap and great for beginners. Book pages give a vintage vibe.
- Fabric scraps — Felt, cotton, silk, or burlap. Felt is forgiving and doesn’t fray. Old t-shirts work great too.
- Coffee filters — Yes, really. They make gorgeous roses when dyed with food coloring.
- Scissors — Sharp craft scissors. Dull blades mangle petals, and you’ll get frustrated fast.
- Hot glue gun — Your best friend for most projects. Low-temp guns are safer if kids are helping.
- Floral wire and tape — For stems. Pipe cleaners work as a cheap substitute.
- Paints and dyes — Acrylic paint, watercolor, or food coloring. Watercolor gives soft, natural gradients.
- Beads, buttons, or rhinestones — Optional bling for flower centers.
Budget tip: Dollar stores carry most of this stuff. Skip fancy craft stores unless you need something specific.
Project 1: Crepe Paper Peonies That Fool Everyone
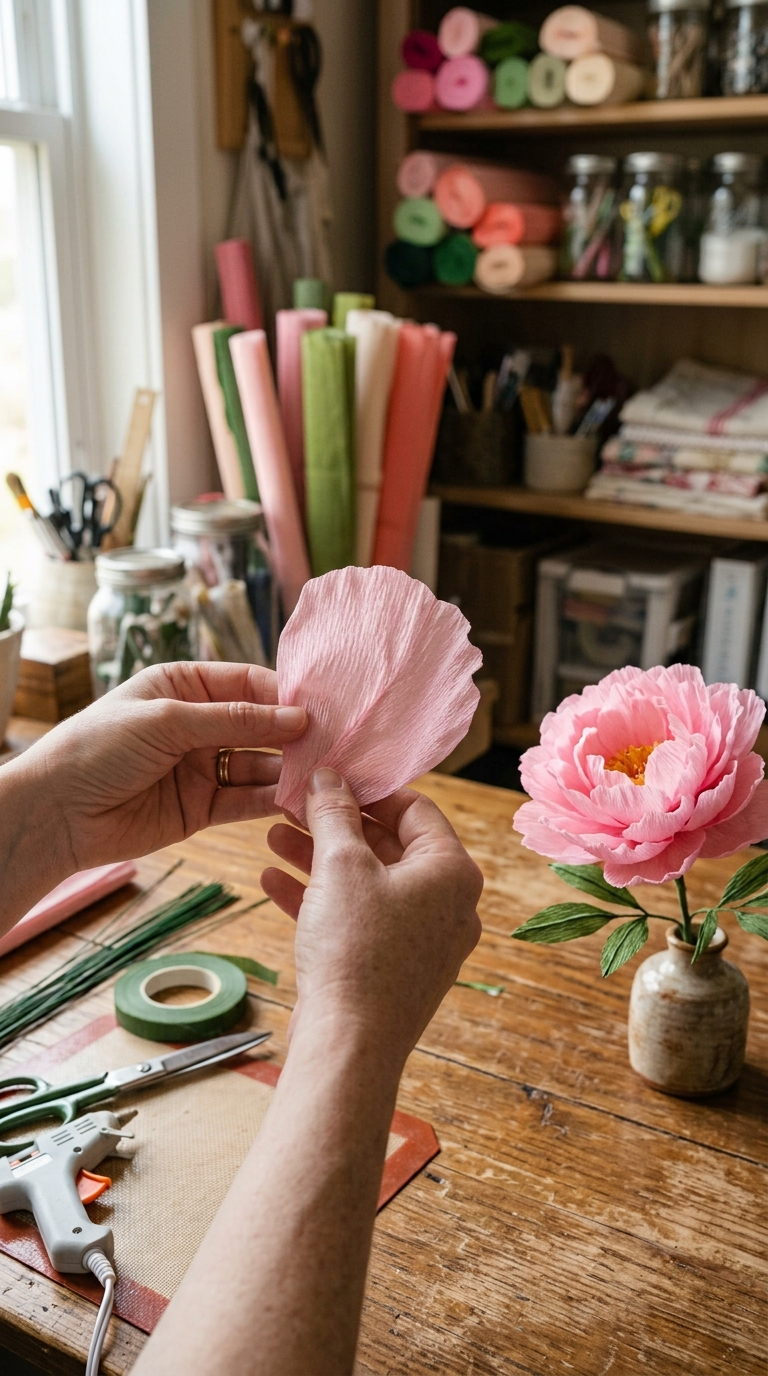
Peonies are the divas of the flower world. Big, ruffled, and dramatic. Good news: crepe paper versions look shockingly real, and they won’t drop petals all over your table.
What You’ll Need for This Project
- Crepe paper in soft pink, deep pink, and white
- Floral wire (22-gauge works well)
- Green floral tape
- Hot glue gun
- Scissors
- A small ball (like a styrofoam craft ball) for the center
Step-by-Step Instructions
- Cut your petals. You need three sizes: small, medium, and large. Cut rough oval shapes with slightly pointed tips. Don’t aim for perfection — real petals aren’t uniform.
- Shape the petals. Gently stretch the center of each petal with your thumbs. Crepe paper has a grain, so stretch perpendicular to it. This creates a natural cup shape.
- Build the center. Glue the styrofoam ball to the top of a floral wire stem. Cover it with small petals, overlapping them tightly around the ball.
- Add medium petals. Glue these in a ring around the center, slightly lower. Angle them outward.
- Add large petals. These go at the base, opening wide. Ruffl e the edges a bit with your fingers for extra realism.
- Wrap the stem. Starting at the base of the flower, wrap green floral tape tightly around the wire. Stretch the tape as you go — it activates the adhesive.
- Fluff and adjust. Bend petals gently until the flower looks full and natural. Step back and admire your work.
Common mistake: Gluing petals too flat. Peonies are fluffy. If yours looks like a pancake, add more layers and curl the edges outward.
Variation: Use deep red or coral crepe paper for a bolder look. Or make a mix of open and closed buds for a realistic bouquet.
Project 2: Coffee Filter Roses (Yes, Seriously)
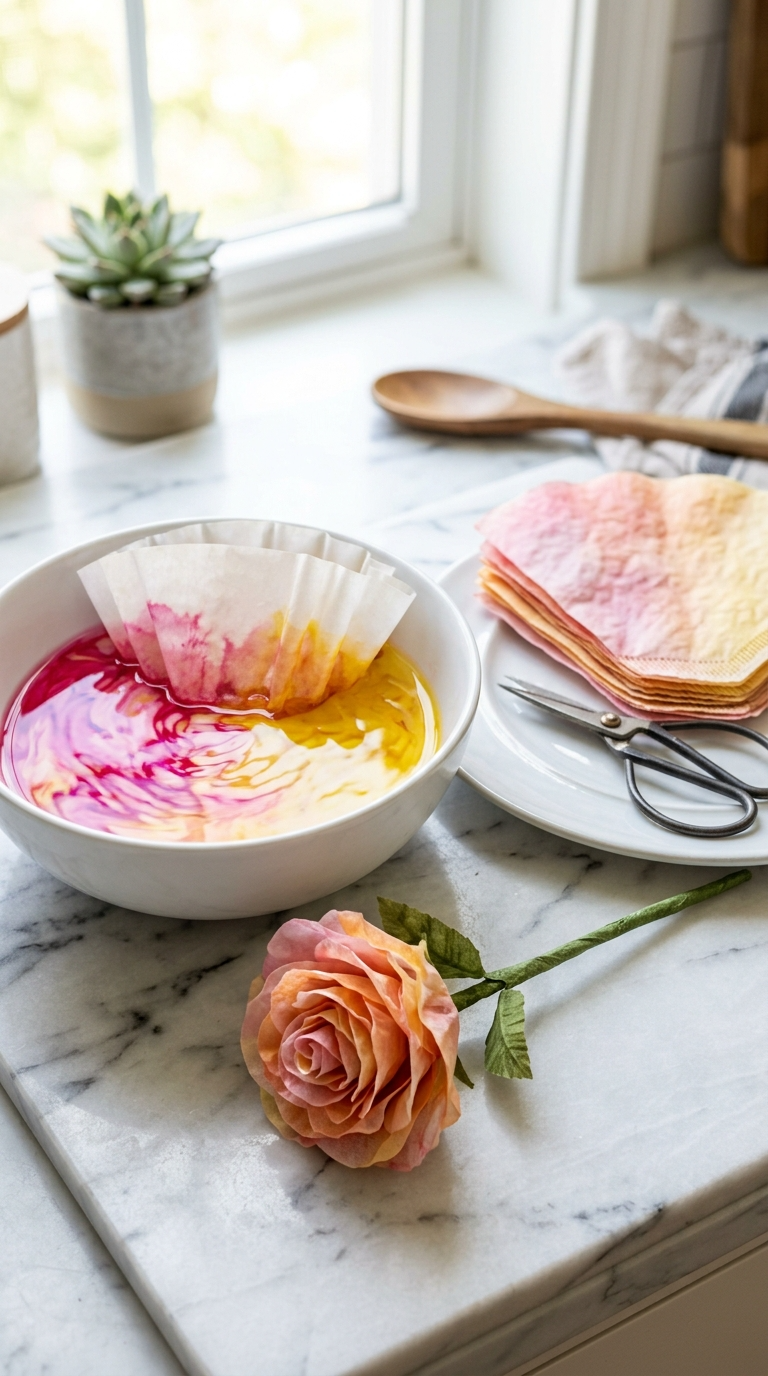
Coffee filters are the underdogs of the craft world. They’re cheap, absorbent, and transform into delicate rose petals when dyed. This is a great project for beginners because mistakes are basically invisible.
Materials and Tools
- Basket coffee filters (the ruffled kind)
- Food coloring or watercolor paint
- Bowl of water
- Floral wire
- Green floral tape
- Hot glue gun
- Scissors
Step-by-Step Instructions
- Dye the filters. Mix a few drops of food coloring in a bowl of water. Dip each filter briefly. The longer you leave it, the deeper the color. Lay them flat to dry.
- Cut the filters. Cut each filter into petal shapes. You can cut the ruffled edge off first for smoother petals, or leave it for texture.
- Create the center. Take one filter and roll it tightly into a cone shape. Glue it to the top of a floral wire.
- Add petals. Glue petals around the center one at a time, overlapping and slightly offsetting each layer. Curl the edges outward with a pencil for a natural look.
- Wrap the stem. Cover the wire with green floral tape.
- Let them dry. Give the glue a few minutes to set before arranging.
Pro tip: Layer two colors of filters for a gradient effect. Pink centers with white edges look gorgeous.
Project 3: Felt Flowers for Cozy, Lasting Decor
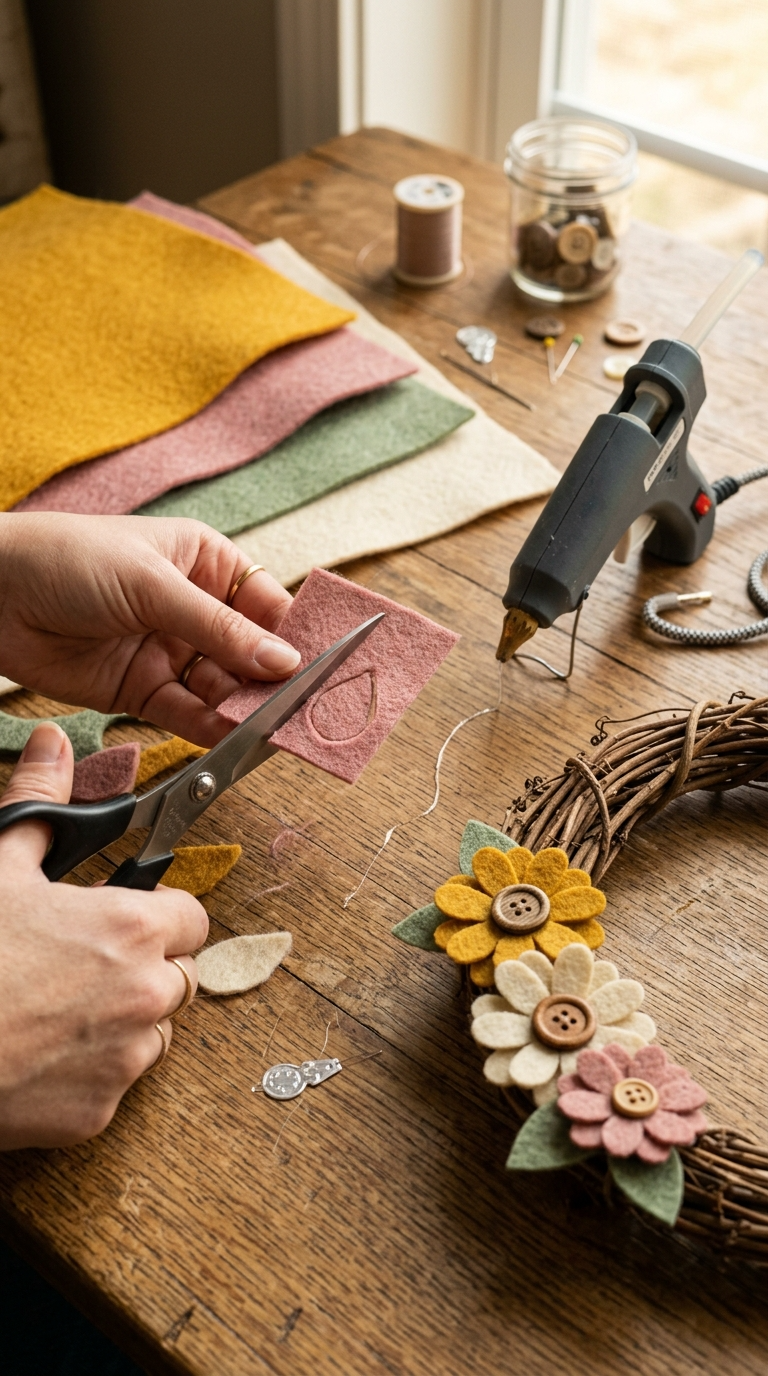
Felt flowers are sturdy, soft, and perfect for wall art, wreaths, or hair accessories. They don’t need water, they don’t wilt, and they survive being stuffed in a storage box.
Materials and Tools
- Felt sheets in your chosen colors
- Sharp scissors
- Hot glue gun or fabric glue
- Buttons or beads for centers
- Floral wire or pipe cleaners
Step-by-Step Instructions
- Cut petal shapes. For a simple daisy, cut eight to twelve teardrop shapes. For a rose, cut spiral strips.
- Layer and glue. For daisies, arrange petals in a circle and glue them to a small felt circle base. For roses, roll the spiral strip tightly and glue as you go.
- Add a center. Glue a button or bead in the middle. This hides the messy glue and adds charm.
- Attach a stem. Glue a pipe cleaner or floral wire to the back. Cover the glue with a small felt circle.
- Shape the petals. Bend them upward slightly for a fuller look.
Display idea: Glue felt flowers to a grapevine wreath for a front door decoration that lasts all season.
Project 4: Giant Paper Flowers for Statement Walls
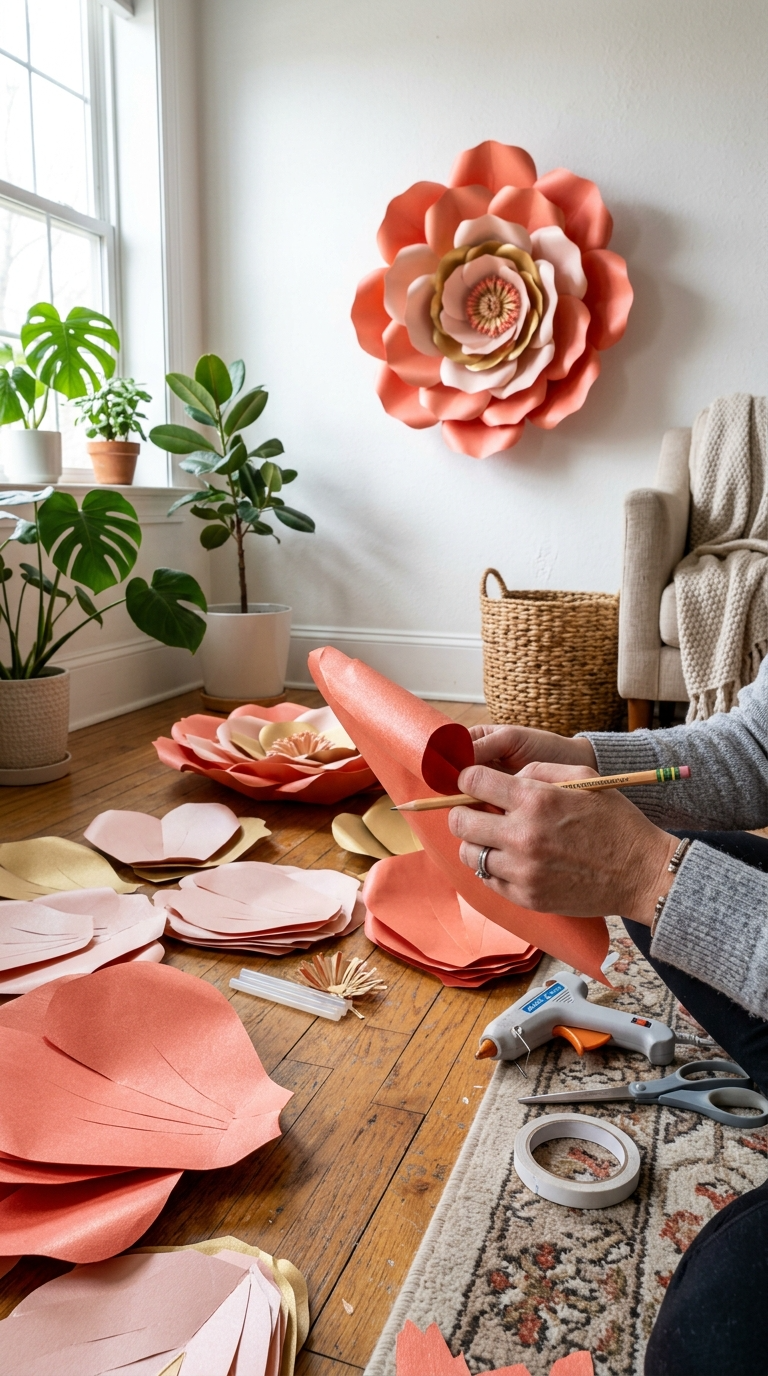
Want a backdrop that screams “I have my life together”? Giant paper flowers are the answer. They’re popular for parties, nurseries, and photo walls.
Materials and Tools
- Cardstock or heavy scrapbook paper
- Pencil
- Scissors or cutting machine
- Hot glue gun
- Large floral wire or wooden dowels
Step-by-Step Instructions
- Draw and cut petals. Create a petal template on cardboard. Trace it onto cardstock and cut out six to eight petals per flower. Make them big — we’re talking dinner-plate size.
- Curl the petals. Roll each petal around a pencil to give it a gentle curve. This adds dimension.
- Glue the base. Overlap petals in a circle, gluing only the bottom edges. Build two or three layers.
- Create the center. Cut a circle from contrasting paper. Glue it in the middle.
- Attach the stem. Glue a dowel or thick wire to the back. Reinforce with extra paper.
- Hang or arrange. Tape them to a wall, use them as a photo backdrop, or stick them in a floor vase.
Common mistake: Using flimsy paper. Thin paper droops. Cardstock or heavy scrapbook paper holds its shape.
Tips, Tricks, and Ways to Display Your Flowers
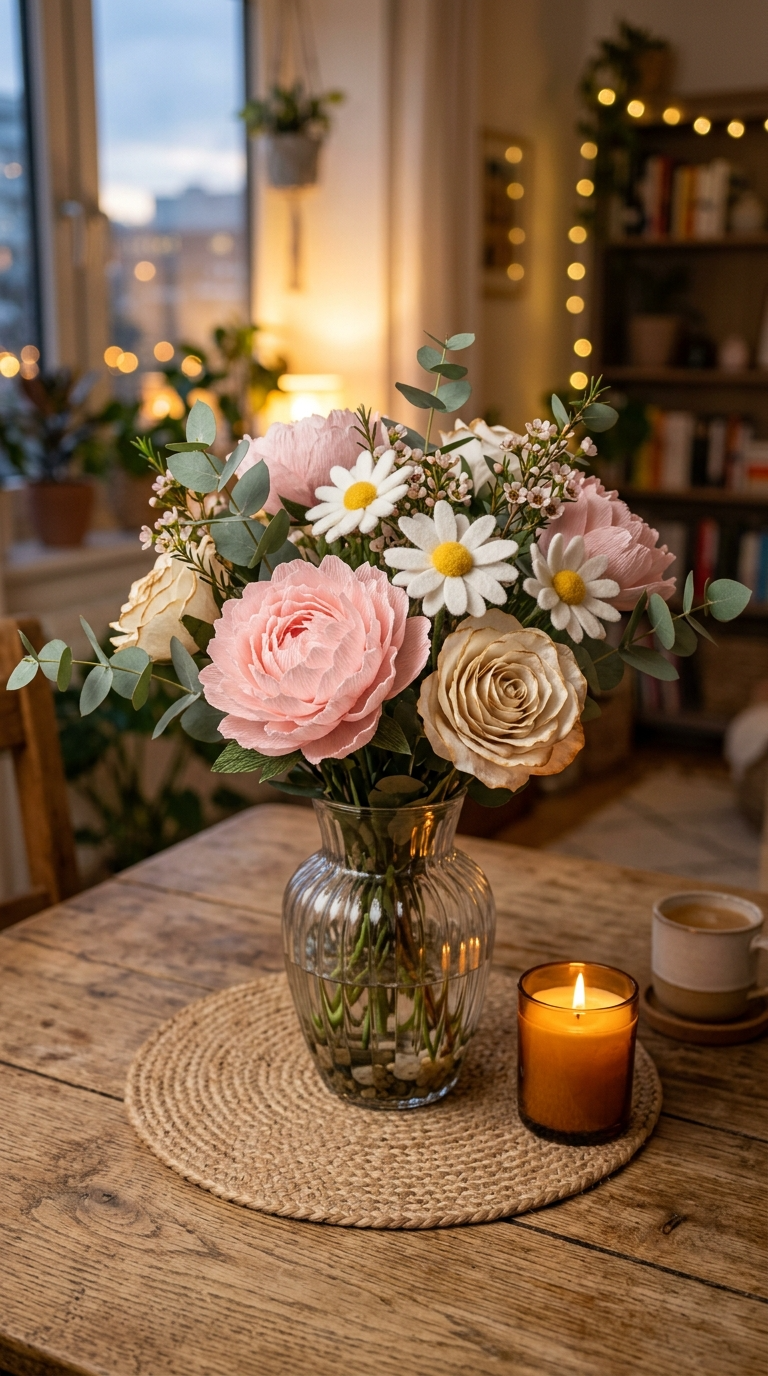
Now that you’ve made a batch of beautiful blooms, what do you do with them? Here are some ideas:
- Wall arrangements. Glue flowers to a canvas or foam board for instant art.
- Wreaths. Wrap a grapevine wreath base and attach flowers with wire or glue.
- Table centerpieces. Arrange flowers in a vase with fake greenery. No one will know they’re handmade.
- Gift toppers. Tape a small flower to a wrapped present instead of a bow.
- Hair accessories. Glue small felt flowers to hair clips or headbands.
- Garlands. String flowers together with twine for a whimsical garland.
Practical tips:
- Work in a well-ventilated area when using hot glue. Those fumes are no joke.
- Keep a bowl of cold water nearby for glue gun burns. Trust me, you’ll need it.
- Store finished flowers in a box with tissue paper to prevent crushing.
- Dust paper flowers gently with a soft brush. Don’t use water — it ruins crepe paper.
Customization ideas:
- Add glitter to petal edges for a glam look.
- Use metallic paper for modern, edgy flowers.
- Mix real greenery with fake flowers for a realistic arrangement.
- Spray paper flowers with a light coat of matte sealant for durability.
FAQ’s
How long do DIY paper flowers last?
If kept away from direct sunlight and moisture, paper flowers can last years. Crepe paper may fade over time, but the structure holds up well.
Can I use regular glue instead of a hot glue gun?
Yes, but it takes longer to dry. Fabric glue works well for felt, and tacky glue works for paper. Hot glue is just faster and stronger.
What’s the easiest flower for beginners?
Coffee filter roses. They’re forgiving, cheap, and look impressive even if your technique is messy.
How do I make my paper flowers look more realistic?
Stretch and curl the petals. Flat petals look fake. Also, use multiple shades of the same color for depth.
Can kids help with these projects?
Absolutely. Skip the hot glue gun for young kids and use school glue instead. Cutting and painting are great kid-friendly steps.
Where can I buy crepe paper?
Craft stores, online retailers, and party supply shops carry it. Make sure it’s Italian crepe paper if you want the best stretch and realism.
Final Thoughts:
DIY flower decorations are budget-friendly, customizable, and way more fun than scrolling through decor websites. Start with coffee filter roses if you’re nervous. Graduate to crepe paper peonies when you’re feeling confident. And if your first attempt looks like a crumpled tissue? Who cares. Try again.
Your home deserves a touch of handmade charm. So grab your supplies, put on a good playlist, and get crafting. Your walls, tables, and gift boxes will thank you.