
Got ten minutes and a glue stick? Then you’ve got everything you need to make something cool today. No fancy equipment, no expensive craft store hauls, no garage full of tools you’ll never touch again. Just you, some everyday supplies, and a little bit of patience. Let’s make something worth showing off.
Why Crafting Without Fancy Tools Is Totally Doable
Here’s the truth: most beginner crafts fail because people buy a mountain of specialty tools they don’t actually need. You don’t need a Cricut, a heat press, or a workshop full of gadgets to make charming things. You need scissors, glue, and a willingness to get a little messy.
The crafts below all use basic household items you probably already own. And if you don’t own them, they’re cheap. Like, less-than-a-coffee cheap.
Ready to stop scrolling and start making? Good. Let’s dive in.
Project 1: Upcycled Glass Jar Lanterns
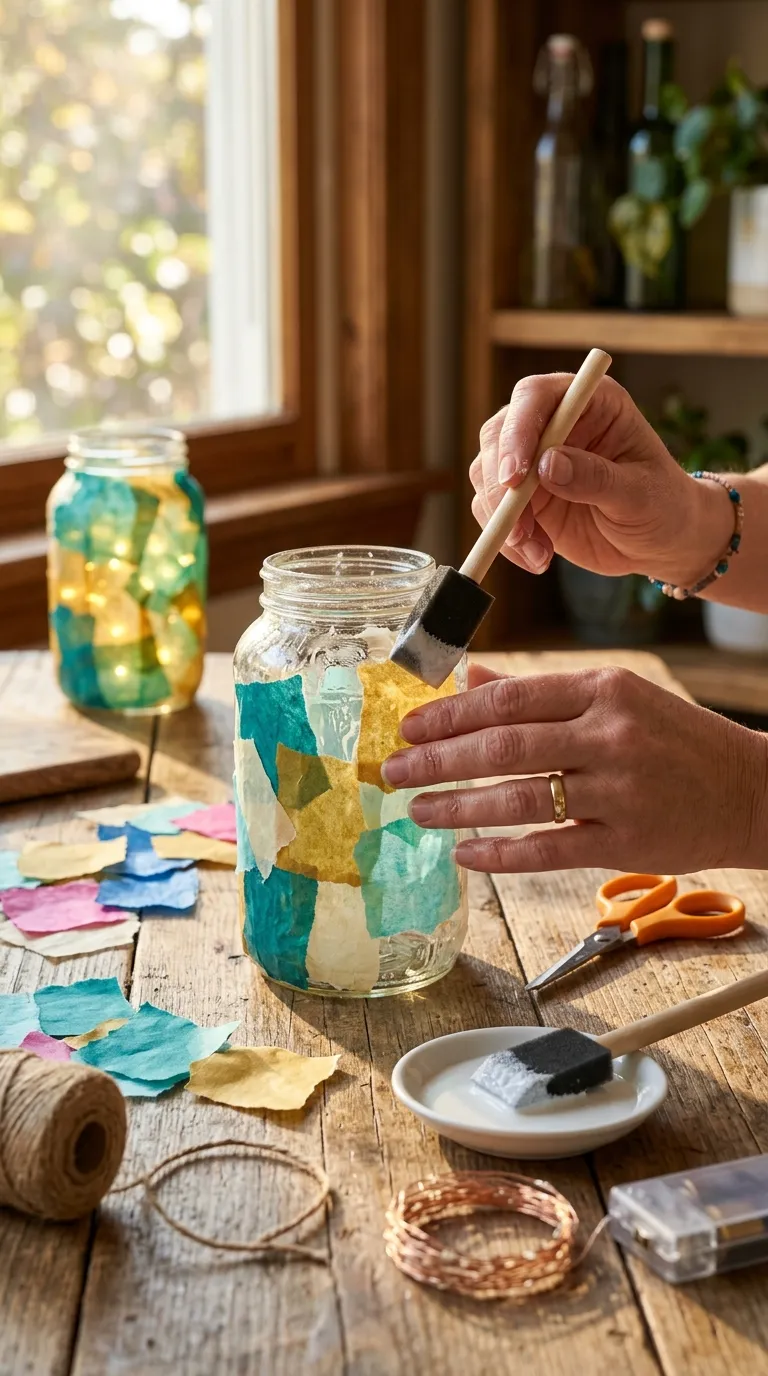
Old pasta sauce jars deserve better than the recycling bin. Turn them into glowing lanterns that look like they came from a boutique. They didn’t. You made them at your kitchen table in your pajamas.
Materials and Tools
- Clean glass jars with labels removed (any size works)
- Mod Podge or white school glue mixed with water (1:1 ratio)
- Tissue paper in your favorite colors
- Paintbrush or foam brush
- Scissors
- Twine or thin ribbon
- Tea light candles or battery-operated fairy lights
Affordable substitute: No Mod Podge? Mix white glue with a splash of water. It dries clear and holds just fine.
Step-by-Step Instructions
- Wash and dry your jar completely. Any grease or residue will stop the glue from sticking.
- Tear tissue paper into small squares or shapes. Torn edges look more organic than cut ones, IMO.
- Brush a thin layer of glue mixture onto a section of the jar.
- Press a tissue square onto the glued area. Smooth it down gently with your fingers.
- Brush another layer of glue over the tissue. Repeat until the jar is covered to your liking.
- Let it dry for at least two hours. Don’t rush this part. Wet glue and impatience equal smudges.
- Wrap twine around the neck of the jar and tie a bow.
- Drop in a tea light or fairy lights. Done.
Decorating Ideas
Try a single color for a minimalist look, or go wild with overlapping shades. Add dried flowers pressed between layers for a botanical vibe. You can also paint the lid with acrylic paint for a finished top.
Common Mistakes to Avoid
Don’t soak the tissue paper. Too much glue makes it rip and turn mushy. Also, don’t use real candles near the tissue paper edges. Battery lights are safer and last longer.
Project 2: No-Sew Fabric Bookmark
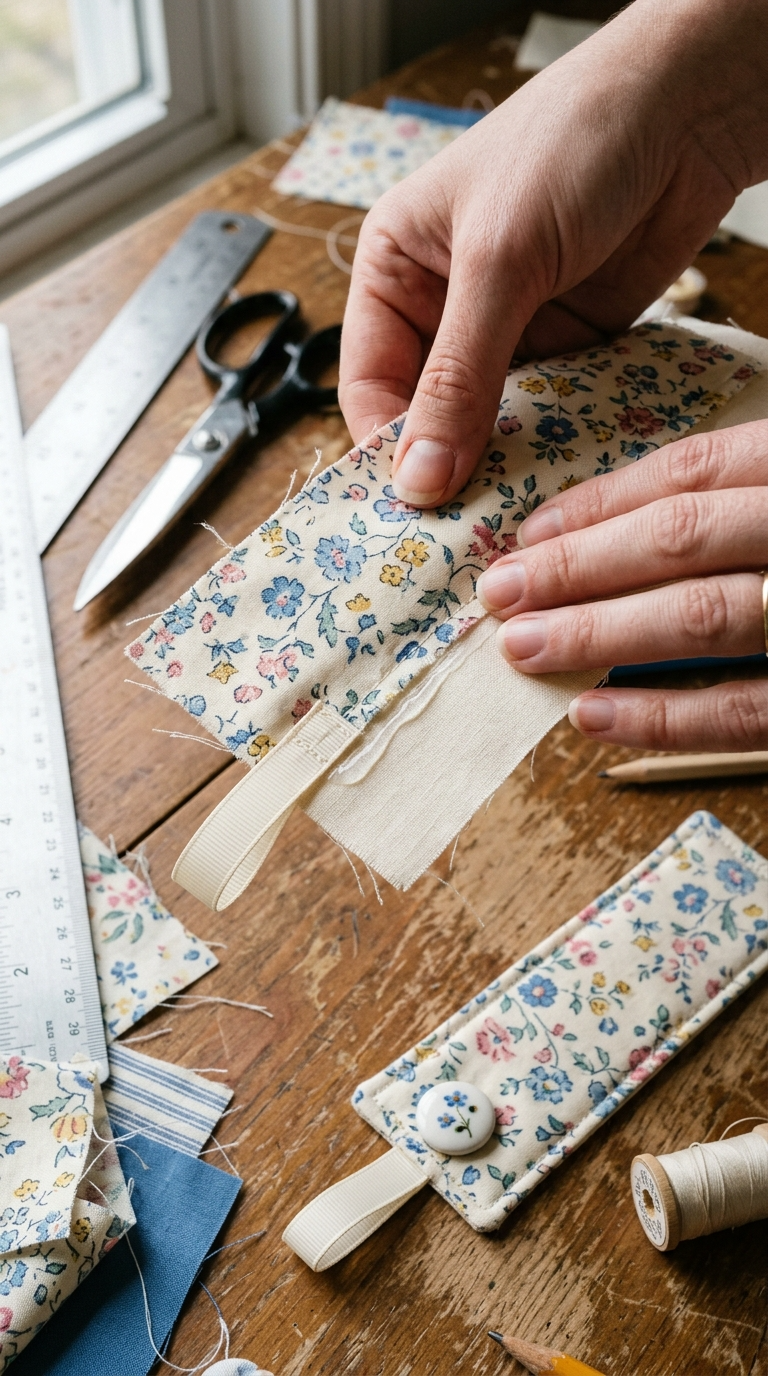
Know someone who reads actual paper books? Weird, right? Make them a bookmark that doesn’t fall out. This project takes about five minutes and uses fabric scraps you’d otherwise toss.
Materials and Tools
- Fabric scraps (cotton works best)
- Fabric glue or iron-on hem tape
- Scissors
- Ribbon or embroidery floss
- Ruler or measuring tape
Step-by-Step Instructions
- Cut two rectangles of fabric, each about 2 inches wide and 7 inches long.
- Place them wrong sides together. Yes, wrong sides. We’re keeping the edges raw for a rustic look.
- Run a thin line of fabric glue around the edges, leaving a small opening at one end.
- Press the edges together firmly. Wipe away any glue that oozes out.
- Let it dry for 30 minutes.
- Cut a piece of ribbon about 6 inches long. Fold it in half and glue the loop into the open end.
- Press and let dry completely.
Design Variations
Use patterned fabric on one side and solid on the other. Add a button or bead to the ribbon tail. For a quilted look, stitch a few lines with a needle and thread, but that’s optional.
Project 3: Painted Rock Photo Holders
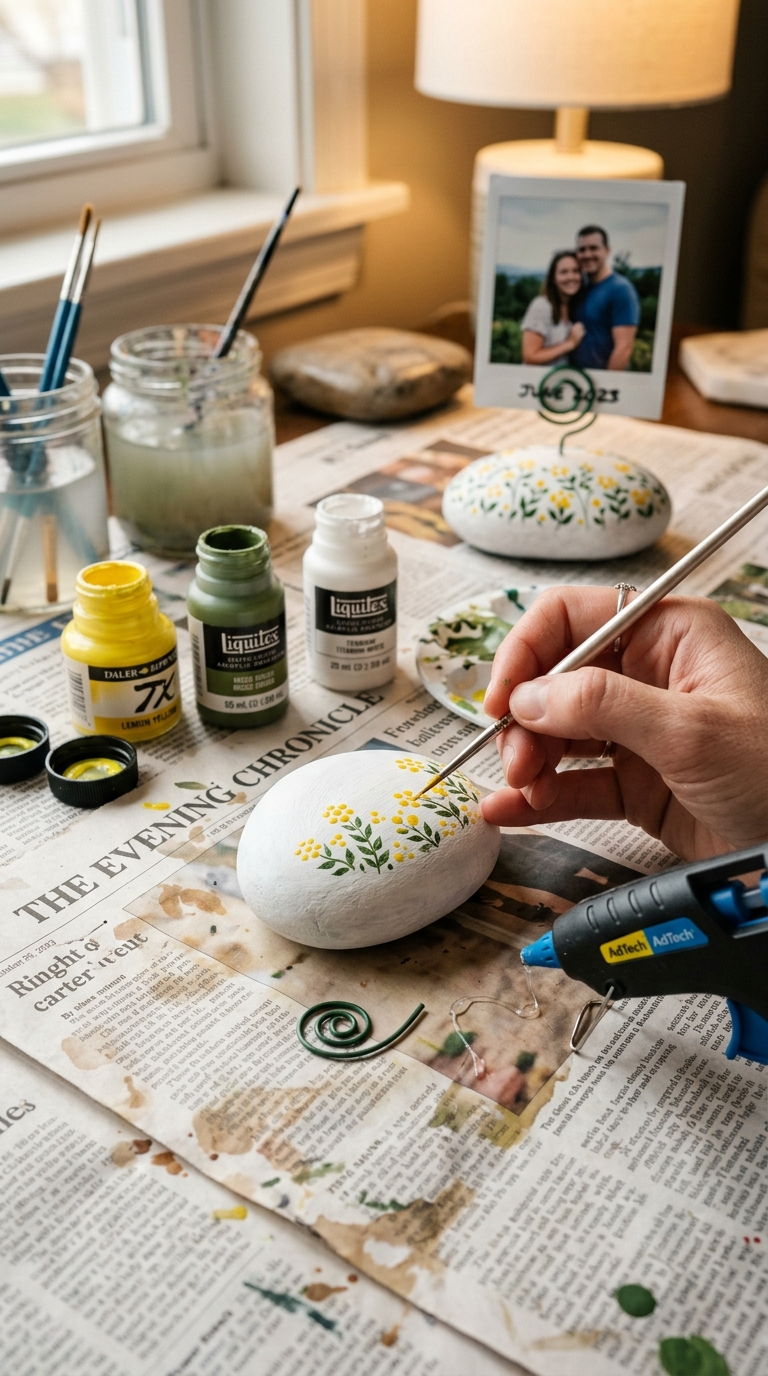
Smooth river rocks are basically free art supplies. Turn them into photo holders that look thoughtful and handmade. Because they are.
Materials and Tools
- Smooth, flat rocks (grab them from a creek or buy a bag at the dollar store)
- Acrylic paint in assorted colors
- Small paintbrushes
- Floral wire or thick craft wire
- Wire cutters or old scissors
- Hot glue gun or strong craft glue
Step-by-Step Instructions
- Wash and dry your rocks. Smooth ones work best.
- Paint a base color and let it dry. Two coats give better coverage.
- Add details like dots, stripes, or tiny flowers. Keep it simple.
- Cut a piece of wire about 4 inches long.
- Bend the wire into a small loop at one end. This holds the photo.
- Glue the straight end of the wire to the back of the rock.
- Let it dry for an hour before sliding in a photo.
Troubleshooting
If the wire won’t stay put, rough up the rock surface with sandpaper before gluing. A tiny dab of hot glue works faster than craft glue, but it’s less forgiving if you mess up.
Project 4: Cardboard Desk Organizer
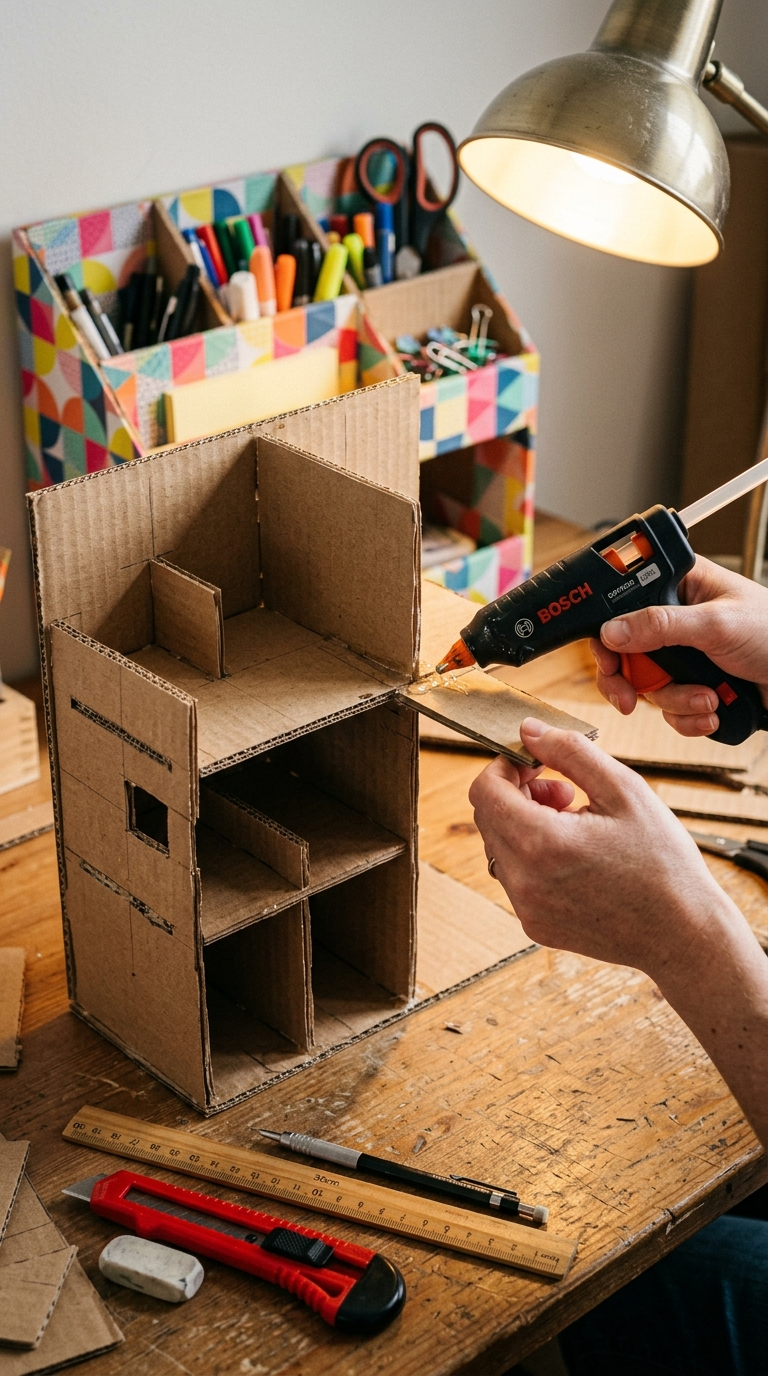
Your desk is a disaster. We both know it. Let’s fix that with cardboard you were about to throw out.
Materials and Tools
- Sturdy cardboard boxes
- Scissors or a box cutter (adults only for the cutter)
- Ruler
- Pencil
- Hot glue gun or strong tape
- Wrapping paper, contact paper, or paint for decorating
Step-by-Step Instructions
- Cut cardboard into rectangles and squares of varying heights.
- Arrange them into a grid that fits your desk space.
- Glue the pieces together at the edges. Hold each joint for 30 seconds.
- Let the whole structure dry for an hour.
- Cover the outside with wrapping paper or paint it.
- Fill it with pens, clips, and whatever else is cluttering your life.
Customization Ideas
Add a small drawer by leaving a gap in the grid. Paint it a bold color. Cover it in fabric. The cardboard is just the skeleton. You’re the designer.
Project 5: Mason Jar Snow Globe
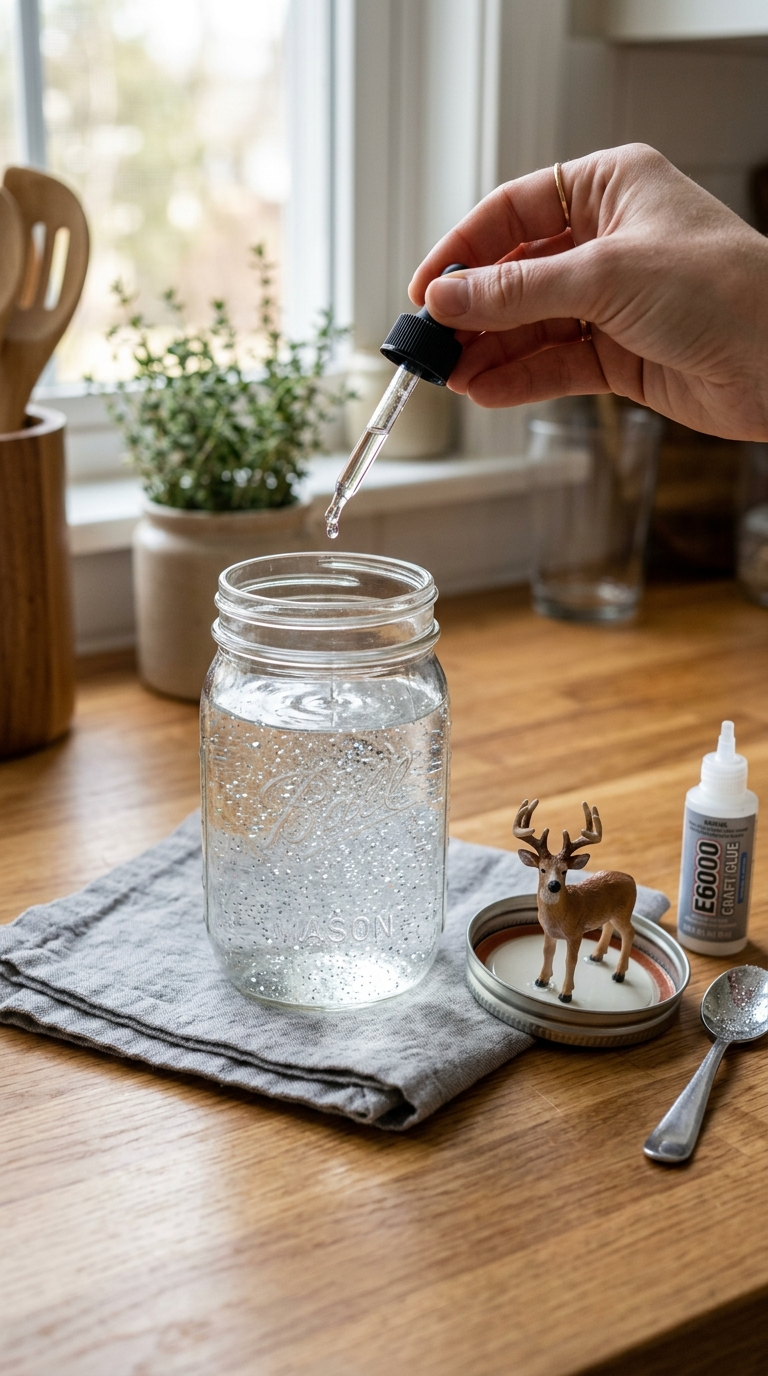
This one feels fancy but costs almost nothing. It’s a classic for a reason.
Materials and Tools
- Mason jar with lid
- Glycerin (optional, but it makes the glitter fall slower)
- Distilled water
- Fine glitter
- Small plastic figurine or waterproof toy
- Waterproof glue
Step-by-Step Instructions
- Glue the figurine to the inside of the jar lid. Let it dry completely.
- Fill the jar almost to the top with distilled water.
- Add a pinch of glitter and a few drops of glycerin.
- Apply waterproof glue around the rim of the lid.
- Screw the lid on tightly.
- Flip the jar over and give it a gentle shake.
Safety Tips
Don’t use glass figurines. They break. Don’t skip the waterproof glue. You’ll regret it. And keep this away from small kids who might try to open it.
FAQ’s
Do I really not need any special tools?
Correct. Scissors, glue, and a bit of patience cover almost everything here. A hot glue gun helps, but strong craft glue works too.
What if I mess up?
Welcome to crafting. Mess-ups are part of the process. Most mistakes can be painted over, peeled off, or laughed at.
How long do these projects take?
Most take 15 to 45 minutes, plus drying time. The snow globe is the quickest. The desk organizer takes the longest.
Can kids help with these?
Yes, with supervision. Skip the box cutter and hot glue for young kids. Let them handle painting, tearing paper, and arranging pieces.
Where can I find cheap supplies?
Dollar stores, thrift shops, and your own recycling bin. Seriously, look in your trash before you buy anything.
Final Thoughts: Just Start Making
You don’t need a craft room or a fancy toolkit. You need ten minutes and the willingness to try. Pick one project, gather your supplies, and make something imperfect and lovely. Then show it off. You earned it.
Now go raid your recycling bin. Your next masterpiece is in there somewhere.