
Got a free afternoon and an urge to make something with your hands? Good. We’re diving into five easy creative projects you can pull off at home with stuff you probably already own — or can grab for a few bucks. No fancy studio, no expensive tools, no judgment if your first attempt looks a little… abstract. Let’s make something.
Project 1: Mason Jar Lanterns That Actually Look Store-Bought
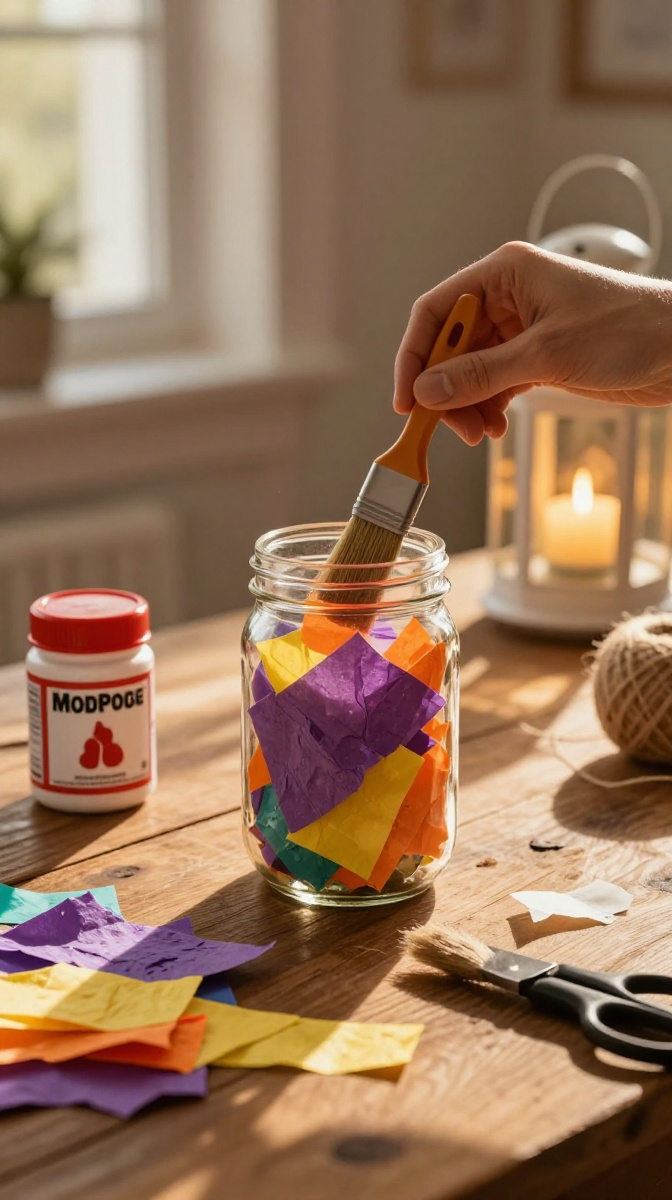
Mason jar lanterns are the unofficial gateway drug of DIY crafts. They’re cheap, they’re fast, and they make your patio look like you hired a stylist. The best part? You probably have a jar sitting in your cabinet right now, collecting dust and regret.
Materials and Tools
- Clean mason jars — any size works, but wide-mouth is easier to work with
- Mod Podge or white school glue — Mod Podge dries clearer, but glue mixed with a little water works fine
- Tissue paper or colored napkins — thin layers work best
- Foam brush — a cheap paintbrush works too
- Twine or jute rope — for the handle and a rustic look
- Tea light or small LED candle — LED is safer if kids are around
- Scissors
Step-by-Step Instructions
- Wash and dry your jar completely. Any grease or dust will make the tissue bubble later.
- Tear your tissue paper into small pieces — rough edges look better than clean cuts, trust me.
- Brush a thin layer of Mod Podge onto a small section of the jar.
- Press a piece of tissue paper onto the glue. Smooth it down gently with your fingers.
- Brush another layer of Mod Podge over the tissue. Repeat until the jar is covered.
- Let it dry for about 20 minutes, then add a second coat of Mod Podge over everything.
- Wrap twine around the neck of the jar a few times and tie a bow. Add a loop handle if you want to hang it.
- Drop in a tea light or LED candle. Done.
Common Mistakes to Avoid
Don’t slather on too much glue — it’ll pool at the bottom and take forever to dry. Also, don’t use thick paper. It won’t wrap around the curves and you’ll end up with a lumpy mess. Been there.
Customization Ideas
Try adding dried flowers, gold leaf flakes, or a few drops of food coloring to the glue. You can also cut out shapes from the tissue paper for a themed lantern — hearts for Valentine’s Day, stars for the holidays, or tiny ghosts if you’re feeling spooky.
Project 2: No-Sew Fabric Bookmark With a Personal Twist
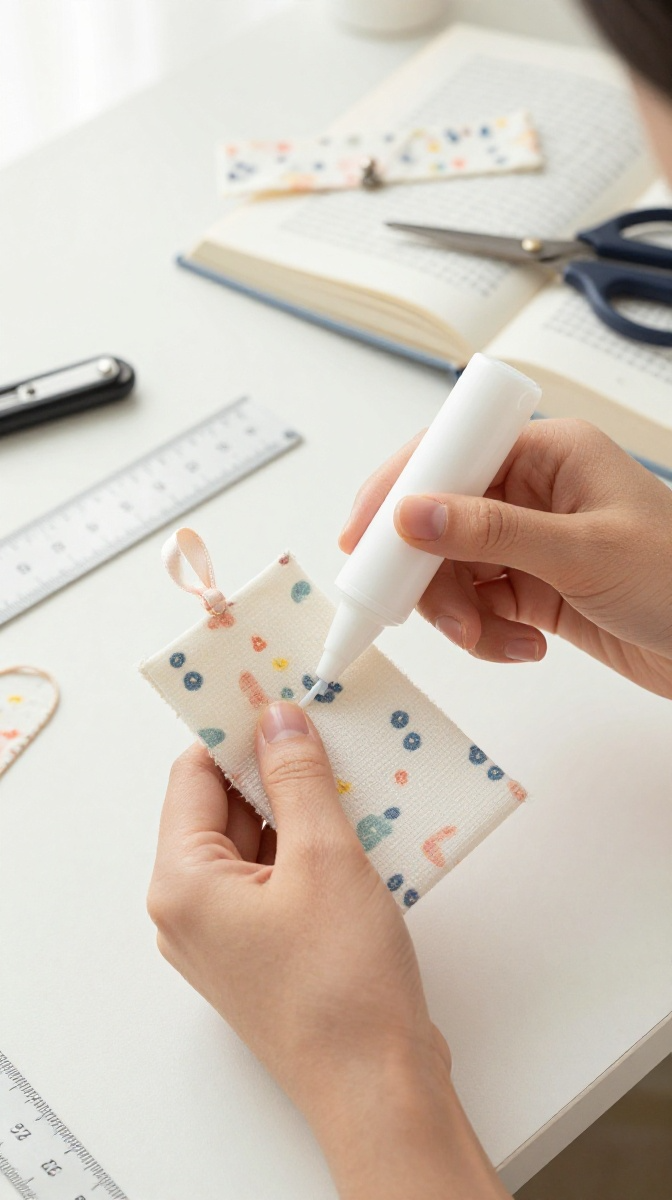
If you can cut paper and tie a knot, you can make a bookmark. This one takes about ten minutes and makes a great gift for the reader in your life. Or keep it for yourself — your book, your rules.
Materials and Tools
- Fabric scraps — cotton or felt works best
- Fabric glue or iron-on adhesive — no sewing machine required
- Ribbon or embroidery floss
- Pinking shears — optional, but they give a nice zigzag edge
- Ruler and pen
Step-by-Step Instructions
- Cut two rectangles of fabric, each about 2 inches wide and 6 inches long.
- Apply fabric glue around the edges of one rectangle, leaving a small opening at the top.
- Press the second rectangle on top, lining up the edges.
- Let it dry according to the glue instructions — usually 30 minutes to an hour.
- Cut a piece of ribbon about 8 inches long. Fold it in half and glue the looped end into the top opening.
- Add a small charm or bead to the ribbon ends if you want extra flair.
Design Variations
Use felt for a thicker, cozier bookmark. Add embroidery stitches along the edges for texture. You can also make a corner bookmark by folding a square of fabric into a triangle pocket — perfect for paperback lovers.
Project 3: Painted Rock Plant Markers for Your Garden
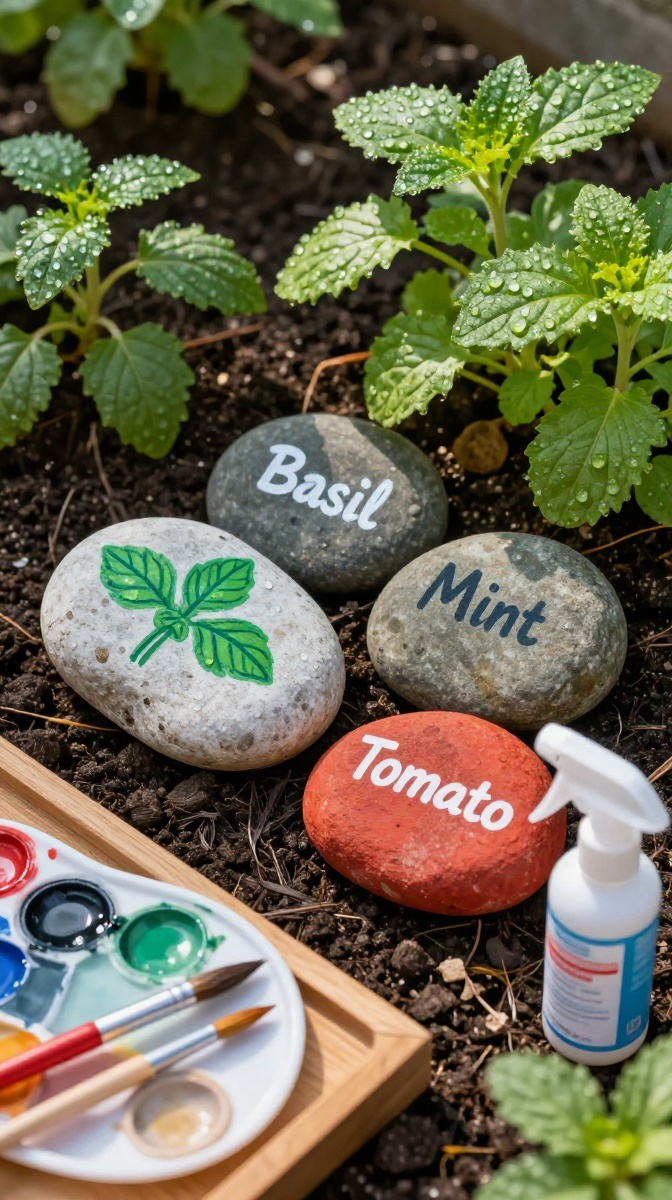
Plants don’t come with labels, and those little plastic tags always disappear. Painted rock markers solve that problem and look adorable doing it. Plus, painting rocks is weirdly relaxing. Try it and tell me I’m wrong.
Materials and Tools
- Smooth river rocks — grab them from your yard or a craft store
- Acrylic paint — outdoor formula lasts longer
- Paint pens — great for writing plant names
- Clear sealant spray — optional but recommended for outdoor use
- Small paintbrushes
Step-by-Step Instructions
- Wash and dry your rocks. Smooth ones work best for writing.
- Paint a base color on each rock. Let it dry completely.
- Use paint pens to write the plant name — basil, mint, tomatoes, whatever you’re growing.
- Add small decorations like dots, leaves, or borders.
- Let the paint dry for a few hours.
- Spray with clear sealant if the rocks will live outside.
- Stick them in the soil next to your plants.
Safety Tips
Don’t use rocks with sharp edges. Also, avoid painting on rocks that are too small — they can be a choking hazard if you have little ones or pets who chew everything in sight.
Project 4: Upcycled T-Shirt Tote Bag
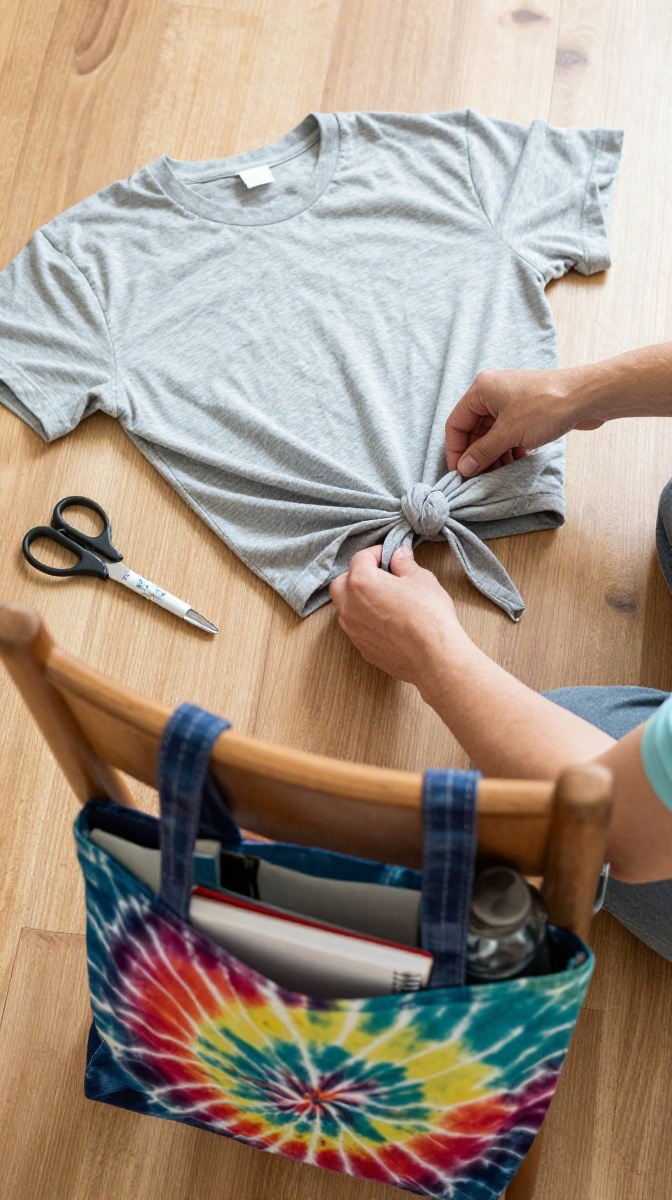
Got an old T-shirt you never wear? Turn it into a tote bag. This is one of those projects that feels like magic the first time you do it. No sewing, no measuring, no stress.
Materials and Tools
- Old t-shirt — the bigger, the better
- Fabric scissors
- Marker or chalk
- Safety pin — optional, for threading
Step-by-Step Instructions
- Lay the t-shirt flat on a table.
- Cut off the sleeves and the neckline to create the bag opening and handles.
- Turn the shirt inside out.
- Cut the bottom hem into strips about 1 inch wide and 3 inches long.
- Tie the front and back strips together in double knots all the way across.
- Turn the bag right side out. Stretch the knots gently to tighten them.
- Decorate with fabric paint, patches, or nothing at all.
Troubleshooting
If your knots come undone, you didn’t double-knot them. If the bag looks lopsided, you probably cut the neckline unevenly — no big deal, just trim it up. And if the shirt is too thin, use two shirts layered together for extra strength.
Project 5: DIY Scented Candles in Tea Cups

Making candles sounds intimidating, but it’s basically melting wax and waiting. That’s it. You can use old teacups, jam jars, or anything heat-safe. Your house will smell amazing, and you’ll feel like a wizard.
Materials and Tools
- Soy wax flakes — easier to work with than paraffin
- Cotton wicks with metal tabs
- Heat-safe containers — teacups, mason jars, tin cans
- Fragrance oil — lavender, vanilla, citrus, whatever you like
- Double boiler or microwave-safe bowl
- Wooden skewer or pencil — to hold the wick upright
Step-by-Step Instructions
- Glue the wick tab to the bottom center of your container.
- Melt soy wax in a double boiler or microwave in 30-second bursts.
- Stir in fragrance oil — about 1 tablespoon per cup of wax.
- Pour the melted wax into your container, leaving a little space at the top.
- Hold the wick upright with a skewer or pencil laid across the rim.
- Let the candle cool and harden for a few hours.
- Trim the wick to about 1/4 inch before lighting.
Decorating Ideas
Wrap the container with lace, twine, or washi tape. Add dried flowers on top of the wax before it fully hardens. Or paint the outside of the container with heat-safe paint. These make fantastic gifts — just tie a ribbon around them and you’re done.
FAQ’s
What if I don’t have Mod Podge?
Mix equal parts white school glue and water. It works almost as well and dries clear enough for most projects.
Can I use hot glue instead of fabric glue?
You can, but it dries stiff and lumpy. Fabric glue gives a cleaner finish, especially for bookmarks and tote bags.
How do I make my painted rocks last longer outdoors?
Use outdoor acrylic paint and seal them with a clear spray sealant. Reapply the sealant every few months if they’re in direct sun or rain.
Is soy wax better than paraffin for candles?
Soy wax burns cleaner, lasts longer, and holds scent well. Paraffin is cheaper but produces more soot. IMO, soy is worth the few extra dollars.
Can I wash my upcycled t-shirt tote bag?
Yes, but hand wash it in cold water and hang it to dry. The knots can loosen in a washing machine.
What’s the easiest project for total beginners?
The t-shirt tote bag. It requires zero measuring, zero drying time, and zero special tools. Start there.
Final Thoughts:
You don’t need a craft room, a Cricut, or a Pinterest-perfect setup. You need a few supplies, a little time, and the willingness to make something slightly wonky on your first try. That’s how everyone starts.
Pick one project from this list and give it a shot this weekend. Worst case? You make a mess and learn something. Best case? You end up with a handmade gift, a decorated patio, or a candle that smells like a fancy store. Either way, you made something with your own two hands. That’s a win.
FYI, if you try one of these and it turns out amazing, you’re legally obligated to show someone. Brag a little. You earned it.