
Got an hour, a glue gun, and a vague sense that you should be doing something creative? Perfect. These five beginner crafts need zero fancy skills and almost no expensive supplies. Pick one, make a mess, and end up with something you’ll actually want to keep or gift. Let’s get crafting.
1. Mason Jar Fairy Light Lantern
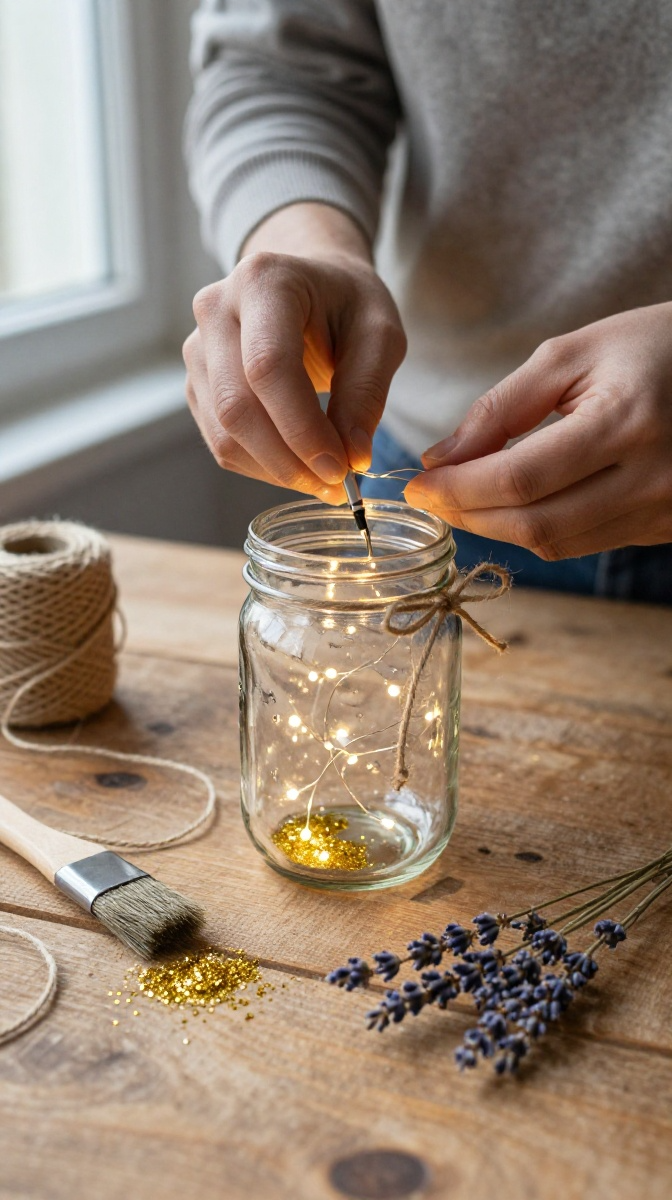
This is the project that makes people say “you made that?” while you quietly hide the hot glue strings. It’s a jar, some lights, and about 15 minutes of your time.
Materials and Tools
- Clean mason jar — any size. Pasta sauce jars work great too; just wash them well.
- Battery-powered fairy lights — warm white looks coziest.
- Mod Podge or white school glue
- Paintbrush or foam brush
- Glitter, tissue paper, or dried flowers (optional)
- Twine or ribbon
Step-by-Step Instructions
- Make sure your jar is completely dry inside and out. Moisture plus lights equals sadness.
- Brush a thin layer of Mod Podge on the outside of the jar if you want glitter or tissue paper to stick. Skip this if you like the plain glass look.
- Sprinkle glitter or press small pieces of tissue paper onto the wet glue. Let it dry for about 20 minutes.
- Gently stuff the fairy lights inside. Coil them loosely so they don’t tangle into a tiny ball of regret.
- Wrap twine around the jar’s neck a few times and tie a bow.
- Turn on the lights and dim the room. Admire your work.
Common Mistakes to Avoid
Don’t use too much glue — it drips and looks lumpy. Also, keep the battery pack outside the jar so you can actually switch it on and off. I learned that one the hard way.
Display and Gift Ideas
These look adorable on a nightstand, windowsill, or as a centerpiece. Pop one in a gift bag with a candle, and you’ve got a present that costs under $10.
2. No-Sew Fabric Bookmark
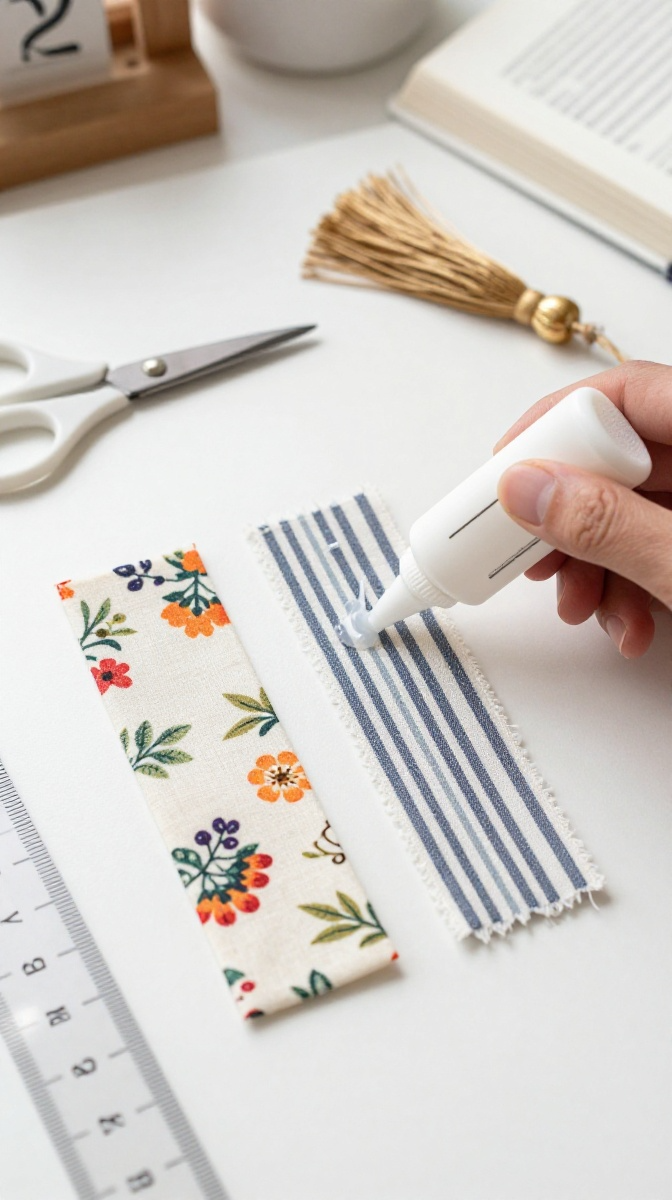
Hate sewing? Same. This bookmark uses fabric glue and takes about 10 minutes. It’s perfect for readers, students, or anyone who keeps losing receipts in their books.
Materials and Tools
- Two rectangles of cotton fabric, about 2 x 7 inches each
- Fabric glue (or iron-on hem tape if you have it)
- Ribbon or a tassel
- Scissors and a ruler
Step-by-Step Instructions
- Cut two fabric rectangles the same size. Patterns look best when they contrast.
- Place them wrong sides together so the pretty sides face out.
- Run a thin line of fabric glue around three edges, leaving one short end open.
- Press the edges together and let them dry for 30 minutes.
- Fold a ribbon loop into the open end and glue it shut.
- Trim any frayed edges with sharp scissors.
Design Variations
Use felt instead of cotton for a thicker feel. Add a button, a pom-pom, or embroider a tiny heart if you’re feeling fancy. You can also make a magnetic version by gluing a thin strip of magnet inside each layer.
3. Painted Rock Photo Holder
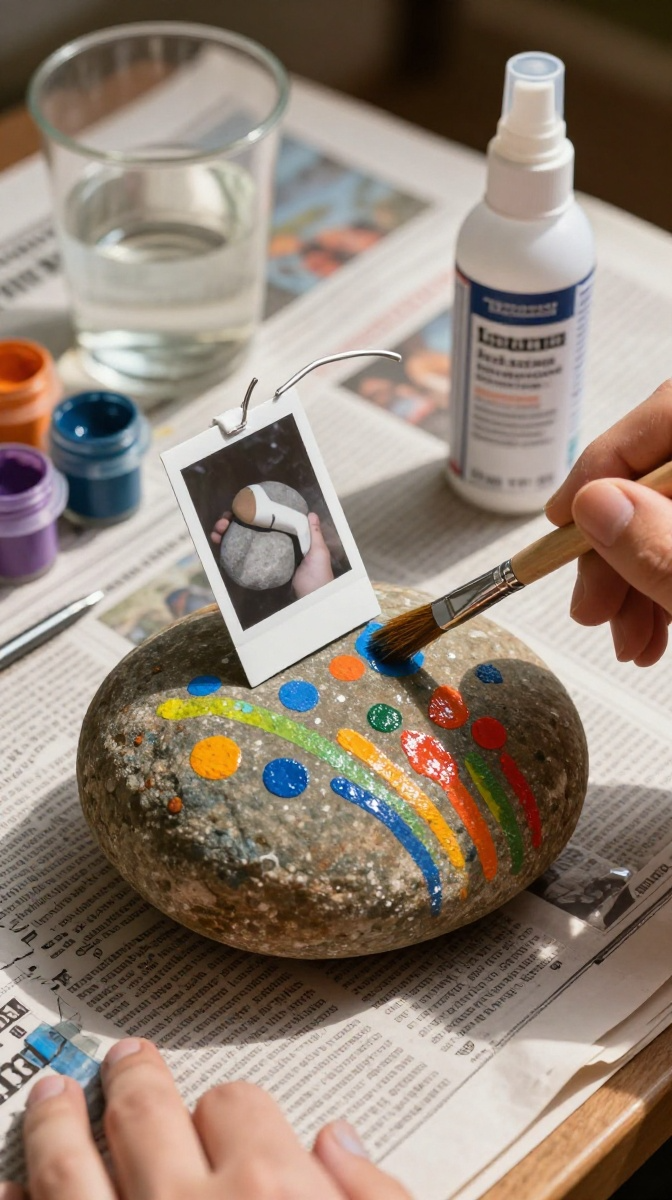
Rocks are free, which is honestly the best price. This craft turns a plain stone into a cute stand for photos, notes, or recipe cards.
Materials and Tools
- Smooth, flat rock — river rocks are ideal
- Acrylic paint in your favorite colors
- Small paintbrushes
- Bendable craft wire (20–22 gauge works well)
- Strong glue like E6000 or hot glue
- Clear sealant spray (optional)
Step-by-Step Instructions
- Wash and dry your rock. Any dirt will make the paint peel.
- Paint a base coat and let it dry. Two thin coats beat one gloppy one.
- Add dots, stripes, or a tiny design. Keep it simple — less is more here.
- Bend the wire into a small spiral or loop shape, leaving a straight tail at the bottom.
- Glue the straight tail to the top of the rock. Hold it for 30 seconds.
- Let it cure overnight, then spray with sealant for extra durability.
Safety Tips
Work in a ventilated area when using strong glue or sealant. Keep hot glue away from your fingertips — it’s basically lava with a crafty disguise.
4. DIY Pom-Pom Garland
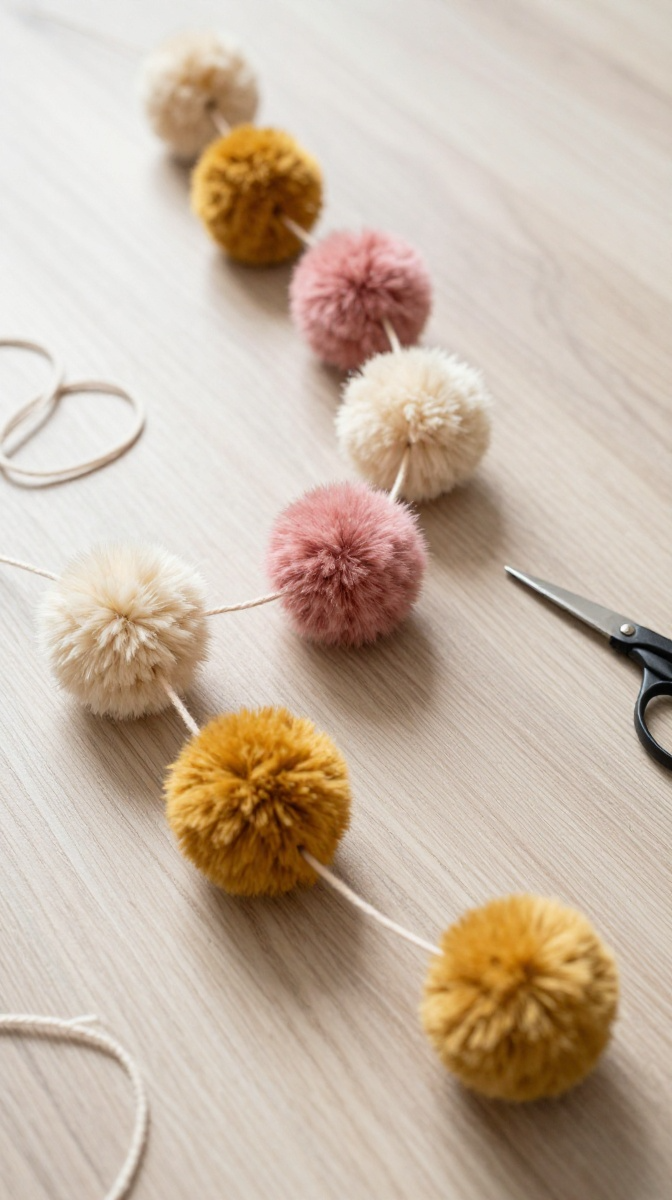
This one is weirdly addictive. Once you start making pom-poms, you’ll want to cover your entire house in them. Consider yourself warned.
Materials and Tools
- Yarn in two or three colors
- Pom-pom maker or a fork and scissors
- Embroidery floss or strong thread
- Large needle
Step-by-Step Instructions
- Wrap yarn around your pom-pom maker or a fork about 40–60 times. More wraps equal fluffier poms.
- Slide the yarn off and tie a tight knot around the middle with a separate piece of yarn.
- Cut the loops on both sides and fluff. Trim any uneven strands.
- Repeat until you have 8–12 pom-poms.
- Thread a needle and string the pom-poms together, tying a knot between each one.
- Hang it up and enjoy the fluff.
Troubleshooting
If your pom-poms look scraggly, you didn’t wrap enough yarn. If they fall apart, your middle knot wasn’t tight enough. Just make another one — they’re fast.
5. Upcycled Tin Can Planter
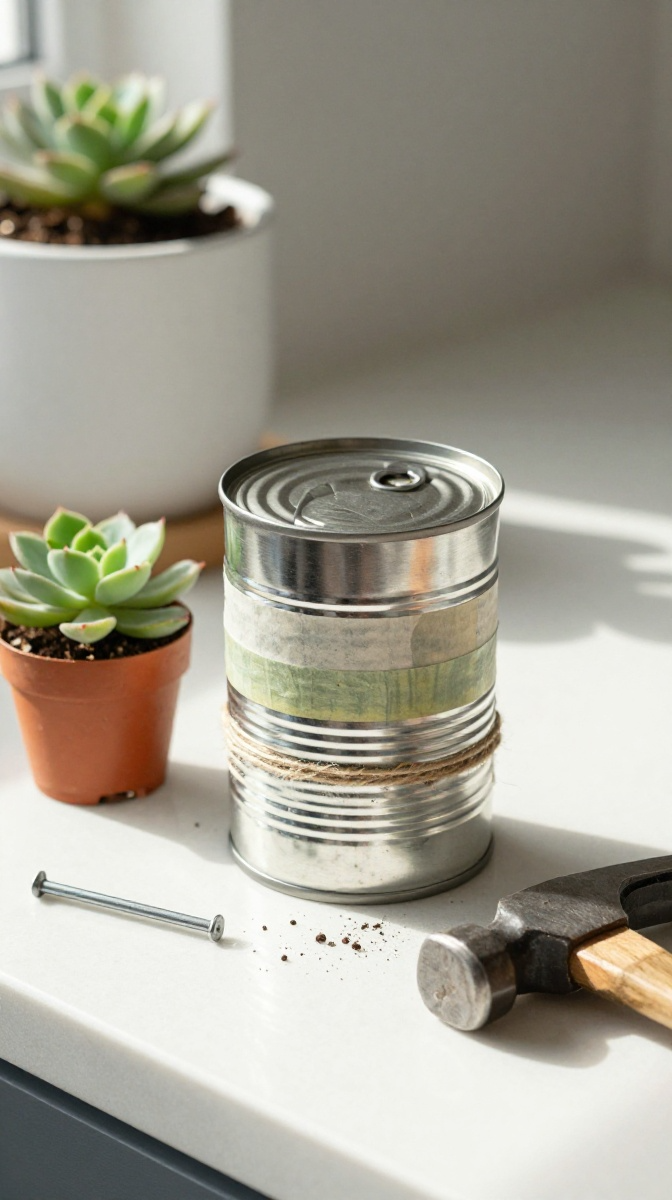
Don’t toss that empty soup can. Turn it into a planter that looks like you bought it at a boutique. Bonus: it’s basically free.
Materials and Tools
- Clean tin can with the label removed
- Spray paint or acrylic paint
- Nail and hammer for drainage holes
- Potting soil and a small plant or seeds
- Twine, washi tape, or stickers for decoration
Step-by-Step Instructions
- Wash the can thoroughly and remove any glue residue.
- Flip it upside down and carefully hammer 3–4 small drainage holes.
- Paint the outside and let it dry completely.
- Decorate with twine wrapped around the middle or washi tape stripes.
- Fill with soil and plant your seeds or a small succulent.
- Place it near a sunny window and water lightly.
Customization Ideas
Use chalkboard paint and write the plant’s name on the side. Or go metallic for a modern look. These also make great pencil holders if you skip the soil.
Practical Tips for Beginner Crafters
Start with one project, not five. Trying to do everything at once leads to a craft graveyard on your kitchen table. Keep a small box of basic supplies — glue, scissors, yarn, paint — so you can craft without a store run. And FYI, drying times matter. Rushing leads to smudges.
Don’t stress about perfection. IMO, handmade items look better with tiny flaws. That’s the charm.
FAQ’s
What if I don’t have a hot glue gun?
Use fabric glue, tacky glue, or double-sided tape depending on the project. Hot glue is fast, but not always necessary.
How do I keep painted rocks from chipping?
Seal them with a clear spray sealant or brush on a coat of Mod Podge. Let it cure fully before handling.
Can I make these crafts with kids?
Yes, except for the tin can planter’s hammering step and any hot glue. Supervise younger kids and use kid-safe scissors.
Where can I find cheap supplies?
Dollar stores, thrift shops, and your own recycling bin. Seriously, jars and cans are everywhere.
How long do these projects take?
Most take 15–30 minutes, plus drying time. The garland takes longer if you make a lot of pom-poms.
What if my project looks nothing like the picture?
Welcome to crafting. Yours is unique. Keep it anyway and call it rustic.
Make Something Already
You don’t need a craft room or fancy tools to make something cool. Pick one project from this list, raid your junk drawer, and give it a shot. Worst case, you laugh at the result. Best case, you’ve found a new hobby. Either way, you made something with your own hands, and that’s pretty great.