
Want to make something cool with your own two hands but have no idea where to start? Good news: you don’t need a fancy craft room or a ton of skills. These five beginner crafts take under an hour, use cheap supplies, and still look like you tried really hard. Grab a glue gun and let’s make something.
Before You Start: Your Beginner Craft Kit
You don’t need to buy out the whole craft store. A few basics cover almost every project below, and you can swap in whatever you already own.
- Hot glue gun with extra glue sticks (low-temp is safer and cheaper)
- Scissors and a craft knife (a kitchen knife works in a pinch, but please be careful)
- Pencil and ruler for measuring
- Paint — acrylic is affordable and dries fast
- Paintbrushes in a couple of sizes
- Mod Podge or white school glue (they’re basically cousins)
- Twine, yarn, or ribbon for tying and hanging
Skip the expensive branded sets. Dollar store supplies work fine for practice, and you can upgrade later once you know what you actually enjoy making.
Project 1: Painted Rock Paperweights
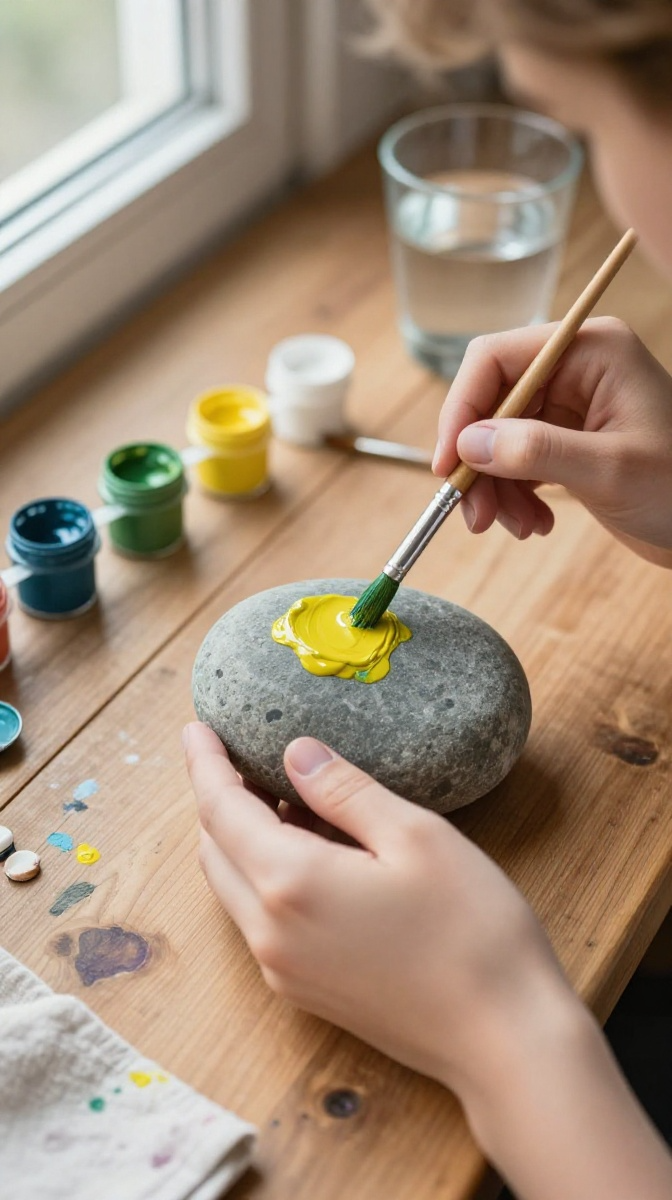
This is the classic “I have zero experience” craft, and that’s exactly why it’s great. Rocks are free, mistakes wipe off, and the finished result looks cute on any desk.
What You’ll Need
- Smooth rocks (river rocks or garden stones)
- Acrylic paint in 2–3 colors
- Small and medium paintbrushes
- Clear sealer spray or Mod Podge
Step-by-Step Instructions
- Wash your rocks and let them dry completely. Wet paint slides right off, so don’t skip this.
- Paint a base coat in one solid color. Let it dry for about 20 minutes.
- Add your design — dots, stripes, a tiny cactus, whatever makes you happy.
- Let everything dry fully, then seal with a clear coat so the paint doesn’t chip.
Common Mistakes to Avoid
Thick paint blobs take forever to dry and crack later. Use thin layers instead. Also, don’t seal too soon — if the paint feels cool to the touch, it’s still wet.
Fun Variations
Try galaxy rocks with sponged-on white dots, or paint words like “breathe” and “chill” for a desk pick-me-up. FYI, these make great teacher gifts.
Project 2: Mason Jar Twine Vases
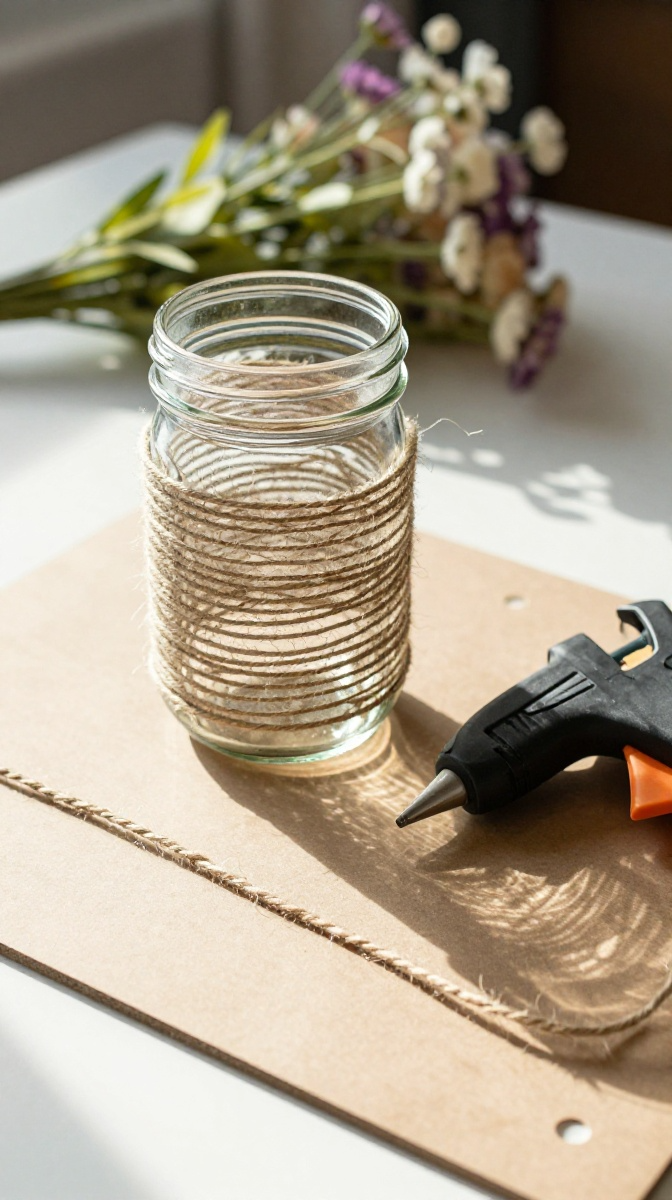
Old jars are basically free vases waiting to happen. Wrap them in twine, and suddenly you’re a person with taste.
Materials and Tools
- Clean glass jar (pasta sauce jars work great)
- Jute twine or thick yarn
- Hot glue gun
- Optional: lace ribbon, small faux flowers
How to Make It
- Start at the bottom of the jar and glue the twine end in place.
- Wrap the twine around, adding a dot of glue every few rows to keep it tight.
- Keep going until you reach the height you want, then glue the end down.
- Wrap a ribbon around the middle and tie a bow for extra flair.
Troubleshooting
If your rows keep sliding apart, you’re wrapping too loosely. Pull snug but not so tight that the twine snaps. Glue burns are the real enemy here, so keep a bowl of cold water nearby. IMO, low-temp glue is the move for beginners.
Project 3: No-Sew Fabric Bookmark
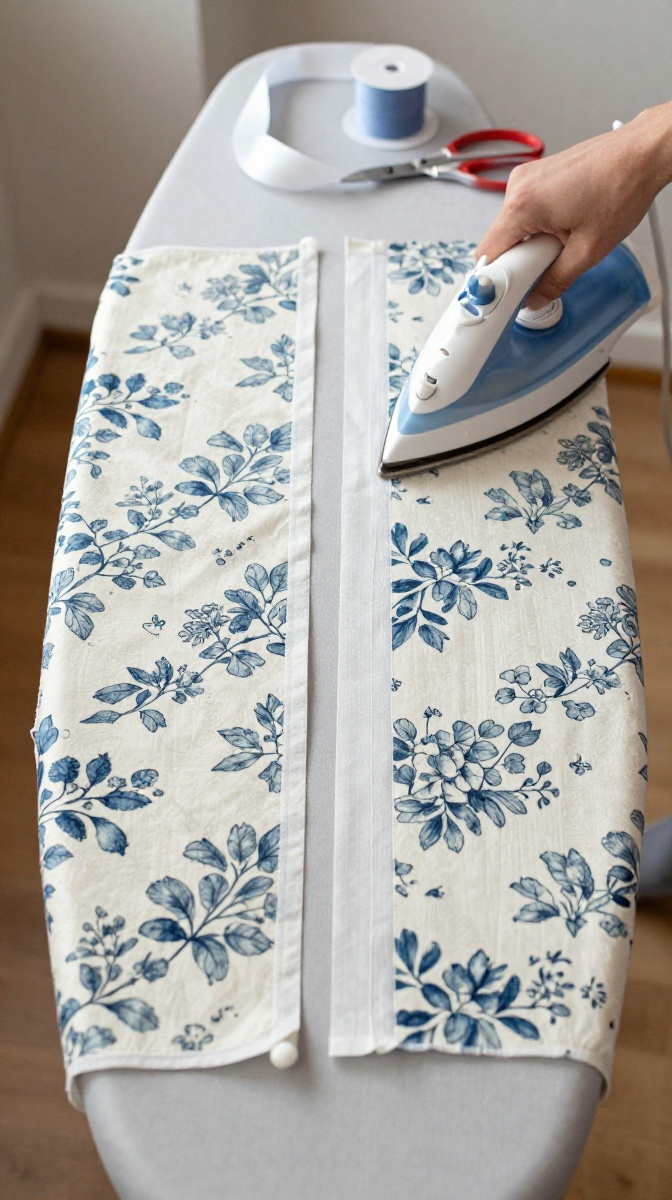
No sewing machine? No problem. This fabric bookmark uses iron-on tape, which is basically magic for anyone allergic to needles.
What You’ll Need
- Two fabric rectangles, about 2 by 6 inches
- Iron-on hem tape
- Iron and ironing board
- Ribbon or tassel for the top
Instructions
- Place your fabric pieces with the pretty sides facing out.
- Slide hem tape between the layers along all edges.
- Press with a hot iron for about 10 seconds per section.
- Fold a ribbon loop into the top and secure it with a dot of glue.
Design Ideas
Use patterned fabric on one side and plain on the other for a reversible look. Add a tiny embroidered heart if you’re feeling ambitious — or don’t. It’s your bookmark.
Project 4: DIY Photo Clip String Lights
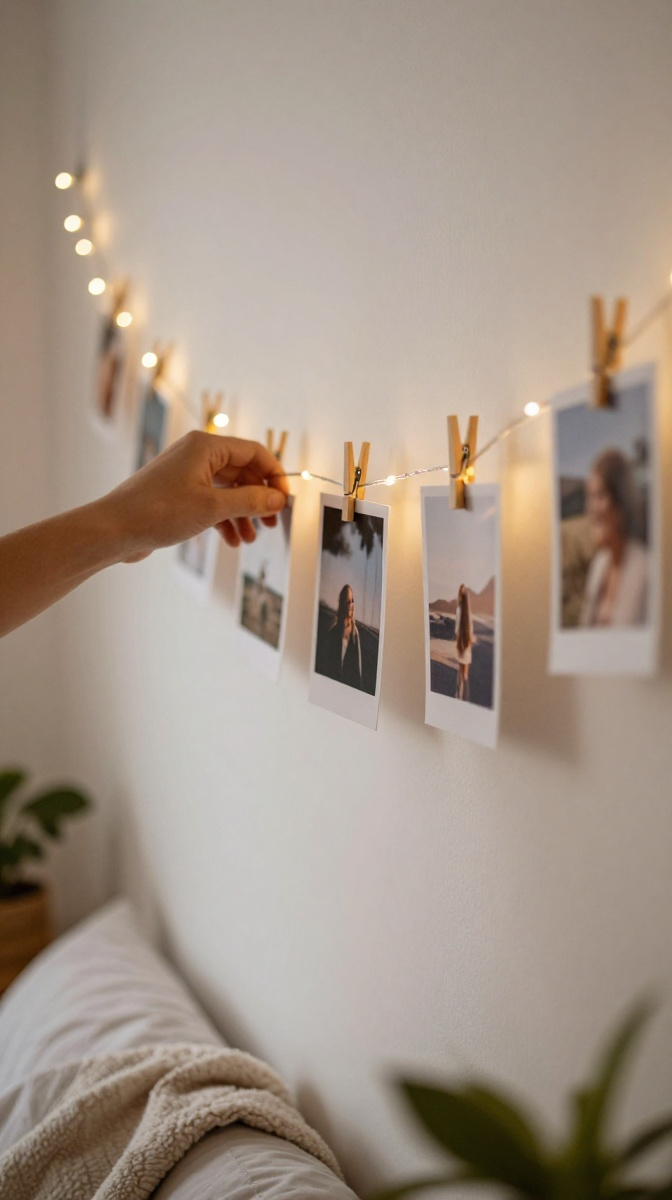
String lights plus photos equals instant cozy vibes. This one takes about 15 minutes and makes any blank wall look intentional.
Materials
- String lights (battery-powered is easiest)
- Mini wooden clothespins
- Printed photos
- Small nails or clear adhesive hooks
Step-by-Step
- Decide where your lights will hang and mark both ends.
- Install hooks or nails, then drape the lights loosely between them.
- Clip photos along the wire with the clothespins, spacing them evenly.
- Turn on the lights and adjust the drape until it looks relaxed, not saggy.
Display and Gift Ideas
This doubles as a dorm room staple and a sweet housewarming gift. Swap photos for Polaroids, postcards, or ticket stubs from your favorite concerts.
Project 5: Pressed Flower Bookmarks
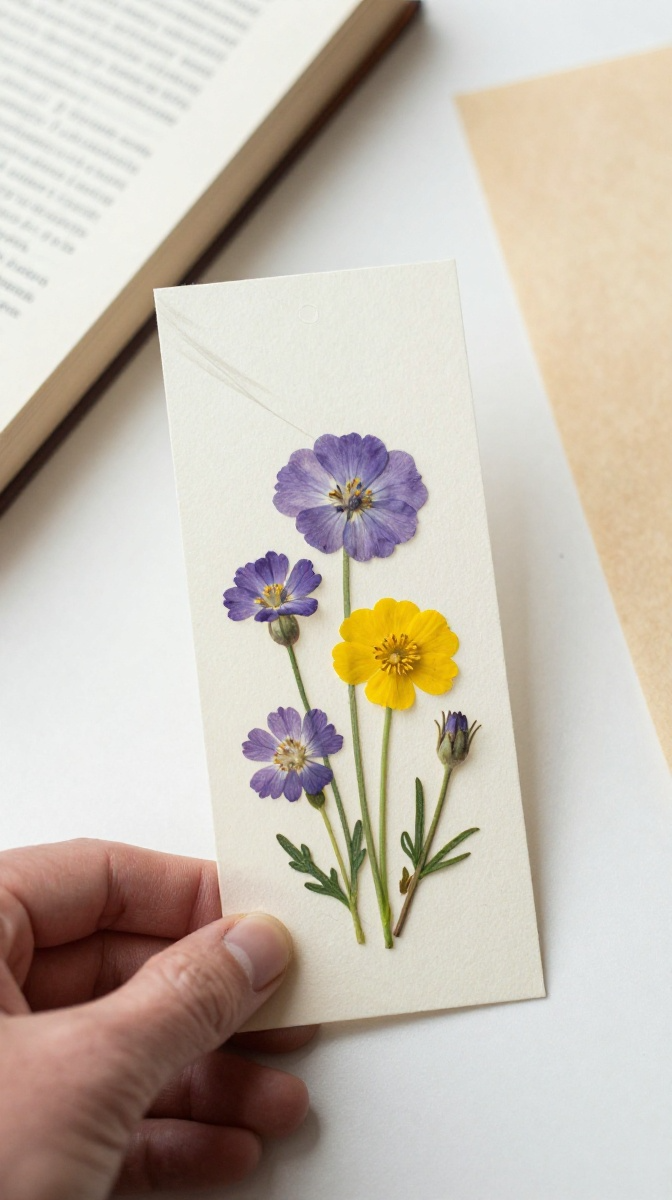
Pressed flowers look fancy but cost nothing if you already have a garden or a park nearby. Pair them with clear contact paper, and you’re done.
Materials and Tools
- Small flowers and leaves
- Heavy books for pressing
- Clear contact paper or self-laminating sheets
- Cardstock, cut into bookmark shapes
Instructions
- Lay flowers between two sheets of parchment paper, then press inside a heavy book for 3–7 days.
- Cut cardstock into bookmark strips.
- Arrange the pressed flowers on the cardstock and glue them down gently.
- Cover both sides with contact paper and trim the edges.
Safety and Troubleshooting
Avoid thick, fleshy flowers — they mold instead of drying. If your petals turn brown, you pressed them before they were fully dry. Patience wins here, sadly.
FAQ’s
What’s the easiest craft for total beginners?
Painted rocks. There’s no wrong answer, supplies are cheap, and you can finish one in 20 minutes.
Do I really need a hot glue gun?
It helps, but tacky glue or double-sided tape works for lighter projects like bookmarks and photo clips.
How do I stop my crafts from looking homemade in a bad way?
Slow down on the finishing touches. Clean edges, even spacing, and a sealant make a huge difference.
Where can I buy cheap craft supplies?
Dollar stores, thrift shops, and clearance aisles are goldmines. You rarely need the premium version for practice projects.
Can kids help with these projects?
Yes, with supervision. Skip the hot glue and craft knife for young kids and use school glue instead.
How do I store finished crafts?
Keep small items in clear bins or shoeboxes so they don’t get crushed. Gift them fast if you’re running out of shelf space.
Conclusion: Just Start Making Something
None of these projects require talent — just a little time and a willingness to make a mess. Pick one, grab your supplies, and give it a shot this weekend. Worst case, you learn what not to do next time, and that’s still a win.