
Got a free afternoon and a serious urge to make something with your hands? You don’t need a craft room full of fancy supplies. You need a few basics, a little patience, and the willingness to accept that your first attempt might look… charmingly imperfect. Let’s dive into five simple crafts you can start right now with stuff you probably already own.
1. Mason Jar Lanterns That Actually Look Store-Bought
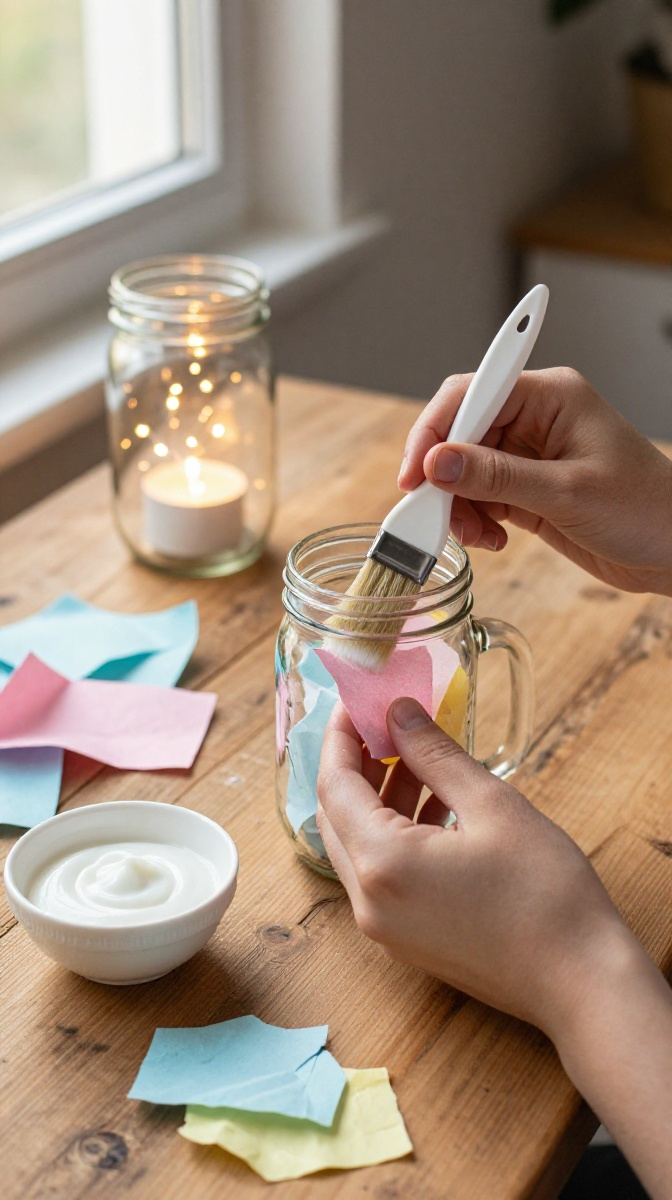
Mason jar lanterns are the gateway drug of DIY crafts. They’re cheap, they’re quick, and they make you look like you have your life together. Spoiler: you don’t, and neither do I. But these jars don’t know that.
Materials and Tools
- Clean mason jars (any size — thrift stores are goldmines for these)
- Mod Podge or white school glue mixed with water (1:1 ratio)
- Tissue paper or colored napkins
- Foam brush or old paintbrush
- Twine or jute string
- Tea light candles or battery-operated fairy lights
- Scissors
No Mod Podge? No problem. Elmer’s glue thinned with water works just fine and costs way less.
Step-by-Step Instructions
- Make sure your jar is clean and completely dry. Any grease will make your paper peel.
- Tear your tissue paper into small pieces — rough edges look better than clean cuts, IMO.
- Brush a thin layer of glue onto a small section of the jar.
- Press a piece of tissue paper onto the glued area. Smooth it down gently.
- Brush another layer of glue over the paper. Keep going until the jar is covered.
- Let it dry for at least two hours. Don’t poke it. I know you want to.
- Wrap twine around the rim a few times and tie a bow.
- Drop in a tea light or fairy lights. Done.
Common Mistakes to Avoid
Using too much glue is the number one mistake. It makes the paper soggy and wrinkled. Thin layers are your friend. Also, don’t use thick cardstock — it won’t curve around the jar properly.
Customization Ideas
Add dried flowers between the tissue layers for a botanical look. Use metallic tissue paper for a glam vibe. Paint the jar’s rim with gold acrylic paint before adding paper. You can also use food coloring in the glue for a tinted effect.
2. No-Sew Fabric Bookmark in 10 Minutes
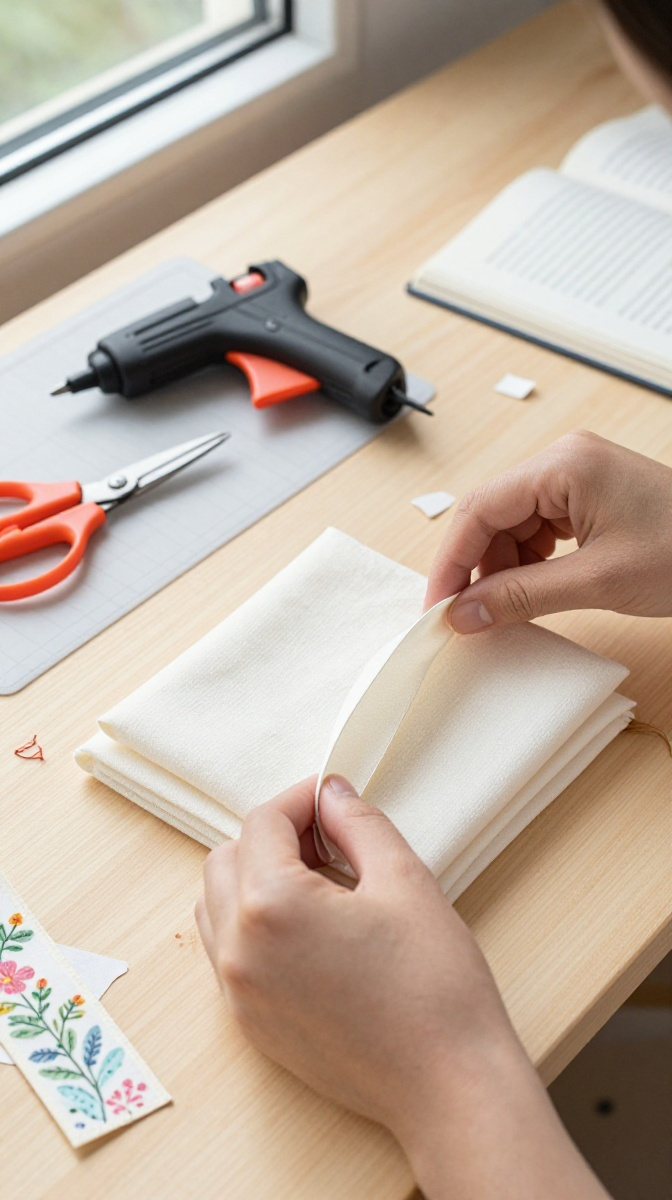
Know someone who reads? Of course you do. Everyone reads. Make them a bookmark that isn’t a random receipt. This project takes ten minutes, tops.
Materials and Tools
- Two pieces of cotton fabric, 2 x 6 inches each (scraps work great)
- Fusible interfacing or iron-on adhesive (optional but helpful)
- Fabric glue or hot glue gun
- Ribbon or elastic cord
- Pinking shears (those zigzag scissors your grandma had)
- Iron
No pinking shears? Regular scissors work, but your edges might fray over time. A thin line of fabric glue along the edges solves that.
Step-by-Step Instructions
- Cut two rectangles of fabric to the same size.
- Place them wrong sides together. Yes, wrong sides — we’re not flipping this.
- If using interfacing, iron it between the layers according to package directions.
- Glue the edges together, leaving a small gap at the top.
- Cut a 4-inch piece of ribbon. Fold it into a loop.
- Glue the loop into the gap at the top. Press firmly.
- Let it dry completely before using.
Design Variations
Use felt instead of cotton for a thicker, cozier bookmark. Add embroidery stitches along the edges if you’re feeling fancy. For a magnetic bookmark, glue small magnets inside the layers and skip the ribbon.
Ways to Use or Gift
Pair it with a paperback for a thoughtful gift. Make a set of five in different patterns and tie them with twine. Teachers love these. So do library lovers and anyone tired of dog-earing pages.
3. Painted Rock Photo Holders
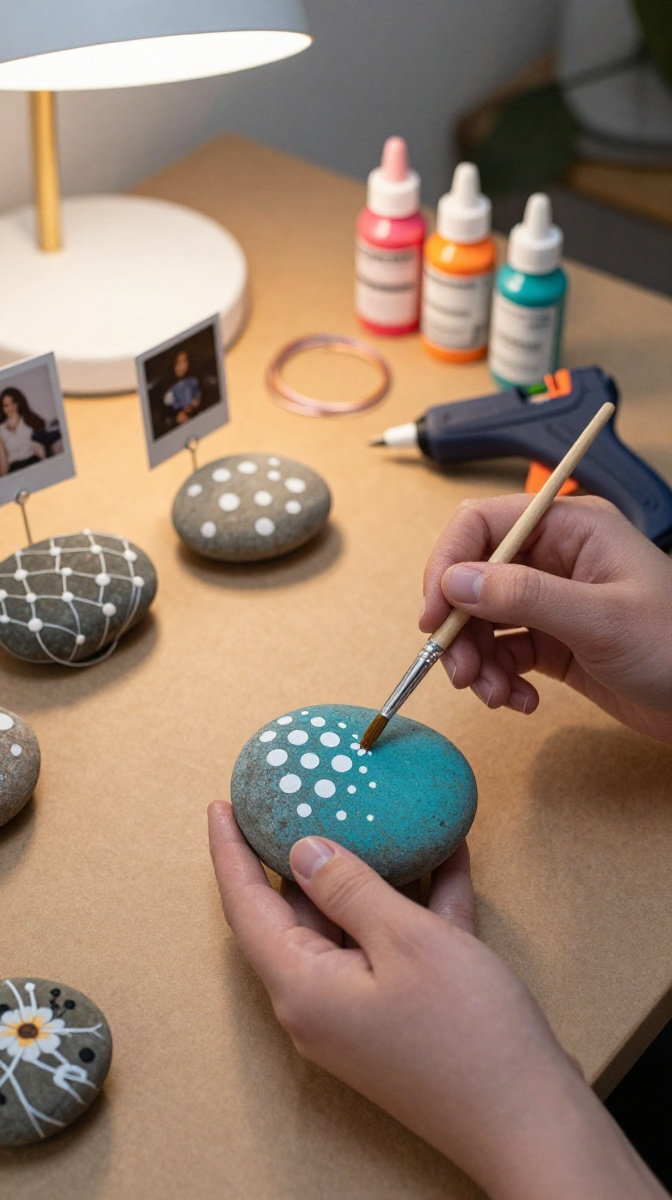
Remember when everyone painted rocks and left them on hiking trails? We’re doing that again, but this time the rocks have a job. They’re going to hold your photos.
Materials and Tools
- Smooth river rocks (grab them from your yard or a craft store)
- Acrylic paint in your favorite colors
- Small paintbrushes
- Mod Podge or clear sealant spray
- Floral wire or thick craft wire
- Needle-nose pliers
- Hot glue gun
Can’t find smooth rocks? Home improvement stores sell river rocks by the bag for a few bucks. Way easier than hiking.
Step-by-Step Instructions
- Wash your rocks and let them dry completely.
- Paint a base coat. Let it dry, then add a second coat if needed.
- Decorate with dots, stripes, or simple shapes. Keep it simple — tiny details get lost.
- Let the paint dry for at least an hour.
- Seal with Mod Podge or spray sealant. Two coats is best.
- Cut a 3-inch piece of wire. Bend it into a small U shape.
- Hot glue the wire to the back of the rock. Hold it in place for 30 seconds.
- Slide a photo into the wire loop. Admire your work.
Safety Tips
Hot glue is called hot glue for a reason. Don’t touch the tip. Also, work in a ventilated area when using spray sealant. Your brain cells will thank you.
Troubleshooting
If the wire keeps popping off, rough up the rock’s surface with sandpaper before gluing. If your paint looks streaky, you’re not letting coats dry fully between applications.
4. Upcycled T-Shirt Tote Bag
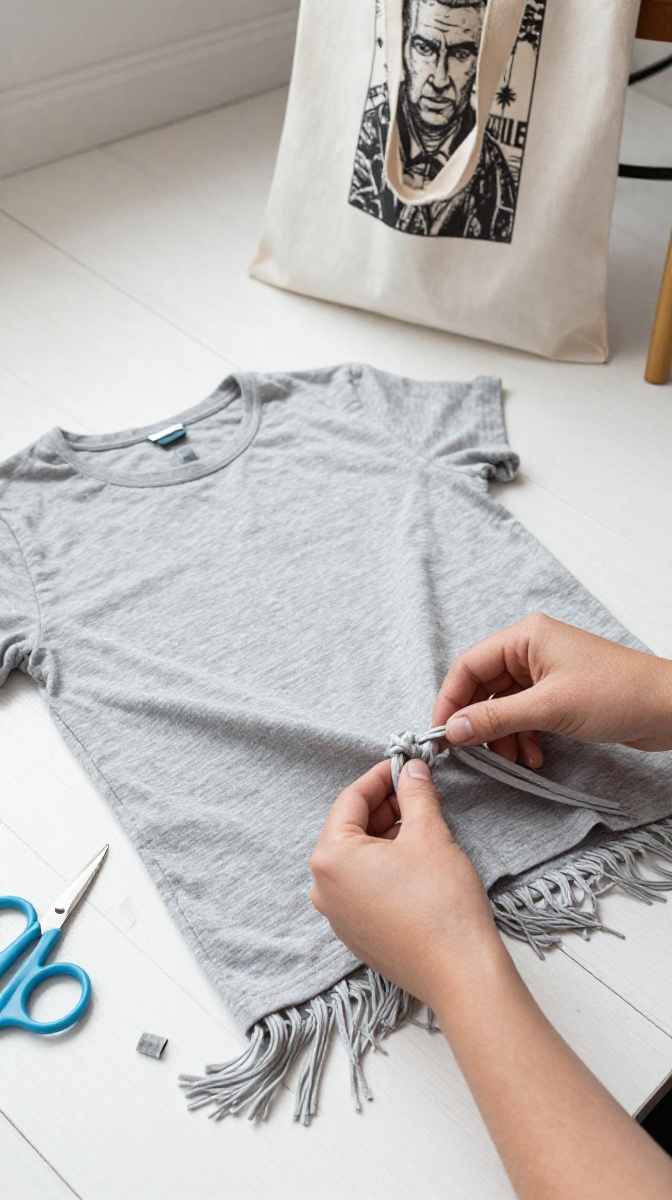
Got an old T-shirt you never wear? Turn it into a bag. No sewing machine required. This is the craft equivalent of turning trash into treasure, minus the reality TV drama.
Materials and Tools
- An old T-shirt (the bigger, the better)
- Fabric scissors
- Chalk or a fabric marker
- Safety pins (optional)
That’s it. Seriously. No glue, no needles, no tears. Unless you cut yourself, which, please don’t.
Step-by-Step Instructions
- Lay the t-shirt flat on a table.
- Cut off the sleeves and the neckline. Save those scraps for later projects.
- Turn the shirt inside out.
- Cut fringe strips along the bottom hem, about 1 inch wide and 3 inches long.
- Tie the front and back fringe pieces together in double knots.
- Keep tying until the whole bottom is closed.
- Turn the bag right side out.
- Stretch the bottom slightly to tighten the knots.
Design Variations
Use a graphic tee for a bold look. Add fabric paint or patches. For a lined bag, sew a fabric rectangle inside — but that requires a machine, so skip it if you’re here for the no-sew life.
Common Mistakes to Avoid
Cutting the fringe too short makes tying impossible. Cutting the neckline too low makes the straps fall off your shoulder. Test the fit before you cut.
5. DIY Candle Holders from Clay

Air-dry clay is a miracle material. It’s cheap, it’s forgiving, and it makes you feel like a sculptor even if you’re just rolling balls. These candle holders are beginner-friendly and look way more expensive than they are.
Materials and Tools
- Air-dry clay (white or terracotta)
- Rolling pin or a smooth bottle
- Circle cookie cutter or a cup
- Tea light candles
- Acrylic paint (optional)
- Clear sealant (optional)
No air-dry clay? Salt dough works in a pinch — just mix flour, salt, and water. It’s not as durable, but it gets the job done.
Step-by-Step Instructions
- Roll your clay into a ball about the size of a golf ball.
- Flatten it with your palm or a rolling pin until it’s about 1/4 inch thick.
- Press a tea light into the center to create a shallow well.
- Remove the tea light.
- Smooth the edges with your fingers or a damp cloth.
- Let it dry for 24 hours, flipping halfway through.
- Paint or seal if you want. Otherwise, you’re done.
Decorating Ideas
Press leaves or lace into the clay before it dries for a textured look. Add gold leaf to the edges. Use cookie cutters to make star or heart shapes instead of circles.
Display and Gift Ideas
Group three holders of different heights on a tray. Add a ribbon and a candle for a quick gift. These also make great party favors or table decor for dinner parties.
FAQ’s
What if I don’t have all the materials?
Improvise. Most of these crafts have substitutes. Glue works instead of Mod Podge. Old clothes work instead of fabric scraps. The craft store is great, but your junk drawer is greater.
How long do these projects take?
Most take 10 to 30 minutes of active work, plus drying time. The clay holders need a full day to dry. Plan accordingly.
Are these crafts kid-friendly?
Yes, with supervision. The t-shirt bag and rock painting are great for kids. Skip the hot glue and wire for younger children. Let them paint while you handle the dangerous stuff.
Can I sell these crafts?
Absolutely. Mason jar lanterns and clay candle holders sell well at craft fairs. Just make sure you’re not copying someone else’s exact design. Add your own twist.
What’s the easiest craft for total beginners?
The t-shirt tote bag. If you can tie a knot, you can make one. Start there and work your way up.
How do I store leftover materials?
Keep clay in an airtight container. Store paintbrushes bristle-up. Fabric scraps go in a clear bin so you actually remember what you have. Future you will be grateful.
Final Thoughts:
You don’t need perfect supplies or a Pinterest-worthy craft room. You need to start. Pick one project from this list, gather what you have, and make a mess. Your first mason jar lantern might look lumpy. Your first clay holder might be lopsided. Who cares? You made something with your own two hands, and that’s pretty cool. Now go dig through your recycling bin and get crafting.