
Want decorations that don’t look like they came from a clearance bin? Same here. Today we’re making handmade seasonal decorations that actually look good and don’t require a craft degree. Grab your glue gun and let’s get slightly messy. These projects are beginner-friendly, affordable, and perfect for every season.
Why Handmade Seasonal Decorations Beat Store-Bought Stuff
Store decorations are fine. They’re also identical to what everyone else owns. Handmade pieces bring personality, and you can customize colors to match your space exactly.
Plus, you control the quality. No flimsy plastic that cracks by week two. FYI, most of these projects cost under $15 total.
Project 1: Rustic Twig Star Wreath for Winter
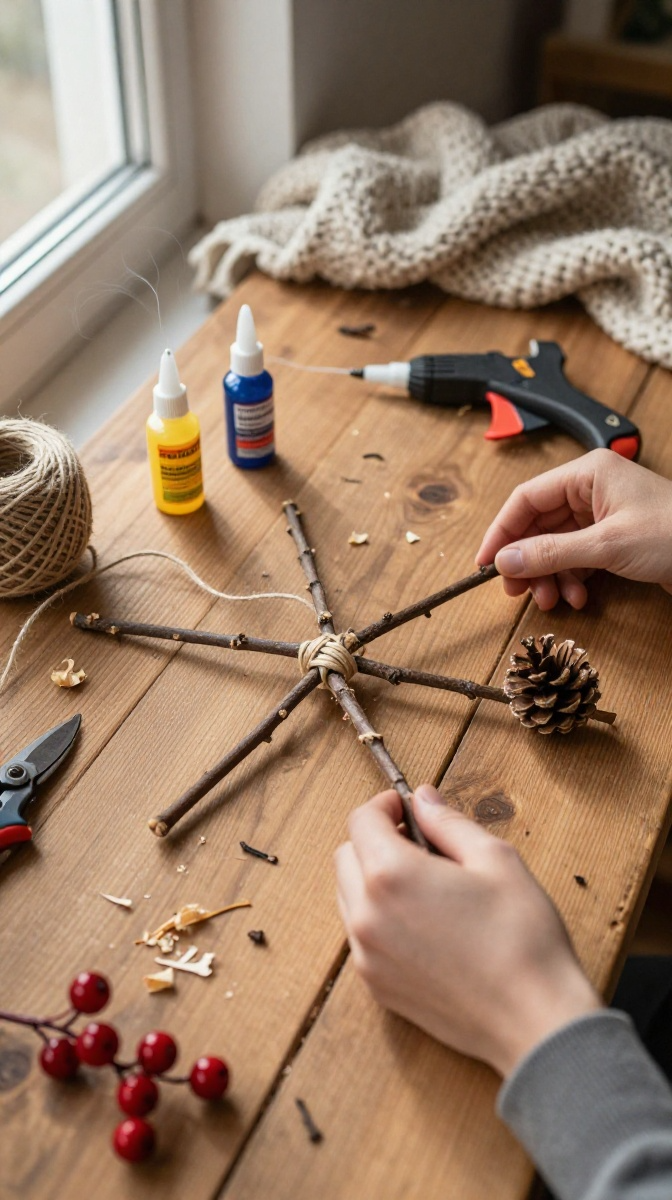
This is my go-to winter project. It looks fancy but takes about 30 minutes. You literally gather sticks and glue them together. Nature does most of the work.
Materials and Tools
- Twigs or thin branches (gather from your yard, or buy a bundle for about $5)
- Hot glue gun and glue sticks
- Twine or jute string
- Pruning shears or strong scissors
- Optional: faux berries, small pinecones, ribbon
Budget substitute: Use cinnamon sticks for a mini version that smells amazing. Great for gifts.
Step-by-Step Instructions
- Cut five twigs to equal lengths, roughly 8 to 10 inches each.
- Arrange them into a star shape on your work surface.
- Glue each intersection point, holding for 20 seconds until set.
- Wrap twine around each joint for extra hold and rustic charm.
- Tie a loop of twine at the top for hanging.
- Glue on berries or pinecones wherever it looks a little bare.
Common Mistakes to Avoid
Don’t use fresh green twigs. They shrink as they dry and your star falls apart. Dry branches only, friend.
Also, don’t skip the twine wrapping. Glue alone pops off in cold weather. Learn from my December meltdown.
Project 2: Spring Floral Mason Jar Lanterns
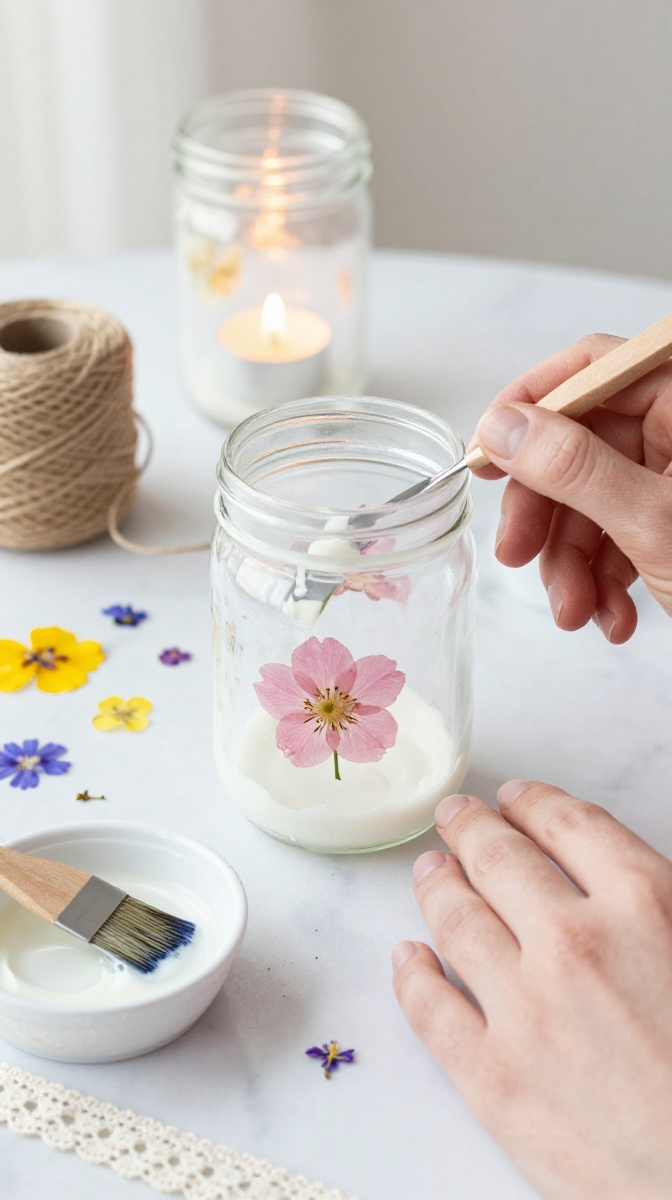
Mason jars are the Swiss Army knife of crafting. This project turns a plain jar into a glowing floral lantern. It works for spring, summer, or anytime you want cozy vibes.
Materials and Tools
- Clean mason jars (thrift stores sell them for a dollar)
- Mod Podge or white school glue
- Pressed flowers or thin fabric petals
- Foam brush
- Twine or lace trim
- Tea light candles or battery-powered fairy lights
Affordable swap: Skip pressed flowers and use tissue paper cutouts. Cheaper, and kids can help.
Step-by-Step Instructions
- Clean your jar and dry it completely.
- Brush a thin layer of Mod Podge on one small section.
- Press a flower onto the glue and smooth it flat.
- Brush another thin layer over the flower to seal it.
- Repeat around the jar, leaving gaps for light to shine through.
- Let it dry for two hours, then wrap twine around the rim.
- Drop in a candle or fairy lights and enjoy the glow.
Decorating and Display Ideas
Group three jars at different heights on a mantel. Or hang them from shepherd’s hooks along a porch railing. IMO, they look best clustered near a window.
Gift idea: Add a tag that says “You light up my life.” Cheesy? Yes. Adorable? Also yes.
Project 3: Autumn Pumpkin Yarn Balls
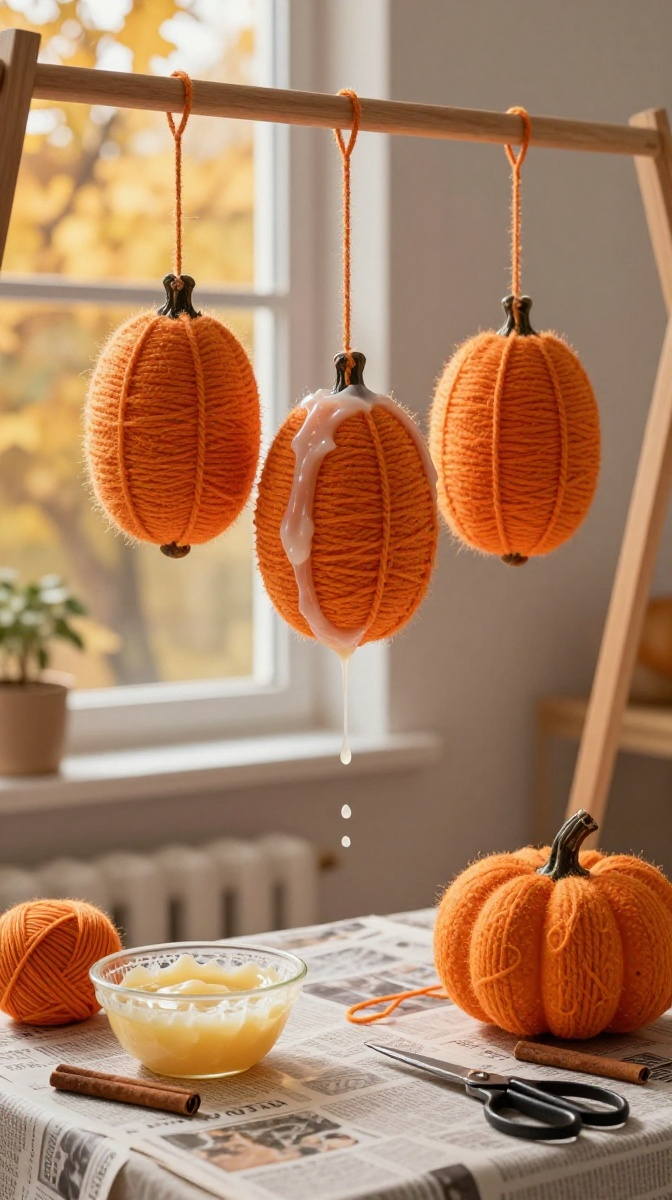
Real pumpkins rot. Yarn pumpkins last forever and never attract fruit flies. This is a win-win, honestly.
Materials and Tools
- Orange yarn (chunky works best)
- Balloons
- White school glue mixed with water (1:1 ratio)
- Cinnamon sticks for stems
- Twine
- Old newspapers to protect your table
Step-by-Step Instructions
- Blow up balloons to pumpkin size and tie them off.
- Soak yarn in the glue mixture for a few minutes.
- Wrap the soaked yarn around each balloon in crisscross patterns.
- Add a second layer for sturdiness, then tuck in the end.
- Hang balloons to dry for 24 hours. Be patient here.
- Pop the balloons and pull out the pieces.
- Glue a cinnamon stick on top as the stem.
Troubleshooting Tips
If your pumpkin sags, you used too much glue. Squeeze excess off before wrapping. If it collapses, add another yarn layer next time.
Drying takes longer in humid weather. Give it an extra day rather than rushing it.
Project 4: Summer Seashell Wind Chimes
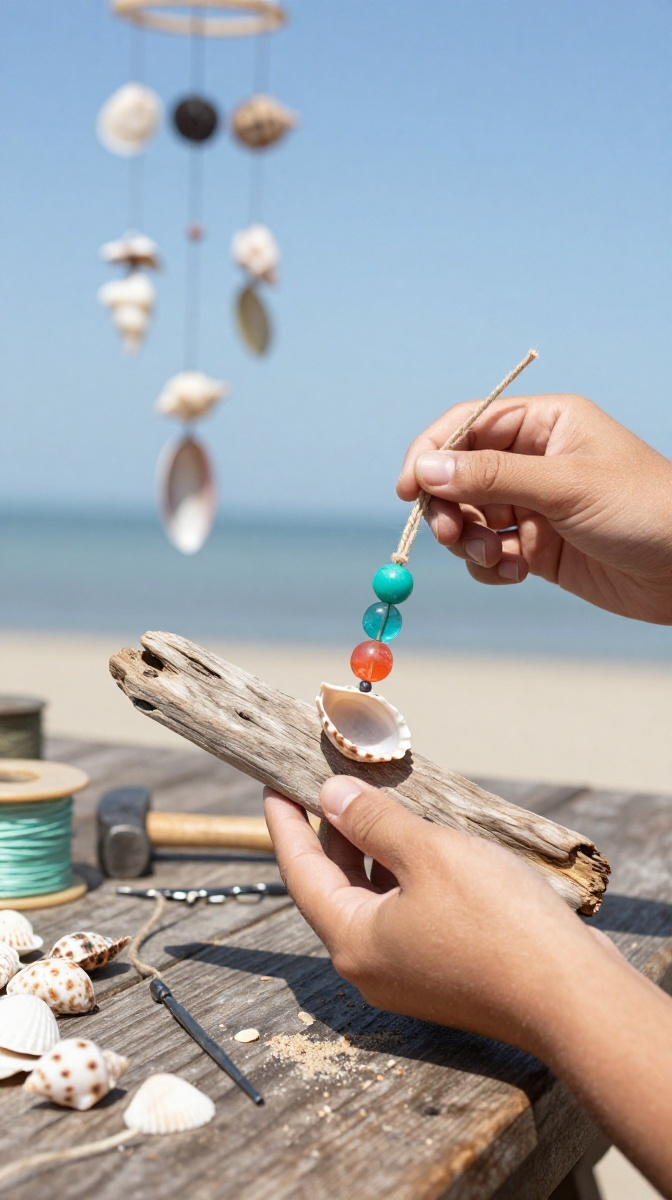
Collected shells on vacation and now they sit in a drawer? Put them to work. This wind chime brings beach energy to any porch.
Materials and Tools
- Seashells of various sizes
- Driftwood or a sturdy stick
- Strong twine or fishing line
- Drill with a small bit (or a nail and hammer)
- Beads for extra color
No drill? Use shells that already have natural holes. Or glue twine loops onto the backs.
Step-by-Step Instructions
- Drill small holes in each shell if needed.
- Cut twine into strands of different lengths.
- Tie a shell to the end of each strand, adding beads above it.
- Tie the strands along the driftwood at spaced intervals.
- Add a hanging loop to the top of the driftwood.
- Hang it outside and let the breeze do its thing.
Safety Note
Wear safety glasses when drilling shells. Tiny fragments fly, and your eyes matter more than the craft.
Practical Tips for All Seasonal Crafts
Work on a protected surface. Glue, paint, and glitter get everywhere. Trust me on this one.
Store materials in labeled bins by season. Next year you’ll thank yourself. Also, buy glue sticks in bulk. You will run out mid-project, guaranteed.
Customization tip: Match colors to your existing decor instead of the season’s traditional palette. A blue and silver winter wreath looks stunning.
FAQ’s
How long do handmade decorations last?
Most last for years if stored properly. Keep them in a cool, dry place and wrap fragile items in tissue paper.
Can kids help with these projects?
Absolutely. Skip the hot glue and use school glue for younger kids. The yarn pumpkins and mason jars are perfect family projects.
What’s the cheapest project for beginners?
The twig star wreath. If you have sticks and glue, you’re basically done. Total cost is nearly zero.
How do I store wreaths without squishing them?
Hang them on a nail inside a closet, or use a wreath storage bag. Don’t stack them in a box. That’s how you get sad, flat wreaths.
Can I sell these at craft fairs?
Yes, and they sell well. Price them at three times your material cost. The mason jar lanterns and yarn pumpkins are crowd favorites.
What if my project turns out ugly?
Laugh, call it “rustic,” and try again. Every crafter has a graveyard of failed projects. It’s part of the fun.
Go Make Something Seasonal Today
Pick one project and start this weekend. You don’t need fancy tools or a perfect workspace. You need sticks, glue, and maybe a little patience.
Handmade decorations carry memories that store-bought stuff never will. So grab your supplies, embrace the mess, and make something that feels like you. Then send me a photo of your masterpiece. Happy crafting!