
Summer is the perfect excuse to shake up your space. The days are long, the vibes are relaxed, and your living room is still rocking that heavy winter blanket like it’s confused about the season. Let’s fix that with a few DIY summer decor projects that are cheap, cheerful, and beginner-approved.
I’m talking about sunny colors, natural textures, and that breezy coastal feel you usually only get from a $200 hotel room. Ready to make your place look like summer exploded in the best way possible? Grab your glue gun and let’s go.
Why DIY Summer Decor Beats Store-Bought Stuff
Walk into any home store in June, and you’ll see the same mass-produced seashells and palm prints everyone else owns. Where’s the fun in that? DIY decor lets you match your exact color scheme, reuse stuff you already have, and avoid paying $45 for a piece of driftwood with a candle on it.
Plus, there’s a certain smug satisfaction in saying “Oh, this old thing? I made it.” Try it. It never gets old.
What You’ll Need to Get Started
Most of these projects share a basic toolkit. You probably own half of it already, hiding in a drawer somewhere.
- Hot glue gun and extra glue sticks (the cheap ones work fine, FYI)
- Scissors and a craft knife for stubborn materials
- Sandpaper in medium and fine grit
- Acrylic paint in summery shades like turquoise, coral, and sunny yellow
- Paintbrushes in a few sizes
- Twine, jute rope, or macramé cord
- Mod Podge or a budget white glue alternative
Don’t have a glue gun? Strong craft glue works, but it dries slower. Don’t have sandpaper? A nail file saves the day in a pinch. No shame in improvising.
Project 1: Beachy Driftwood Wall Hanging
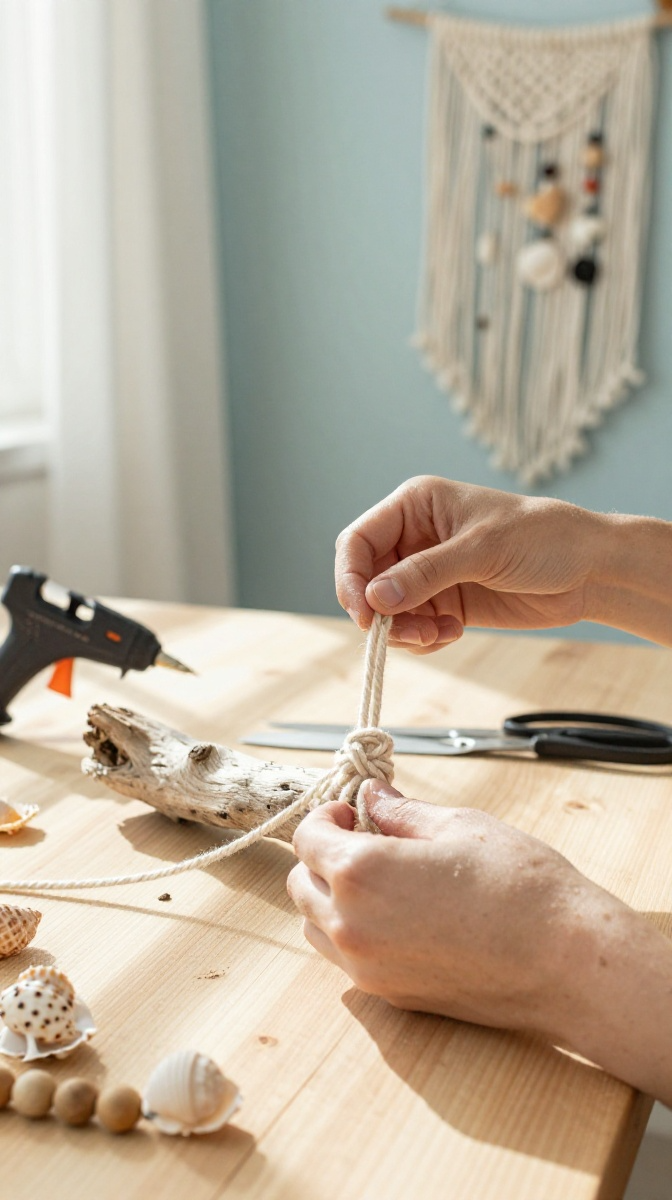
This one is my personal favorite because it looks expensive but costs almost nothing. You can use real driftwood from a beach trip, or grab a bag of craft wood pieces online.
Materials and Tools
- A piece of driftwood or weathered branch, about 12 to 18 inches long
- Cotton yarn or macramé cord in cream or white
- Small seashells or wooden beads
- Hot glue gun
- Scissors
Step-by-Step Instructions
- Clean your driftwood with a dry brush and let it sit in the sun for a day to kill any critters. Yes, really.
- Cut 8 to 12 strands of yarn, each about 24 inches long.
- Fold each strand in half and loop it around the driftwood using a simple lark’s head knot.
- Slide a bead or shell onto a few strands and tie a knot under each one to hold it in place.
- Trim the ends so they hang evenly, or leave them uneven for that relaxed beach look.
- Hang it on a nail or a removable hook. Admire your handiwork.
Common Mistakes to Avoid
Don’t skip the cleaning step unless you enjoy surprise bugs, roommates. Also, don’t pull your knots too tight right away. You’ll want room to adjust before committing.
Project 2: Citrus Stamped Tea Towels
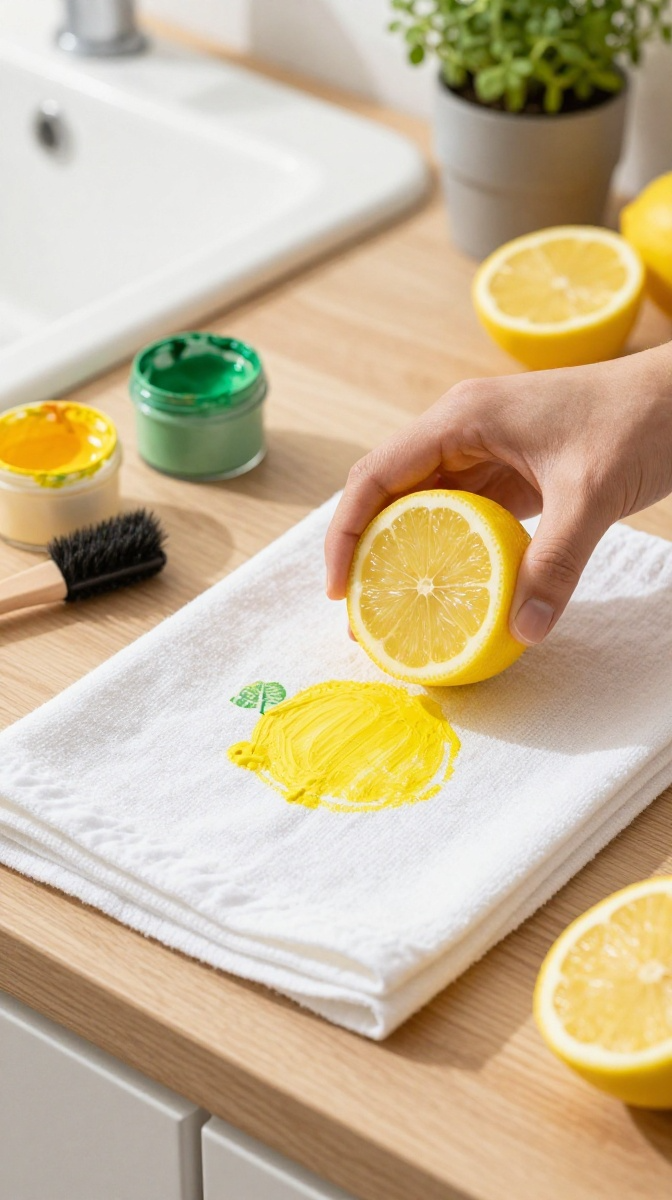
Want decor that’s useful too? These lemon and orange stamped towels brighten up a kitchen instantly. They also make great housewarming gifts, so make extras.
Materials and Tools
- Plain white or cream cotton tea towels
- Fabric paint in yellow, orange, and green
- A lemon or orange, halved (yes, real fruit works)
- Cardboard or wax paper for inserting inside the towel
- Small sponge brush for the leaves
Step-by-Step Instructions
- Wash and dry your towels first so the paint sticks properly.
- Slide a piece of cardboard inside the towel to stop paint bleeding through.
- Dip your halved citrus fruit into the paint and press it firmly onto the fabric.
- Use the sponge brush to add small green leaves between the fruit prints.
- Let the paint dry completely, then heat-set it with an iron according to the paint label.
- Wait 24 hours before washing. Patience, friend.
Design Variations
Try a single big lemon in the corner instead of a repeating pattern. Or go bold with a whole row of oranges across the bottom edge. You can also mix in lime prints for a punchier palette.
Project 3: Mason Jar Summer Lanterns
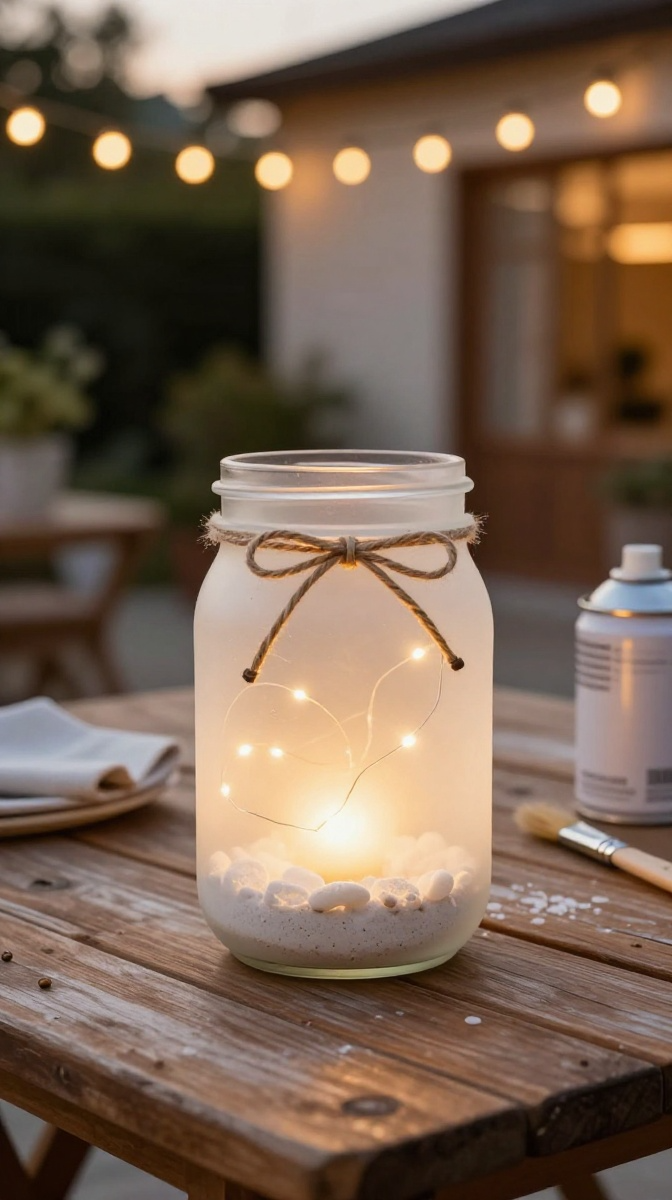
These little lanterns are stupidly easy and look magical on a patio table after sunset. If you’ve got mason jars collecting dust, this is their moment.
Materials and Tools
- Clean mason jars in any size
- Frosted glass spray or white acrylic paint thinned with water
- Twine or thin rope
- Sand or small pebbles
- Tea lights or LED fairy lights
Step-by-Step Instructions
- Make sure your jars are completely clean and dry.
- Spray a light coat of frosted glass spray, or brush on thinned white paint for a cloudy look.
- Let them dry for at least an hour.
- Wrap twine around the neck of each jar a few times and tie a bow.
- Add a layer of sand or pebbles to the bottom.
- Drop in a tea light or a small bundle of fairy lights.
Safety Tips
If you’re using real candles, never leave them burning unattended. LED lights are the safer bet, especially if kids or pets are around. Also, keep painted jars out of direct rain unless you seal them.
Project 4: Macramé Plant Hanger for Summer Greenery
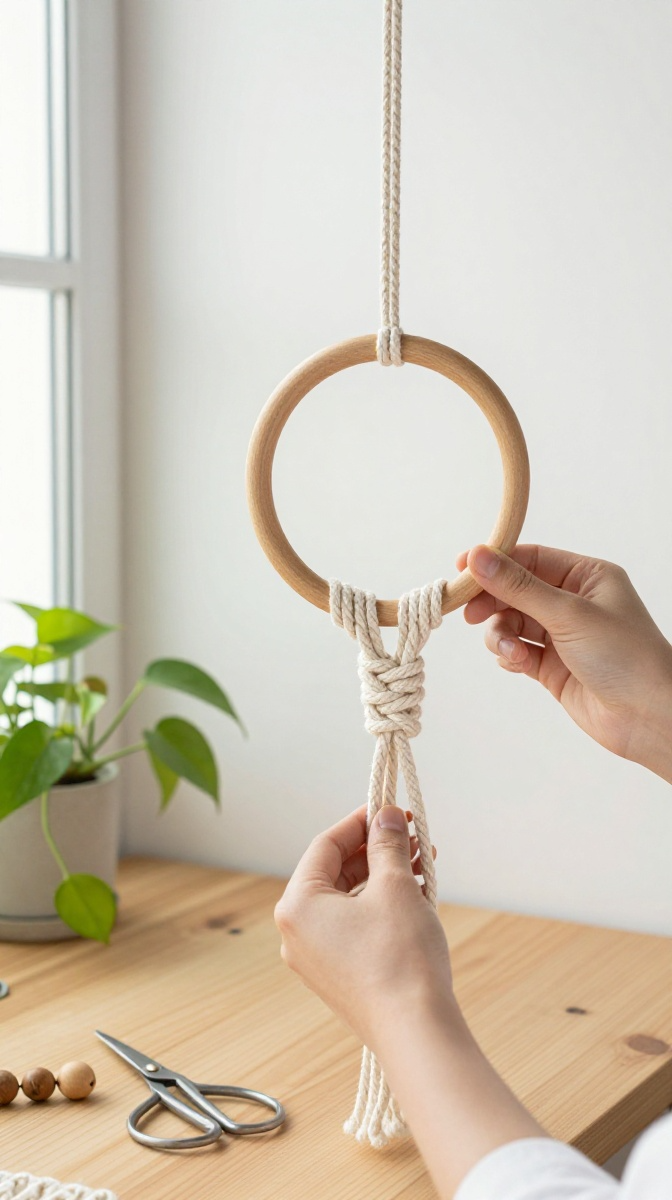
Nothing says summer like hanging plants everywhere. This macramé hanger is beginner-friendly and takes about 30 minutes once you get the rhythm.
Materials and Tools
- Macramé cord, about 4mm thick
- A metal or wooden ring
- Scissors
- A small potted plant (pothos and spider plants love this setup)
Step-by-Step Instructions
- Cut four strands of cord, each about 8 feet long.
- Fold them in half and loop them through the ring with a lark’s head knot.
- Separate into four pairs and tie a series of square knots about 6 inches down.
- Split the pairs and tie more square knots to create the basket shape.
- Gather all strands at the bottom and tie a thick knot to close the base.
- Trim the loose ends and slide your plant pot inside.
Customization Ideas
Add wooden beads above the knots for a boho touch. You can also dye your cord with fabric dye for a pop of color. Ombre looks amazing here, IMO.
Project 5: Painted Terracotta Pot Parade
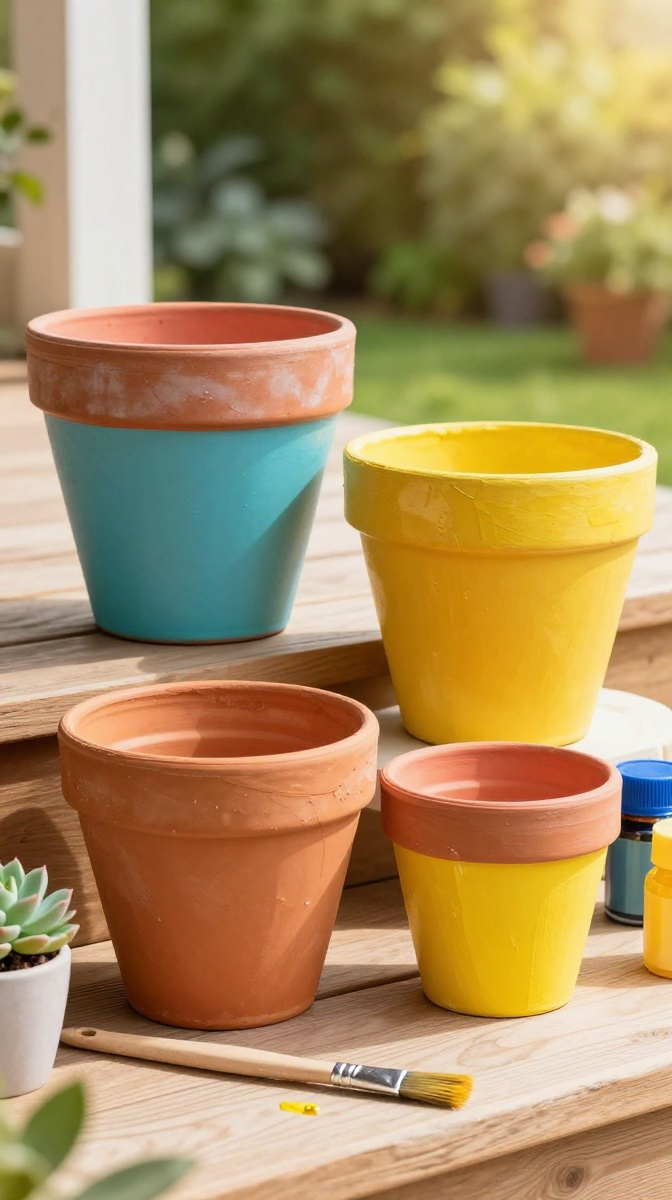
Plain terracotta pots are cheap and everywhere. Ten minutes with paint turns them into a colorful summer display for your windowsill or porch steps.
Materials and Tools
- Terracotta pots in assorted sizes
- Acrylic paint in bright summer colors
- Painter’s tape for stripes
- Sealant spray for outdoor use
Step-by-Step Instructions
- Wipe your pots clean and let them dry.
- Use painter’s tape to create stripes, chevrons, or color-block sections.
- Paint the exposed areas and let each coat dry fully.
- Peel off the tape while the paint is still slightly tacky for clean lines.
- Seal with a clear spray if the pots will live outside.
- Plant your herbs or flowers and arrange them in a row.
Decorating Ideas
Group three pots in matching colors but different heights. Or paint each pot a different shade for a rainbow effect. Either way, it beats a sad row of plain orange pots.
FAQ’s
How much should I expect to spend on these projects?
Most of these come in under $15 each if you shop sales or use what you already own. The driftwood and mason jar projects can be nearly free.
Can I do these crafts with kids?
Absolutely, with supervision. The citrus stamping and pot painting are great for kids. Skip the glue gun and craft knife for the little ones.
What if I don’t have a glue gun?
Use strong craft glue or even clear tape in a pinch. Just give it extra drying time and avoid heavy items.
How do I keep outdoor decor from fading?
Use a UV-resistant sealant spray on anything painted. Bring fabric items inside during rainstorms unless they’re treated.
Where can I find cheap craft supplies?
Dollar stores, thrift shops, and end-of-season sales are gold mines. Beach walks are free, and nature provides half your materials.
Do these projects work for renters?
Yes! Use removable hooks for wall hangings and freestanding displays on shelves. No drilling required.
Final Thoughts:
Your home deserves a summer glow-up, and it doesn’t take a big budget or expert skills. Pick one project this weekend, throw on some music, and get crafting. Worst case? You make a mess and learn something. Best case? You’ve got decor that looks like it came from a boutique.
Now go raid that craft drawer and make your space feel like a permanent vacation. You’ve got this.