
Spring is here, and your home is probably begging for a little color after months of gray. Forget the expensive store-bought stuff—we’re making our own spring decorations, and yes, you can absolutely do this. Grab your glue gun and a coffee, because we’re diving into five easy projects that even the craft-challenged can handle. Let’s get your space looking fresh without emptying your wallet.
Why DIY Spring Decorations Beat Store-Bought Stuff
Store decorations are fine, but they’re everywhere. Everyone has the same pastel bunnies from the big-box store.
When you make your own, you get exactly what you want. You control the colors, the size, and the vibe. Plus, nothing beats that “I made that” feeling when a guest asks where you bought it.
DIY also lets you use what you already have. Jars, twine, old books—your recycling bin is basically a free craft supply store. So before you toss that glass jar, think again.
Project 1: Mason Jar Spring Centerpiece
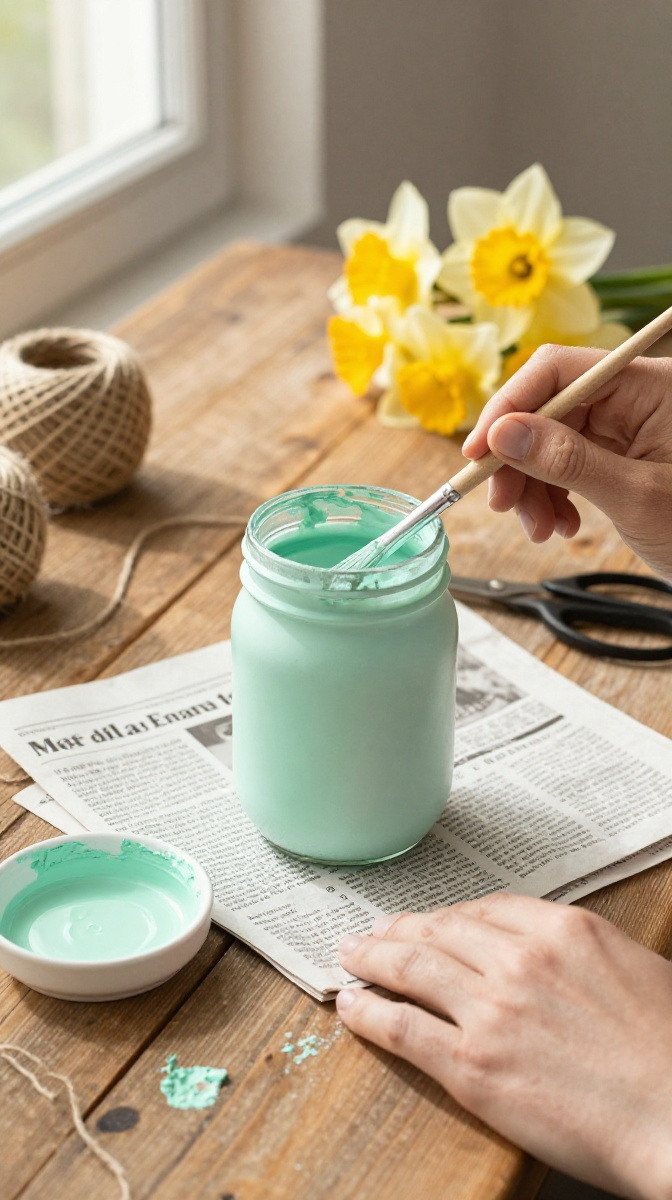
This is the classic for a reason. It’s cheap, fast, and looks way more expensive than it actually is.
Materials and Tools
- Clean mason jars (any size, or use old pasta sauce jars)
- Acrylic paint in pastel colors (pink, mint, lavender)
- Twine or ribbon
- Fresh or fake flowers
- Mod Podge or white glue mixed with water
- Paintbrush and scissors
No Mod Podge? No problem. Mix equal parts white glue and water for a cheap DIY sealant.
Step-by-Step Instructions
- Mix your paint with a little Mod Podge or glue mixture. This makes it stick to glass.
- Paint the outside of the jar in thin, even coats. Don’t glop it on, or it’ll look lumpy.
- Let it dry between coats. Two or three coats should do it.
- Wrap twine around the neck of the jar a few times. Tie a bow.
- Add water and flowers. Fake flowers work great if you’re like me and forget to water things.
Common Mistakes to Avoid
Painting the inside of the jar seems smart, but water will ruin it. Trust me, I learned the hard way. Also, don’t use too much paint at once—it’ll drip and look messy.
Customization Ideas
Try speckling paint with a toothbrush for a rustic look. Or add gold leaf to the rim for a fancy touch. You can also fill the jar with fairy lights instead of flowers for a cozy glow.
Project 2: Spring Wreath from Dollar Store Finds
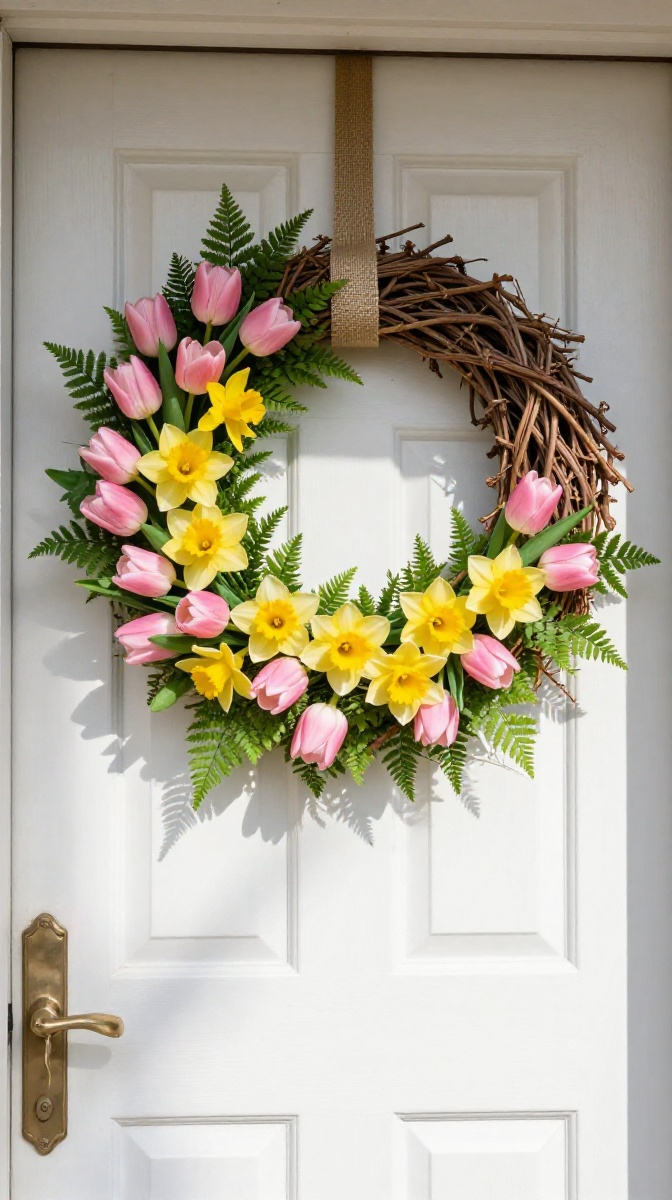
Wreaths are not just for Christmas. A spring wreath screams “I have my life together” even if you don’t.
Materials and Tools
- Grapevine wreath base (or a wire hanger bent into a circle)
- Fake flowers and greenery
- Hot glue gun and glue sticks
- Ribbon
- Wire cutters
A wire hanger works in a pinch, but it’s not as sturdy. Hit up a thrift store for cheap grapevine bases.
Step-by-Step Instructions
- Cut flower stems, leaving about two inches of stem.
- Lay out your design before gluing. This saves you from a hot-glue disaster.
- Glue flowers and greenery in clusters. Start with the biggest blooms.
- Fill gaps with smaller flowers and leaves.
- Wrap ribbon around the top for hanging. Make a bow if you’re feeling fancy.
Troubleshooting Tips
If flowers keep falling off, you’re not using enough glue. If the wreath looks sparse, add more greenery. A wreath should look full, not sad and empty.
Project 3: Painted Terra Cotta Pot People
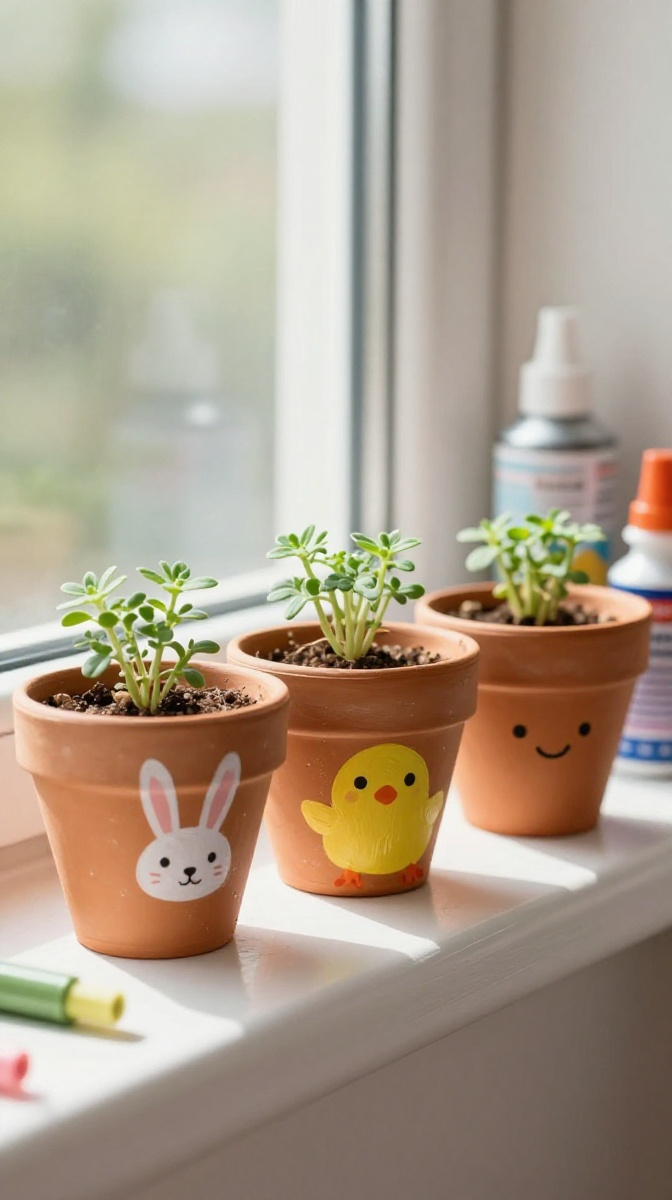
These little guys are adorable and perfect for spring. You can put them on your porch, windowsill, or give them as gifts.
Materials and Tools
- Terra cotta pots (any size)
- Acrylic paint in bright colors
- Paint pens for details
- Sealant spray
- Small plants or herbs
Plastic pots work too, but terra cotta gives that earthy spring vibe.
Step-by-Step Instructions
- Paint the pot a base color. Let it dry completely.
- Use paint pens to add faces, patterns, or silly expressions.
- Seal with a spray sealant so it survives rain and watering.
- Plant your herbs or flowers inside.
- Display on a windowsill or porch step.
Design Variations
Make a whole family of pot people. Add googly eyes for extra silliness. Or paint them like animals—bunnies, chicks, whatever screams spring to you.
Safety Tips
Sealant spray needs ventilation. Do it outside or in a garage. Also, don’t paint the inside of the pot if you’re planting edibles—paint chemicals can leach into the soil.
Project 4: Spring Garland from Scrap Fabric
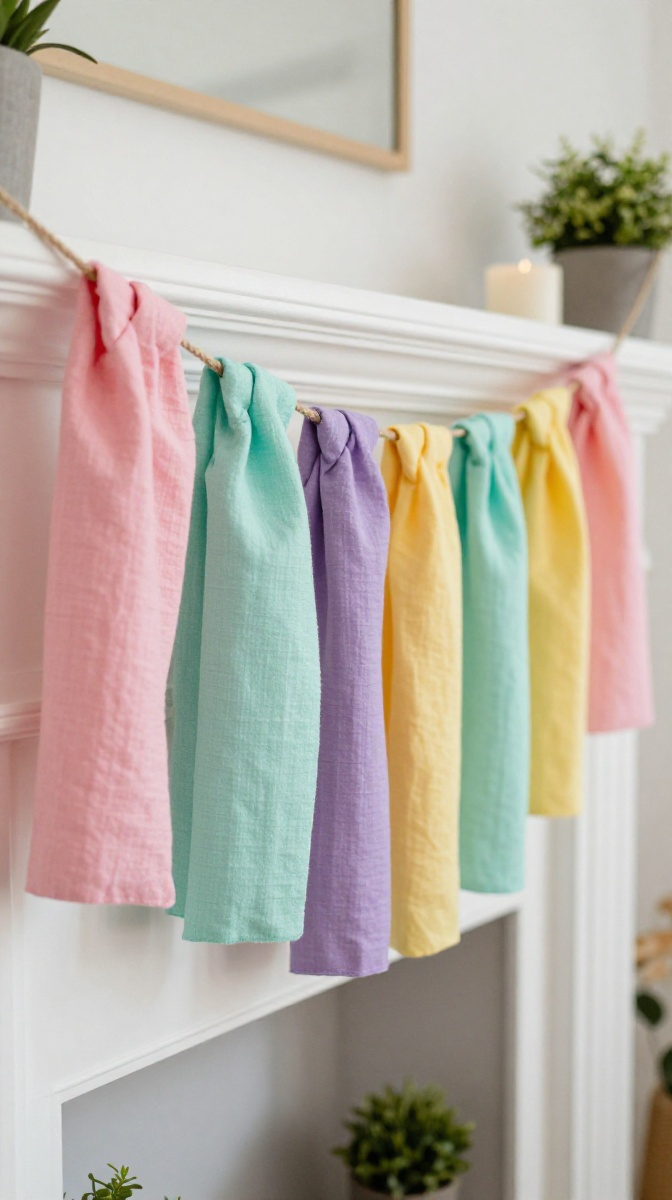
Got old t-shirts or fabric scraps? Turn them into a cheerful garland in under an hour.
Materials and Tools
- Fabric scraps or old t-shirts
- Twine or yarn
- Scissors
- Ruler (optional)
No sewing required. This is a no-sew project, which is my favorite kind.
Step-by-Step Instructions
- Cut fabric into strips about 1 inch wide and 6 inches long.
- Tie each strip onto the twine using a simple knot.
- Push knots close together for a fuller look.
- Hang across a mantel, doorway, or window.
Color Coordination Tips
Stick to three or four colors for a cohesive look. Pastels are obvious for spring, but bright jewel tones also work if you want a bolder vibe.
Project 5: Birdseed Ornaments for Your Feathered Friends
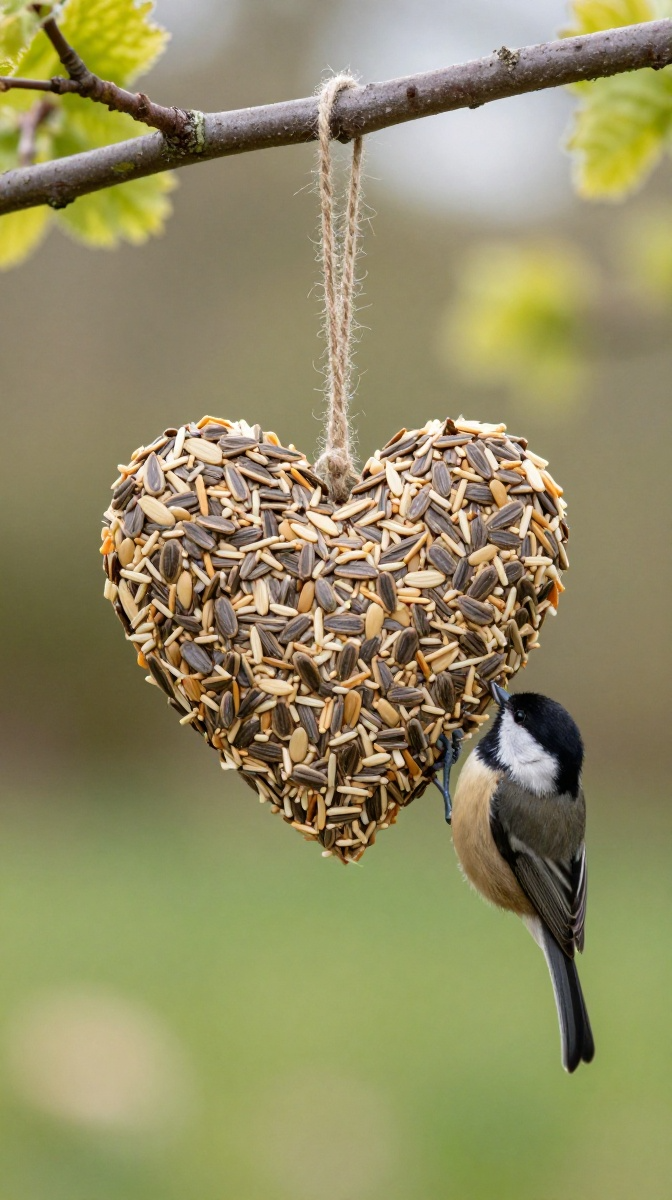
Spring means birds are back, and they’re hungry. These ornaments feed them and look cute hanging in your yard.
Materials and Tools
- Birdseed
- Gelatin or corn syrup
- Cookie cutters
- Straw (for the hole)
- Twine
- Parchment paper
Gelatin is the standard binder, but corn syrup works if you’re out. FYI, gelatin sets faster.
Step-by-Step Instructions
- Mix 1 packet of gelatin with 1/4 cup hot water. Stir until dissolved.
- Add 2 cups birdseed. Mix well.
- Spoon into cookie cutters on parchment paper.
- Poke a hole with a straw. Don’t forget this step, or you can’t hang them.
- Let dry for 24 hours. Flip halfway through.
- Thread twine through the hole and hang outside.
Common Mistakes to Avoid
If the mixture is too dry, add a little more water. If it’s too wet, add more seed. Also, don’t hang these in direct sun—the gelatin can melt.
Gift and Display Ideas
These make great gifts for neighbors or teachers. Wrap them in cellophane with a ribbon. You can also hang them on a small indoor tree if you don’t have outdoor space.
FAQ’s
How long do these decorations last?
Indoor decorations last for years if stored properly. Outdoor ones depend on weather. Birdseed ornaments usually last a few weeks or until the birds eat them.
Can I use hot glue on glass jars?
Yes, but it can pop off in temperature changes. For glass, use a strong craft glue or E6000 for a permanent hold.
What if I don’t have a hot glue gun?
Use craft glue or double-sided tape for lighter projects. For heavy items like wreaths, you really need hot glue. They’re cheap and worth the investment.
Are these projects kid-friendly?
Most of them, yes. Skip the hot glue gun for little ones. Let them paint the jars and pots while you handle the gluing.
How do I store these decorations for next year?
Use labeled plastic bins. Wrap fragile items in tissue paper. Keep everything in a cool, dry place.
Final Thoughts:
You don’t need a craft room or a ton of money to make your home feel like spring. A few supplies, an hour of your time, and a willingness to get a little glue on your fingers—that’s it.
Pick one project and try it this weekend. If it flops, laugh it off and try again. That’s the beauty of DIY. Now go grab those mason jars and make something awesome.