
Forgot a birthday? Secret Santa sneak attack? Yeah, it happens to the best of us. Good news: you don’t need a mall or two-day shipping to save the day. These five DIY last-minute gift ideas come together fast, cost almost nothing, and look like you planned them for weeks. Grab your glue gun and let’s get you out of trouble.
Why Last Minute Gifts Can Actually Be the Best Gifts
Here’s a hot take: handmade beats store-bought almost every time. A rushed trip to the mall usually ends with a scented candle nobody wanted. A rushed craft session, though? That ends with something personal, useful, and honestly kind of charming.
Plus, you probably already own half the supplies. Dig through that junk drawer — you know, the one with three tape rolls and a mystery key. You’ve got more craft material than you think.
Quick reality check: these projects work best when you keep them simple. Don’t try to reinvent the gift box. Pick one project, do it well, and move on with your life.
Project 1: Custom Photo Coasters (Yes, Really)
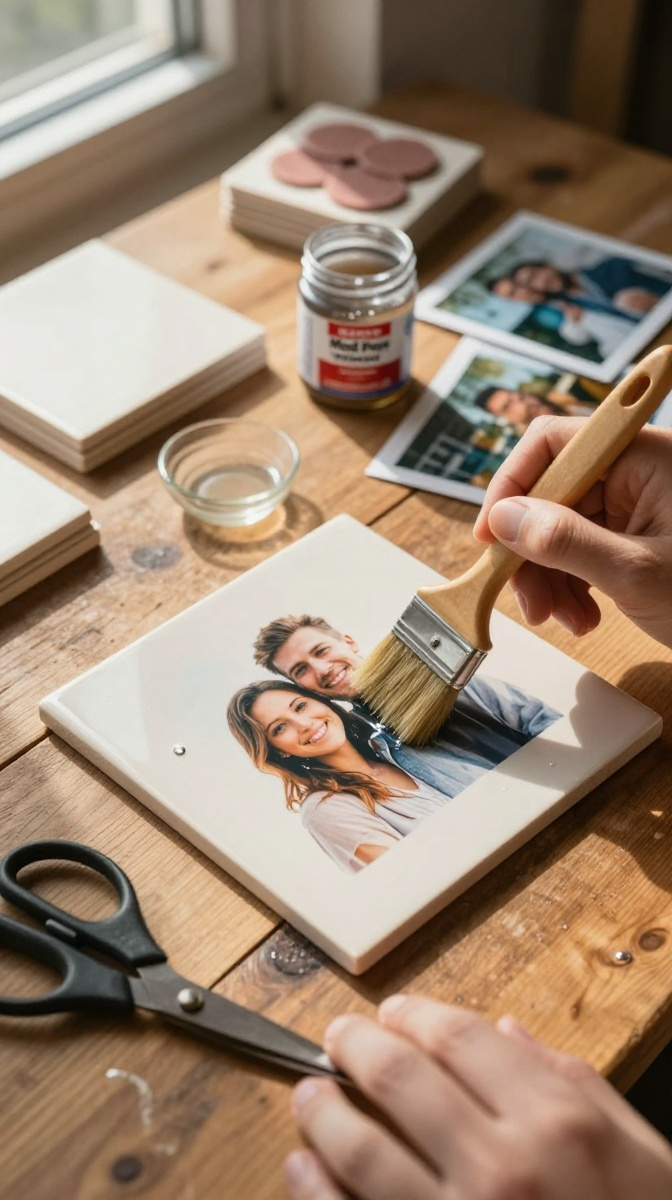
Photo coasters look fancy and take about 20 minutes. People display them, use them, and brag about them. Not bad for four tiles and some glue.
Materials and Tools
- 4 plain ceramic tiles (home improvement stores sell them for under a dollar each)
- Mod Podge or any decoupage glue
- Printed photos, cut to fit the tile centers
- Foam brush
- Clear acrylic sealer spray
- Self-adhesive felt pads (or cut-up felt squares)
No Mod Podge? Mix equal parts white school glue and water. It works in a pinch, though it dries a little cloudy.
Step-by-Step Instructions
- Wipe each tile clean and let it dry completely. Dust is the enemy here.
- Cut your photos slightly smaller than the tile face so a border of tile shows around the edges.
- Brush a thin layer of Mod Podge onto the tile, press the photo down, and smooth out bubbles with your fingers.
- Brush another coat of Mod Podge over the top of the photo. Don’t panic — it looks milky now but dries clear.
- Let it dry for 15 to 20 minutes, then spray with acrylic sealer in a well-ventilated area.
- Stick felt pads on the bottom corners so the coasters don’t scratch tables.
Common Mistakes to Avoid
Using inkjet prints without sealing them first is a rookie move — the colors can smear. Also, don’t glop on the Mod Podge. Thin coats beat thick ones every time.
Project 2: Homemade Sugar Scrub in a Mason Jar
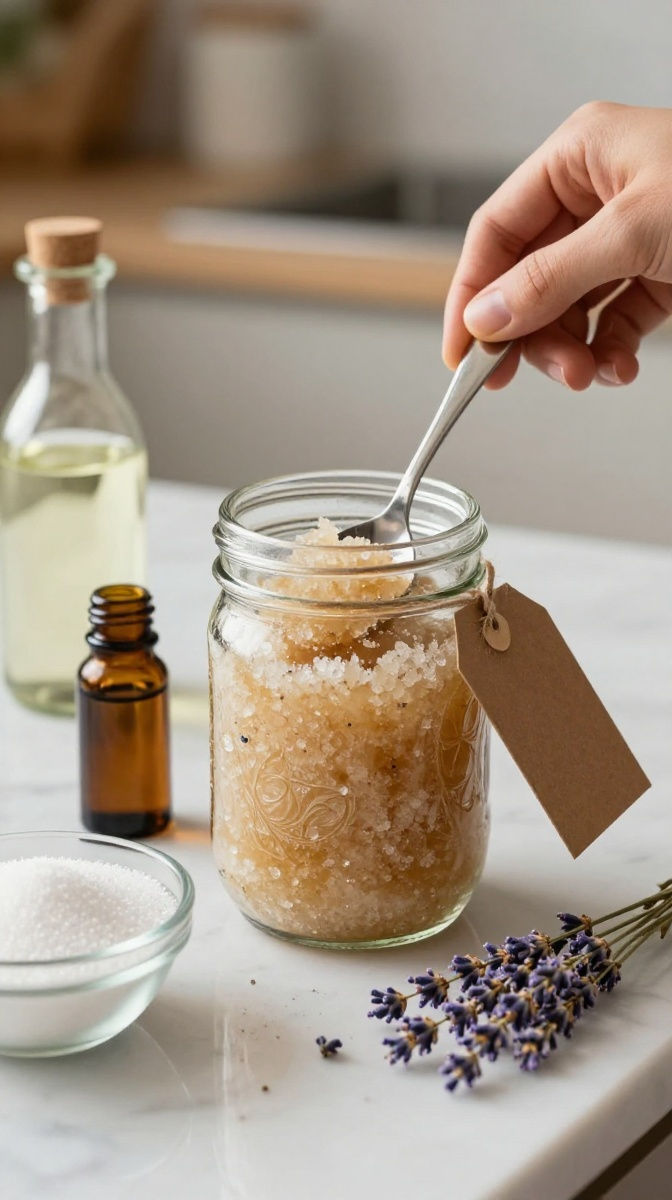
This one is basically baking, except you don’t have to bake anything. Three ingredients, five minutes, and you’ve got a spa-quality gift. Wrap a ribbon around the jar, and nobody will know you made it during a commercial break.
Materials and Tools
- 1 cup white or brown sugar
- 1/2 cup coconut oil or olive oil
- 10 to 15 drops essential oil (lavender, peppermint, or orange work great)
- Mason jar or any clean glass jar with a lid
- Small spoon or whisk
- Ribbon, twine, or a gift tag
Coconut oil gives a fluffier texture, but olive oil is cheaper and already in your kitchen. Both work.
Step-by-Step Instructions
- Pour the sugar into a bowl.
- Add the oil and stir until it looks like wet sand. Add more oil if it feels too dry.
- Drop in your essential oil and mix again.
- Spoon the scrub into your jar and press it down gently to remove air pockets.
- Wipe the jar rim clean, screw on the lid, and decorate with ribbon or a handwritten tag.
Customization Ideas
Add a teaspoon of vanilla extract for a dessert smell. Toss in a pinch of cinnamon for a cozy fall vibe. Just skip fresh fruit or herbs — they go bad fast and turn your gift into a science experiment.
Project 3: Mini Succulent Planter from a Tin Can
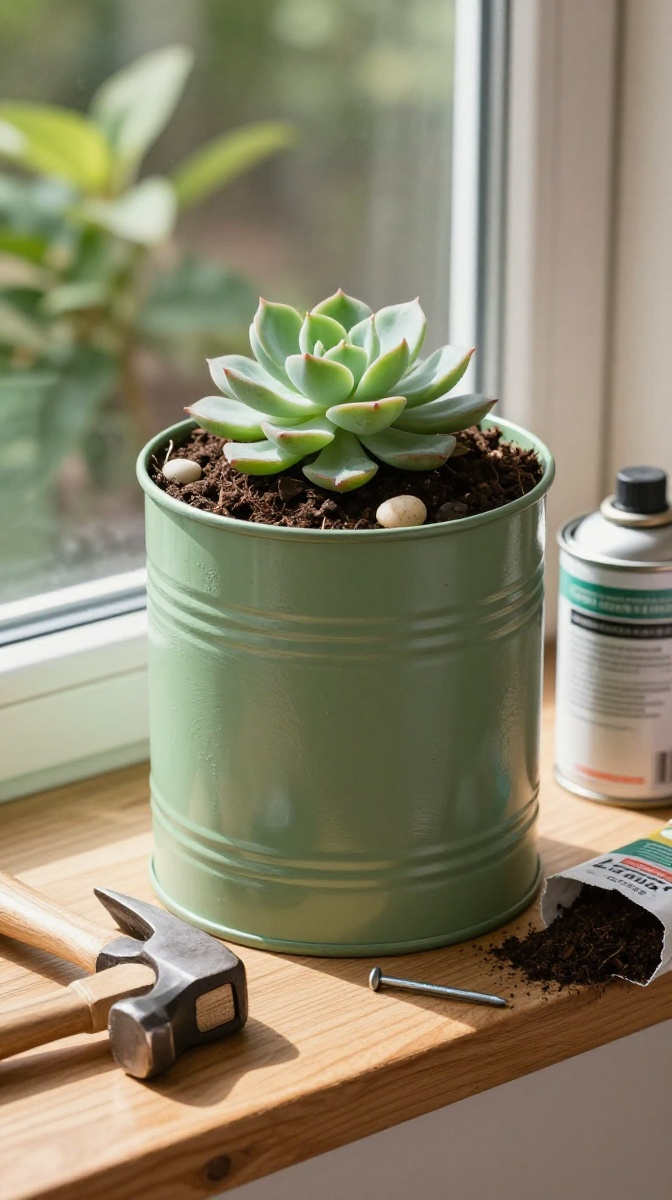
Got an empty can? Congratulations, you have a planter. This project is cheap, cute, and nearly impossible to mess up. It also gives you an excuse to eat more soup.
Materials and Tools
- Clean tin can with the label removed
- Spray paint or acrylic paint in your chosen color
- Small succulent or herb seedling
- Potting soil
- Nail and hammer (for drainage holes)
- Pebbles for the bottom layer
Step-by-Step Instructions
- Wash the can thoroughly and dry it. Any leftover label glue will show through paint.
- Flip the can upside down and hammer two or three small drainage holes with a nail. Do this on a stable surface, please.
- Paint the outside of the can and let it dry. Two thin coats look better than one thick one.
- Add a layer of pebbles, then fill halfway with potting soil.
- Plant your succulent, top off with more soil, and press gently.
- Water lightly and let it settle before gifting.
Safety Tips
Watch those sharp can edges. Run your finger along the rim, and if it’s jagged, sand it down or cover it with a strip of washi tape. Your gift recipient will thank you.
Project 4: No-Sew Fleece Tie Blanket
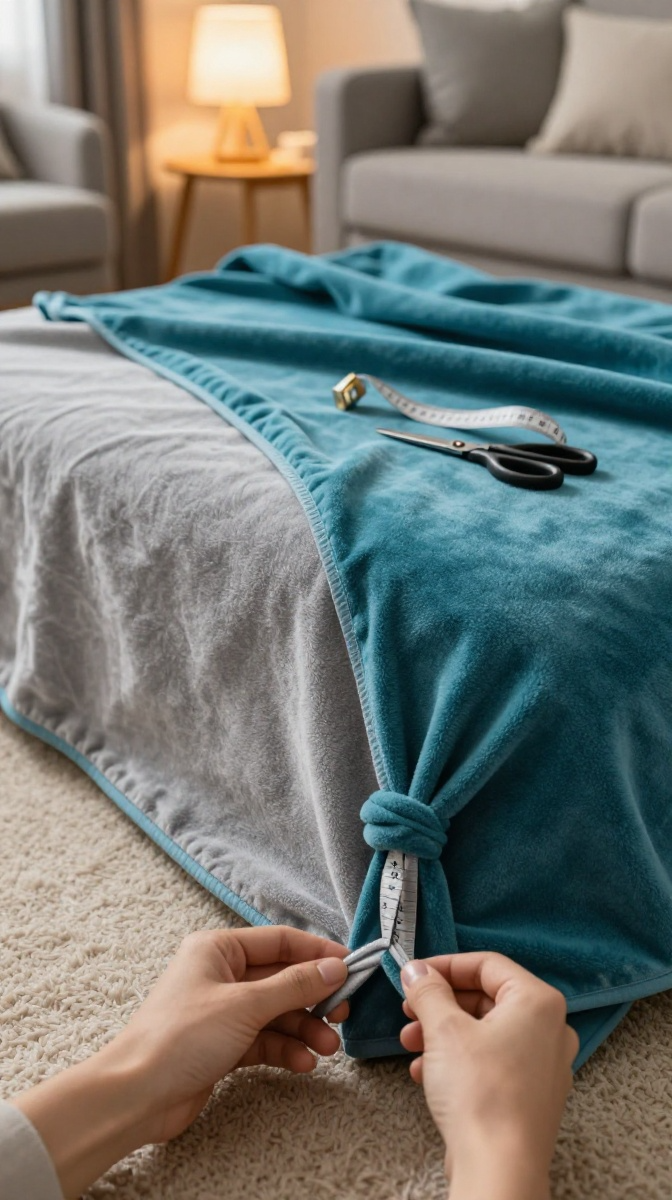
Want to give something cozy but can’t sew a button? This is your project. All you need is fleece, scissors, and a little patience. The tied edges look intentionally rustic, which is a nice way of saying nobody will notice your uneven cuts.
Materials and Tools
- Two pieces of fleece fabric, about 1.5 yards each (contrasting colors look best)
- Fabric scissors
- Measuring tape
- Masking tape (optional, for keeping edges lined up)
Fleece goes on sale constantly, so check the clearance bin. Mismatched patterns are a design choice, not a mistake.
Step-by-Step Instructions
- Lay both fleece pieces flat, one on top of the other, and smooth out wrinkles.
- Trim the edges so both layers line up.
- Cut a 4-inch square out of each corner.
- Cut 1-inch-wide strips along all four sides, about 4 inches deep.
- Tie the top and bottom strips of each pair together in a double knot.
- Work your way around the whole blanket, then fluff it out.
Troubleshooting
If your strips end up different lengths, don’t stress. Trim them at the end for a cleaner look. And if the knots feel loose, add a second knot — fleece is forgiving.
Project 5: Friendship Bracelet Gift Set
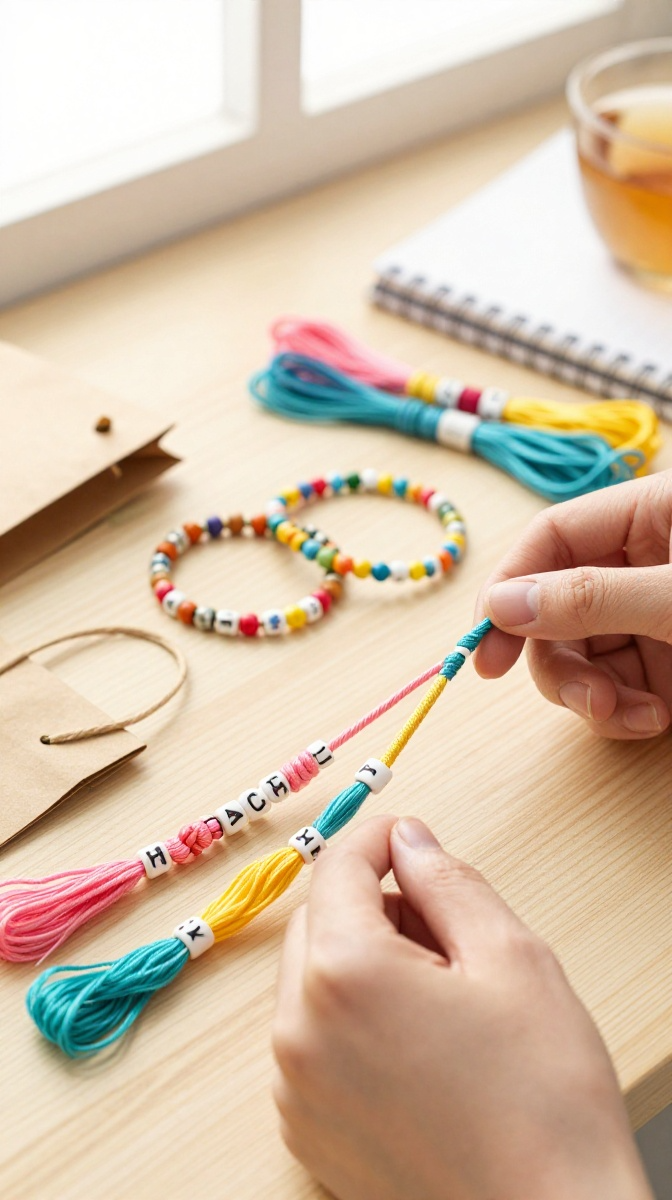
Remember making these at summer camp? They’re back, and they’re genuinely trendy again. Make a stack of three or four, tie them with a bow, and you’ve got a gift that feels thoughtful and nostalgic.
Materials and Tools
- Embroidery floss in 3 to 5 colors
- Scissors
- Tape or a safety pin
- Small gift bag or card
No embroidery floss? Thin yarn or even dental floss works in a pinch. Desperate times, creative measures.
Step-by-Step Instructions
- Cut three strands of floss, each about 24 inches long.
- Knot them together at one end, leaving a small tail.
- Tape the knot to a table or pin it to a cushion.
- Braid the strands tightly until you reach your wrist size.
- Knot the end and trim the excess, leaving a short tail for tying.
- Repeat with different color combos to build a set.
Quick Tips for Wrapping and Gifting Last-Minute Crafts
Presentation matters more than you think. A plain jar with a ribbon beats a fancy jar with no effort. Use what you have: brown paper, twine, old maps, or fabric scraps.
Add a handwritten note. It takes 30 seconds and instantly makes any handmade gift feel intentional. Personal touches beat perfect execution every single time.
FAQ’s
How long do these DIY gifts take to make?
Most of them take 20 to 60 minutes. The fleece blanket is the longest, but you can finish it during one movie.
What if I don’t have the exact supplies?
Substitute freely. School glue works instead of Mod Podge, olive oil works instead of coconut oil, and any jar works instead of a mason jar. Crafting is flexible like that.
Are these gifts okay for coworkers or casual friends?
Absolutely. Sugar scrubs, coasters, and succulents are safe, neutral choices. Save the photo coasters for people who’d actually enjoy seeing your face on their coffee table.
How do I make a handmade gift look store-bought?
Clean edges, neat wrapping, and a tag. That’s it. Small details do the heavy lifting.
Can kids help with these projects?
Yes, with supervision. Skip the hammer and spray paint for little ones, but braiding, stirring, and tying knots are all kid-friendly.
What’s the fastest option if I’m truly out of time?
The sugar scrub. Five minutes, three ingredients, done. You can literally make it while your coffee brews.
Final Thoughts: Go Make Something Already
Last minute doesn’t have to mean lame. Pick one project, raid your supplies, and embrace the imperfect result. Handmade gifts carry a story, and that story is worth way more than a gift card grabbed at the checkout line.
So which one are you trying first? Grab your glue gun and find out. Worst case, you make a mess. Best case, you become the friend who always gives the best gifts. Not a bad upgrade.