
Store-bought gifts are fine, but handmade ones hit different. You get to skip the crowded mall, save some cash, and hand over something that screams “I made this for you.” Today we’re tackling three crowd-pleasers: **personalized photo candles**, **custom recipe-in-a-jar mixes**, and **hand-painted terracotta planters**. Grab a glue gun and let’s get messy.
Why Handmade Gifts Win Every Time
Let’s be real — nobody remembers the third scented candle from a big-box store. But they absolutely remember the wonky mug you painted yourself. Handmade gifts carry a story, and that story is usually “I thought about you and then burned my fingers with hot glue.”
Here’s the practical side: handmade gifting is **cheaper, more personal, and endlessly customizable**. You can match a friend’s weird color obsession or a parent’s favorite dessert. Plus, crafting is basically therapy with glitter involved.
Worried you’re not “crafty”? You don’t need to be. The projects below are beginner-friendly and forgiving. If something looks a little lopsided, call it rustic and move on.
Project 1: Personalized Photo Candles
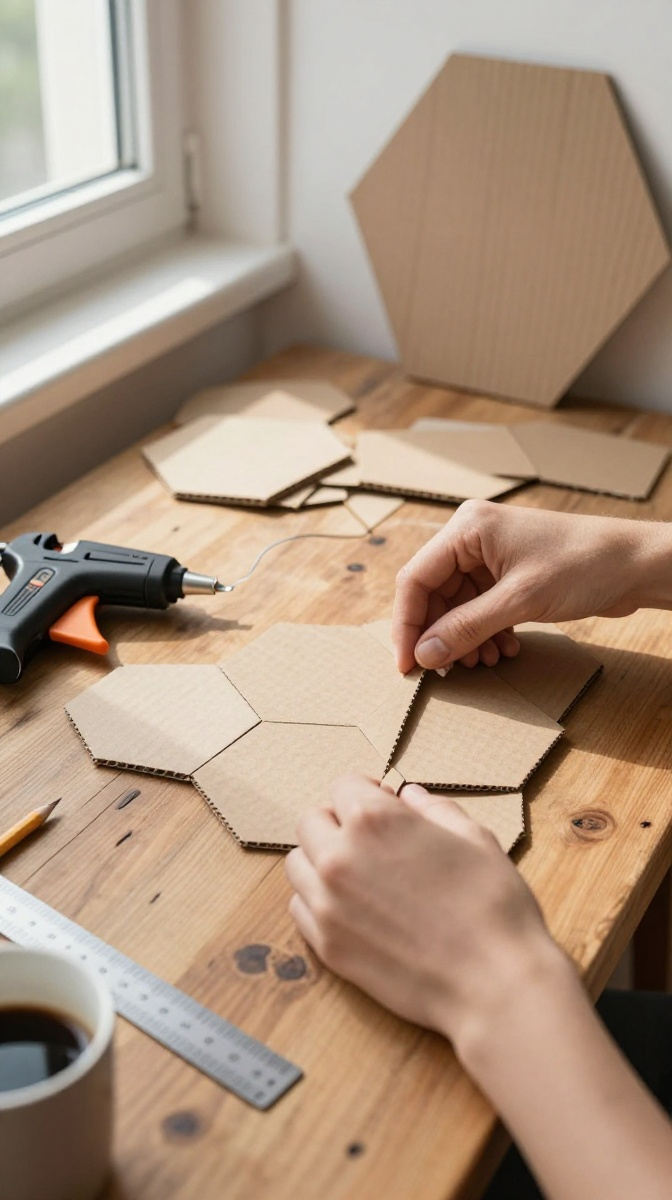
This one looks expensive and takes about 20 minutes. You basically print a photo onto tissue paper, melt it onto a candle, and pretend you’re a professional. Spoiler: nobody has to know.
Materials and Tools
- Plain white pillar or jar candles (dollar store ones work great)
- Tissue paper (the kind for gift wrapping, not the crumpled stuff from a shoe box)
- Inkjet printer — laser printers can smudge, FYI
- Wax paper
- Heat gun or hair dryer
- Scissors and tape
No heat gun? A hair dryer on high works fine. No printer? Print at a library or copy shop for pennies.
Step-by-Step Instructions
- Cut a piece of tissue paper slightly bigger than your photo. Tape it onto a sheet of regular paper so it feeds through the printer without jamming.
- Print your photo onto the tissue paper. Let the ink dry completely — this matters, trust me.
- Trim around the image, leaving a small border.
- Hold the tissue paper against the candle where you want the photo. Wrap wax paper tightly over it.
- Blow hot air over the wax paper in slow circles. The tissue will melt into the candle surface.
- Peel off the wax paper once it cools. Smooth any wrinkles with your thumb while it’s still warm.
Common Mistakes to Avoid
Rushing the melting step is the number one killer. If you blast the candle too long, you’ll get a waxy crater where your friend’s face used to be. **Keep the heat moving at all times.**
Also, don’t print text-heavy photos tiny — they turn into blurry smudges. Pick clear, high-contrast images with faces or simple scenes.
Customization Ideas
- Add a short quote or inside joke under the photo
- Use black-and-white prints for a classy, minimalist look
- Pair candles with a handwritten note for a gift set
- Make a set of three candles telling a story in sequence
Project 2: Recipe-in-a-Jar Gift Mixes
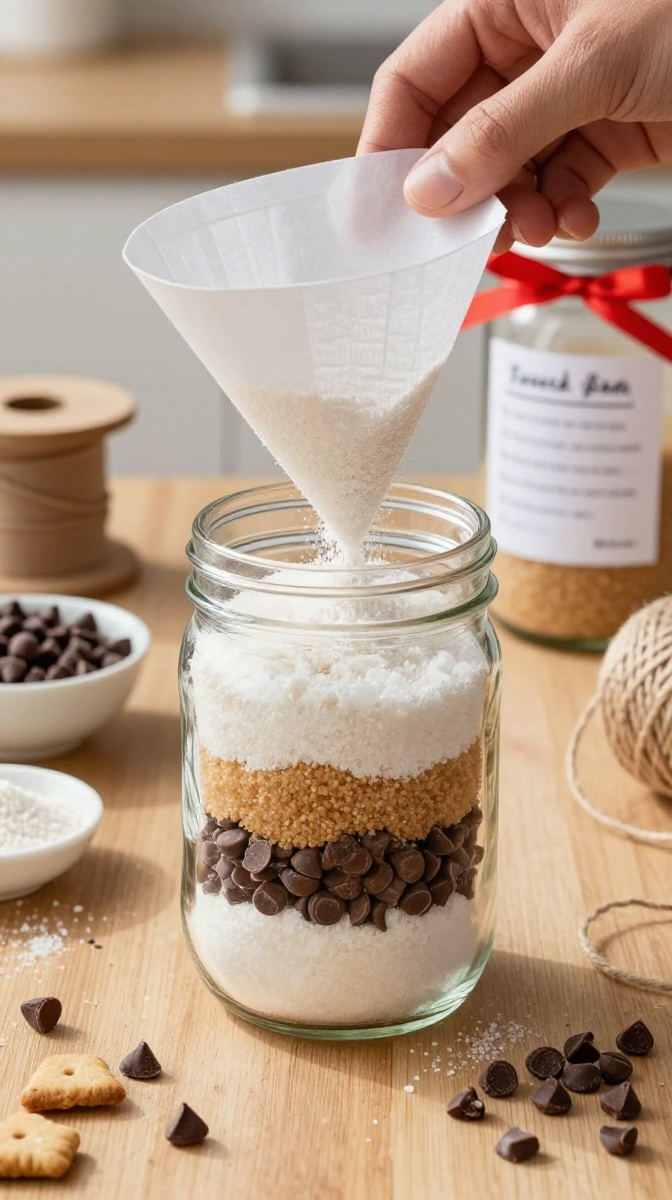
These are the “I forgot to plan” gift that still looks thoughtful. Layer dry ingredients in a mason jar, tie a ribbon, attach the recipe card, and boom — instant homemade vibes.
Best Recipes for Jar Gifting
- Chocolate chip cookie mix — classic, always a hit
- Brownie mix — rich and forgiving
- Spiced hot cocoa mix — perfect for winter gifting
- Soup mix — lentils, split peas, and spices for savory folks
Step-by-Step Instructions
- Wash and dry your mason jar completely. Any moisture will clump the ingredients.
- Layer ingredients one at a time, packing each layer gently with the back of a spoon.
- Use a funnel for powdery stuff — or fold a piece of paper into a cone if you’re feeling thrifty.
- Fill to the top, leaving a half-inch of space.
- Seal the lid, then tie a ribbon or twine around the neck.
- Write or print the baking instructions on a small card and attach it.
Tips for a Pretty Jar
Contrast is everything. Put white sugar next to brown sugar next to dark chocolate chips. **Alternate colors and textures so each layer pops.**
If your layers blur together, don’t panic. Tap the jar gently on the counter to settle things, then add the next layer slowly.
Safety and Freshness Notes
Always include an expiration note on the card — usually 3 to 6 months for dry mixes. If you’re adding nuts, mention them clearly in case of allergies. Nobody wants a surprise walnut situation.
Project 3: Hand-Painted Terracotta Planters
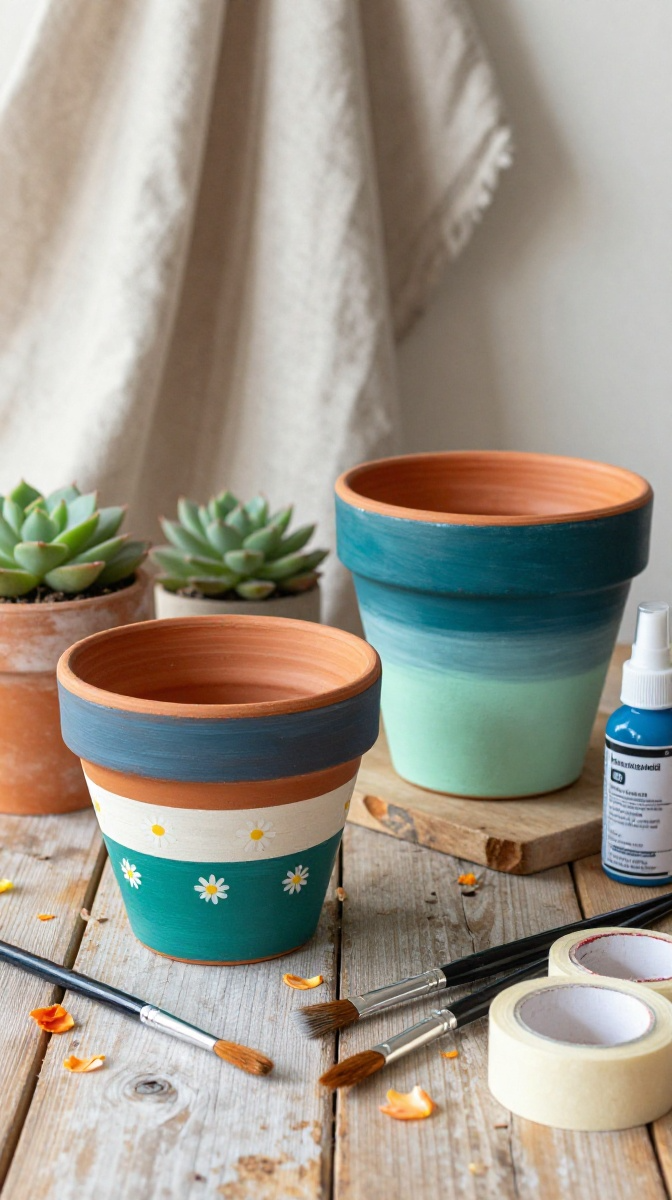
Terracotta pots are dirt cheap, and painting them turns a plain orange cylinder into a personalized gift. Pair one with a small succulent and you’ve got a present that stays alive — ideally.
Materials and Tools
- Terracotta pots and saucers
- Acrylic paint in your chosen colors
- Paintbrushes — one flat, one fine-tip
- Painter’s tape for clean lines
- Clear acrylic sealer spray
- Newspaper or a drop cloth
Cheap acrylic craft paint works fine. Skip oil-based paints unless you enjoy waiting three days for things to dry.
Step-by-Step Instructions
- Wipe the pot clean and let it dry fully.
- Base-coat the whole pot in one color. Two thin coats beat one gloppy coat.
- Let it dry, then tape off stripes, shapes, or patterns.
- Paint the taped sections in a second color. Peel the tape while the paint is still slightly tacky.
- Add small details with a fine-tip brush — dots, lines, or a name.
- Seal the outside with two light coats of acrylic sealer. Skip the inside if you’re planting directly.
Design Variations to Try
- Color-blocked modern: two bold halves with sharp tape lines
- Cottagecore floral: tiny daisies and vines
- Personalized initials: great for housewarming gifts
- Ombre wash: blend one color from dark to light
Troubleshooting Paint Problems
Paint peeling? You probably skipped the sealer or painted a dirty pot. Paint cracking? Your coats were too thick. **Thin layers, full drying time, and a sealer coat solve 90% of issues.**
Practical Tips for Gifting Handmade Crafts
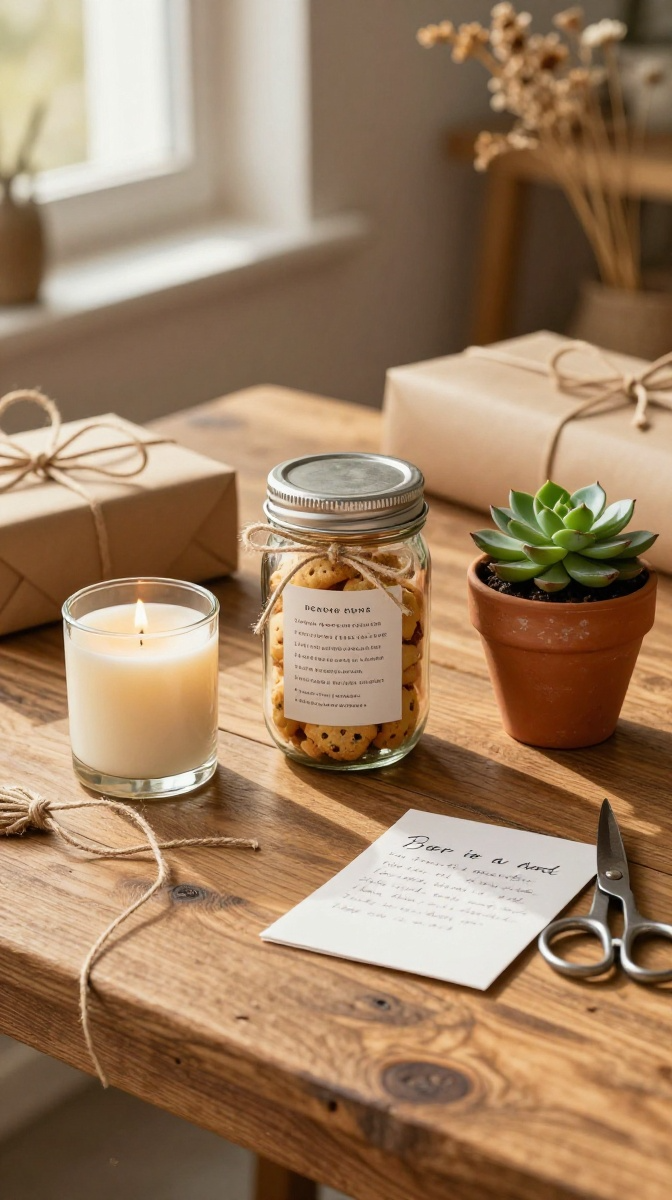
Presentation matters more than you think. A handmade gift tossed in a plastic bag feels like an afterthought. Wrap it in kraft paper, add twine, and tuck in a handwritten note.
Be honest about care instructions. Candles shouldn’t sit in direct sun. Jar mixes need a cool, dry spot. Painted pots shouldn’t go through a dishwasher — obviously, but people try.
And if a project flops? Laugh, salvage what you can, and gift it anyway. **Imperfect handmade gifts often become the favorites.**
FAQ’s
How far in advance should I make these gifts?
Photo candles and painted pots are best made 3 to 5 days ahead so everything dries fully. Jar mixes last for months, so you can batch-make them anytime.
What if I’m not artistic at all?
Photo candles and jar mixes require zero drawing skills. For pots, stick to tape-based geometric designs — they look intentional and modern.
Can kids help with these projects?
Jar mixes are great for kids with supervision. Pot painting works too, with washable aprons. Keep kids away from the heat gun step on candles.
How do I stop jar layers from mixing?
Pack each layer gently with a spoon and avoid shaking the jar. If layers do blur slightly, it still looks homemade and charming.
Do painted pots need special plant care?
Seal the outside only, and always use a saucer. If you sealed the inside, use a plastic liner pot before adding soil.
Are these gifts cheap to make in bulk?
Yes. Mason jars, terracotta pots, and dollar-store candles cost very little per unit. Buying supplies in bulk drops the price even more.
Go Make Something Already
You don’t need a craft room, fancy tools, or a YouTube degree to make gifts people actually keep. Pick one project, grab your supplies, and give it a shot this weekend. Worst case, you end up with a lopsided candle and a good story. Best case, you become the friend who always gives the best presents. Grab your glue gun and go.