
Got a birthday, holiday, or just-because occasion creeping up? Skip the crowded mall and make something with your own two hands. These five handmade gifts are beginner-friendly, budget-friendly, and way more personal than a gift card. Grab your glue gun and let’s get crafting.
Why Handmade Gifts Beat Store-Bought Every Time
Store-bought gifts are fine. Handmade gifts are memorable. When you make something yourself, you’re not just giving an object — you’re giving your time, your effort, and a little piece of your personality.
Plus, you control the quality. No mysterious manufacturing standards, no questionable materials. Just you, your supplies, and a genuine desire to make someone smile.
Worried you’re not “crafty enough”? Stop that. These projects require zero advanced skills. If you can follow a recipe, you can follow these steps.
Project 1: Custom Scented Candles in Upcycled Jars
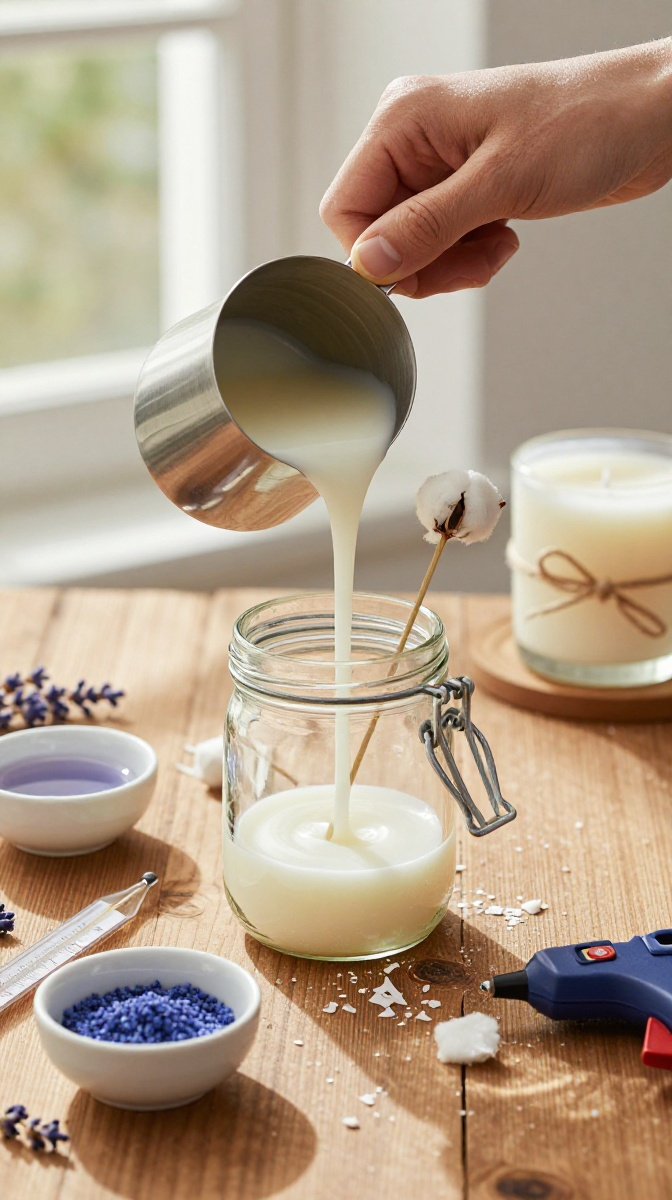
Candles look expensive in stores. Making them at home costs a fraction of the price, and you can customize the scent, color, and container. It’s basically chemistry class, but you get nice-smelling gifts at the end.
Materials and Tools
- Soy wax flakes (or beeswax — soy is cheaper and easier to work with)
- Cotton wicks with metal tabs
- Fragrance oils (lavender, vanilla, citrus — pick scents you actually like)
- Clean glass jars (old jam jars work perfectly)
- Candle dye chips (optional)
- A heat-safe pouring pitcher (or a clean tin can)
- A thermometer
- Wooden skewers or pencils (to hold wicks upright)
No thermometer? No problem. Heat the wax until it’s fully melted and looks clear, then let it cool for a few minutes before adding fragrance.
Step-by-Step Instructions
- Clean and dry your jars completely. Any moisture will mess with the wax.
- Glue the wick tab to the bottom center of each jar using a dab of hot glue or a bit of melted wax.
- Melt your wax in a double boiler or pouring pitcher. Stir gently until fully liquid.
- Let the wax cool to about 185°F (85°C), then stir in your fragrance oil. Use about 1 oz of oil per pound of wax.
- Add dye chips if you want color. Start with a tiny piece — you can always add more.
- Pour the wax into your jars, leaving about half an inch at the top.
- Hold the wick upright using two wooden skewers resting across the jar rim.
- Let the candles cool undisturbed for 24 hours. Don’t poke them. Patience, friend.
- Trim the wick to about ¼ inch before gifting.
Common Mistakes to Avoid
Don’t add fragrance to wax that’s too hot — it burns off the scent. Don’t move the jars while the wax is setting, or you’ll get ugly cracks. And please, don’t use random containers that might crack from heat. Glass only, and make sure it’s heat-safe.
Gift-Wrapping Ideas
Tie a piece of twine around the jar neck, add a small dried flower, and attach a handwritten tag. Instant boutique vibes.
Project 2: Personalized Photo Coasters From Tiles
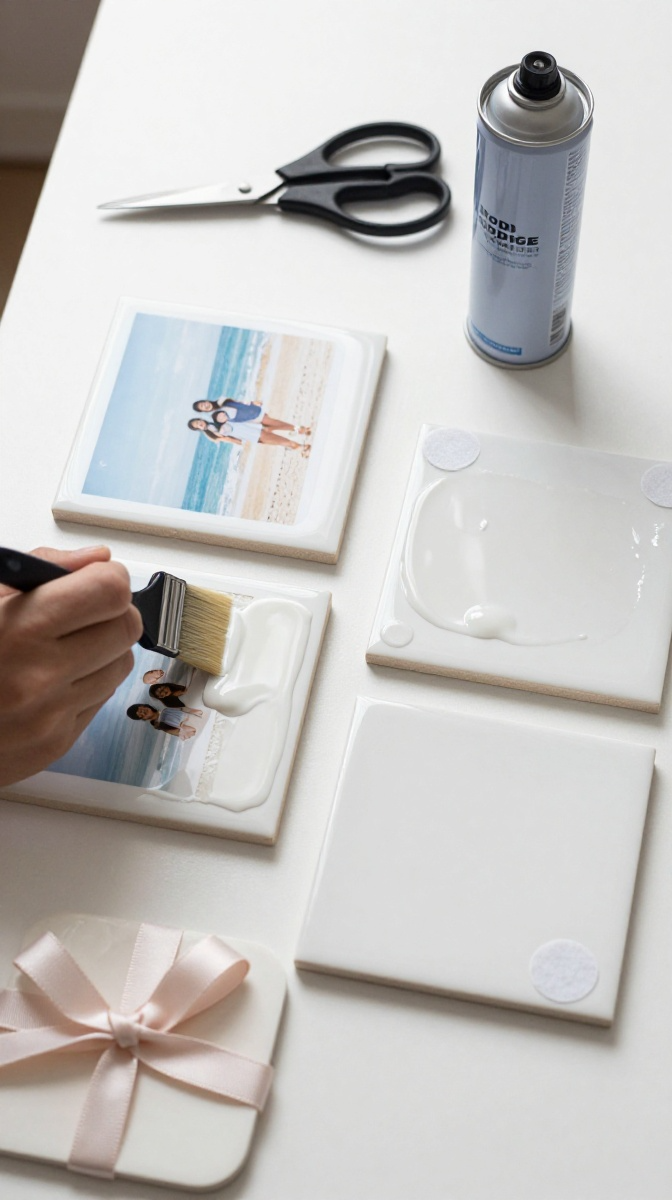
These coasters are stupidly easy and look ridiculously professional. All you need are plain ceramic tiles, printed photos, and a bit of Mod Podge. Your recipient gets a functional gift with memories baked in.
Materials and Tools
- 4×4 inch ceramic tiles (buy a pack at any hardware store)
- Printed photos (laser prints work best — inkjet can smudge)
- Mod Podge (matte or gloss, your call)
- Foam brush
- Clear acrylic sealer spray
- Felt pads or cork backing
- Scissors or a paper trimmer
No Mod Podge? Mix equal parts white school glue and water. It works in a pinch.
Step-by-Step Instructions
- Cut your photos to fit the tile face. Leave a tiny border or go edge-to-edge — your choice.
- Apply a thin layer of Mod Podge to the tile with your foam brush.
- Press the photo onto the tile, smoothing out bubbles with your fingers or a credit card.
- Wait 15 minutes, then apply a top coat of Mod Podge over the photo. Don’t panic if it looks milky — it dries clear.
- Let it dry completely, then add 2–3 more coats, waiting between each.
- Once fully dry, spray with clear acrylic sealer in a well-ventilated area.
- Attach felt pads or cork to the bottom so they don’t scratch furniture.
Design Variations
Use maps of a special city, concert tickets, or even your friend’s favorite memes. Yes, meme coasters are a thing. Embrace it.
Project 3: Sugar Scrub in Mason Jars
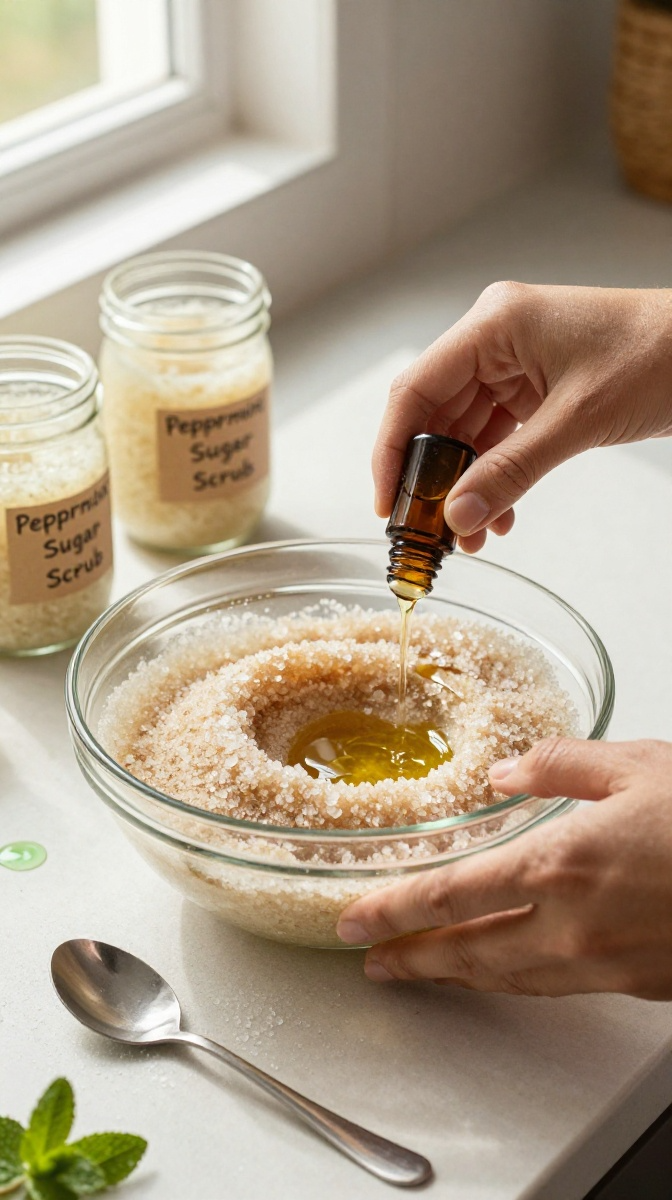
If you can stir ingredients in a bowl, you can make sugar scrub. It’s luxurious, smells amazing, and costs way less than the fancy stuff at bath stores.
Materials and Tools
- 1 cup white or brown sugar
- ½ cup coconut oil (or olive oil for a lighter option)
- Essential oils (peppermint, lemon, eucalyptus — whatever smells good)
- Food coloring (optional, a few drops max)
- Small mason jars
- A mixing bowl and spoon
Step-by-Step Instructions
- Melt coconut oil in the microwave if it’s solid. Let it cool slightly.
- Mix sugar and oil in a bowl until you get a sandy, scoopable texture.
- Add 10–15 drops of essential oil and stir well.
- Add food coloring one drop at a time if you want a tinted scrub.
- Scoop into clean mason jars and seal tightly.
- Add a label with the scent and a “use within 3 months” note.
Safety Tips
Don’t use citrus oils if the recipient will use the scrub in the sun — they can make skin sensitive to light. Also, skip essential oils entirely for pregnant friends unless you’ve checked with them first.
Project 4: Hand-Painted Mug With a Sharpie
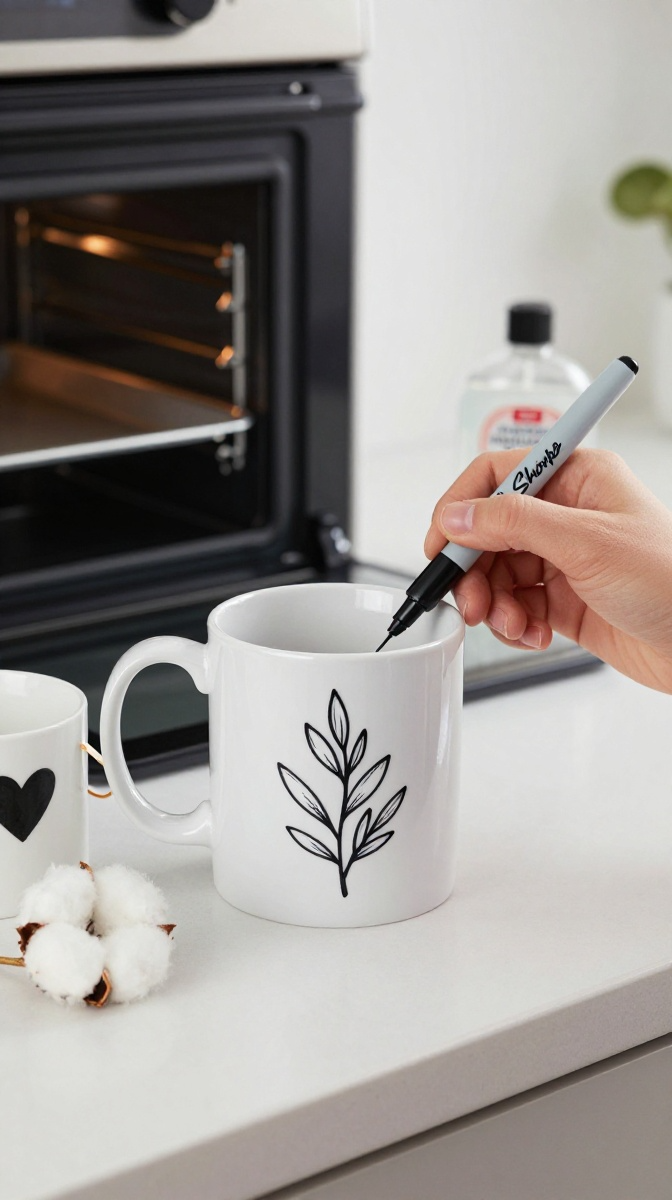
Yes, the Sharpie mug trick actually works — if you do it right. The secret is baking the mug properly. Skip that step and your beautiful design washes off in one go.
Materials and Tools
- Plain white ceramic mug
- Oil-based Sharpies (regular ones fade)
- Oven
- Rubbing alcohol and cotton ball
Step-by-Step Instructions
- Wipe the mug with rubbing alcohol to remove oils.
- Draw your design. Keep it simple — dots, lines, initials, a tiny doodle.
- Let the ink dry for a few minutes.
- Place the mug in a cold oven, then set it to 350°F (175°C).
- Bake for 30 minutes, then turn off the oven and let the mug cool inside.
- Hand-wash only. Dishwashers are the enemy here.
Troubleshooting
If your design fades, you probably used regular Sharpies instead of oil-based ones. If it smudges during drawing, your hands are too oily — wipe the mug again.
Project 5: No-Sew Fleece Knot Blanket
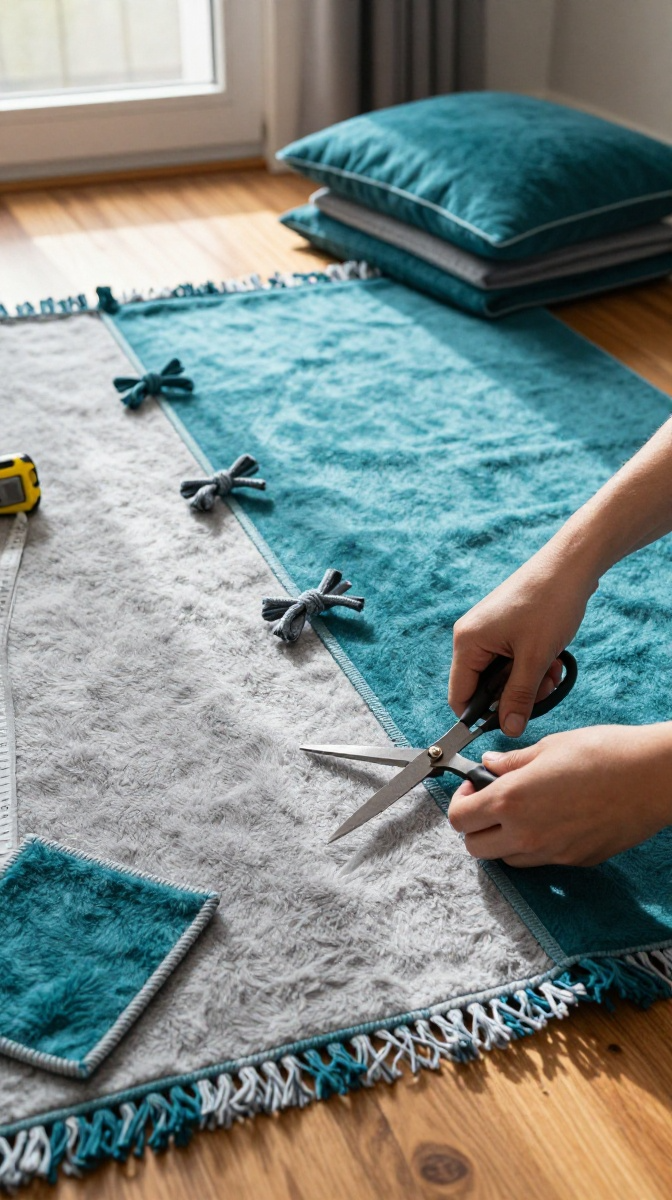
No sewing machine? No problem. This blanket comes together with just scissors and knots. It’s cozy, colorful, and perfect for a movie-night gift.
Materials and Tools
- Two pieces of fleece fabric (1.5 yards each, contrasting colors)
- Fabric scissors
- Measuring tape
- Masking tape (optional, for marking)
Step-by-Step Instructions
- Lay both fleece pieces on top of each other, right sides facing out.
- Trim the edges so they’re even.
- Cut a 4×4 inch square from each corner.
- Cut 1-inch-wide strips about 4 inches deep along all four sides.
- Tie the top and bottom strips together in double knots all the way around.
- Fluff it out, and you’re done.
Customization Ideas
Use team colors, a favorite animal print, or soft pastels. Add a matching pillowcase for a full gift set.
FAQ’s
How long do handmade candles last?
Stored properly in a cool, dark place, soy candles last about 1–2 years. After that, the scent fades.
Can I use regular markers on mugs?
You can, but they’ll wash off. Oil-based Sharpies or ceramic paint pens are the way to go.
What if I don’t have essential oils for the scrub?
Use vanilla extract or lemon zest. It won’t be as strong, but it still smells nice.
Do photo coasters need to be sealed?
Yes. Without a sealer, condensation from cold drinks will ruin the photo.
How do I wash a no-sew fleece blanket?
Machine wash cold on gentle, then air dry. The knots hold up fine.
Are these gifts okay for kids to help make?
The sugar scrub and fleece blanket are kid-friendly. Candles and mug baking need adult supervision.
Final Thoughts:
Handmade gifts don’t need to be perfect. They need to be thoughtful. Pick one project, gather your supplies, and give it a shot. Worst case? You make a mess, laugh about it, and try again. Best case? You create something someone will treasure for years. Now go raid your craft drawer and get started.