
Got a birthday coming up and an empty wallet? Same. Good news: you don’t need a craft room full of fancy tools to make a gift people actually keep. These five beginner DIY gift ideas use cheap supplies, take an afternoon or less, and look way more impressive than they should. Grab a glue gun and let’s make something.
Why DIY Gifts Are Worth It (Even If You’re Not Crafty)
Store-bought gifts are fine, but handmade ones hit different. They say, “I thought about you for several hours and possibly burned myself.” That counts for something.
Here’s the real perk: you control the size, color, and scent. No more buying a candle that smells like a department store carpet. Plus, most of these projects cost under $15 total. Try finding a decent gift for that at the mall.
And if your first attempt looks a little rough? Call it rustic. People love rustic.
Project 1: Layered Bath Salts in a Mason Jar
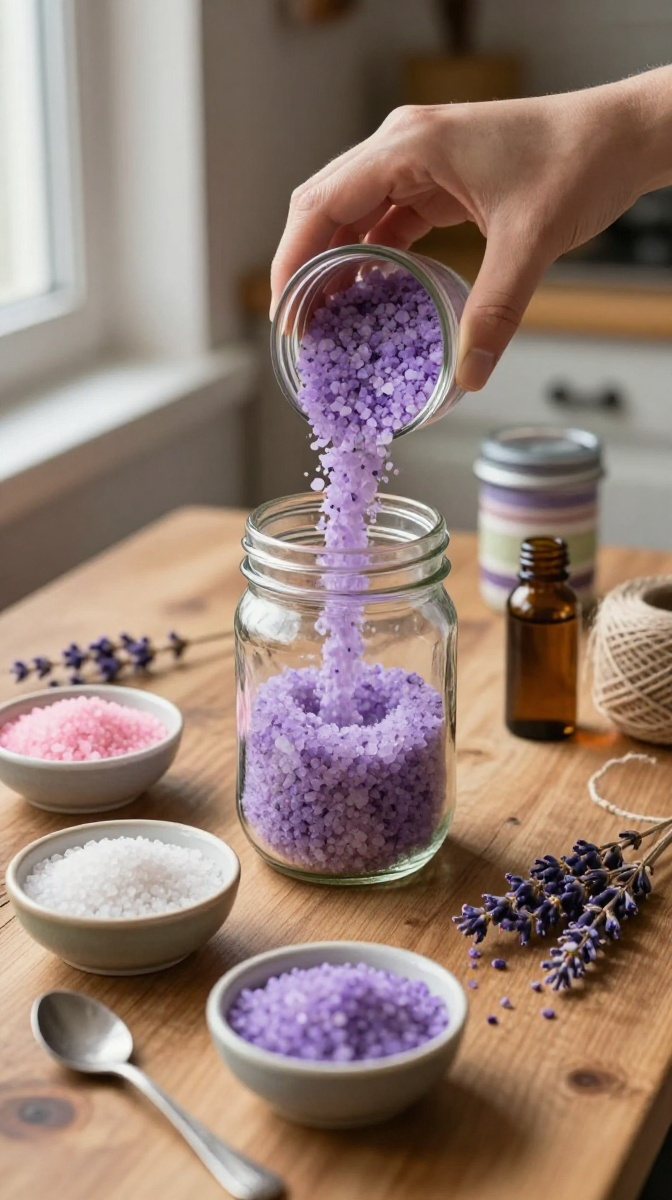
This is the reigning champion of beginner gifts. It’s basically fancy sand art that smells good. No baking, no sewing, no power tools.
Materials and Tools
- Epsom salt (cheap in bulk at any pharmacy or supermarket)
- Coarse sea salt or pink Himalayan salt for texture contrast
- Food coloring (gel works better than liquid, but liquid is fine)
- Essential oils — lavender, peppermint, or eucalyptus are safe bets
- A clean mason jar with a lid (thrift stores sell these for pocket change)
- Small bowl and spoon for mixing
- Ribbon or twine for the finishing touch
Budget swap: Skip essential oils and use a few drops of vanilla extract. It won’t be aromatherapy-grade, but it smells like a bakery.
Step-by-Step Instructions
- Pour one cup of Epsom salt into a bowl.
- Add 5–8 drops of essential oil and stir well. Your kitchen now smells like a spa.
- Add one drop of food coloring and mix until the color is even. Go slow — a little goes a long way.
- Repeat the process in separate bowls for each color you want.
- Layer the colored salts into the jar, tilting the jar slightly as you pour for angled stripes.
- Fill to the top, screw on the lid, and tie a ribbon around the neck.
- Add a small tag that says “1–2 scoops per bath.”
Common Mistakes to Avoid
Don’t dump the salt straight into the jar and then add color — you’ll get a muddy mess. Mix in bowls first, always. Also, let each layer settle for a minute before adding the next one, or the colors will bleed together.
Customization Ideas
Match colors to a holiday, a favorite sports team, or a friend’s wedding palette. Add dried lavender buds between layers for a botanical look. You can also make a “foot soak” version in a wider jar with peppermint oil and coarse salt.
Project 2: Hand-Poured Soy Candles in Teacups
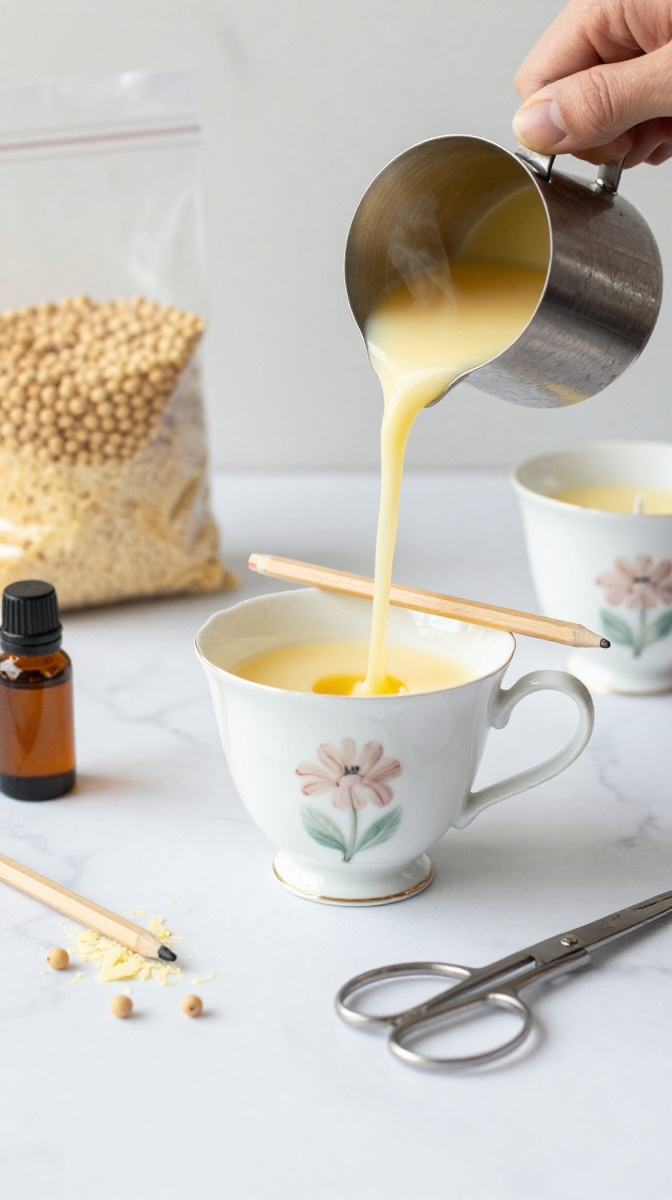
Sounds intimidating, right? It’s not. If you can melt butter, you can make a candle. Thrifted teacups make this gift feel vintage and personal.
Materials and Tools
- Soy wax flakes (craft stores or online; a one-pound bag makes 2–3 small candles)
- Cotton wicks with metal tabs
- A teacup, small bowl, or heat-safe jar
- Microwave-safe pouring cup or a clean tin can
- Fragrance oil or essential oil
- Pencil or chopstick to hold the wick upright
- Scissors
Step-by-Step Instructions
- Clean and dry your teacup completely. Any moisture will ruin the wax.
- Glue or press the wick tab to the center of the cup’s bottom.
- Melt soy wax in the microwave in 30-second bursts until fully liquid. No boiling.
- Stir in fragrance oil — about 1 tablespoon per cup of wax.
- Let the wax cool for 2–3 minutes, then pour it slowly into the cup.
- Hold the wick upright by resting a pencil across the rim and clipping the wick to it.
- Let it set for 24 hours. Trim the wick to ¼ inch before gifting.
Safety Tips
Never leave a candle unattended, and don’t gift one in a container that isn’t heat-safe. If you’re unsure about a teacup, do a test pour and check for cracks. Thick ceramic and glass are your friends. Thin porcelain? Not so much.
Project 3: Custom Photo Coasters from Tiles
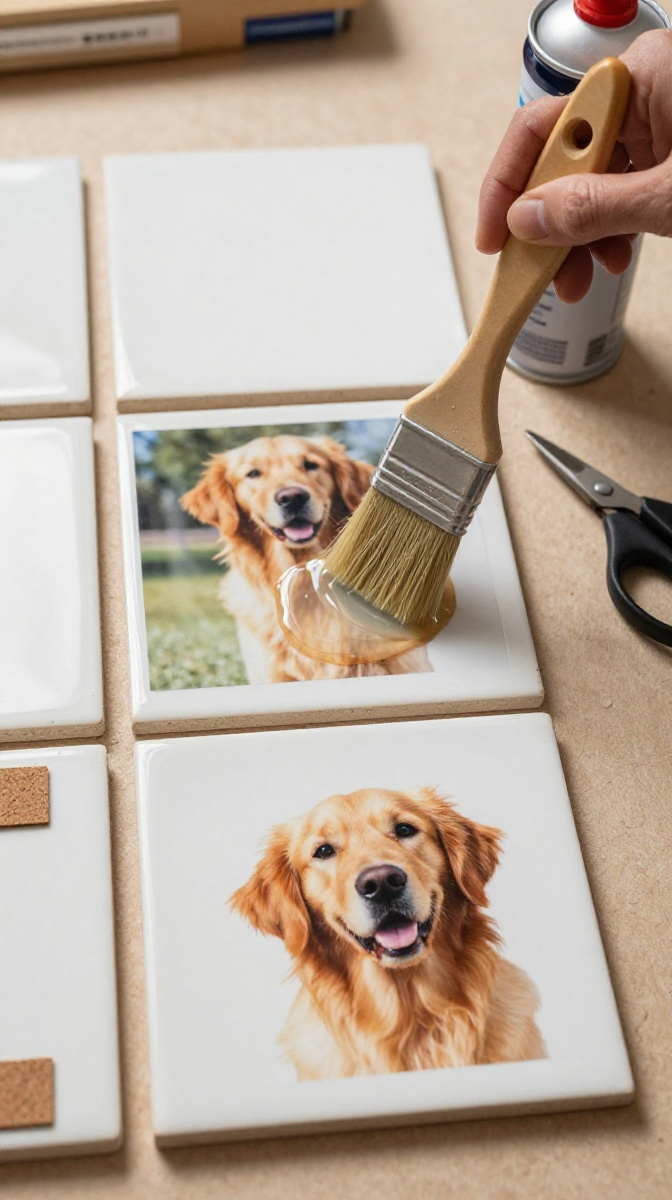
Want a gift that makes people emotional? Print their dog’s face on a coaster. Instant tears. These take about 30 minutes plus drying time.
Materials and Tools
- Plain white ceramic tiles (about $0.30 each at hardware stores)
- Mod Podge or clear craft glue
- Printed photos on regular paper (laser prints work best)
- Foam brush
- Clear acrylic sealer spray
- Self-adhesive cork pads for the bottom
Step-by-Step Instructions
- Cut your photo to fit the tile, leaving a small border.
- Brush a thin layer of Mod Podge onto the tile.
- Press the photo down, smoothing out bubbles from the center outward.
- Apply two more coats of Mod Podge over the top, letting each dry for 20 minutes.
- Once fully dry, spray with acrylic sealer in a well-ventilated area.
- Stick cork pads on the back corners and you’re done.
Troubleshooting: If bubbles appear, gently smooth them with your finger while the glue is wet. If the photo wrinkles, you used too much glue. Less is more, IMO.
Project 4: Essential Oil Diffuser Ornaments
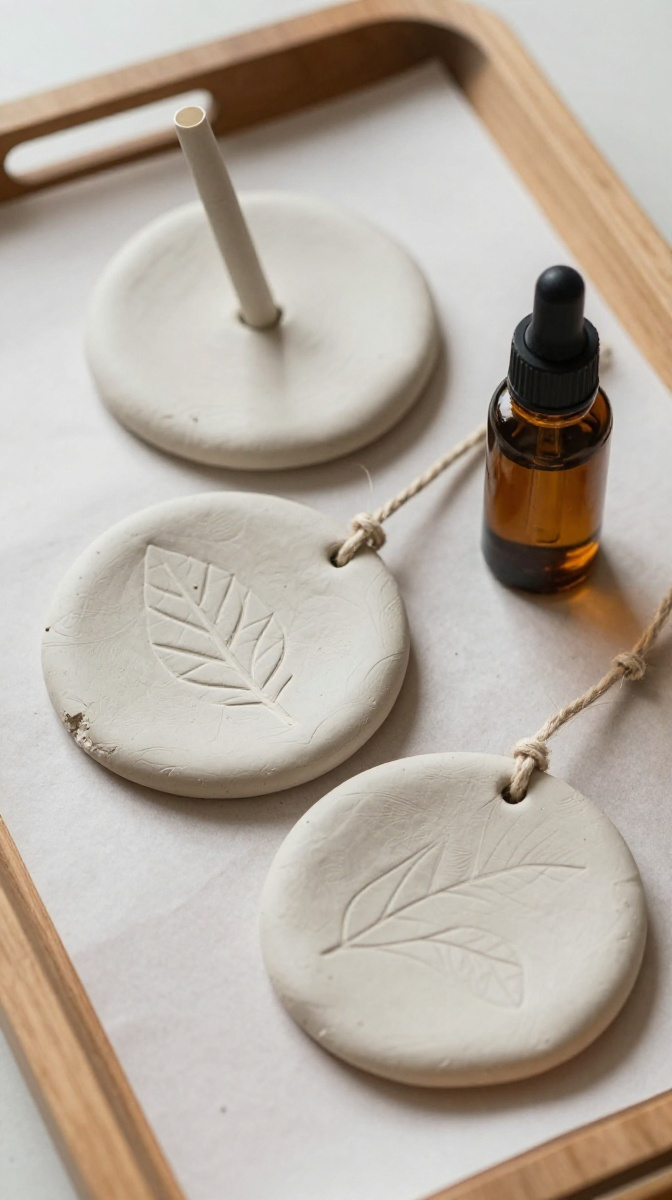
These are little clay discs you hang in cars, closets, or on Christmas trees. They take 20 minutes to make and smell amazing for weeks.
Materials and Tools
- Air-dry clay (white or terracotta)
- Cookie cutters or a glass to cut circles
- A straw or skewer for the hanging hole
- Essential oils
- Ribbon or twine
- Rolling pin
Step-by-Step Instructions
- Roll the clay to about ¼ inch thick.
- Cut out shapes with cookie cutters.
- Poke a hole near the top with a straw.
- Let them dry for 24–48 hours, flipping once.
- Add 3–5 drops of essential oil to each disc.
- Thread ribbon through the hole and tie a loop.
Design Variations
Stamp patterns into the clay before it dries using rubber stamps or fork tines. Press dried flowers into the surface for a pressed-botanical look. You can also paint the edges with metallic acrylic paint once dry.
Project 5: No-Sew Fleece Tie Blanket
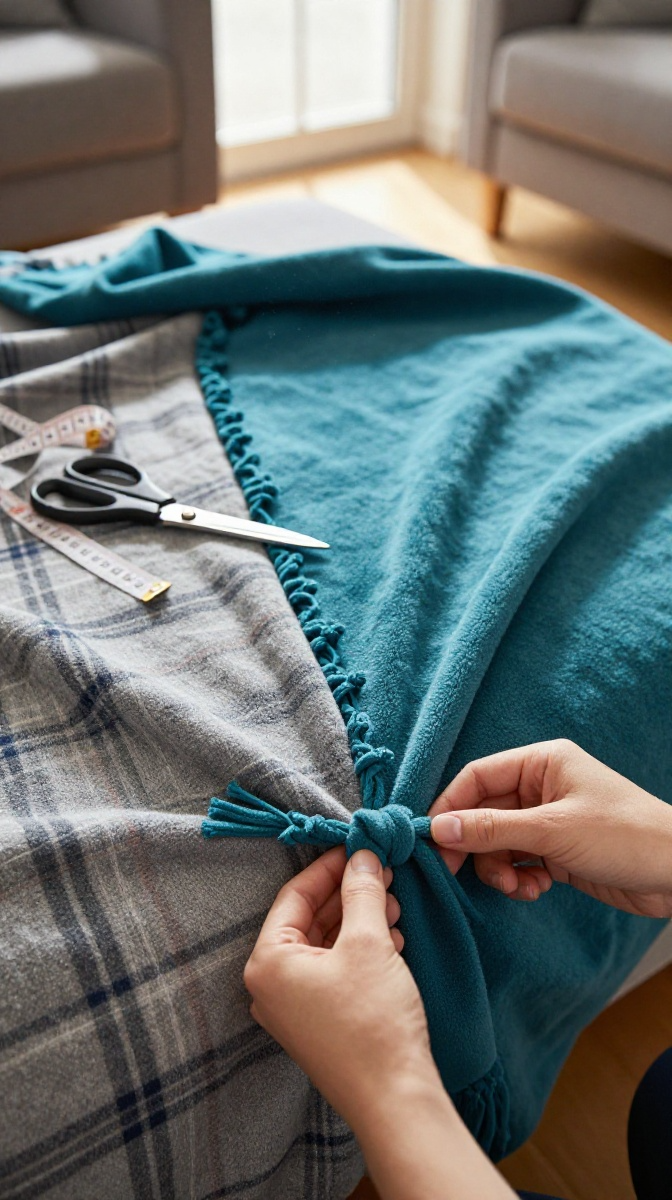
No sewing machine? No problem. This blanket is made entirely with scissors and knots. It’s cozy, personal, and beginners nail it on the first try.
Materials and Tools
- Two pieces of fleece fabric, 1.5 yards each (contrasting prints look best)
- Fabric scissors
- Measuring tape
- Painter’s tape (optional, for keeping edges lined up)
Step-by-Step Instructions
- Lay both fleece pieces flat, one on top of the other, edges matched.
- Trim off any uneven edges and cut a 4-inch square from each corner.
- Cut 1-inch-wide strips along all four sides, about 4 inches deep.
- Tie the top and bottom strips together in double knots all the way around.
- Fluff it out and fold it for gifting.
Tip: Cut strips on both layers at once so they match up perfectly. If your knots look uneven, don’t stress — it’s a blanket, not a tuxedo.
Quick Tips for Gifting Your Handmade Creations
Presentation matters. Wrap bath salts in tissue paper and a repurposed jar. Tie candles with twine and a dried orange slice. Coasters look great stacked and ribbon-wrapped.
Always include a tiny care card. “Wipe with a damp cloth” or “trim wick before each use” makes your gift feel professional. And take a photo before you give it away — future you will want the proof.
FAQ’s
What’s the easiest DIY gift for total beginners?
The layered bath salts. There’s no heat, no sharp tools, and you can’t really mess it up. Worst case, you get a jar of gray salt that still smells great.
How much do these projects cost?
Most land between $5 and $15 per gift if you buy supplies smartly. Buying in bulk drops the price even more, especially for wax and Epsom salt.
Can I make these gifts ahead of time?
Yes. Bath salts last months, candles last years, and clay ornaments keep indefinitely. Make coasters a week ahead so the sealer fully cures.
What if I don’t have essential oils?
Skip them or swap in vanilla extract, citrus zest, or cinnamon. The gift still works — it just won’t be aromatherapy.
Are these gifts safe for kids to help with?
Bath salts and no-sew blankets are kid-friendly. Candles and sealer sprays are not — keep those for adult craft time.
Do handmade gifts actually get used?
More than you’d think. Candles burn, blankets get couch time, and coasters stay on desks for years. Just avoid gifting anything that requires the receiver to buy something else to use it.
Conclusion: Pick One and Start Today
You don’t need talent, a fancy craft room, or a Pinterest-perfect result. You need a free afternoon and the willingness to try. Start with the bath salts if you’re nervous, or jump straight to the no-sew blanket if you want a big win.
Your friends won’t remember the slightly crooked knots. They’ll remember that you made something with your own hands. Now go raid the pantry and make a mess.