
Birthday gifts don’t need to cost a fortune to feel special. In fact, the handmade ones usually get remembered longer than anything you can grab at the mall. Today, we’re making three easy homemade birthday gifts: a layered spa jar, a photo memory box, and a custom recipe book. Grab your glue gun and let’s get messy.
Why Homemade Birthday Gifts Beat Store-Bought Every Time
Think about the last gift you truly loved. Was it a gift card, or was it something someone made just for you? Yeah, that’s what I thought.
Homemade gifts carry something money can’t buy: your time. They show the birthday person that you thought about them for hours, not seconds. Plus, you can customize every single detail to match their personality.
Worried you’re not “crafty”? Relax. The projects below are beginner-friendly, and I’ve included fixes for the mistakes everyone makes. You’ve got this.
Project 1: The Layered Spa Jar (15 Minutes, Zero Skills Needed)
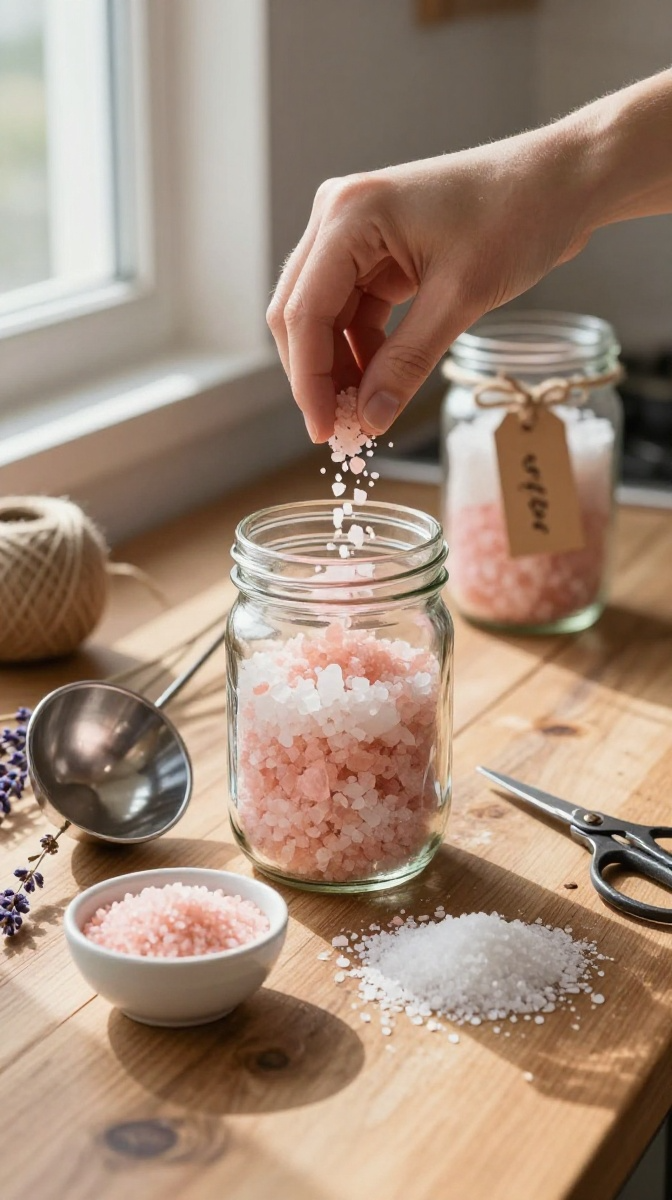
This is my go-to gift when a birthday sneaks up on me. It looks fancy, costs almost nothing, and smells amazing.
Materials and Tools
- A clear glass jar with a lid (mason jars work great; thrift stores sell them cheap)
- Epsom salt (the cheap bag from the grocery store is perfect)
- Baking soda
- Essential oils (lavender, eucalyptus, or peppermint)
- Food coloring (optional)
- A ribbon, twine, or fabric scrap for decorating
- A small scoop or funnel (a rolled paper cone works as a substitute)
Step-by-Step Instructions
- Pour one cup of Epsom salt into a bowl. Add 10 to 15 drops of essential oil and stir well.
- If you want color, add two or three drops of food coloring and mix until the salt looks even. Go light—too much dye stains hands.
- Repeat with a second bowl using baking soda and a different oil or color.
- Layer the mixtures into your jar using the funnel or paper cone. Alternate colors for that fancy store-bought look.
- Fill the jar to the top, then screw on the lid tightly.
- Tie a ribbon around the neck and attach a little tag that says, “Pour a scoop into warm bathwater. Relax. You deserve it.”
Decorating Ideas and Variations
Add dried lavender buds between layers for a rustic touch. For a kids’ version, skip the oils and use cocoa powder and powdered milk for a “hot cocoa bath” jar.
Pro tip: If your layers blur together, don’t panic. It still looks pretty, and it still works. Call it an “ombre effect” and move on.
Project 2: The Photo Memory Box (Beginner-Friendly and Super Personal)
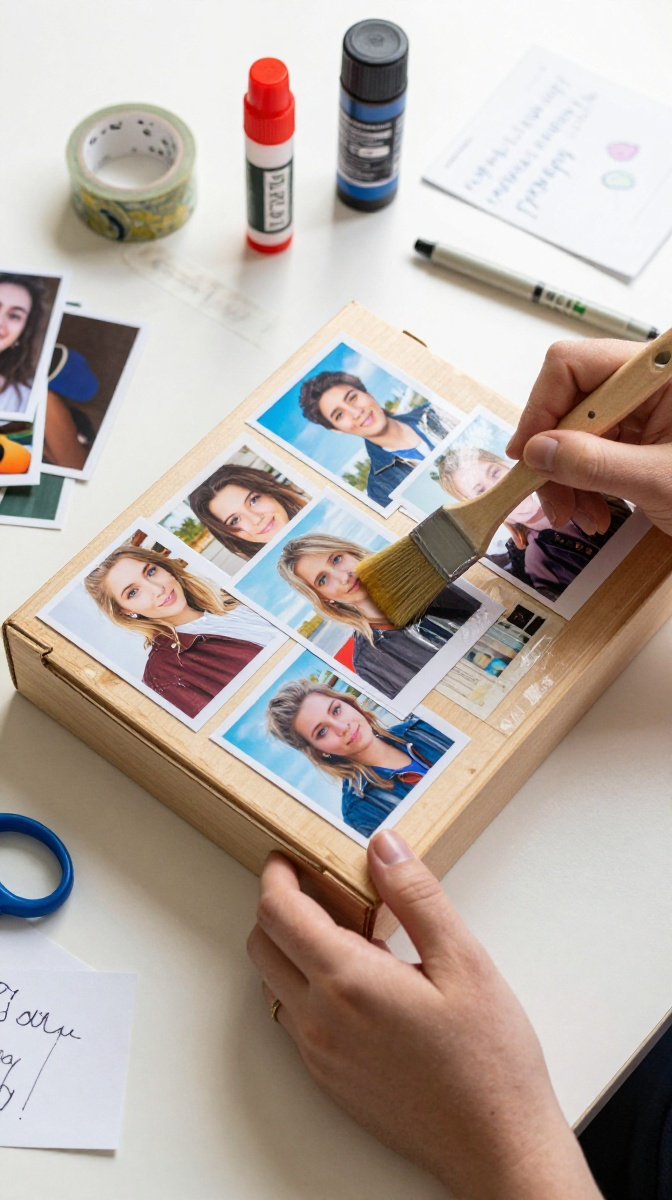
Got a shoebox and a printer? Then you’ve got a gift that will make someone cry happy tears. This one takes about an hour and works for any age.
Materials and Tools
- A sturdy box with a lid (shoebox, cigar box, or a wooden craft box)
- Printed photos (wallet-size is ideal; drugstore printing is cheap)
- Mod Podge or a glue stick (Mod Podge holds better)
- Paint or patterned paper for the outside
- Stickers, washi tape, ticket stubs, and inside jokes written on note cards
- Scissors and a foam brush
Step-by-Step Instructions
- Paint or cover the outside of the box. Let it dry completely—no peeking.
- Arrange your photos on the lid first before gluing. Trust me, layout regrets are real.
- Glue the photos down, then brush a thin layer of Mod Podge over the top. This seals them and gives a glossy finish.
- Fill the inside with folded notes, small souvenirs, and printed memories.
- Write the birthday person’s name on the lid with a paint pen or marker.
- Add one final note on top that says “Open when you miss me” or “Read one per week.”
Common Mistakes to Avoid
Don’t soak the photos in glue—wrinkles will haunt you. Also, test your paint on the box’s bottom first. Some cardboard drinks paint like a sponge and warps.
FYI: If you’re short on printed photos, screenshot your favorite texts and print those instead. Instant nostalgia.
Project 3: The Custom Recipe Book (For the Foodie in Your Life)
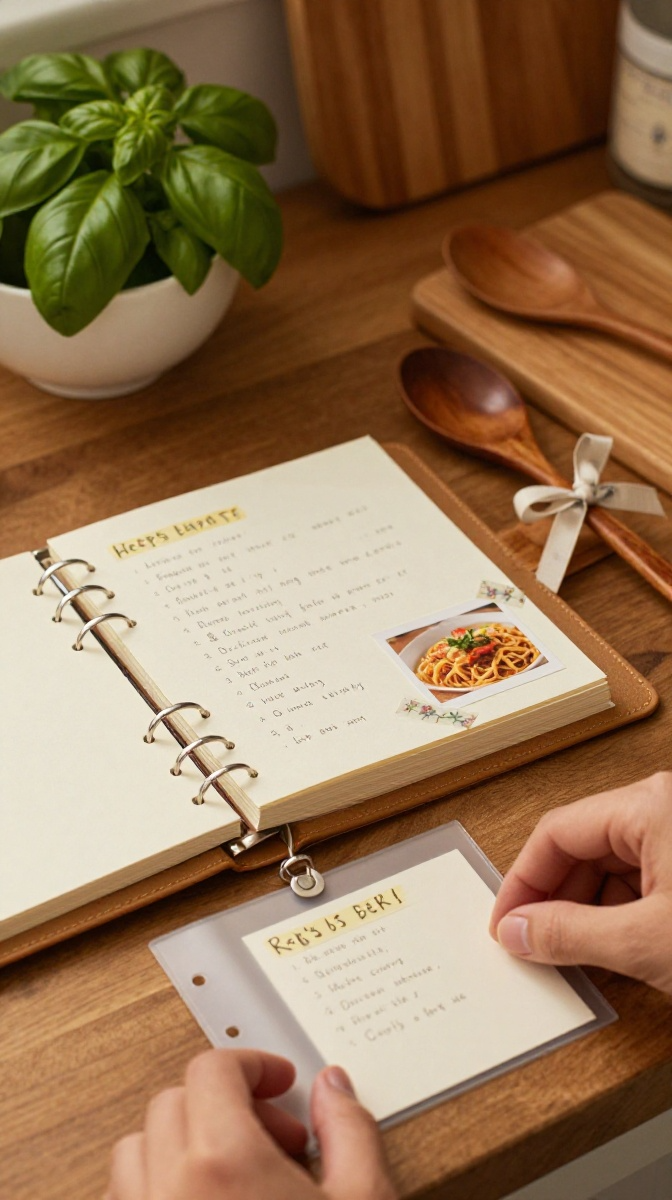
Everyone has that one friend who texts you photos of their dinner. This gift is for them. It’s part scrapbook, part cookbook, and fully personal.
Materials and Tools
- A blank notebook or binder with plastic sleeves
- Recipe cards or printed recipes
- Photos of meals, family, or funny kitchen disasters
- Washi tape, stickers, and colored pens
- A hole punch if you’re using a binder
Step-by-Step Instructions
- Collect five to ten recipes—family favorites, their go-to meals, or recipes you’ve cooked together.
- Write or print each recipe on a card. Add a short note at the bottom, like “This is the one you burned in 2022. Try again.”
- Decorate each page with washi tape and small photos.
- Add a “Kitchen Rules” page at the front with inside jokes and cooking tips.
- Slide everything into the binder or punch holes and tie with ribbon.
- Wrap it with a wooden spoon tied to the cover. Done.
Customization Ideas
Make a “Birthday Cake Edition” with only dessert recipes. Or create a “Takeout Copycat” book with homemade versions of their favorite restaurant meals. The best version is the one that sounds like you talking.
Wrapping, Displaying, and Gifting Your Creations
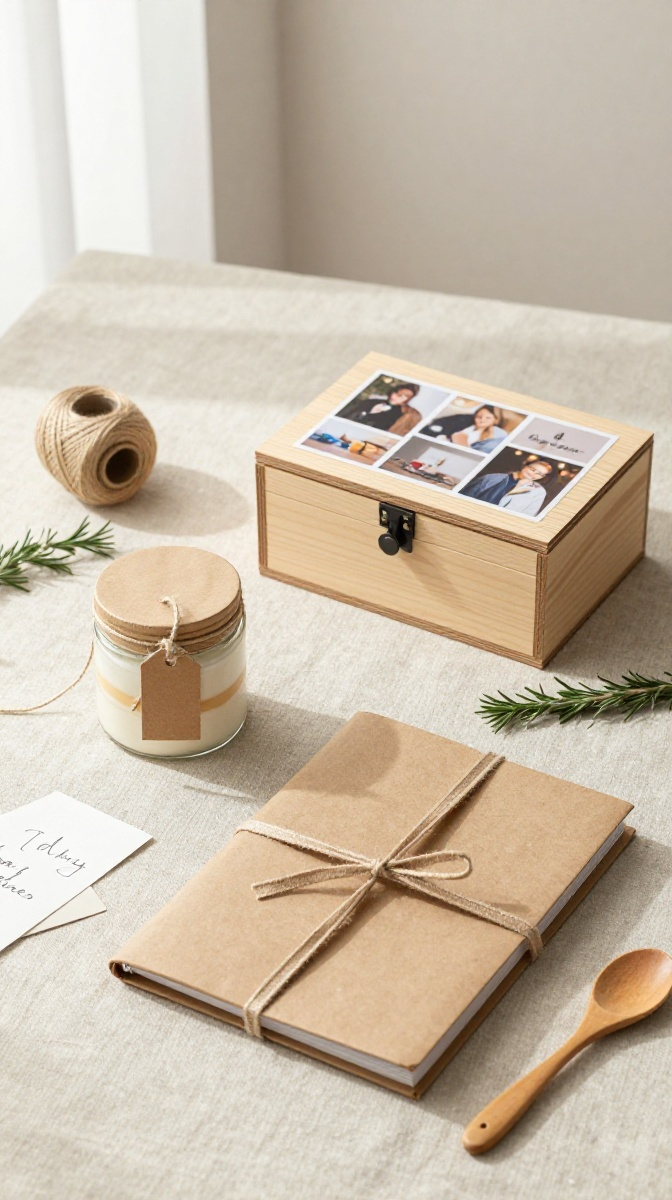
Presentation matters, but don’t overthink it. Brown paper, twine, and a sprig of rosemary look better than shiny store wrapping anyway.
- Reuse jars, boxes, and fabric scraps as wrapping—it’s eco-friendly and cute.
- Write the card by hand. Always. Texts get deleted; cards get kept.
- For the spa jar, pair it with a cheap candle and a washcloth for a full gift set.
- For the memory box, hand it over in person so you can watch their face.
IMO, the reaction is half the gift. Don’t rob yourself of it by mailing things when you don’t have to.
Quick Tips for Crafting Without a Meltdown
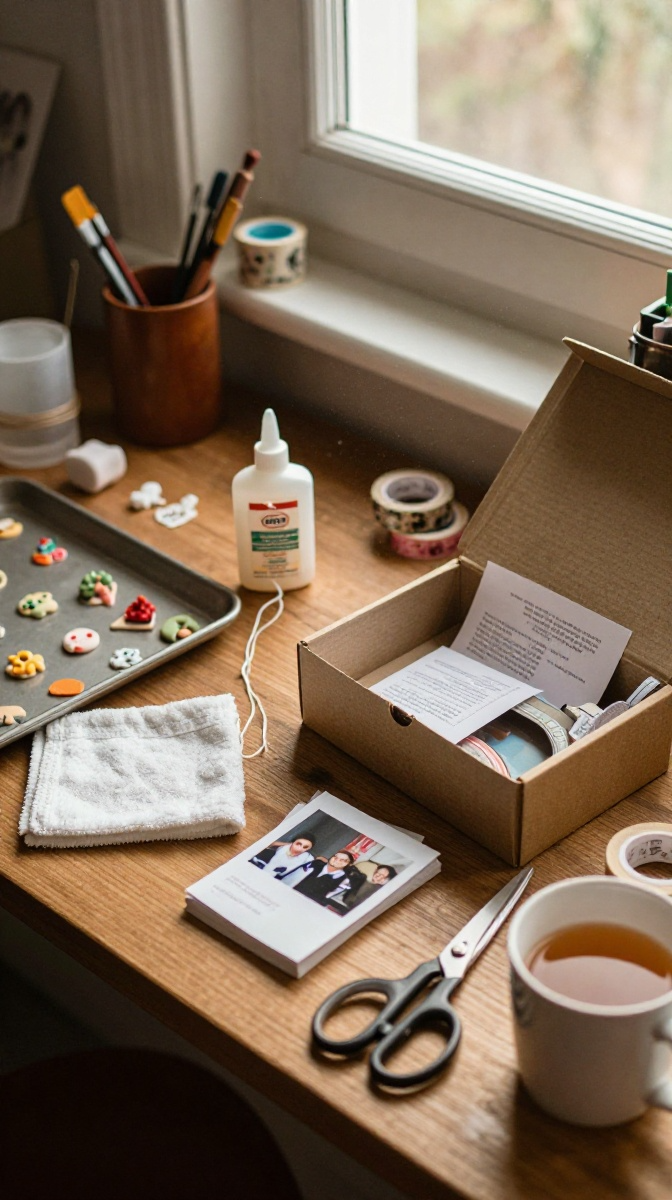
Keep a damp cloth nearby for glue fingers. Work on a cookie sheet so tiny pieces don’t roll away. And if something looks crooked, remember: handmade means human, and human is the whole point.
Give yourself a buffer day. Rushing crafts at midnight is how hot glue burns happen, and nobody wants a birthday gift with a bandage attached.
FAQ’s
How far in advance should I start making these gifts?
Give yourself at least two evenings. The spa jar takes 15 minutes, but the memory box and recipe book benefit from a little planning and drying time.
What if I’m really not crafty at all?
Start with the spa jar. If you can pour salt into a jar, you can make this gift. Seriously, that’s the whole skill set.
Can kids help make these gifts?
Absolutely. Kids love the layering part of the spa jar and decorating the memory box. Just handle the hot glue and sharp scissors yourself.
How do I keep the spa jar from leaking or clumping?
Keep it dry until use, and make sure the lid seals tightly. If your salt clumps, it absorbed moisture—store it in a cool, dry spot.
What’s a good substitute for Mod Podge?
A mix of white school glue and water works in a pinch. Use equal parts and brush it on thin.
Can I make these gifts for a guy?
Yes. Skip the florals on the memory box, use darker colors, and swap the spa jar for a “grill master” spice rub jar with the same layering technique.
Go Make Something They’ll Keep Forever
Store-bought gifts get tossed in a drawer. Handmade gifts end up on shelves, in kitchens, and in memory boxes for years. Pick one project above, grab your supplies, and give it a shot this weekend.
And if it turns out a little lopsided? Perfect. That’s the part they’ll love most.