
Got a pile of empty jars, old T-shirts, and cardboard boxes taking over your space? Before you toss them, let’s make something cool. These easy recycled crafts are perfect for beginners—no fancy tools, no crazy skills required. Grab your “trash,” and let’s turn it into something you’ll actually want to show off.
Why Bother With Recycled Crafts?
Look, I get it. Pinterest makes everything look like a professional art studio exploded. But recycled crafts are different. They’re cheap, forgiving, and honestly? Kind of addictive.
You’re not spending money on supplies—you’re rescuing stuff from the recycling bin. If your project flops, who cares? It was garbage five minutes ago. That low-stakes vibe makes it the perfect way to flex your creative muscles without the pressure.
Plus, there’s something weirdly satisfying about turning a boring pasta sauce jar into a cute candle holder. It’s like magic, but with more glue stains.
Project 1: Glass Jar Lanterns That Look Fancy (But Aren’t)
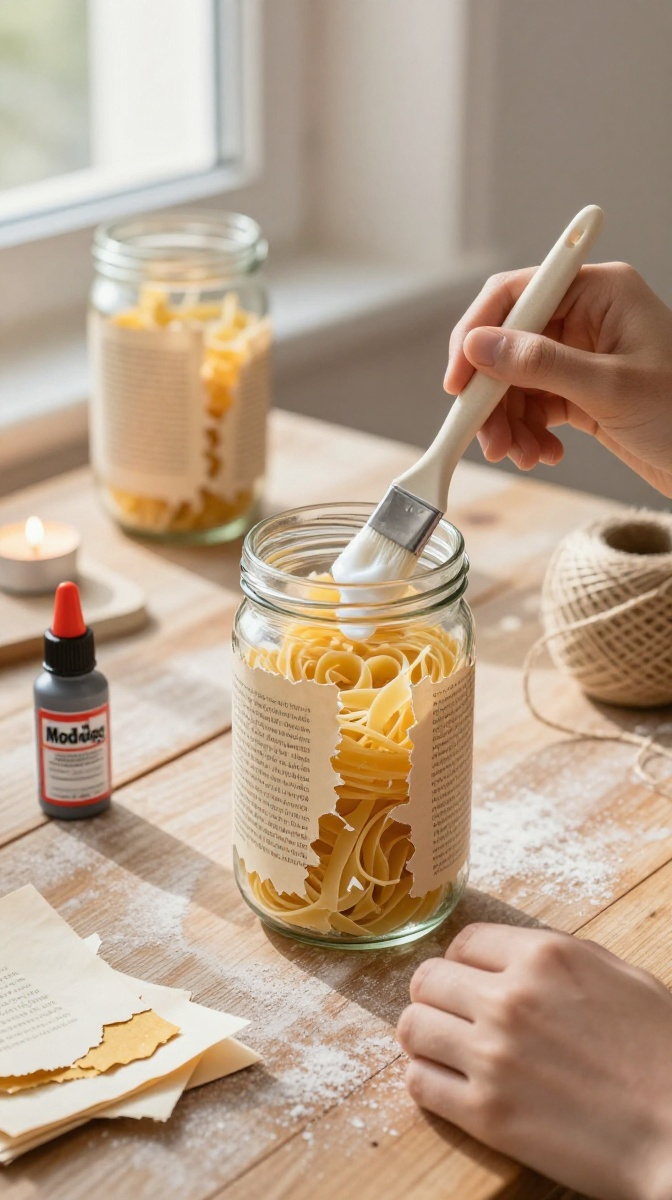
This is my go-to first project for anyone who says, “I’m not crafty.” It takes about 15 minutes, and the result looks like you spent way more effort than you did.
Materials and Tools
- Clean glass jars — pasta sauce, jam, pickles, whatever. Remove the labels (soaking in warm, soapy water helps).
- Mod Podge or white school glue — Mod Podge is better, but glue works in a pinch.
- Tissue paper or old book pages — torn into small pieces.
- Foam brush or clean fingers — fingers are free and washable.
- Twine or ribbon — optional, for wrapping around the rim.
- Tea light or small candle — battery-operated is safest for beginners.
Affordable substitute: Skip the Mod Podge and mix equal parts white glue and water. It dries clear and works just fine.
Step-by-Step Instructions
- Make sure your jar is clean and completely dry. Any grease will make the paper peel.
- Tear your tissue paper or book pages into pieces about the size of a potato chip. Irregular edges look better than perfect squares.
- Brush a thin layer of Mod Podge onto a small section of the jar.
- Press a piece of paper onto the glued area. Smooth it down with your fingers.
- Brush more Mod Podge over the top of the paper. This seals it.
- Repeat until the jar is covered. Overlap pieces for a collage effect.
- Let it dry for about 20 minutes, then add a final coat of Mod Podge over the whole thing.
- Wrap twine around the rim if you want. Drop in a candle. Done.
Common Mistakes to Avoid
Don’t use too much glue. It’ll make the paper soggy and wrinkly. Thin layers are your friend.
Don’t rush the drying time. I know you want to light that candle immediately. Wait. Trust me.
Don’t use real candles near the paper edges. Battery-operated tea lights are safer and look just as cozy.
Fun Variations
Try using dried flowers pressed between layers of tissue paper. Or paint the jar with a thin layer of colored glue before adding paper for a tinted effect. You can also leave a small window of clear glass so the candlelight shines through brighter.
Project 2: Cardboard Box Organizers for People Who Lose Their Keys

If your desk looks like a tornado hit it, this one’s for you. We’re turning shipping boxes into stackable desk organizers. It’s basically adult Legos, but free.
Materials and Tools
- Cardboard boxes — Amazon boxes, cereal boxes, shoe boxes.
- Scissors or box cutter — box cutter is faster, but scissors are safer for beginners.
- Ruler and pencil — for measuring, obviously.
- Duct tape or masking tape — for holding things together.
- Wrapping paper, contact paper, or paint — to make it look intentional.
Safety tip: If you use a box cutter, always cut away from your body. And maybe don’t do it while watching TV. Just saying.
Step-by-Step Instructions
- Decide how tall you want your organizer. A good height is about 3–4 inches for desk stuff.
- Use your ruler to measure and mark that height on all four sides of the box.
- Cut along the lines. If the box is thick, make a few passes with your blade instead of one hard press.
- Fold the flaps down inside the box, or cut them off completely.
- Stack boxes of different sizes and tape them together. Arrange them however you like.
- Cover the whole thing with wrapping paper or paint it. Let it dry.
- Fill it with pens, paper clips, charging cables, and that random screw you’ve been saving for no reason.
Decorating Ideas
Wrap each box separately before taping them together for a cleaner look. Use washi tape along the edges for a pop of color. Or go full minimalist and spray paint the whole thing one color.
Project 3: Old T-Shirt Tote Bag (No Sewing Required)

Have a t-shirt you love but never wear? Turn it into a bag. This is the easiest project on this list, and it’s perfect for library runs or farmers’ markets.
Materials and Tools
- Old t-shirt — the bigger, the better.
- Scissors — sharp ones.
- Safety pins — optional, for holding things in place.
That’s it. No sewing machine. No needle and thread. You’re welcome.
Step-by-Step Instructions
- Lay the t-shirt flat on a table.
- Cut off the sleeves and the neckline. Make the neck hole bigger—that’s your bag opening.
- Turn the shirt inside out.
- Cut fringe strips along the bottom hem. Each strip should be about 1 inch wide and 3 inches long.
- Tie the front and back fringe pieces together in double knots. Work your way across.
- Turn it right-side out. The knots become the bottom of the bag.
- Stretch the bag a little to tighten the knots. Done.
Troubleshooting
Holes in the bottom? You didn’t tie the knots tight enough. Double-knot everything.
Bag too floppy? Use a thicker T-shirt or line the inside with a piece of cardboard covered in fabric.
Want a pocket? Cut a square from the sleeve, hem the edges with fabric glue, and glue it inside.
Project 4: Wine Bottle Vases That Fool Everyone

Wine bottles are the ultimate recycled craft material. They’re sturdy, they look elegant, and you probably have one (or five) sitting around.
Materials and Tools
- Empty wine bottles — cleaned, labels removed.
- Spray paint — matte white, gold, or chalkboard.
- Twine, lace, or ribbon — for wrapping.
- Sandpaper — to rough up the glass so paint sticks.
Step-by-Step Instructions
- Soak the bottles in warm water and baking soda to remove labels. Scrub off any residue.
- Lightly sand the surface of the bottle. This gives the paint something to grip.
- Spray paint in thin coats. Hold the can about 8 inches away. Let each coat dry before adding another.
- Once dry, wrap twine or lace around the neck. Secure with a dot of glue.
- Add flowers. Real or fake—no one will know.
Pro tip: If you want a frosted look, spray a light coat of white paint from far away. It creates a misty finish that looks way more expensive than it is.
Practical Tips for Recycled Crafting
Before you dive in, here are a few things I wish someone had told me when I started.
- Wash everything first—grease and food residue ruin paint and glue.
- Keep a “maybe” box. Don’t throw away small scraps immediately. You might need them later.
- Let things dry completely. I know it’s boring. Do it anyway.
- Don’t aim for perfect. Recycled crafts have character. Wrinkles and uneven edges are part of the charm.
FAQ’s
What if I don’t have Mod Podge?
Mix white school glue with water in a 1:1 ratio. It works almost as well and dries clear.
Can I use hot glue instead of regular glue?
Yes, but hot glue dries thick and lumpy. It’s great for attaching heavy items, not for sealing paper.
How do I remove labels from jars and bottles?
Soak them in warm water with a spoonful of baking soda for 30 minutes. Most labels peel right off.
Are recycled crafts safe for kids?
Mostly, yes. Just skip the box cutter and use safety scissors. And supervise any spray painting.
How do I make my project look less “homemade”?
Consistent color and clean edges help. Paint everything one color, or use matching ribbon and twine. Small details make a big difference.
What’s the best recycled material for beginners?
Glass jars. They’re sturdy, easy to clean, and almost impossible to mess up.
Final Thoughts: Start Already
You don’t need a craft room, fancy supplies, or a perfect plan. You need a jar, some glue, and 15 minutes. The best part about recycled crafts is that there’s no pressure—if it turns out weird, you can toss it back in the recycling bin and try again.
So grab that empty pasta jar. Raid your t-shirt drawer. Rescue a cardboard box from the garage. Make something messy, make something silly, and make something that’s yours. Then send me a picture, because I genuinely want to see it.
Happy crafting, friend. Now go save some trash from the landfill.