
Got a pile of Amazon boxes staring at you from the corner? Don’t recycle them just yet. You can turn that plain cardboard into decor that actually looks good in your home. No fancy tools required, no trips to the craft store needed. Let’s make something cool.
Why Cardboard Is the Secret Weapon of Home Decor
Cardboard gets a bad rap. People see a shipping box and think “trash.” But crafters see potential. This stuff is sturdy, free, and surprisingly versatile.
You can cut it, paint it, stack it, and shape it. It holds up better than you’d think, especially when you layer pieces together. Plus, if you mess up? Just grab another box. Zero guilt, zero wasted money.
IMO, cardboard is the most underrated craft material out there. Ready to prove it? Let’s start with a project that looks way harder than it actually is.
Project 1: Geometric Wall Art That Looks Expensive
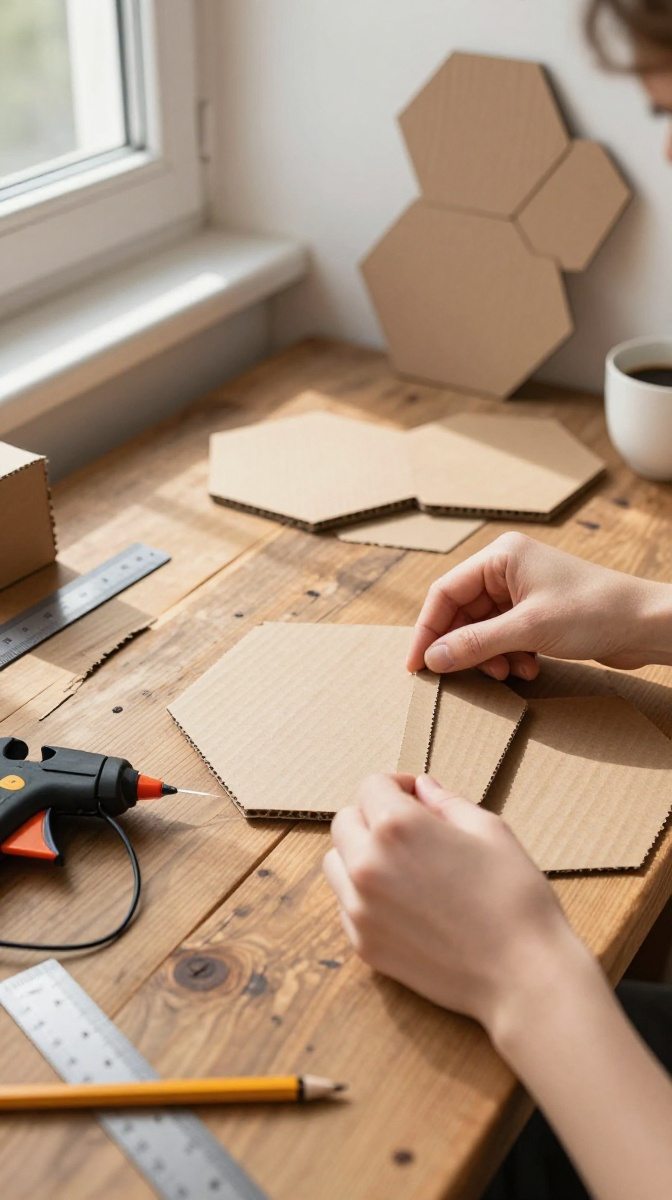
Ever seen those pricey geometric wall panels at home decor stores? You can make something similar for basically nothing. This project takes about an hour and requires zero artistic talent.
Materials and Tools
- Corrugated cardboard boxes (the thicker, the better)
- X-Acto knife or box cutter
- Cutting mat or old magazine (to protect your table)
- Ruler or straight edge
- Pencil
- Hot glue gun and glue sticks
- Acrylic paint in your choice of colors
- Paintbrush or foam brush
- Command strips or double-sided tape for hanging
No hot glue gun? Craft glue works fine; it just takes longer to dry. No acrylic paint? Leftover wall paint works too.
Step-by-Step Instructions
- Cut your cardboard into strips about 2 inches wide and 8 inches long. Make at least 20 strips for a decent-sized piece.
- Fold each strip into a triangle or hexagon shape. Don’t stress about perfection here. Slightly wonky shapes add character.
- Glue the ends together to hold the shape. Hold for 10 seconds while the glue sets.
- Arrange your shapes on a flat surface until you like the pattern. Try a honeycomb layout or a random cluster.
- Glue the shapes to each other where they touch. Work in sections so things don’t shift around.
- Let everything dry completely, about 20 minutes.
- Paint the whole thing. Two coats give better coverage. Let dry between coats.
- Attach Command strips to the back and hang it up.
Design Variations to Try
Want a different vibe? Paint each shape a different color for a bold, playful look. Or use metallic spray paint for something more glam. You can also leave some pieces unpainted for a raw, natural feel.
Try scaling the shapes up or down. Smaller pieces create a detailed, mosaic-style piece. Larger pieces make a bold statement.
Common Mistakes to Avoid
Don’t use thin, flimsy cardboard. It won’t hold its shape. Skip the glue gun if you’re using spray paint later, since heat can loosen the bonds. And please, always cut on a protected surface. Your dining table will thank you.
Project 2: Cardboard Vase for Fresh or Fake Flowers
Yes, a cardboard vase. Sounds weird, right? But once you wrap it in twine or paint it, nobody will guess it started as a shipping box.
Materials and Tools
- Cardboard tube (from paper towels or wrapping paper)
- Extra cardboard sheets for the base
- Scissors or box cutter
- Hot glue gun
- Twine, jute rope, or fabric scraps
- Mod Podge or white glue mixed with water
- Small glass or plastic cup (to hold water if using real flowers)
Step-by-Step Instructions
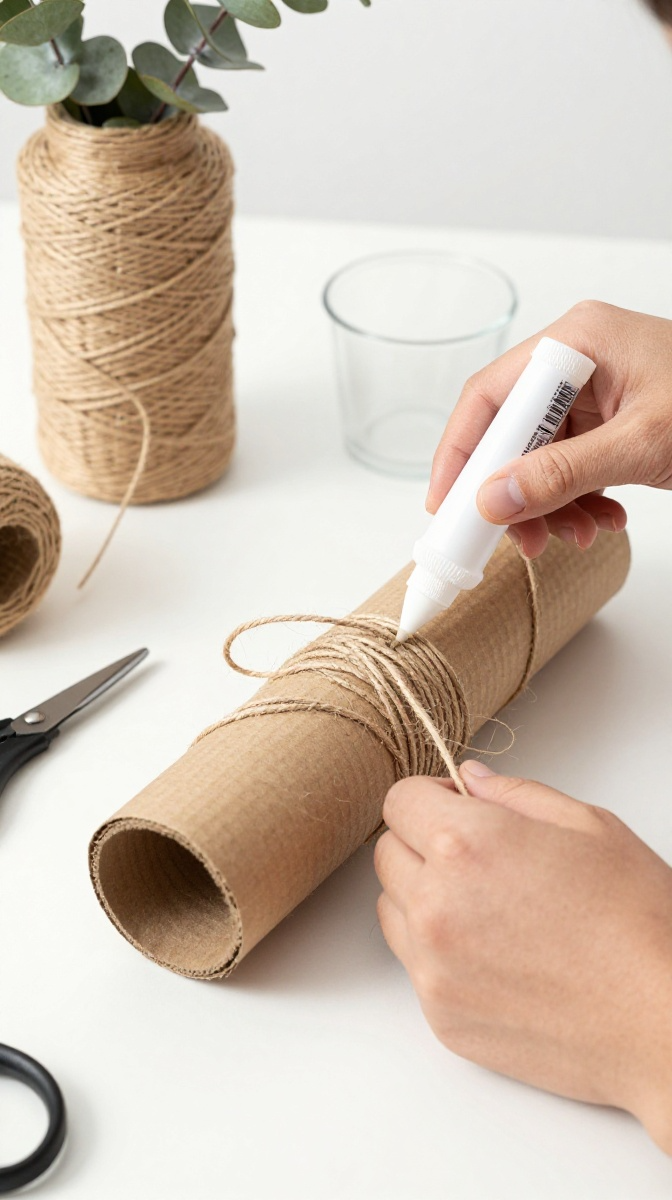
- Cut your cardboard tube to your desired height. A paper towel tube gives you about 10 inches.
- Trace the bottom of the tube onto a piece of flat cardboard. Cut out that circle.
- Glue the circle to the bottom of the tube to create a closed base.
- Wrap twine tightly around the tube, gluing as you go. Cover the whole surface.
- For a smoother look, cover the tube with strips of fabric using Mod Podge.
- Let it dry completely, then place a small cup inside if you’re using real flowers.
Pro tip: Add a layer of Mod Podge over the twine to seal it. This keeps it clean and gives it a slight sheen.
Project 3: Layered Cardboard Mirror Frame
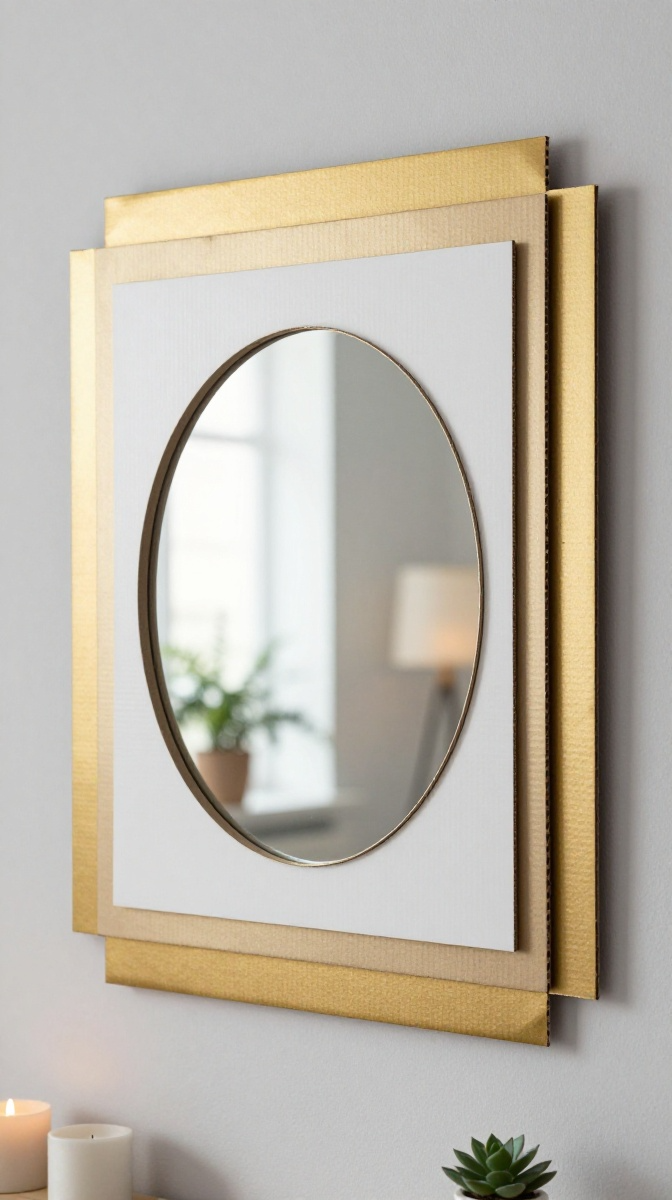
Plain mirror? Boring. Layered cardboard frame? Instant upgrade. This project is perfect for a bathroom or entryway.
Materials and Tools
- Cardboard sheets
- Round or rectangular mirror (dollar store finds work great)
- Box cutter
- Hot glue gun
- Spray paint or acrylic paint
- Pencil and ruler
Step-by-Step Instructions
- Trace your mirror onto cardboard and cut out the shape.
- Cut a hole in the center slightly smaller than the mirror.
- Cut additional cardboard pieces in fun shapes. Think petals, triangles, or wavy strips.
- Layer these pieces around the frame, gluing them down.
- Keep building layers until it looks full and textured.
- Paint the entire frame. Spray paint gives the smoothest finish.
- Glue the mirror to the back of the frame.
- Attach a picture hanger to the back and hang it up.
Decorating Ideas
Use gold spray paint for a luxe look. Add small beads or buttons for extra texture. Paint the layers in ombre shades for a gradient effect.
Tips for Working With Cardboard
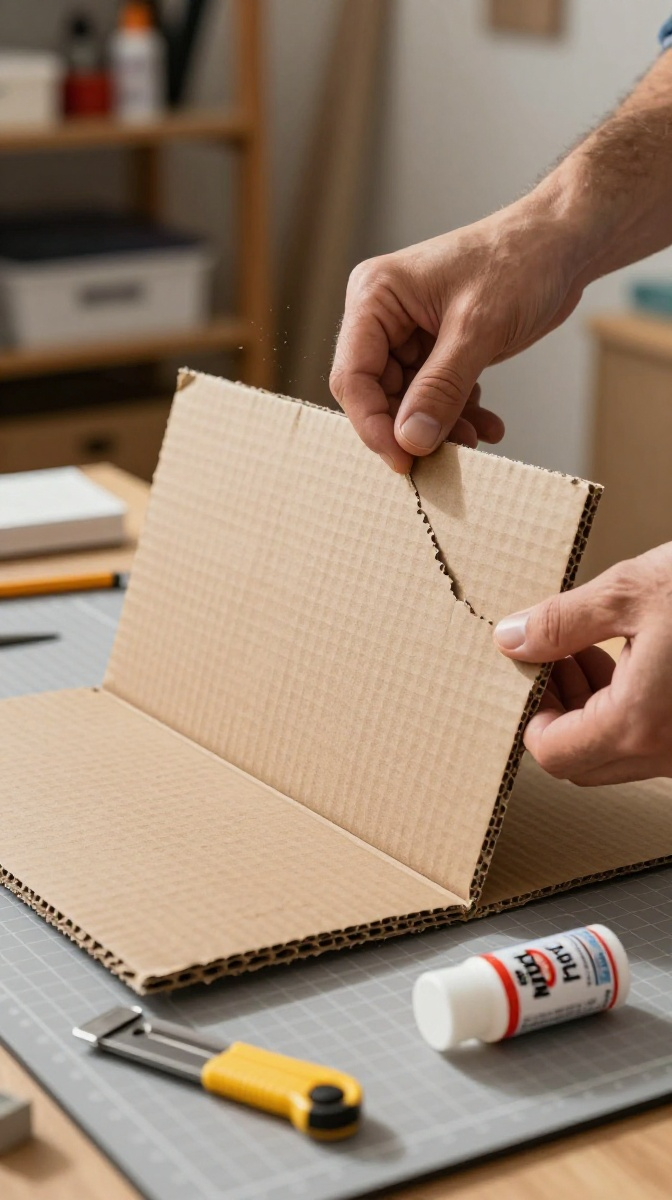
Cardboard is forgiving, but a few tricks make it easier to work with.
- Peel off one side of corrugated cardboard to reveal the ridges. This creates a cool textured look.
- Score fold lines with a dull pencil before bending. This prevents cracks.
- Seal your finished piece with Mod Podge or clear spray sealer. This makes it more durable and easier to clean.
- Layer pieces for strength. One layer is flimsy. Three layers? Rock solid.
FAQ’s
Is cardboard decor durable?
Yes, if you seal it properly. Painted and sealed cardboard can last for years indoors. Just keep it away from moisture and direct heat.
Can I paint cardboard without it warping?
Use light coats and let each layer dry fully. Heavy coats cause warping. Spray paint works better than brush-on paint for thin cardboard.
What’s the best cardboard for crafts?
Corrugated cardboard from shipping boxes is ideal. It’s thick and sturdy. Cereal box cardboard works for smaller, flatter projects.
How do I hang cardboard decor without damaging walls?
Command strips are your best friend. They hold well and remove cleanly. For heavier pieces, use small nails or picture hangers.
Can kids help with these projects?
Absolutely, with supervision. Let kids handle painting, gluing, and arranging. You handle the cutting. Safety first, fun second.
Get Crafting Already
Your recycling bin is basically a free craft store. Grab a box, pick a project, and start creating. These cardboard crafts prove you don’t need a big budget to make your space look great.
So what are you waiting for? Go rescue a box from the trash. Your walls will thank you.