
Got a pile of empty plastic bottles staring at you from the recycling bin? Before you toss them, hear me out. Those flimsy soda and water bottles can become planters, organizers, lamps, and even jewelry. Grab a pair of scissors and your hot glue gun — we’re turning trash into stuff you’ll actually want to show off.
Why Bother Crafting With Plastic Bottles?
Plastic bottles are free, sturdy, and surprisingly easy to cut. You probably already own everything else you need. That’s a win-win in my book.
They also come in every shape and size, so you never run out of design options. A two-liter bottle makes a roomy planter. A small water bottle becomes a cute pencil cup. FYI, you’re basically working with free craft supplies.
What You’ll Need for Most Projects
Keep these basics on hand, and you’re ready for nearly every project below.
- Clean plastic bottles — any size, labels removed
- Sharp scissors or a craft knife — a box cutter works too
- Permanent markers — for tracing cutting lines
- Hot glue gun — or strong craft glue as a substitute
- Acrylic paint — spray paint also works great
- Sandpaper — to smooth sharp edges
- Ruler — for straight, even cuts
Safety Tips Before You Start
Cut plastic edges are sharp, so please don’t skip this part. Always cut away from your body and keep your fingers clear of the blade. Sand every cut edge until it feels smooth to the touch.
Work in a ventilated space when painting or using glue. If kids are helping, let them decorate while you handle the cutting. Trust me, a little caution saves a lot of bandages.
1. Self-Watering Planter From a Two-Liter Bottle
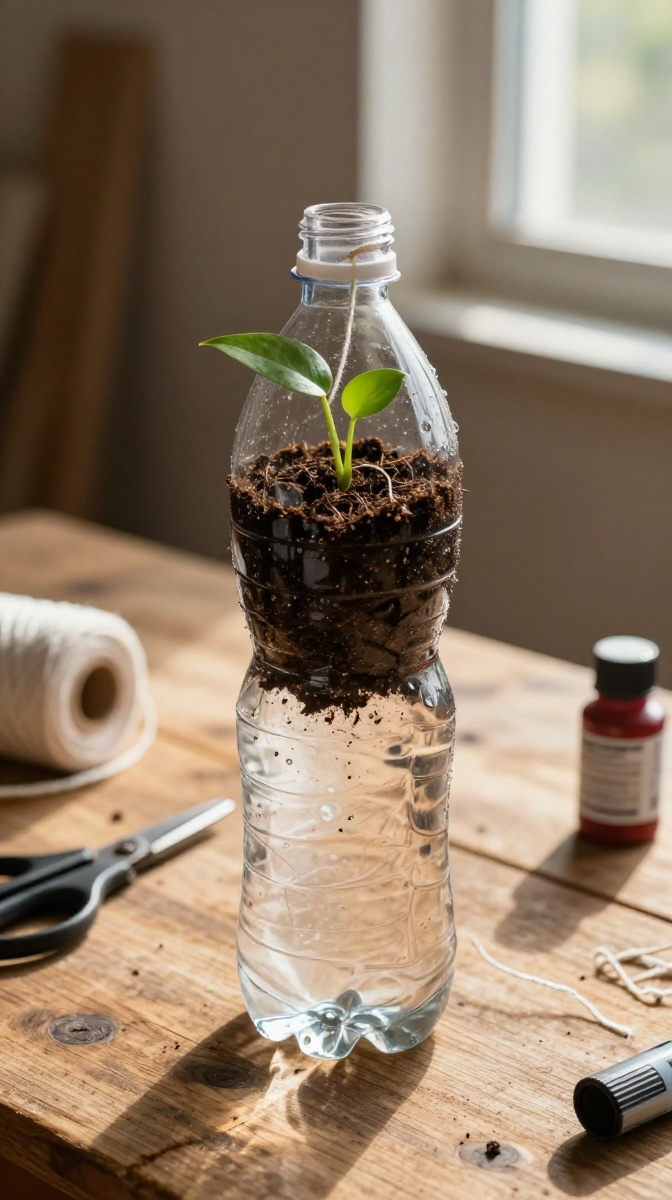
Forget brown-thumb excuses. This planter waters your plants while you’re busy forgetting they exist. It’s my favorite beginner project.
- Cut the bottle in half horizontally.
- Poke a small hole in the cap and screw it back on.
- Flip the top half upside down and nestle it into the bottom half.
- Thread a short piece of cotton string through the cap hole.
- Fill the bottom with water and the top with soil and your plant.
- Watch the string wick moisture upward. Magic.
Decorating Ideas
Paint the outside with two coats of acrylic paint for a clean look. Wrap twine around the middle for a rustic vibe. You can also cut decorative shapes into the rim before painting.
Feeling fancy? Add a coat of clear sealant so the paint survives watering day.
2. Desk Organizer From Bottle Bases
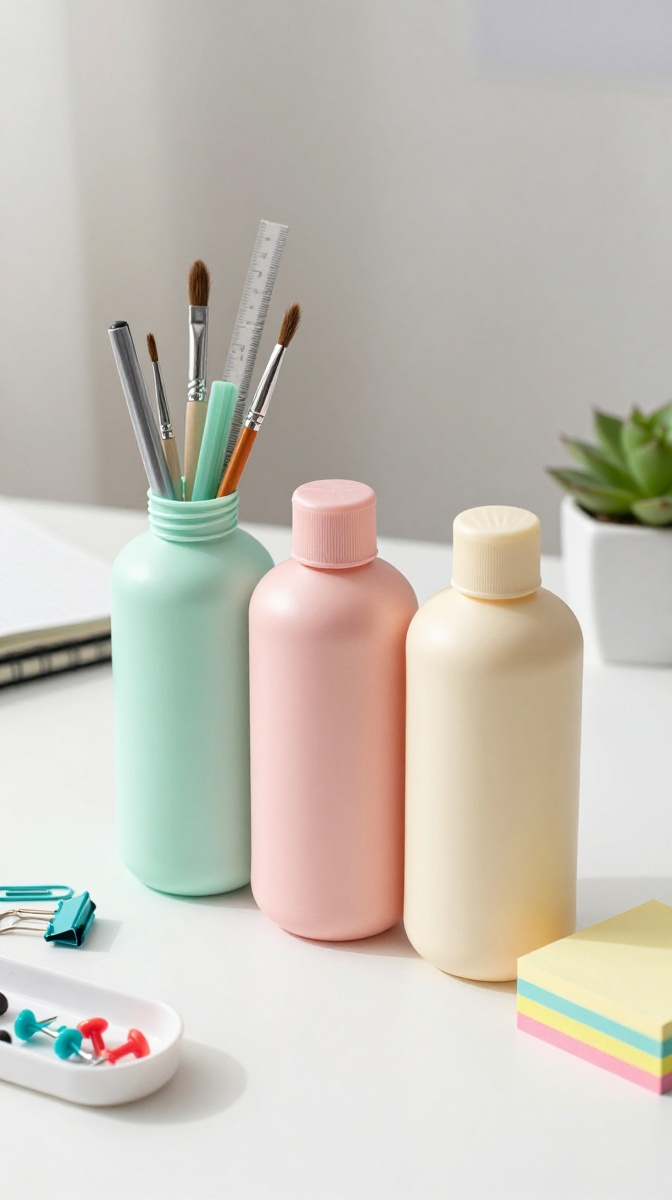
Your desk called. It wants to stop being a disaster zone. This organizer takes about twenty minutes and costs basically nothing.
- Cut three bottles at different heights — short, medium, and tall.
- Sand every rim until smooth.
- Paint each piece a different color or keep them all matching.
- Arrange them in a cluster and glue the sides together.
- Let the glue set for a full hour before loading it up.
Customizing Your Organizer
Use the tall section for pens and brushes. The short one holds paper clips and pushpins. Add a small tray made from a bottle bottom for sticky notes.
Want a cuter look? Glue on buttons, washi tape, or fabric scraps. Go wild — it’s your desk.
3. Plastic Bottle Lamp or Fairy-Light Lantern
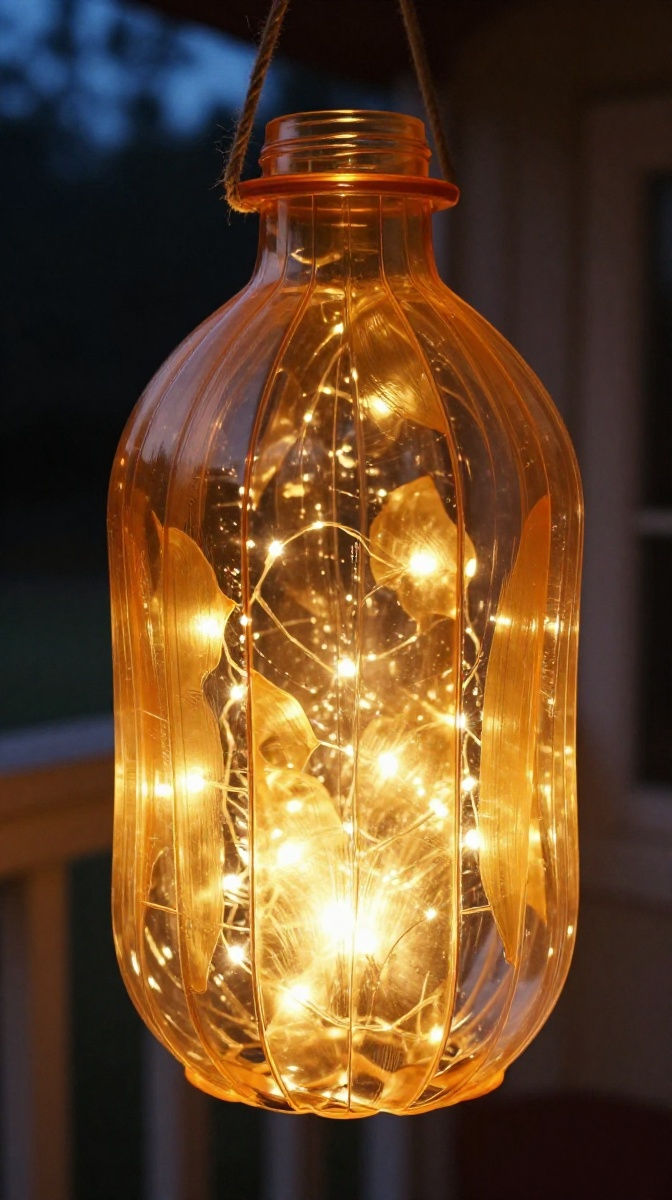
Yes, really. A plastic bottle makes a gorgeous lantern, and it’s safer than it sounds if you use LED lights. Never use real candles or hot bulbs inside plastic.
- Cut the top third off a large bottle.
- Cut vertical slits around the sides, about one inch apart.
- Press the strips outward gently to create a flower shape.
- Sand all edges and paint the outside.
- Place a battery-operated fairy light strand inside.
- Hang it up or set it on a shelf and enjoy the glow.
Troubleshooting Common Issues
If the plastic cracks while bending, warm it slightly with a hairdryer first. Cracks usually mean you cut the strips too wide. Keep them narrow for easier shaping.
Paint peeling off? You skipped the primer. A light coat of spray primer makes paint stick way better.
4. No-Sew Bottle Pencil Case
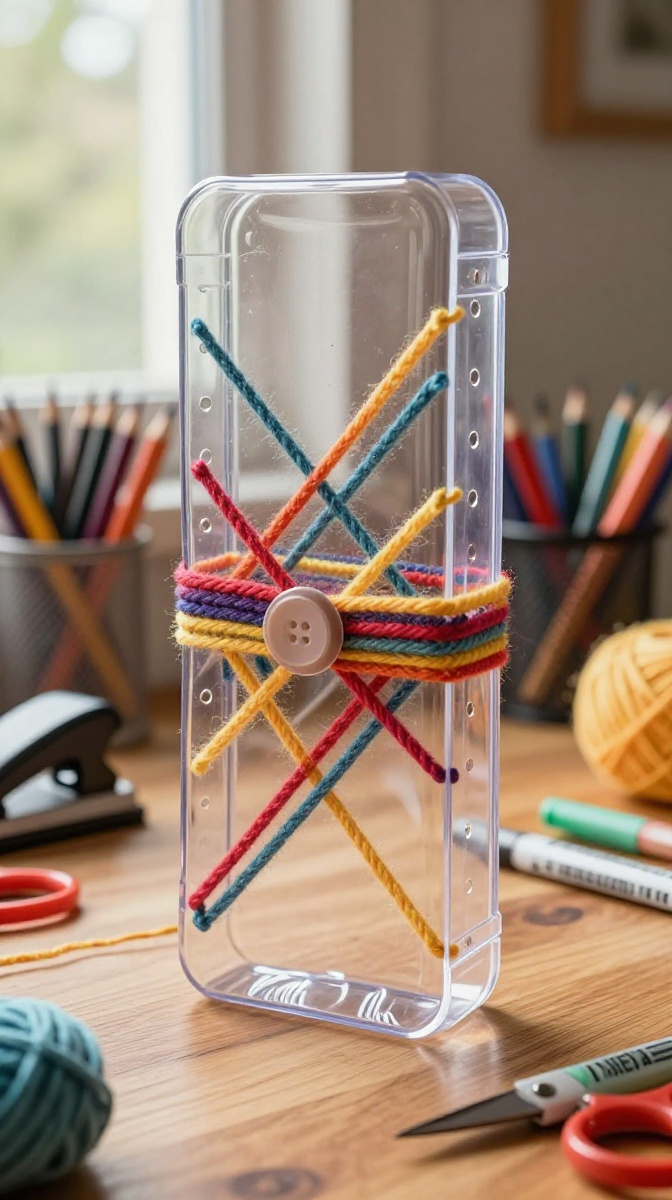
This one’s for the crafters who refuse to touch a sewing machine. Same here, honestly.
- Cut a rectangular panel from a large bottle.
- Round the corners with scissors and sand them smooth.
- Punch holes along both long edges with a hole punch.
- Weave yarn or ribbon through the holes in a crisscross pattern.
- Fold the panel into a tube and tie the ends closed.
- Add a button and loop for a closure.
Material Substitutes
No hole punch? A hot nail works, but use pliers to hold it. No yarn? Try shoelaces, twine, or thin ribbon. Anything flexible will do the job.
5. Bottle Cap Coasters and Wall Art
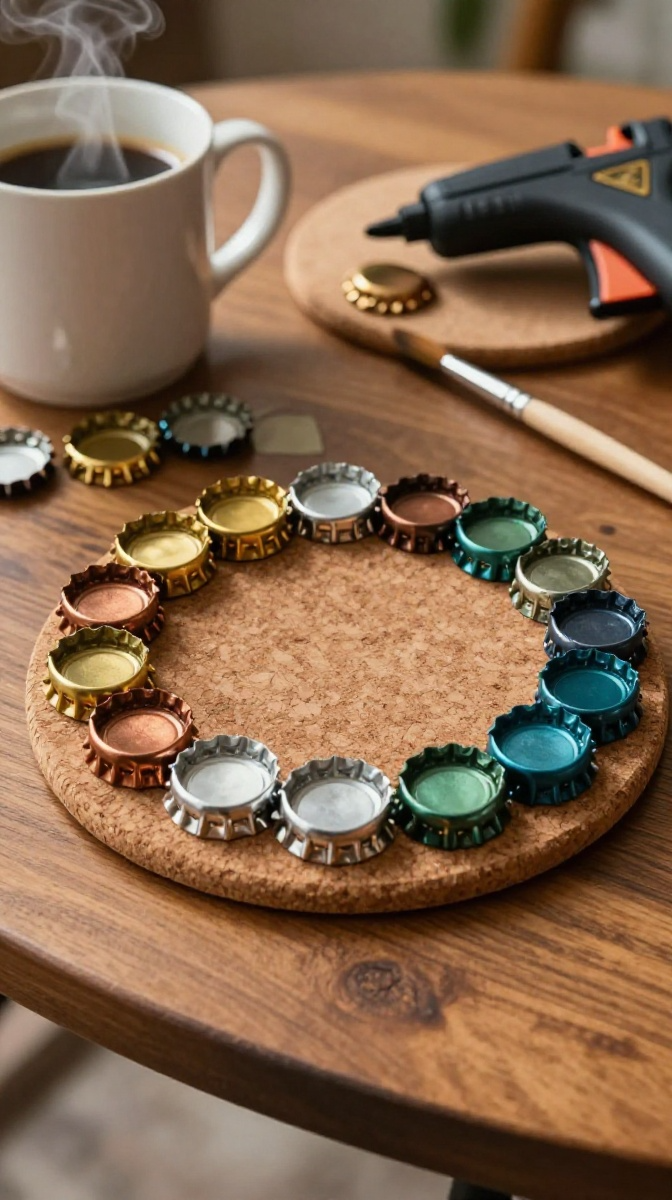
Save those caps — they’re little craft treasures. A set of coasters takes maybe thirty minutes total.
- Collect 20 to 30 clean bottle caps.
- Arrange them in a circle or square on a flat surface.
- Glue each cap to its neighbors using hot glue.
- Cut a circle of cork or felt for the backing.
- Glue the backing to the bottom and let it dry.
Display and Gift Ideas
Coasters make great housewarming gifts, especially in a set of four. Arrange caps into letters or shapes for wall art. A heart or star design looks adorable in a kid’s room.
Paint the caps first for a pop of color. Metallic spray paint gives a really polished finish.
6. Bottle Chandelier or Mobile
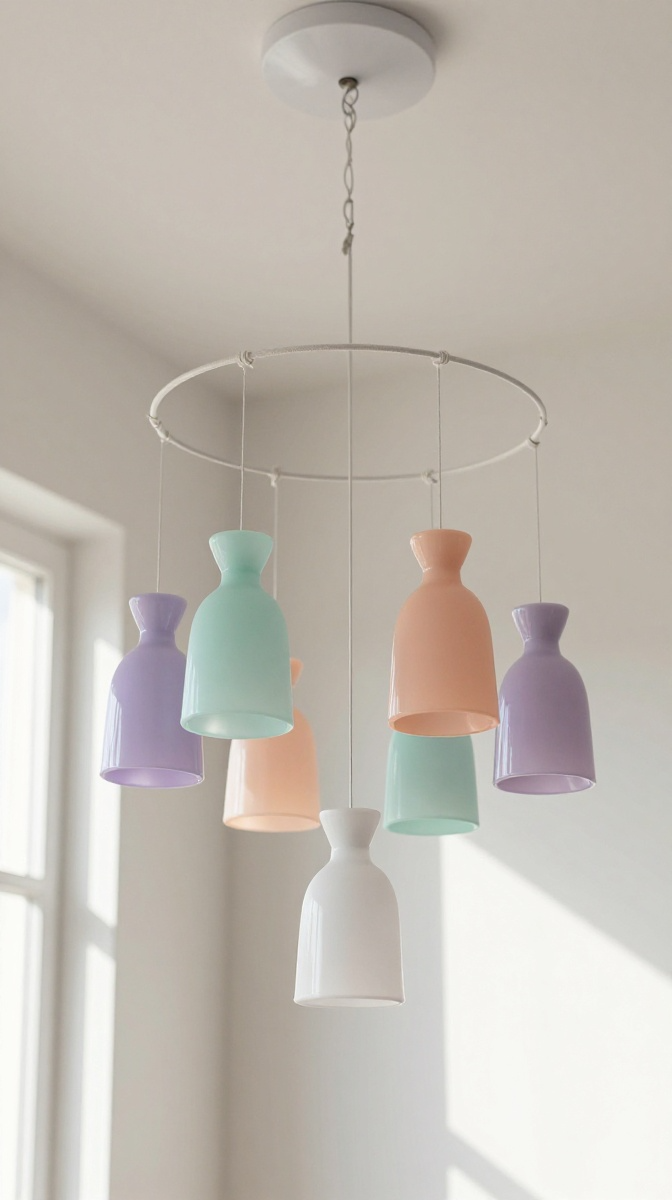
Feeling ambitious? This statement piece takes an afternoon but looks like you bought it at a boutique.
- Cut the bottoms off six to eight small bottles.
- Sand and paint each cup inside and out.
- Poke a small hole in the center of each cup bottom.
- Thread fishing line through each hole and tie a knot.
- Tie the other ends to a wire hoop at varying lengths.
- Hang from the ceiling and adjust the heights until balanced.
Common Mistakes to Avoid
Don’t make all the strings the same length — it looks flat. Vary them for visual interest. Also, weigh your hoop down before hanging so it doesn’t spin forever.
Skip heavy decorations. Plastic is light, and too much weight will pull the whole thing lopsided.
FAQ’s
What’s the best way to cut a plastic bottle cleanly?
Start with a small slit using a craft knife, then finish with sharp scissors. Mark your line with a permanent marker first. Slow, steady cuts beat rushing every time.
How do I remove sticky label residue?
Soak the bottle in warm soapy water for ten minutes. For stubborn glue, rub it with a little cooking oil or rubbing alcohol. It comes right off.
Can I use these crafts outdoors?
Yes, but seal them first. UV rays and rain break down plastic and paint over time. A clear acrylic sealant adds years to any outdoor project.
Are plastic bottle crafts safe for kids?
Decorating is totally kid-friendly. Cutting and gluing should be adult-supervised. Keep little ones away from hot glue guns and sharp blades.
How long do these crafts last?
Indoor projects last years if you keep them out of direct sunlight. Outdoor ones last a season or two unless you seal them properly.
What if my project looks nothing like the picture?
Welcome to crafting. Nobody’s first attempt is perfect. Paint over it, glue something on top, or call it “abstract” and move on.
Ready to Raid Your Recycling Bin?
You’ve got seven solid projects and a bin full of free supplies. Pick the easiest one, give it a shot, and don’t stress if it looks a little wonky at first.
Every crafter started with a lumpy planter and a glue-gun burn. Make one thing this weekend, then send me a mental high-five when it works. Now go rescue those bottles before they hit the curb.