
Got a garage full of “someday” junk? Same. That chipped ladder, the lonely mason jar, that dresser missing a drawer—they’re not trash; they’re decor waiting for a glow-up. Grab your glue gun and let’s turn five pieces of clutter into stuff people will actually ask about. No fancy tools, no massive budget, and zero guilt about tossing things out.
Why Upcycling Beats Buying New
Store-bought decor is fine until you see the price tag on a “rustic” vase that’s just a painted bucket. Upcycling gives you one-of-a-kind pieces for pennies, and you get bragging rights forever. Plus, it’s the rare hobby that makes you feel smug and eco-friendly.
Best part: most upcycled projects use stuff you already own. So the hardest step is usually just deciding you’re finally going to do it.
What Counts as Upcycling?
Upcycling means giving an old item a new purpose without breaking it down into raw materials. Turning a ladder into a shelf? Upcycling. Turning a jar into a candle holder? Also upcycling. Recycling is great, but upcycling skips the whole “send it to a plant” step.
Where to Find Free Materials
- Your own garage, basement, or “junk drawer” (we all have one)
- Buy Nothing groups and Facebook Marketplace free listings
- Thrift stores on clearance days
- Curbside finds on bulk trash day—just check for bugs first
- Friends who are moving and “don’t want to deal with it”
Project 1: The Rusty Ladder Turned Bookshelf
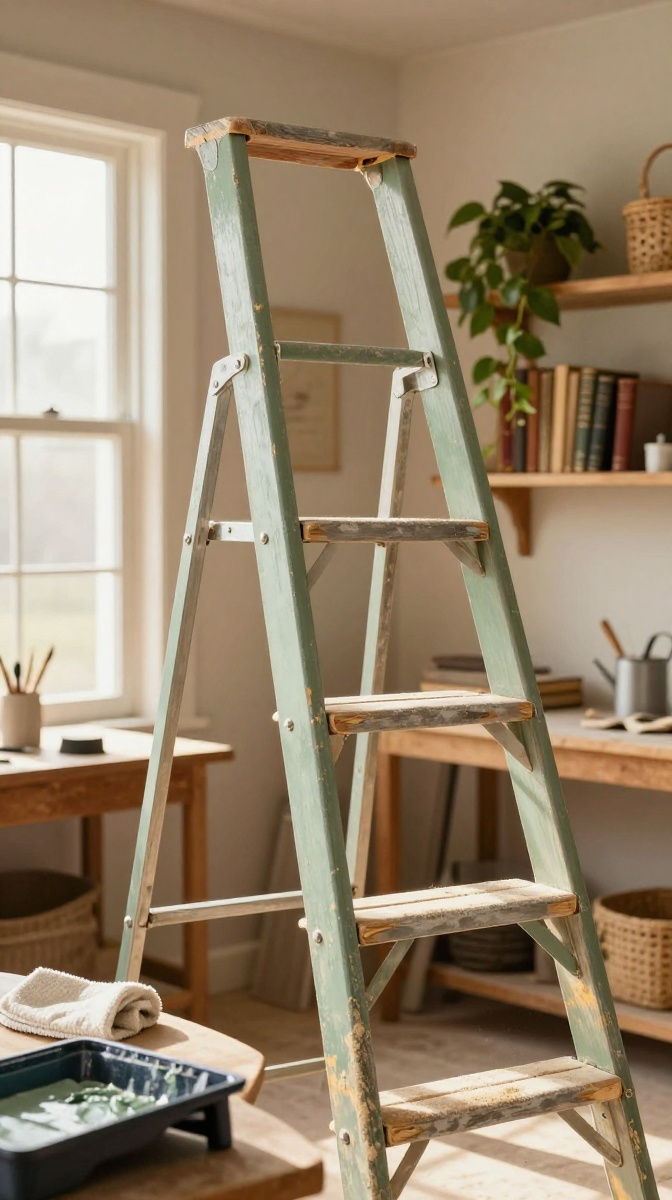
That old wooden ladder in the corner? It’s a bookshelf, a blanket rack, and a plant stand all at once. This is my favorite starter project because it needs almost no skill—just a good scrub and some creativity.
Materials and Tools
- Wooden ladder (step or extension ladder both work)
- Sandpaper (medium and fine grit)
- Damp cloth
- Paint or wood stain (chalk paint is forgiving—chalk paint is forgiving)
- Paintbrush or foam roller
- Clear sealant (matte or satin)
- Optional: small L-brackets if you’re leaning it against a wall
Cheap swap: no chalk paint? Mix flat latex paint with a little plaster of Paris. No sealant? A coat of matte Mod Podge works in a pinch.
Step-by-Step Instructions
- Wipe the ladder down with a damp cloth and let it dry completely.
- Sand rough spots until the surface feels smooth, then wipe away dust.
- Paint or stain the ladder in thin coats. Two light coats beat one gloppy one every time.
- Let it cure for at least 24 hours before handling.
- Seal it with a matte or satin finish so it doesn’t feel sticky.
- Lean it against a wall or mount it with L-brackets for safety.
- Style it with books, plants, baskets, or rolled blankets.
Common Mistakes to Avoid
- Skipping the sanding step, then wondering why paint peels
- Painting in humid weather and getting a tacky finish
- Leaning a tall ladder without securing it—gravity is not your friend
Project 2: Mason Jar Wall Sconces
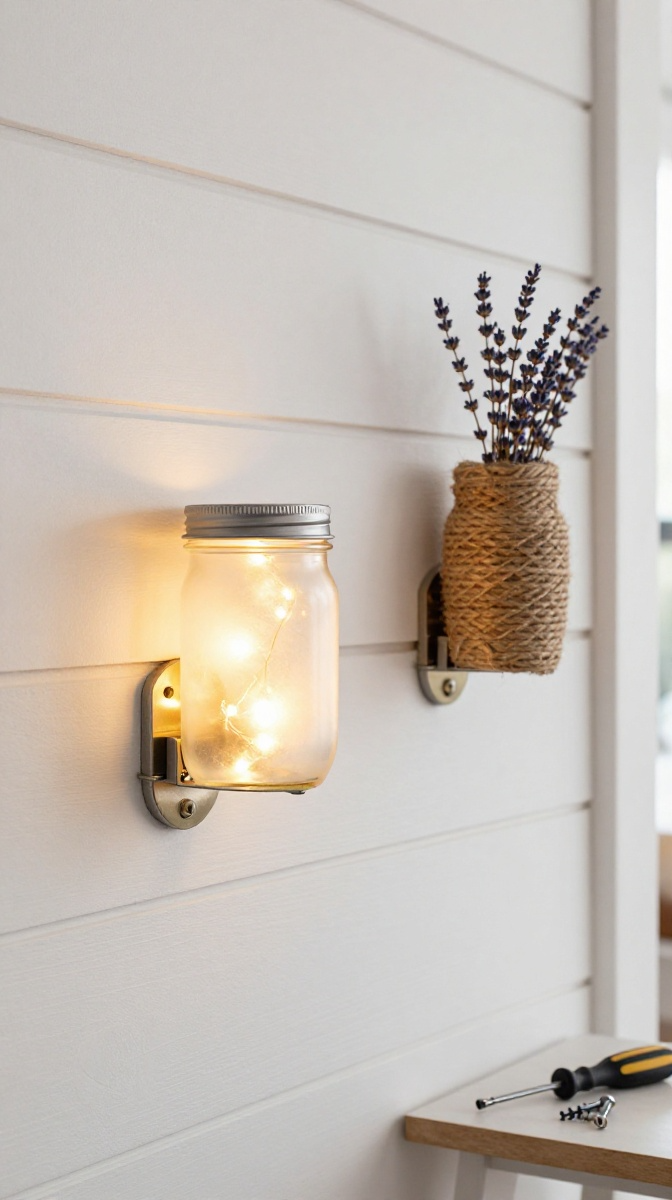
Mason jars are the unofficial mascot of DIY. Turn a few into wall sconces and suddenly your hallway looks like a farmhouse café. Bonus: you can use battery-powered fairy lights, so no wiring required.
Materials and Tools
- Mason jars (any size, but wide-mouth is easier to fill)
- Pipe clamps or jar hanging brackets
- Screws and wall anchors
- Battery-powered fairy lights or LED candles
- Optional: chalk paint, twine, or lace for decoration
- Drill and screwdriver
Step-by-Step Instructions
- Clean the jars and remove any labels or sticky residue.
- Attach the pipe clamp to the jar, leaving room for the bracket.
- Mark screw holes on the wall and drill pilot holes.
- Insert wall anchors, then screw the bracket into place.
- Slide the jar into the clamp and tighten it gently.
- Drop in fairy lights or an LED candle and turn it on.
- Repeat for a symmetrical pair or a staggered trio.
Design Variations
- Frosted glass spray for a soft, diffused glow
- Wrapped twine for a rustic look
- Gold spray paint on the clamp for a modern vibe
- Herbs or dried flowers inside for a botanical twist
Project 3: Dresser Drawer to Under-Bed Storage
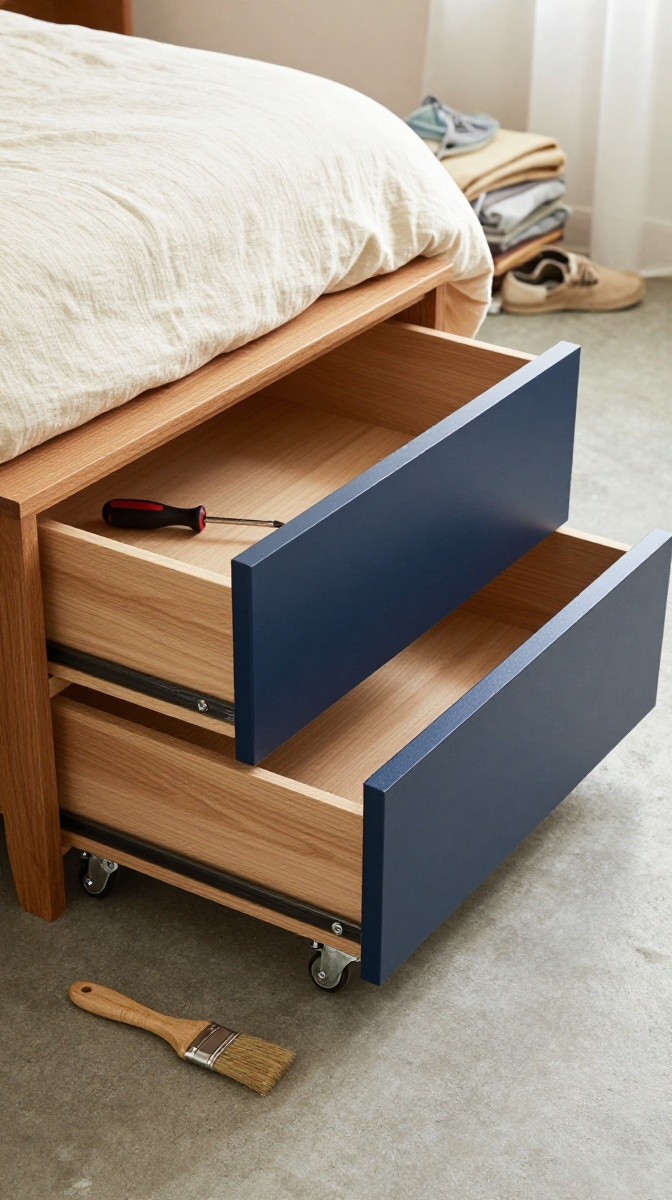
A dresser missing a drawer is basically a shelf waiting to happen. Pull out the broken drawer, add casters, and you’ve got rolling under-bed storage that looks intentional. IMO, this is the most practical upcycle on the list.
Materials and Tools
- Wooden drawer (solid wood holds up better than particleboard)
- Four small casters
- Sandpaper and damp cloth
- Paint or stain
- Screws and screwdriver
- Optional: felt pads for wood floors
Step-by-Step Instructions
- Remove any hardware and give the drawer a good wipe-down.
- Sand the edges and surfaces until smooth.
- Paint or stain the drawer and let it dry completely.
- Flip the drawer upside down and mark caster positions at each corner.
- Screw the casters into place.
- Flip it back over and slide it under the bed.
- Fill it with shoes, blankets, or off-season clothes.
Troubleshooting
If the drawer wobbles, one caster is probably sitting higher than the others. Loosen the screws and re-tighten them evenly. If it scrapes the floor, add felt pads or swap to slightly larger casters.
Project 4: Old Shutter into Entryway Organizer
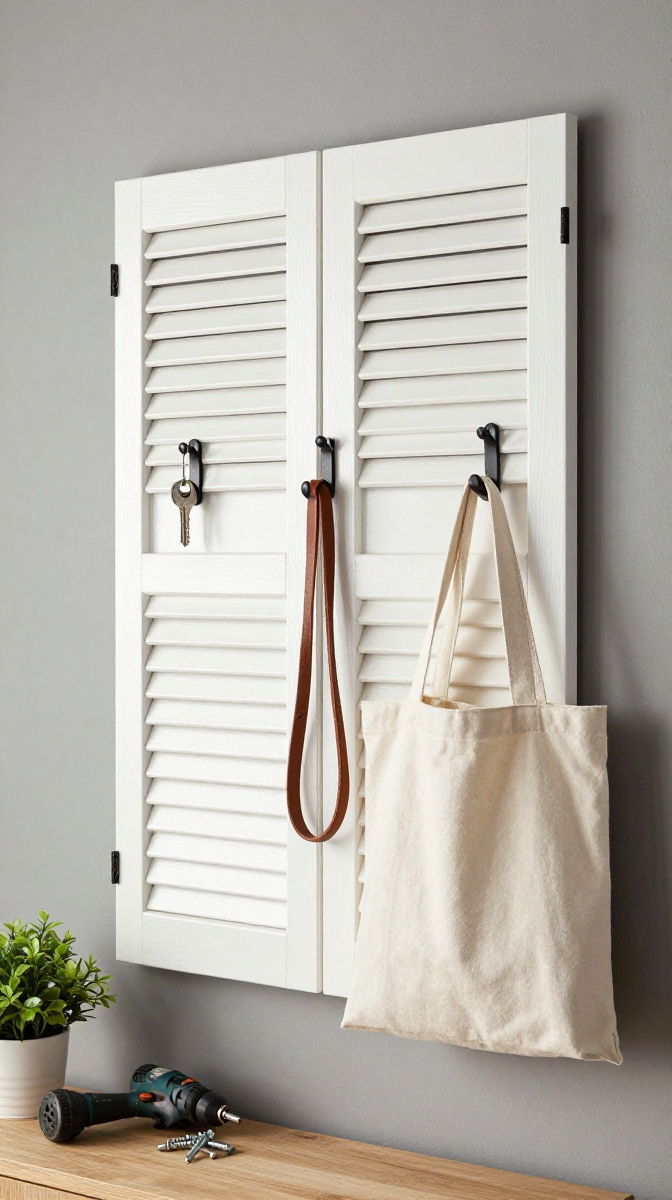
Wooden shutters are everywhere at flea markets, and they make ridiculously good entryway organizers. Add hooks, a little paint, and you’ve got a spot for keys, leashes, and that one bag you always lose.
Materials and Tools
- Wooden shutter (louvered or flat panel)
- Sandpaper and damp cloth
- Paint or spray paint
- Coat hooks or small knobs
- Screws and screwdriver
- Picture hanging hardware
Step-by-Step Instructions
- Clean the shutter and sand any rough edges.
- Paint it in thin coats and let it dry fully.
- Mark hook positions evenly across the shutter.
- Screw the hooks into place.
- Attach hanging hardware to the back.
- Mount it on the wall at eye level.
- Hang keys, leashes, small bags, or aprons.
Project 5: Wine Crate Pet Station
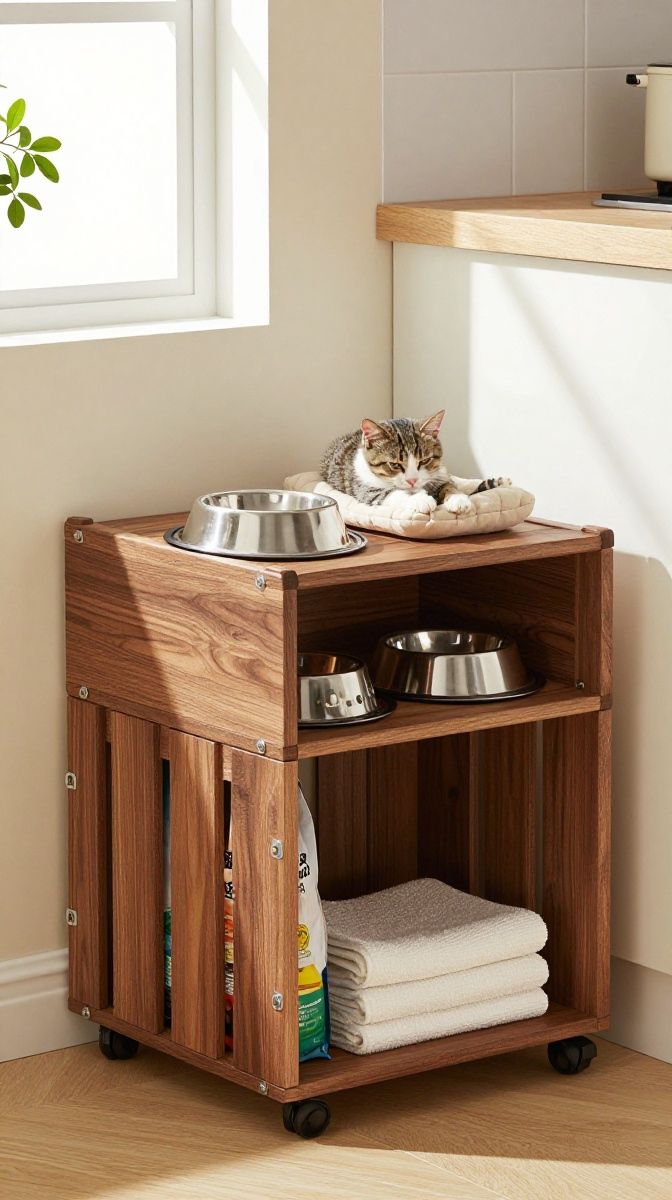
Wine crates are sturdy, stackable, and basically free if you ask nicely at a local shop. Stack two, add a cushion, and you’ve got a pet feeding station that hides the ugly bags of kibble.
Materials and Tools
- Two wooden wine crates
- Sandpaper and damp cloth
- Paint or stain
- Small cushion or folded towel
- Pet bowls
- Optional: casters for easy moving
Step-by-Step Instructions
- Sand and clean both crates.
- Paint or stain them and let them dry.
- Stack the crates and secure them with screws or brackets.
- Add casters to the bottom if you want it movable.
- Place bowls on top and slide food storage into the crates.
- Add a cushion on top for a cozy perch if your pet likes to supervise.
Practical Tips for Upcycled Decor
- Always clean first. Dirt hides under paint and ruins the finish.
- Test paint on a hidden spot. Some finishes resist adhesion.
- Use what you have. Leftover paint from another project counts.
- Let things cure. Rushing leads to smudges and regret.
- Style in odd numbers. Three items look better than two.
How to Display or Gift Your Creations
Group upcycled pieces by material or color for a cohesive look. Gift a mason jar sconce with a pack of fairy lights, or give a wine crate station to a new pet owner. Handmade gifts hit different, and they’re basically free therapy.
FAQ’s
Do I need to seal painted furniture?
Yes, especially on high-touch pieces. Sealant protects the paint and makes cleaning easier. Matte finishes look more natural, while satin adds a slight sheen.
What if I don’t have a drill?
Use adhesive hooks rated for the weight, or ask a neighbor. Most people are happy to lend a drill for five minutes, especially if you promise not to return it covered in glitter.
Can I upcycle plastic items too?
Absolutely. Plastic crates, bottles, and bins can become planters, storage, or organizers. Just clean them well and use paint made for plastic.
How do I avoid a “crafty” look?
Stick to neutral colors, keep lines clean, and skip excessive embellishments. Less really is more when you want it to look store-bought.
Are upcycled items safe for pets?
Only if you use pet-safe paint and sealant, and avoid small parts they could chew off. When in doubt, keep it out of reach.
How long do these projects take?
Most take an afternoon plus drying time. The ladder shelf and dresser drawer are weekend projects, while the mason jars and wine crate station can be done in a couple of hours.
Final Thoughts: Go Make Something Ugly Beautiful
Upcycling isn’t about perfection—it’s about giving old stuff a second chance and having fun while you do it. Start with one project, embrace the imperfections, and don’t stress if it looks a little homemade. That’s the point. Now go rescue something from the garage and make it the best thing in your house.