
Got a pile of empty jars, old T-shirts, and cardboard boxes taking over your space? Before you toss them, let’s turn that “junk” into stuff you’ll actually want to show off. These recycled craft ideas are cheap, beginner-friendly, and secretly addictive. Grab your glue gun and let’s get messy.
Why Bother With Recycled Crafts?
Look, buying new craft supplies is fun, but it adds up fast. Recycled crafts save you money and keep useful stuff out of landfills. Plus, nothing beats the smug feeling of turning a boring cereal box into something your friends will ask about.
You don’t need fancy tools either. Most of these projects use things already sitting in your kitchen or garage. FYI, that’s my favorite kind of crafting.
Project 1: Glass Jar Lanterns That Actually Look Expensive
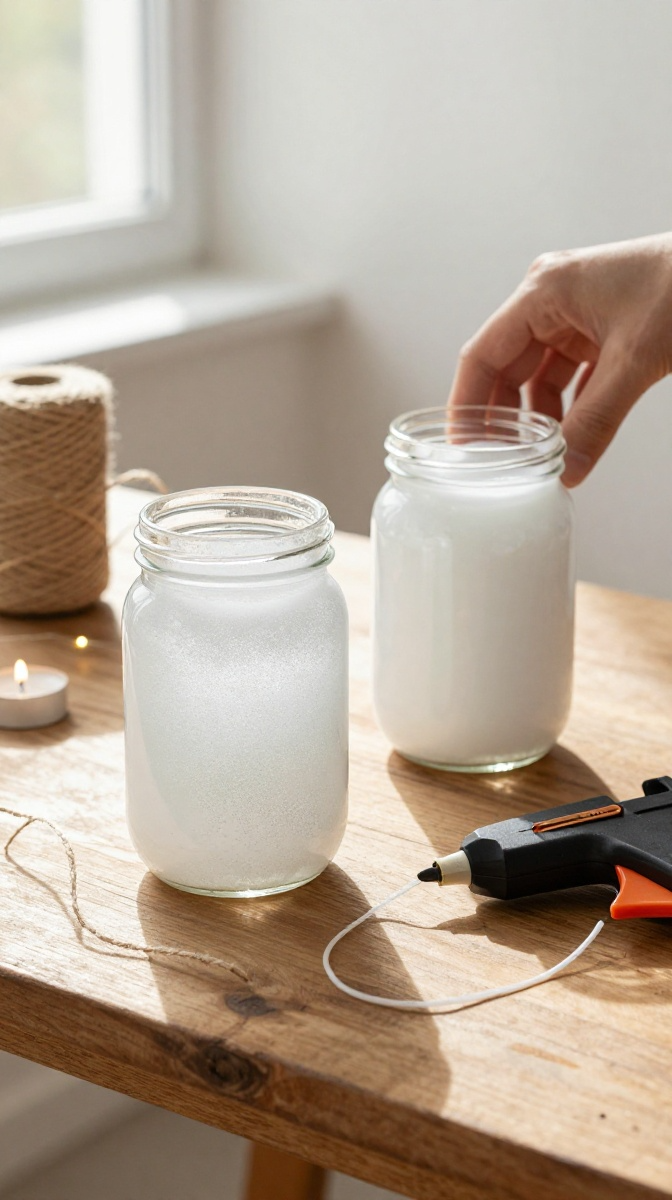
Empty pasta sauce jars are basically free decor waiting to happen. With a little paint and string, you get cozy lanterns for your patio or mantel.
Materials and Tools
- Clean glass jars (any size, lids removed)
- Frosted glass spray paint or acrylic paint
- Twine, jute, or craft wire
- Tea lights or fairy lights
- Hot glue gun
- Rubbing alcohol and a cloth
Affordable substitute: No spray paint? Mix white school glue with a drop of food coloring and paint it on in thin coats.
Step-by-Step Instructions
- Wipe the jar with rubbing alcohol so the paint sticks properly.
- Spray or paint the outside in thin, even coats. Let each coat dry.
- Wrap twine around the neck and secure it with hot glue.
- Add a wire handle if you want to hang it.
- Drop in a tea light or fairy lights and light it up.
Common Mistakes to Avoid
Don’t slather on thick paint — it drips and looks lumpy. Also, keep real candles away from painted edges unless you enjoy surprise fire hazards.
Project 2: Cardboard Box Storage Bins
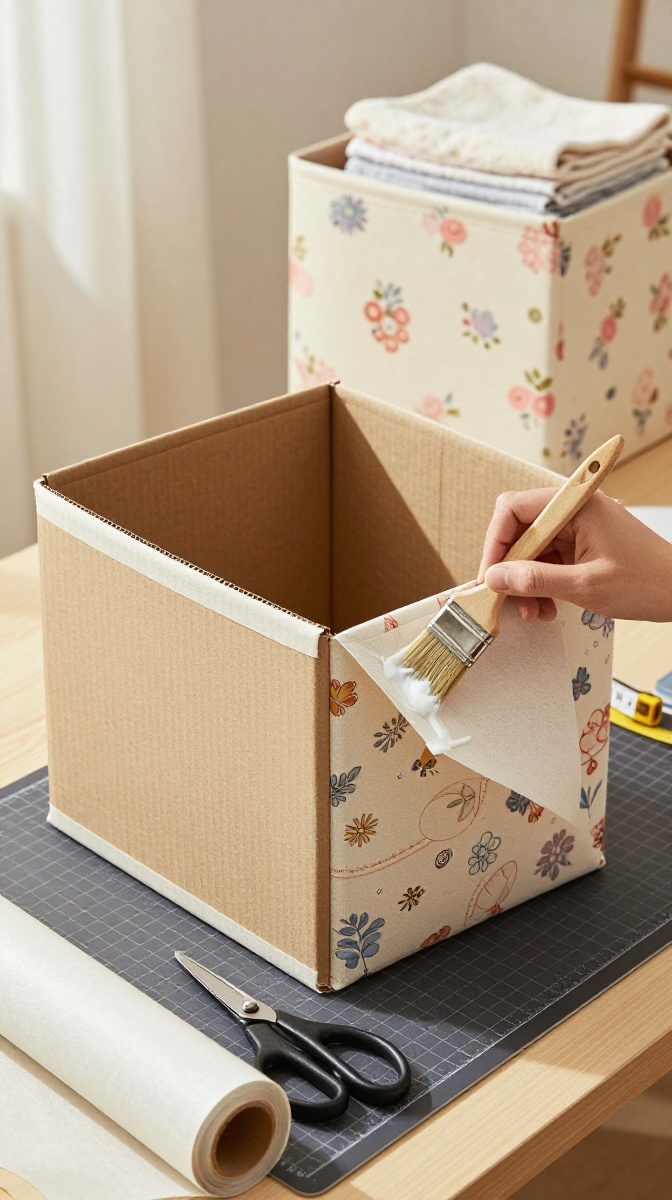
Delivery boxes multiply like rabbits, right? Turn them into sturdy storage bins for shelves, closets, or desks.
Materials and Tools
- Cardboard boxes
- Scissors or box cutter
- Fabric, contact paper, or wrapping paper
- Mod podge or white glue
- Paintbrush
Step-by-Step Instructions
- Cut the box flaps off and trim the sides to your preferred height.
- Measure and cut your fabric or paper, leaving an extra inch on each side.
- Brush glue onto the box and press the covering on, smoothing out bubbles.
- Fold the extra edges over the rim and glue them down inside.
- Let it dry completely before loading it up.
Pro tip: Reinforce the bottom with extra cardboard if you’re storing heavy stuff. Learned that one the hard way.
Project 3: T-Shirt Tote Bags (No Sewing Required)
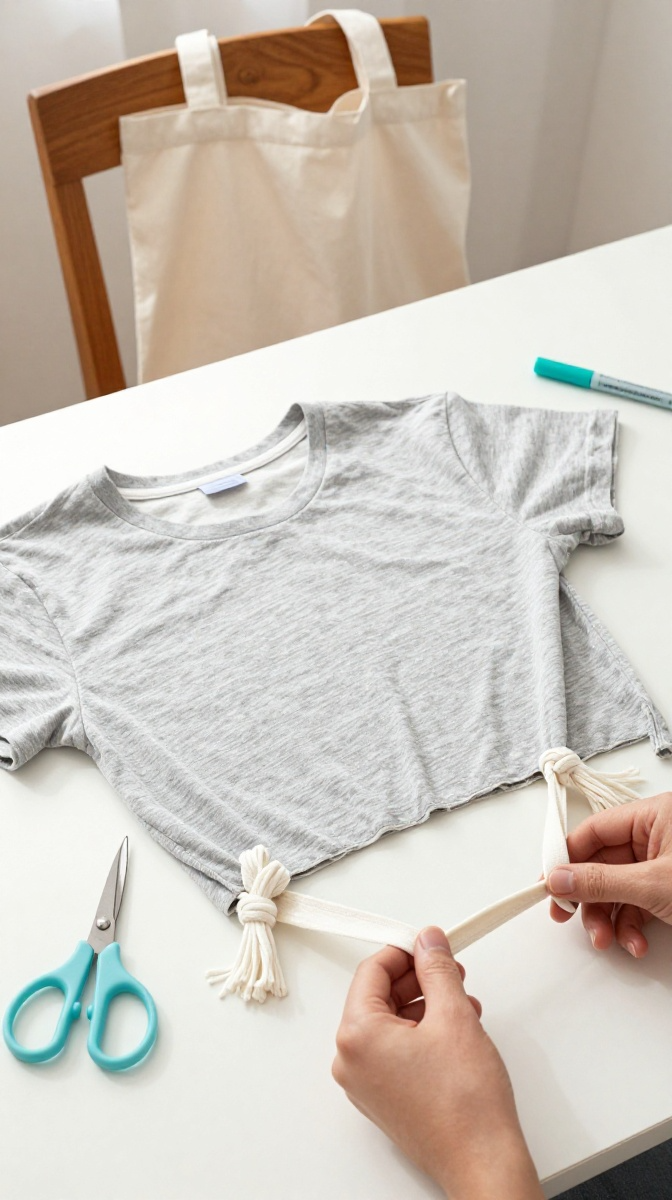
Old T-shirts make the softest, stretchiest bags ever. No sewing machine? No problem.
Step-by-Step Instructions
- Lay the shirt flat and cut off the sleeves and neckline.
- Turn it inside out and cut fringe strips along the bottom hem.
- Tie each pair of fringe strips together in double knots.
- Flip it right side out and stretch the bottom to close gaps.
- Decorate with fabric markers or patches if you want.
Design Variations
Use a tank top for a smaller bag, or braid the handles for a comfier grip. Band tees make especially cool totes.
Project 4: Wine Cork Plant Markers
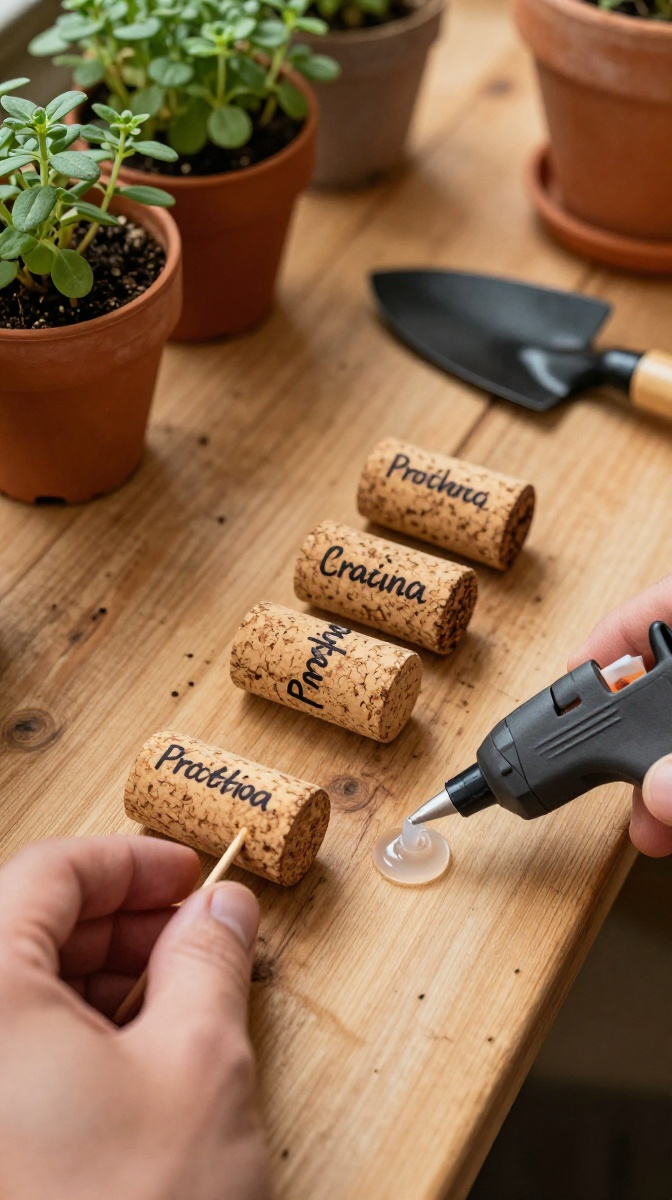
If you’ve got a drawer full of corks and a garden that needs labeling, this one’s for you. It takes about five minutes.
Materials and Tools
- Wine corks
- Wooden skewers or popsicle sticks
- Permanent marker
- Hot glue gun
Step-by-Step Instructions
- Write your plant name on the cork with a marker.
- Poke a skewer into the bottom of the cork.
- Add a dab of hot glue to hold the skewer in place.
- Stick it in your pot and admire your organization.
Customization idea: Paint the corks bright colors so they pop against the soil.
Project 5: Magazine Page Coasters
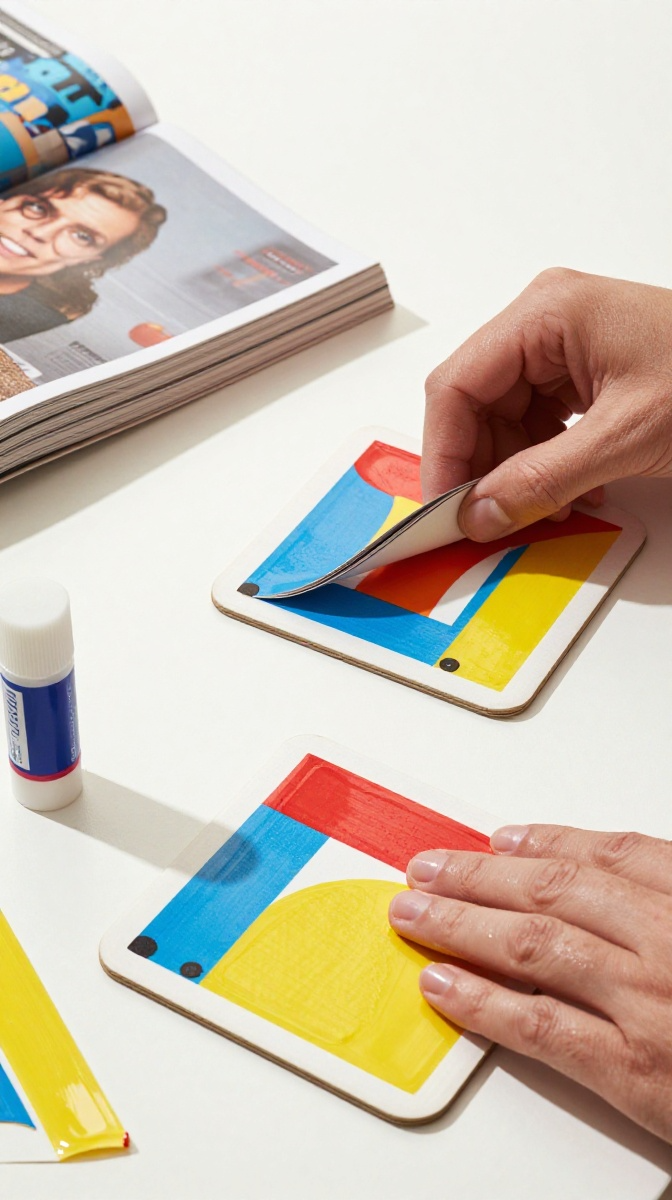
Colorful magazine pages become surprisingly durable coasters with a little weaving.
Step-by-Step Instructions
- Cut magazine pages into strips about one inch wide.
- Weave strips over and under each other to form a square.
- Glue the loose ends down.
- Brush Mod Podge over the whole square and let it dry.
- Add a second coat for waterproofing.
Troubleshooting
If corners curl, press the coaster under a heavy book overnight. Works like a charm.
Ways to Display or Gift Your Creations
These crafts make awesome gifts, especially for housewarmings or teacher appreciation. Bundle a few jar lanterns with a pack of tea lights, and you’ve got a present that looks store-bought.
For display, group similar items together. A row of cork markers in matching pots looks intentional and tidy. IMO, that’s the secret to making homemade stuff look polished.
FAQ’s
Do I need special tools for recycled crafts?
Nope. A glue gun, scissors, and paint cover most projects. Borrow tools from a friend if you’re just starting.
How do I clean recycled jars and cans properly?
Soak them in warm, soapy water, scrub off labels, and let them dry fully. Rubbing alcohol removes any sticky residue.
Are these crafts safe for kids?
Many are, but skip projects with sharp edges or hot glue for younger kids. Adult supervision is always a good call.
What if my paint looks streaky?
Thin coats are key. Let each layer dry before adding the next, and sand lightly between coats if needed.
Can I sell items I make from recycled materials?
Generally yes, but check local rules about selling repurposed goods. Making gifts? Go wild.
Conclusion: Start Digging Through That Recycling Bin
Recycled crafts prove you don’t need a big budget to make cool stuff. Pick one project, raid your recycling bin, and see what happens. Worst case, you make a mess. Best case, you make something you genuinely love. Either way, you’re crafting, and that’s a win.
Now go grab that jar. It’s not trash anymore.