
Grab that stack of paper you’ve been hoarding “just in case” — we’re putting it to work. Paper crafts are cheap, satisfying, and weirdly addictive once you start. You don’t need fancy tools or a craft room that looks like a Pinterest board. A pair of scissors, some glue, and a free afternoon are enough to make something you’ll actually want to show off.
Below you’ll find five beginner-friendly projects, from paper flowers that never wilt to lanterns that make any room feel cozy. Pick one, or try them all. No pressure.
Paper Flowers That Actually Look Real
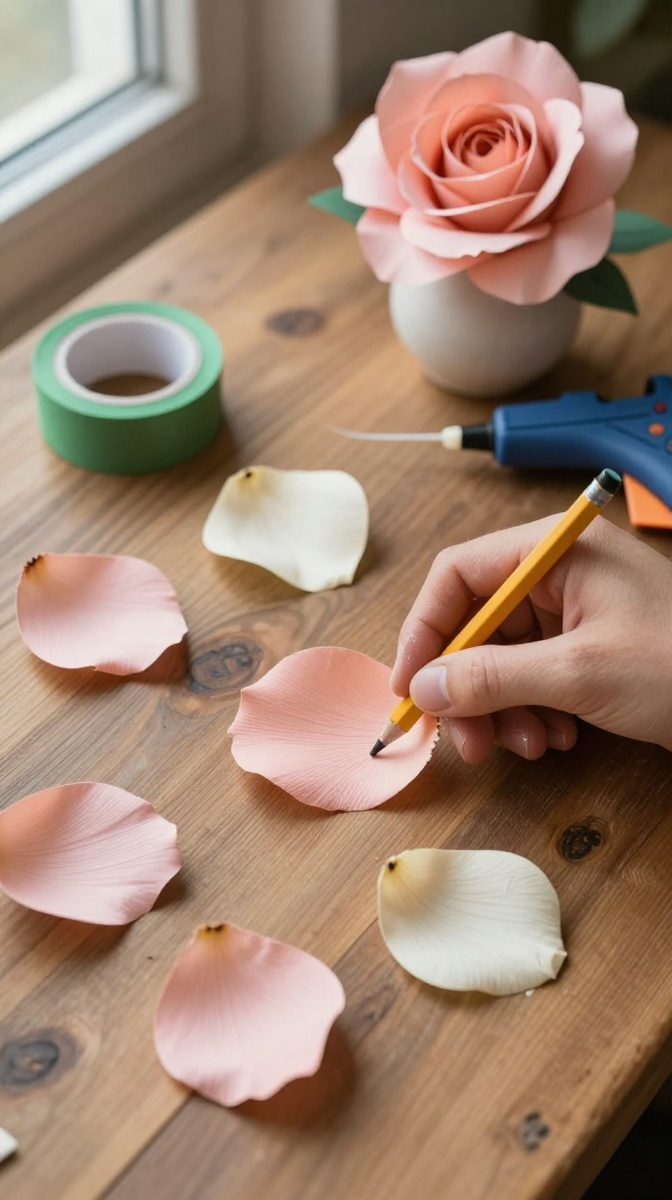
Real flowers die in a week. Paper flowers sit on your shelf forever and never ask for water. That’s what I call a solid relationship.
The trick to realistic paper flowers is layering and curling. Flat paper looks flat. Curled, cupped, slightly crumpled petals look alive. It sounds fussy, but it takes seconds per petal once you get the hang of it.
Materials and Tools
- Cardstock or crepe paper in your chosen colors (crepe stretches better, cardstock holds shape longer)
- Floral wire or pipe cleaners for stems
- Scissors and a glue gun (white glue works; it’s just slower)
- A pencil or thin marker for curling petals
- Green floral tape (optional, but it hides a lot of sins)
Step-by-Step Instructions
- Cut five to seven petal shapes per flower. Make them slightly different sizes for a natural look.
- Cup each petal by pressing it over your finger or curling the edges around a pencil.
- Glue the petals around a small center circle, overlapping each one as you go.
- Add a second layer of smaller petals in the middle for depth.
- Attach your stem wire to the back with a generous blob of glue, then wrap it with floral tape.
- Fluff the petals outward and adjust until it looks less like a craft project and more like a flower.
Common Mistakes to Avoid
Don’t skip the curling step — that’s the whole magic trick. Also, use thin layers of glue. A glue explosion looks less “artistic” and more “my kid’s science fair volcano.” If your petals keep popping off, your glue is too cold, or you’re being too gentle. Press and hold for a few seconds.
Easy Origami Butterflies for Beginners
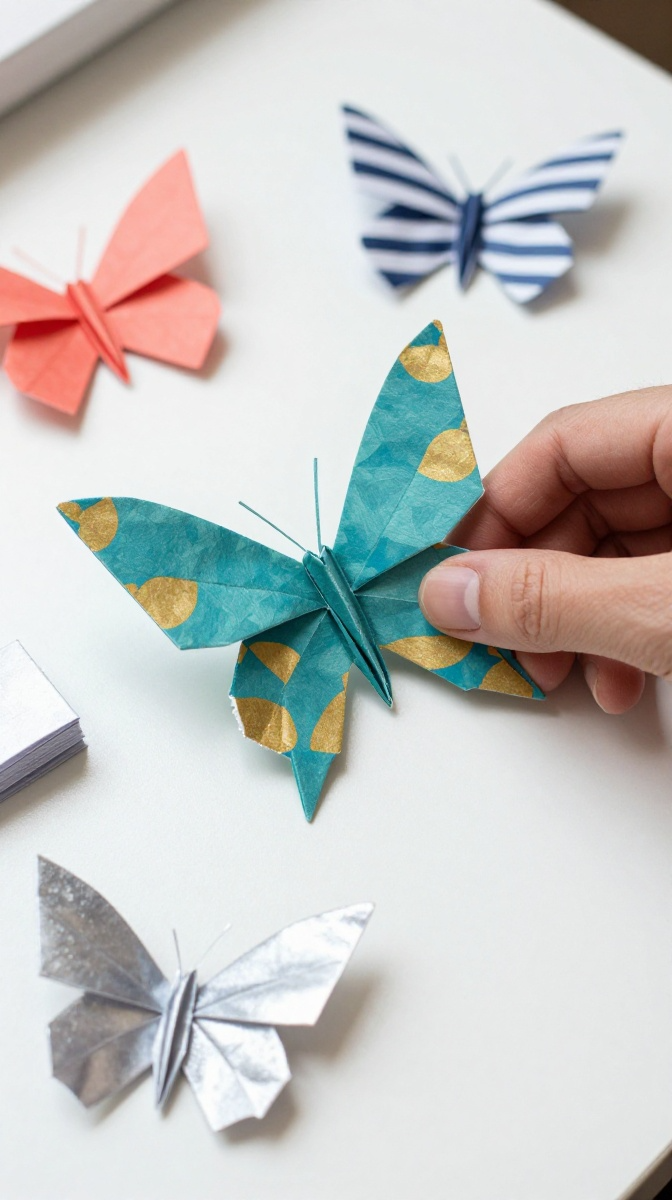
Origami sounds intimidating until you realize the butterfly is one of the simplest folds. No fancy crease patterns. No tears. Probably.
Materials and Tools
- Square origami paper (or cut printer paper into squares)
- A flat, clean surface
- Your hands — that’s it
Step-by-Step Instructions
- Fold your square in half diagonally both ways, then unfold. You now have an X crease.
- Flip the paper over and fold it in half horizontally and vertically. Unfold.
- Push the sides inward so the paper collapses into a triangle shape.
- Fold the top layers of the triangle up to meet the top point.
- Flip the whole thing over and fold the bottom point up and over the edge.
- Pinch the center fold and gently open the wings. Done.
Design Variations
Use patterned paper for a bold look, or metallic paper for something fancy. String a bunch together with thread for a mobile, or glue them onto cards. Smaller paper makes tinier, cuter butterflies. Bigger paper makes statement pieces. Go wild.
Paper Lanterns That Set the Mood
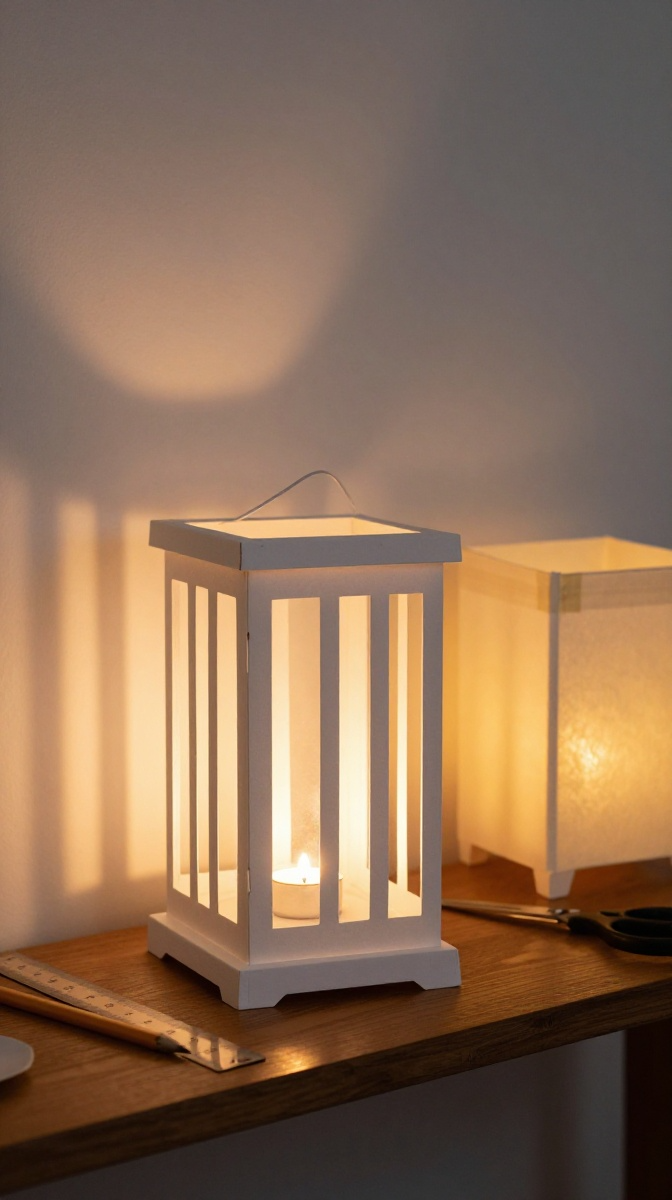
Paper lanterns are the ultimate “I made this” flex because they look store-bought. They’re also stupidly easy. You can crank out a dozen in one sitting while watching TV.
Materials and Tools
- Battery-powered tea lights (real candles plus paper equals bad idea)
- Thin cardstock or vellum paper
- Ruler and pencil
- Scissors or a craft knife
- Double-sided tape or a glue stick
Step-by-Step Instructions
- Cut your paper into a rectangle, roughly 8 by 5 inches.
- Fold it in half lengthwise.
- Starting from the folded edge, cut slits about an inch apart, stopping an inch before the open edge.
- Unfold the paper. You should see a ladder pattern.
- Roll the paper into a cylinder and tape the short edges together.
- Gently press down to flatten it slightly, then pop it back open.
- Place a battery tea light inside. Watch it glow. Feel proud.
Safety Tips
Seriously, use battery lights. Paper plus open flame is a recipe for a very short craft session and a very long conversation with your landlord. Keep lanterns away from pets who think glowing things are toys.
DIY Paper Gift Boxes Anyone Can Fold
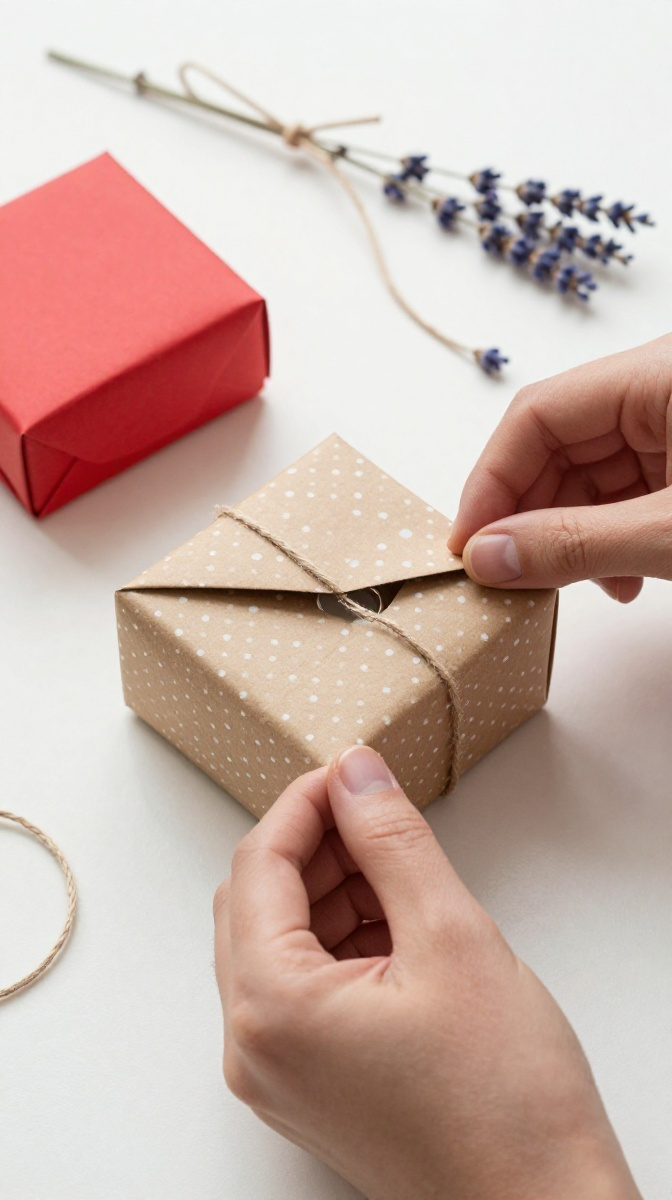
Wrapping gifts is fine until you run out of tape and patience. Paper gift boxes solve both problems. Plus, people are weirdly impressed by them, even though they take about two minutes.
Materials and Tools
- Two square sheets of paper — one slightly smaller than the other
- Scissors
- A bone folder or the back of a spoon
- Ribbon or twine for tying
Step-by-Step Instructions
- Fold your larger square in half both ways and diagonally both ways. Unfold.
- Fold all four corners into the center.
- Fold the top and bottom edges to the center, then unfold.
- Open the left and right flaps and fold the top and bottom edges inward to form the box walls.
- Repeat with the smaller square for the lid.
- Slide the lid onto the base. Tie with ribbon if you’re feeling extra.
Customization Ideas
Use patterned paper for holidays, plain kraft paper for a rustic vibe, or paint-splattered paper for something artsy. Add a handwritten tag. Tuck in a tiny treat. Small boxes work great for jewelry, and bigger ones handle homemade cookies just fine.
Paper Quilling: Tiny Strips, Big Impact
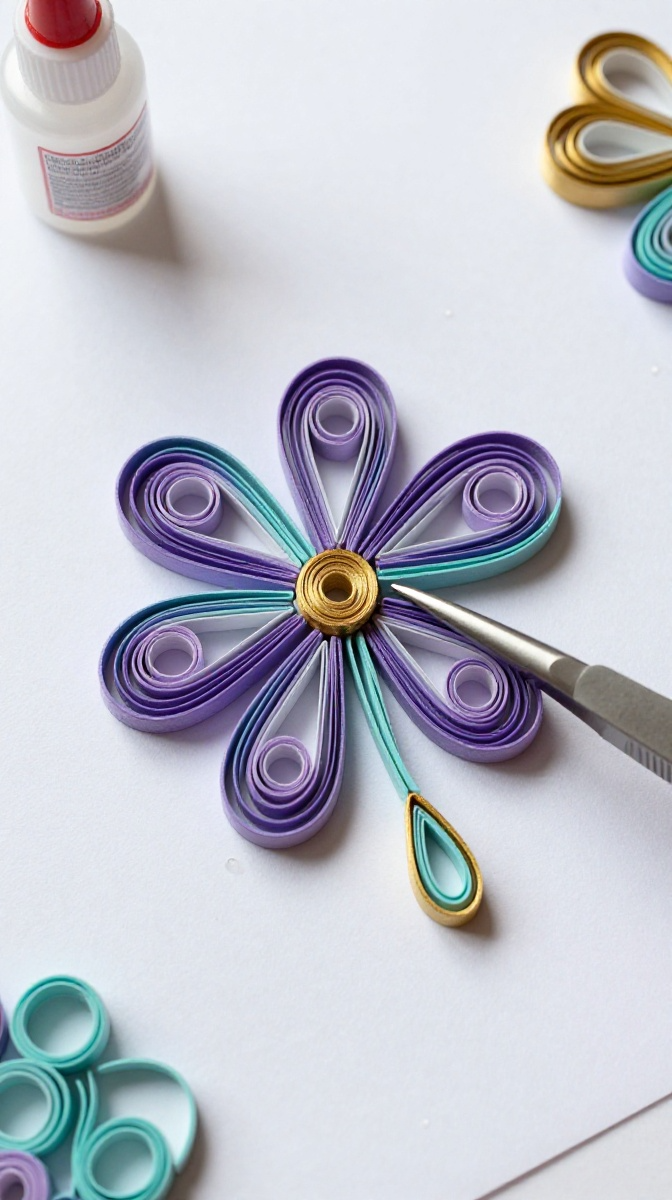
Quilling looks like it requires an art degree. It doesn’t. It requires patience and a willingness to roll tiny strips of paper into circles. That’s genuinely it.
Materials and Tools
- Quilling paper strips (or cut your own from cardstock, about 1/8 inch wide)
- A slotted quilling tool (a toothpick works in a pinch)
- Glue — tacky glue is best
- Tweezers for placing tiny pieces
- Cardstock for your base
Step-by-Step Instructions
- Roll a paper strip around your tool to form a tight coil.
- Let it loosen slightly, then glue the end down.
- Pinch the coil into shapes — teardrops, marquise, squares. Each pinch makes a new shape.
- Arrange your shapes on cardstock to form flowers, hearts, or abstract designs.
- Glue each piece down and let everything dry completely.
Troubleshooting
If your coils keep unrolling, you’re not gluing the tail. If your shapes look lopsided, pinch evenly. And if your fingers get sticky, wipe them off — glue smudges on paper look messy fast. FYI, quilling is a great TV-watching craft once you get the rhythm down.
Practical Tips for Paper Crafting
- Keep your workspace clean — paper picks up everything, including that random coffee ring.
- Use a cutting mat if you’re doing lots of slicing. Your table will thank you.
- Store finished projects flat until you’re ready to display them.
- Cheap paper works for practice. Nice paper works for gifts. Know the difference.
- Don’t stress perfection. Handmade means imperfect, and that’s the charm.
FAQ’s
What paper is best for beginners?
Cardstock is your safest bet. It’s sturdy, affordable, and doesn’t tear easily. Crepe paper is great for flowers, and origami paper is perfect for folding projects because it’s already cut square.
How do I stop my paper crafts from falling apart?
Use the right glue for the job. Glue sticks for light paper, tacky glue for quilling, and a glue gun for anything that needs to hold weight. Less is more — a thin line beats a giant blob every time.
Can kids do these projects?
Yes, with supervision. The lanterns and gift boxes are great for kids. Quilling and floral wire are better for older kids or adults since they need fine motor skills. Swap craft knives for safety scissors.
How do I display paper crafts without them collecting dust?
Shadow boxes are your friend. So are glass cloches and floating shelves. For smaller items, a simple frame with a deep mat works wonders. Or just embrace the dust — it adds character, right?
Where can I find affordable paper craft supplies?
Dollar stores, thrift shops, and online marketplaces are goldmines. You can also cut up old magazines, wrapping paper, or junk mail for free materials. IMO, the cheaper the paper, the less pressure to be perfect.
Go Make Something Already
Paper crafts don’t need to be perfect. They need to be fun. Pick one project from this list, raid your paper stash, and give it a shot. Worst case, you make a lopsided flower and laugh about it. Best case, you find a new hobby that costs almost nothing and impresses everyone who visits.
So, what are you waiting for? Grab some paper and start folding. Your shelf is about to look a lot cooler.