
Paper crafts aren’t just for kids. Seriously. Grab some paper, pour a coffee, and get ready to make something beautiful. We’re diving into three adult-friendly projects that look impressive but won’t make you tear your hair out. Let’s get crafting.
Why Grown-Ups Should Play With Paper
Remember the last time you did something with your hands that didn’t involve a keyboard? Yeah, it’s been a while. Paper crafts offer a screen-free escape that actually produces something you can hold.
Plus, it’s cheap. Like, really cheap. A pack of quality cardstock costs less than a fancy latte. And unlike that sourdough starter you abandoned in 2020, paper won’t judge you when you forget about it for a week.
The repetitive folding and cutting motions are surprisingly meditative. Think of it as yoga, but you get a flower at the end instead of sore muscles. Paper crafting engages both fine motor skills and creative problem-solving, which is a fancy way of saying it keeps your brain happy.
Project One: Quilled Paper Wall Art
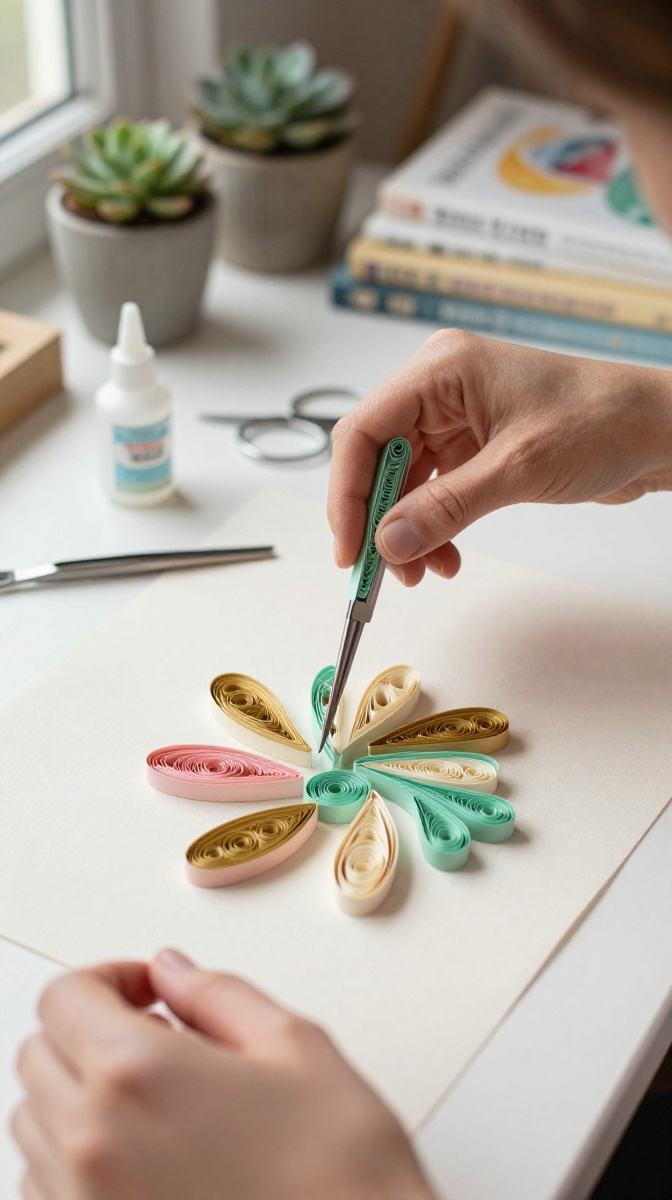
Quilling sounds intimidating, right? It’s actually just rolling thin strips of paper into shapes. If you can roll a joint, you can quill. (Kidding. Mostly.)
Materials and Tools You’ll Need
- Quilling paper strips (3mm or 5mm width) — or cut your own from cardstock
- Slotted quilling tool — a toothpick works in a pinch
- Craft glue (tacky glue is your best friend here)
- Tweezers for precise placement
- A sturdy backing surface: canvas, thick cardstock, or a wooden board
- Small scissors
- Ruler (optional, for measuring coils)
Affordable substitute: If quilling strips cost too much, grab a paper trimmer and slice standard cardstock into even strips yourself. It takes longer but saves money.
Step-by-Step Instructions
- Start by choosing your design. Simple shapes work best for beginners — a monogram letter, a single flower, or abstract swirls.
- Take one paper strip and insert the end into your quilling tool’s slot. Roll it tightly into a coil.
- Once rolled, let it loosen slightly to your desired size, then glue the loose end down. This is called a “loose coil.”
- Pinch the coil between your fingers to create different shapes: teardrops, marquise (eye shapes), or squares. Each pinch changes the final look.
- Arrange your shapes on the backing surface without gluing first. Move them around until the composition feels right.
- Glue each piece down one at a time using a tiny dot of glue. Tweezers help here.
- Let everything dry completely — at least an hour — before hanging or framing.
Design Variations to Try
Once you’ve mastered basic coils, try combining tight coils with loose ones for contrast. You can also layer different paper colors within a single shape for a gradient effect.
Feeling fancy? Add metallic strips or recycled book pages for a vintage vibe. The key is contrast: mix textures, widths, and colors until it looks intentional rather than chaotic.
Common Mistakes to Avoid
Using too much glue is the number one rookie error. A little goes a long way, and excess glue makes everything look messy. Also, don’t rush the drying process. Wet glue plus gravity equals sliding shapes and tears.
Project Two: Handmade Paper Roses
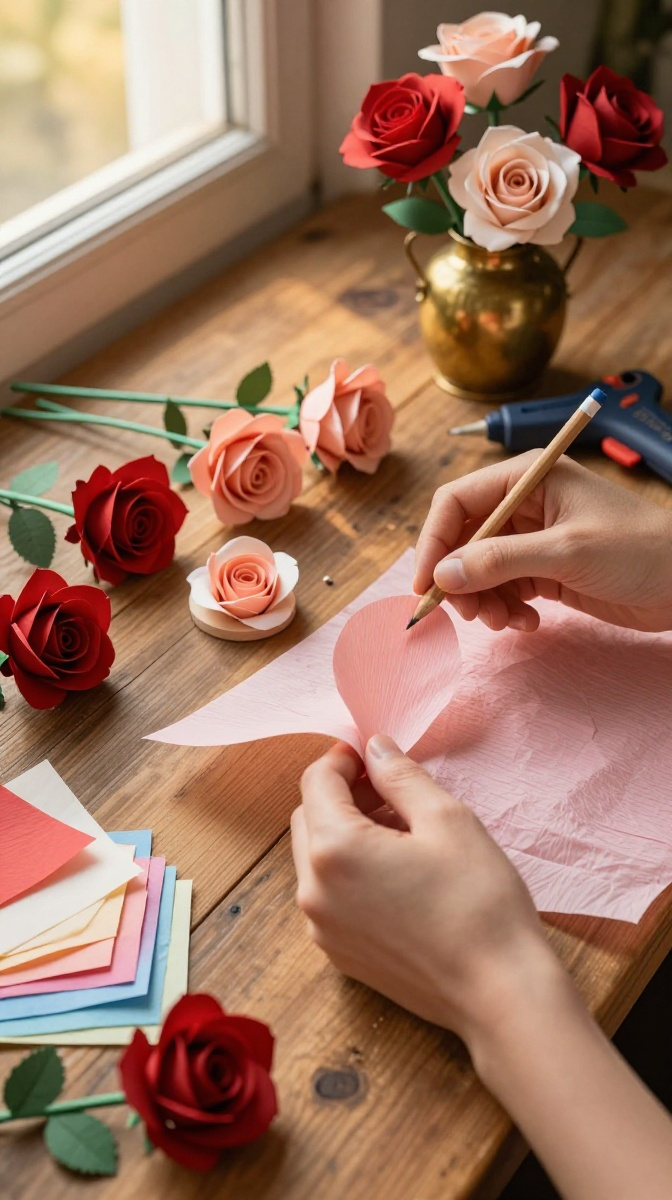
Paper flowers that don’t die? Sign me up. These roses look surprisingly realistic and make gorgeous gifts or decor pieces.
Choosing the Right Paper
Crepe paper is the gold standard for realistic flowers because it stretches and holds shape. Cardstock works for a more graphic, stylized look. Tissue paper is too flimsy — skip it unless you enjoy frustration.
Step-by-Step Instructions
- Cut petal shapes in three sizes: small, medium, and large. You’ll need about 15–20 petals total per rose.
- Gently curl the top edges of each petal outward using a pencil or your fingers. This adds natural-looking dimension.
- Cut a small circle for the flower base. This is where everything attaches.
- Start with the smallest petals. Glue them around a central point, overlapping slightly, forming a tight bud.
- Continue adding petals in a spiral pattern, working outward with larger sizes.
- Shape the outer petals more dramatically for a fully bloomed look.
- Attach a stem using floral wire wrapped in green tape, or glue the flower directly onto a wreath or gift box.
Troubleshooting Tips
If your rose looks more like a cabbage, you’re probably not curling the petals enough. Curl harder. Also, vary the petal heights — real flowers aren’t symmetrical.
Glue showing through? Use less. If it’s already visible, cover it with a small petal or a bit of matching paper.
Project Three: Geometric Paper Lanterns
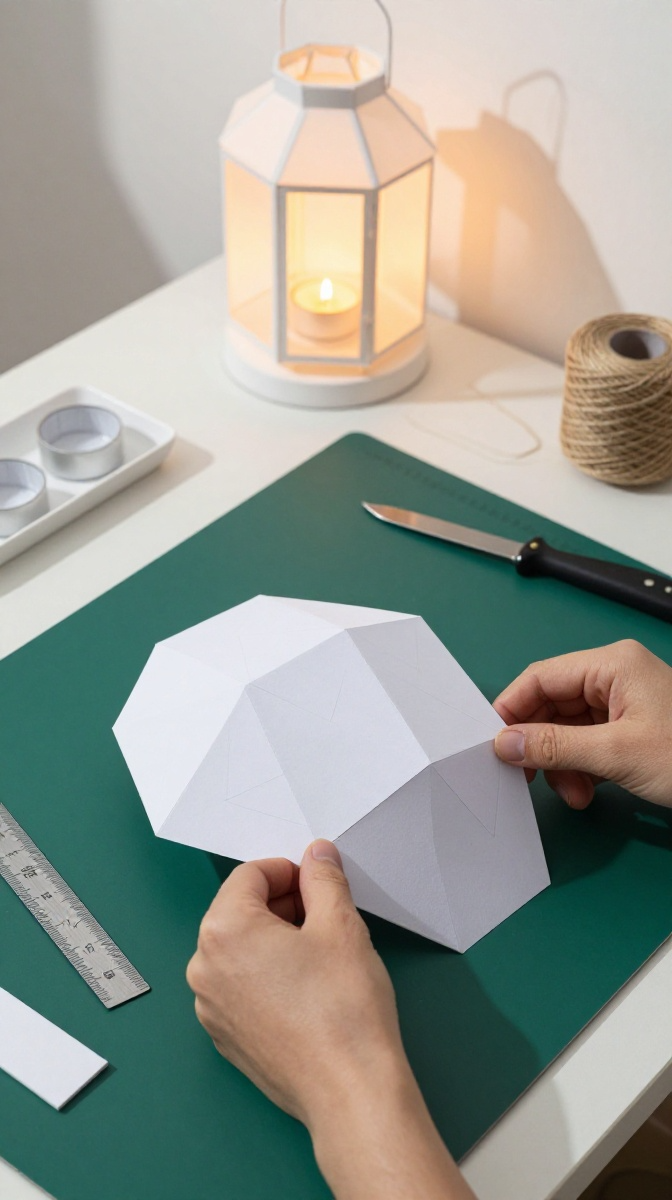
These are the coolest things you can make with paper and a glue stick. Hang them from ceilings, use them as table centerpieces, or pretend you’re hosting a fancy dinner party you definitely aren’t.
Materials and Tools
- Heavy cardstock or poster board
- Bone folder (or the back of a spoon)
- Craft knife and cutting mat
- Metal ruler
- Double-sided tape or strong glue
- Battery-operated tea lights (never real candles — paper + fire = bad idea)
- Scoring tool (a dull butter knife works)
Step-by-Step Instructions
- Print or draw a geometric template. Search “paper lantern template” online for free options.
- Transfer the template onto your cardstock and cut along the solid lines using your craft knife and ruler.
- Score all fold lines using your scoring tool. This prevents cracking and ensures crisp edges.
- Fold along all scored lines. Take your time — sharp creases make the final product look professional.
- Apply double-sided tape or glue to the tabs and assemble the lantern shape.
- Place a battery-operated tea light inside. Never use real candles.
- Hang with fishing line or twine, or display on a shelf.
Safety and Display Tips
Always use battery-operated lights with paper crafts. I cannot stress this enough. Real flames and paper are a disaster waiting to happen.
For a warm glow, choose tea lights with a flickering effect. Group lanterns at different heights for a dramatic installation.
Practical Tips for Paper Crafting Success
Keep your workspace clean and organized. A messy desk leads to lost pieces and frustration. Use small bowls or trays to sort petals, coils, or cut pieces.
Invest in a good pair of scissors and a sharp craft knife. Dull tools tear paper instead of cutting it, which ruins the clean edges that make paper crafts look polished.
Store leftover paper flat, away from moisture. Wrinkled paper is basically useless for precise crafting.
Don’t be afraid to walk away. If a project is frustrating you, take a break. Paper crafts should be relaxing, not rage-inducing.
Customization Ideas for Your Paper Crafts
Paint your finished pieces with watercolor or acrylics for a custom color palette. Add glitter, gold leaf, or embossing powder for extra flair.
For quilled art, try incorporating buttons, beads, or small dried flowers. For paper roses, experiment with ombre color schemes by layering different shades of the same hue.
Lanterns can be painted, stamped, or wrapped with twine for a rustic look. The options are endless.
How to Display or Gift Your Handmade Paper Crafts
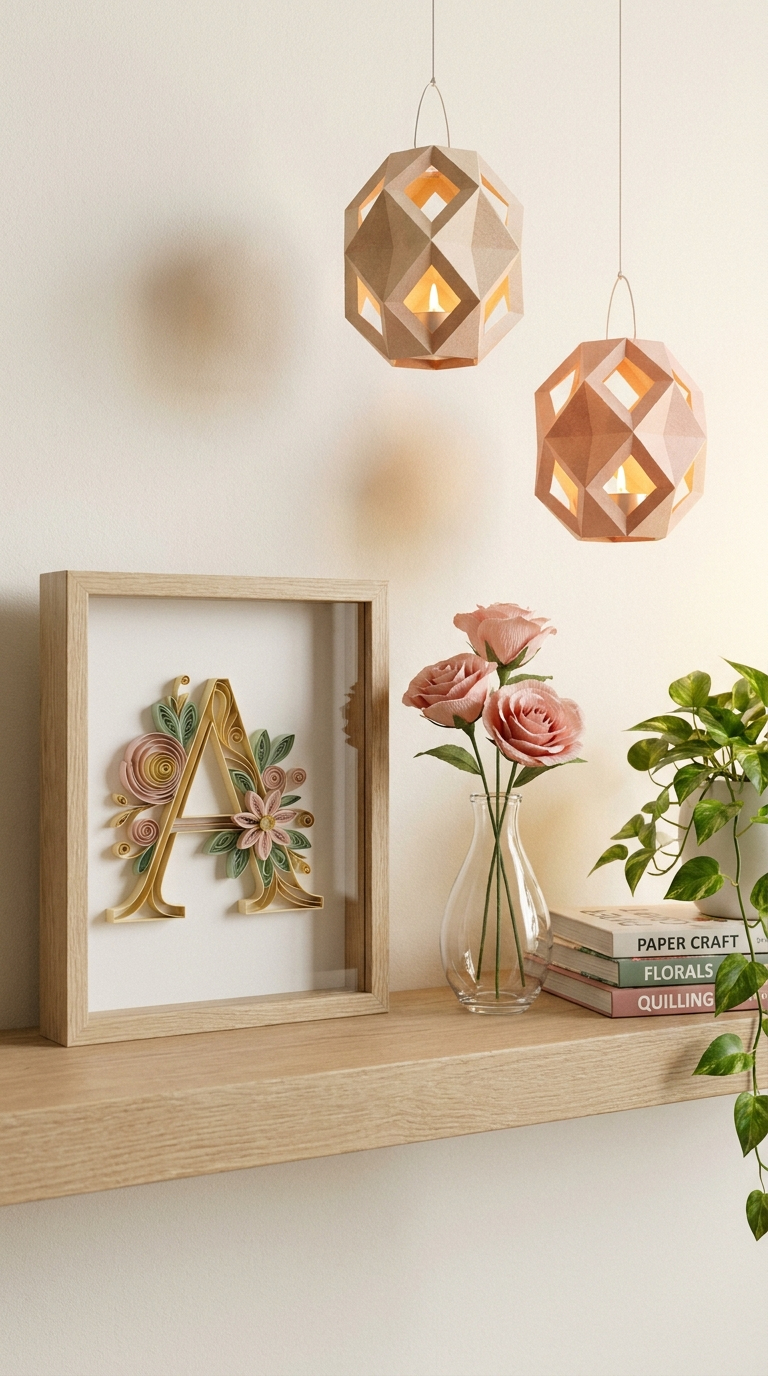
Quilled wall art looks stunning in shadow box frames. Paper roses can be arranged in vases, attached to wreaths, or used as gift toppers that double as keepsakes.
Lanterns make beautiful gifts for housewarmings or birthdays. Package them flat with instructions if you’re shipping them.
Honestly, handmade gifts hit different. People appreciate the time and effort way more than something store-bought.
Frequently Asked Questions
What’s the best paper for beginners?
Start with cardstock. It’s affordable, sturdy, and forgiving. Once you’re comfortable, branch out to crepe paper or specialty quilling strips.
How do I keep my paper crafts from falling apart?
Use the right glue for the job. Tacky glue works for most projects, while double-sided tape is great for clean edges on lanterns. Let everything dry fully before handling.
Can I make these projects with kids?
Absolutely, with supervision. Skip the craft knife and use safety scissors. Battery-operated lights are safe for all ages.
How long do paper crafts last?
With proper care, years. Keep them away from direct sunlight, moisture, and pets who think paper is a chew toy. FYI, dust gently with a soft brush.
Where can I find free templates and patterns?
Pinterest is a goldmine. Also check crafting blogs and YouTube tutorials. Most creators share free printables.
What if I’m not artistic?
Paper crafts are more about patience than talent. Follow the steps, take your time, and you’ll be surprised at what you can make. IMO, anyone can learn this stuff.
Ready to Start Crafting?
Grab some paper and give one of these projects a shot. Start simple, embrace the mess, and don’t stress about perfection. The whole point is to enjoy the process.
Your hands want to make something. Let them. And when someone asks where you bought that gorgeous paper rose, you get to say, “I made it.” That never gets old.
Now go forth and craft. Your inner artist is waiting.