
Want a bedroom that looks like it jumped straight off Pinterest? You don’t need a big budget or a design degree. Grab some fairy lights, a glue gun, and maybe a little patience. Today we’re making seven DIY bedroom decor ideas that are cheap, cute, and beginner-friendly.
Why DIY Bedroom Decor Is Worth Your Weekend
Store-bought decor is fine, but it’s also everywhere. Everyone has the same mass-produced wall art and the same boring lamps.
Making your own stuff fixes that fast. You get pieces that match your vibe, your colors, and your weird obsession with moon phases. Plus, you’ll save money. A lot of it.
And honestly? Nothing beats that “I made this” feeling every time you walk into your room.
Project 1: Fairy Light Photo Wall
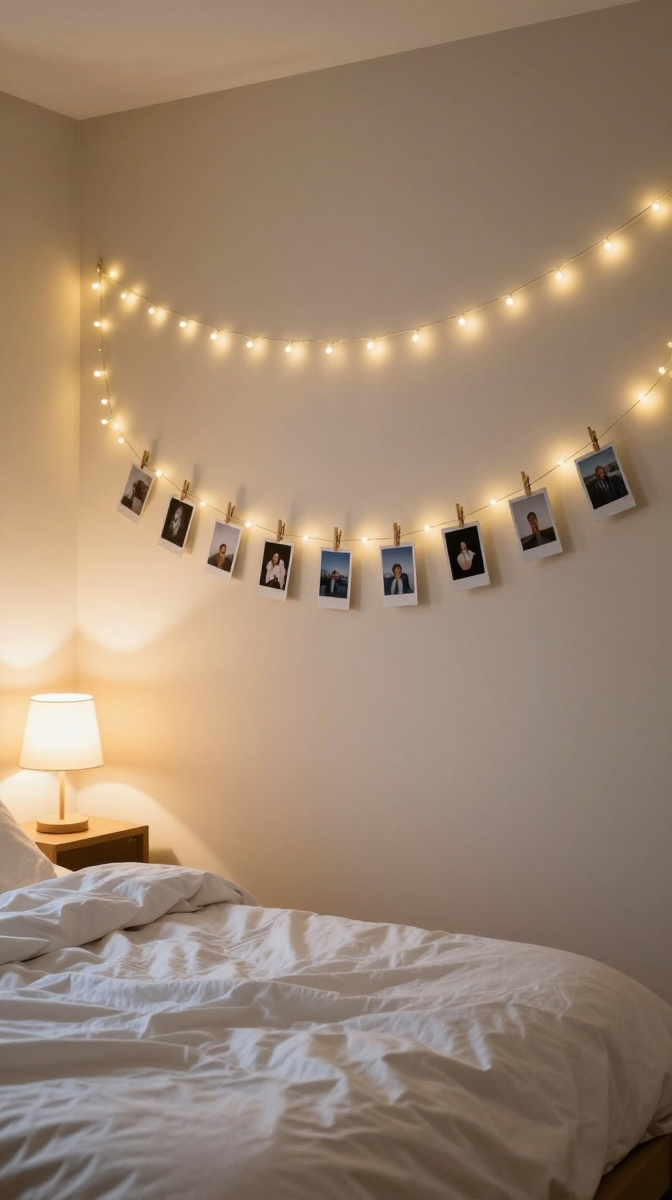
This one is the classic for a reason. It’s cheap, it’s romantic, and it hides that ugly wall patch you’ve been ignoring since last year.
What You’ll Need
- Fairy lights (warm white, 10–20 feet)
- Small clothespins or mini clips
- Printed photos (Polaroid size works best)
- Clear command hooks or small nails
- Scissors
Budget swap: No printer? Use old concert tickets, postcards, or magazine cutouts instead.
Step-by-Step Instructions
- Plan your shape. A simple zigzag or heart works great. Sketch it on paper first so you don’t wing it and regret it.
- Stick your hooks or nails into the wall along your planned path.
- Drape the fairy lights across the hooks, leaving a little slack between each one.
- Clip your photos onto the wire using clothespins.
- Plug it in, step back, and adjust until it looks balanced.
Common Mistakes to Avoid
Don’t pull the lights too tight. That’s how wires snap and how you end up sad. Also, keep the plug near an outlet before you start. Trust me on this one.
Project 2: DIY Macrame Wall Hanging
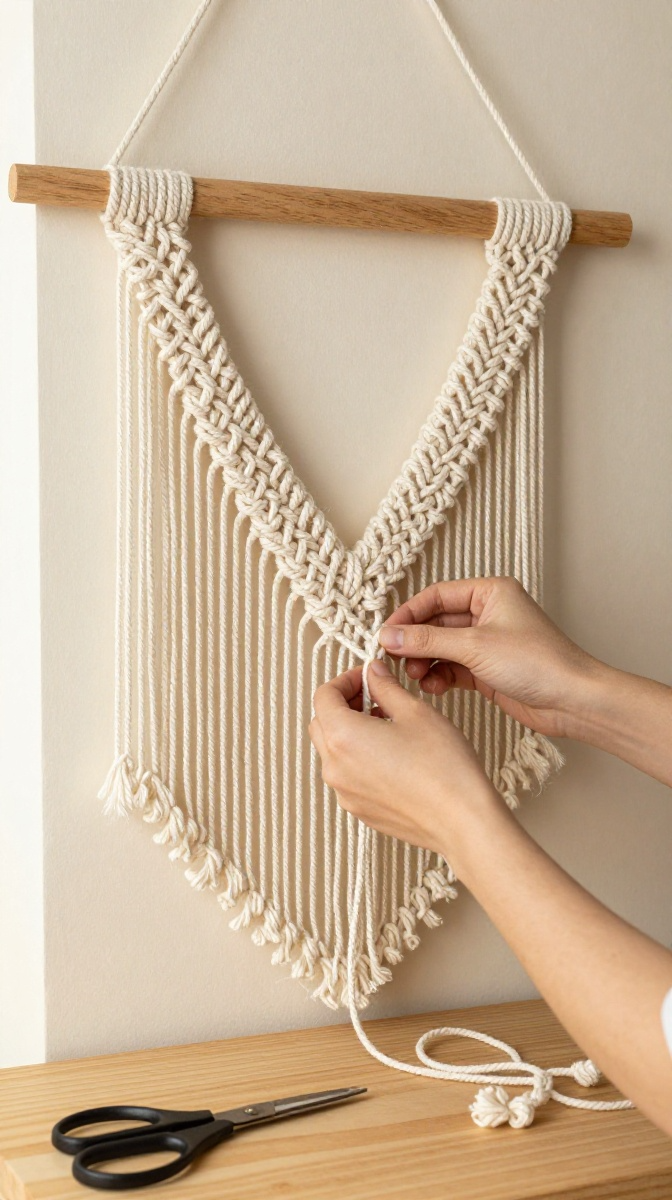
Macrame looks fancy, but it’s basically fancy knots. If you can tie your shoes, you can do this.
Materials and Tools
- Cotton macrame cord (3mm works well)
- A wooden dowel or a smooth stick from outside
- Scissors
- A ruler or measuring tape
Affordable substitute: Thick yarn or cotton clothesline works if you’re in a pinch.
Step-by-Step Instructions
- Cut 12 strands of cord, each about 6 feet long.
- Fold each strand in half and loop it onto the dowel using a lark’s head knot.
- Separate into pairs and tie square knots going down in a V shape.
- Keep adding rows until you reach your desired length.
- Trim the bottom evenly, or leave it uneven for that boho look.
- Hang it above your bed or desk.
FYI, your first few knots will look messy. That’s normal. Keep going.
Project 3: Floating Shelves from Crates
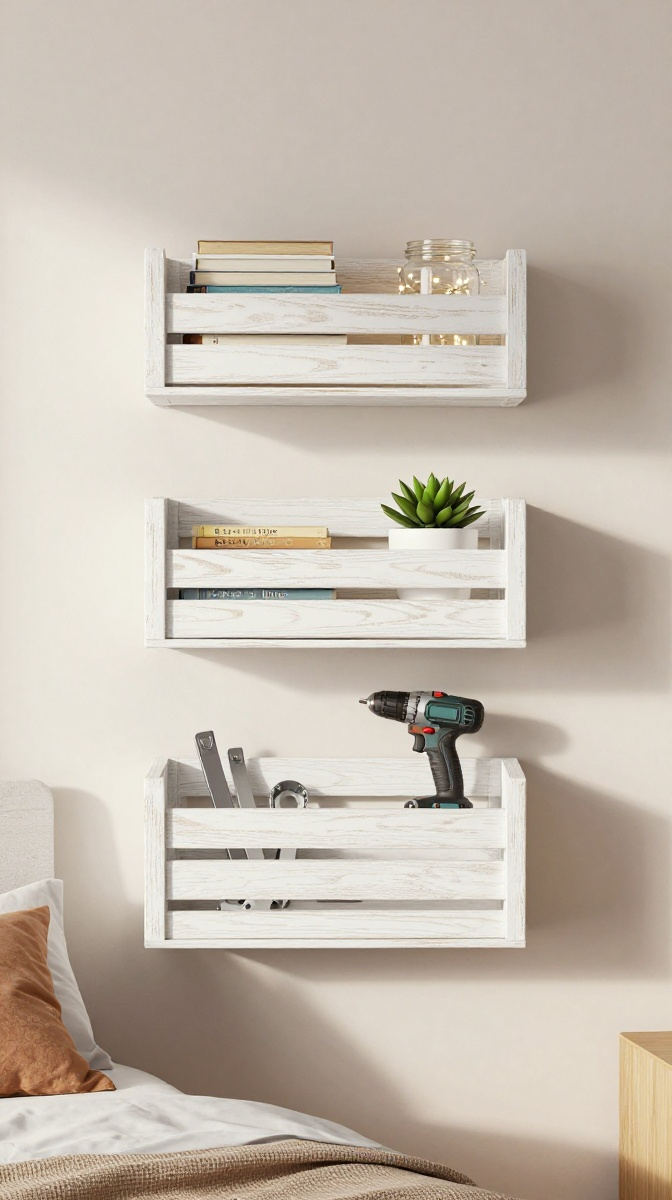
Wooden crates are stupidly cheap at craft stores and hardware shops. Turn two or three into shelves, and you’ve got instant storage with style.
Materials and Tools
- Wooden crates (2–3)
- Sandpaper (medium grit)
- Paint or wood stain
- Paintbrush
- L-brackets and screws
- Drill
Step-by-Step Instructions
- Sand each crate to smooth out rough edges.
- Paint or stain them in your chosen color. Let them dry fully.
- Measure where you want them on the wall.
- Attach L-brackets to the wall and then to the crates.
- Fill them with books, plants, and candles.
Safety Tips
Always drill into studs when you can. If you can’t, use heavy-duty wall anchors. A shelf full of books falling on your head is not the vibe.
Project 4: Dreamy Canopy Over Your Bed
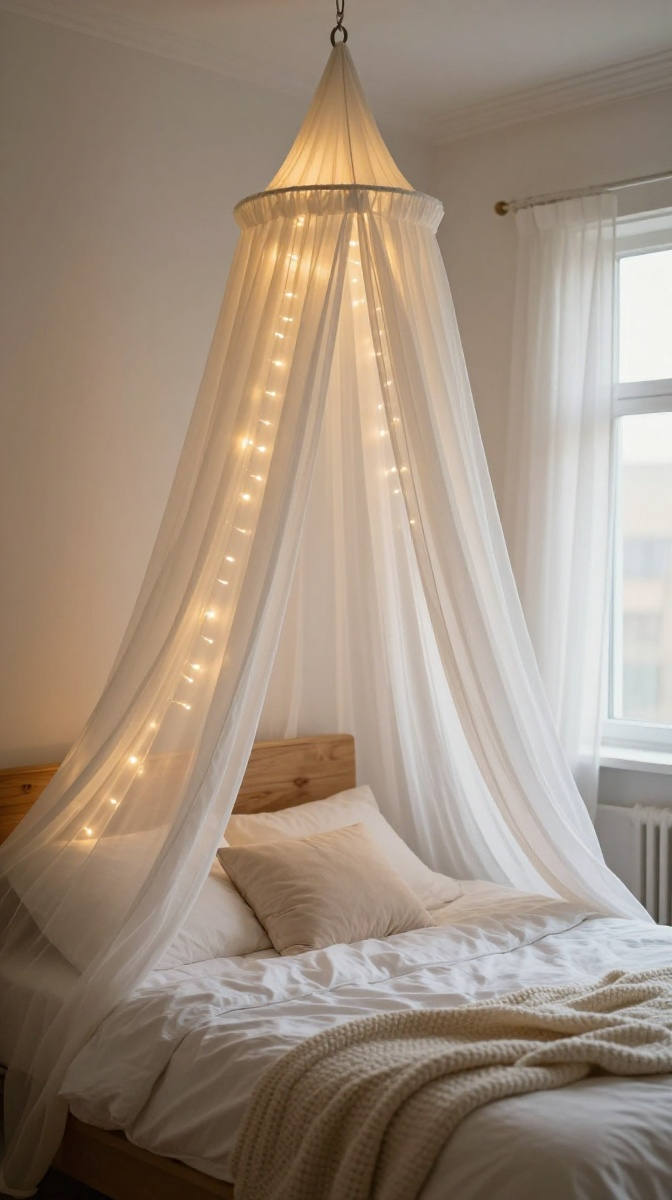
Want that cozy, cloud-like feeling? A simple canopy does the trick. No sewing required.
Materials and Tools
- A sheer curtain panel or lightweight fabric
- A ceiling hook
- A curtain ring or ribbon
- Step ladder
Step-by-Step Instructions
- Find the center point above your bed and install the ceiling hook.
- Thread the fabric through the curtain ring.
- Hang the ring on the hook.
- Drape the fabric outward and tuck the ends behind your headboard or mattress.
- Add fairy lights inside for extra magic.
Design variation: Use two hooks and two panels for a more dramatic look.
Project 5: Personalized Letter Wall Art
Big wooden letters are everywhere. Make them yours with paint, fabric, or even dried flowers.
Materials and Tools
- Wooden or cardboard letters
- Acrylic paint or spray paint
- Mod Podge (optional)
- Decorative paper or fabric scraps
- Paintbrush and scissors
Step-by-Step Instructions
- Sand the letters lightly if they’re wood.
- Paint the base color. Let it dry.
- Cut paper or fabric into shapes or patterns.
- Glue them onto the letters with Mod Podge.
- Seal with another coat of Mod Podge.
- Mount them on the wall with Command strips.
Customization Ideas
Use your initials, a favorite word, or your pet’s name. Gold foil looks amazing if you’re feeling extra.
IMO, mismatched patterns look way better than matching sets. Go wild.
FAQ’s
How much do these projects usually cost?
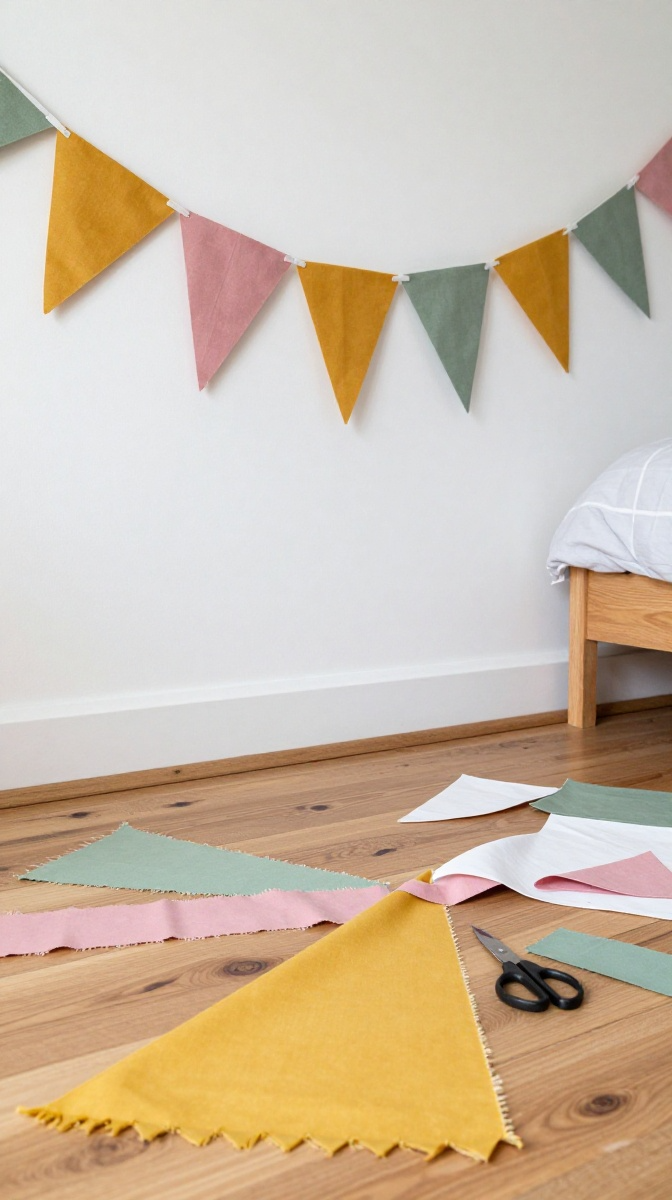
Most of these come in under $20 each. The fairy light wall and bunting are the cheapest. Shelves cost a bit more if you need tools.
Do I need a drill for these projects?
Only for the crate shelves and the ceiling hook. Everything else uses command strips, glue, or basic hand tools.
What if I live in a rental and can’t make holes?
Use adhesive hooks and Command strips. They hold well for lightweight decor like photos, bunting, and letters.
How do I keep fairy lights from looking messy?
Plan the shape first. Use hooks to guide the wire. Leave small loops between hooks so it hangs naturally.
Can I do these projects with kids?
Yes, most of them. Skip the drill and spray paint projects for little ones. The bunting and photo wall are great family crafts.
What’s the fastest project to finish?
The photo wall. You can knock it out in about 20 minutes once your photos are printed.
Final Thoughts: Just Start Somewhere
You don’t need to do all seven projects in one weekend. Pick one. Grab your supplies. Put on a playlist and get crafting.
Your bedroom should feel like your space. These DIY bedroom decor ideas get you there without draining your wallet. So which one are you trying first?