
Your living room shouldn’t feel like a showroom you’re scared to sit in. It should feel like you—just with better throw pillows and fewer mystery stains. The good news? You don’t need a designer budget to get that cozy, put-together look. These DIY living room decor ideas use cheap materials, basic skills, and a little patience (the patience part is optional, but recommended).
1. Chunky Knit Blanket: The Coziest DIY Living Room Decor Idea
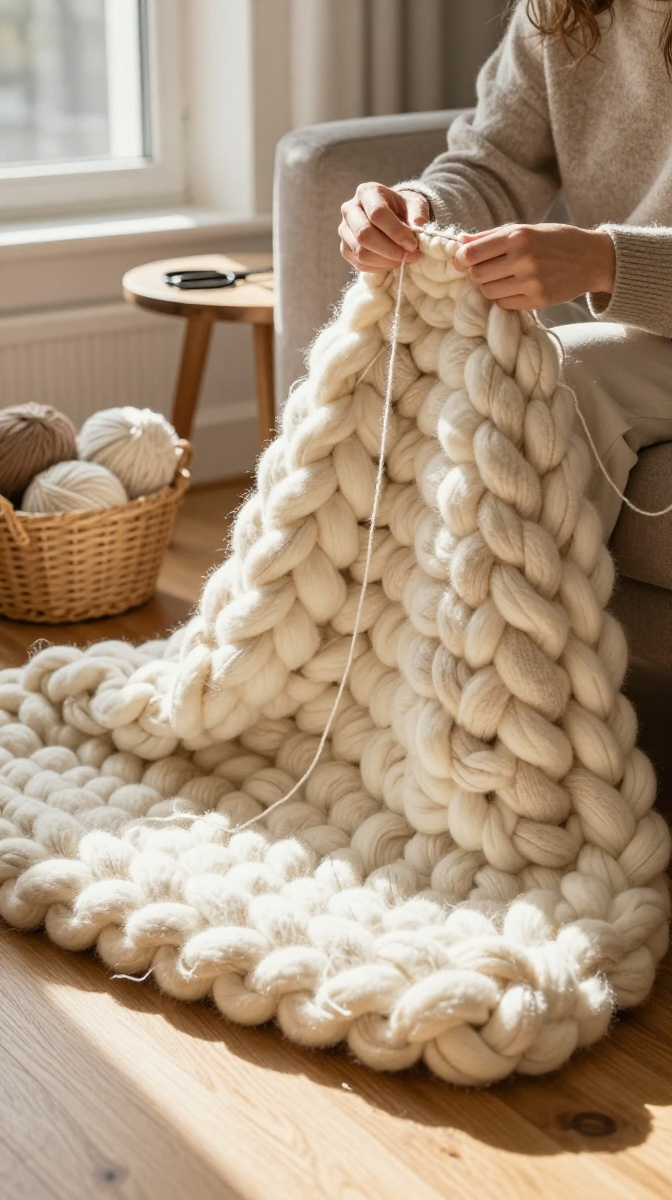
Ever seen those giant chunky knit blankets in fancy stores for $150 and thought, “I could totally make that”? You can. It’s basically arm knitting with really thick yarn, and it takes about an hour once you get the hang of it.
Materials and Tools
- 7–10 skeins of super bulky chenille yarn (or jumbo tube yarn—check online craft stores for deals)
- Your arms (yes, really—no needles required)
- Scissors
- A large flat surface like a floor or table
Affordable substitute: Instead of chenille, try fleece strips cut from old blankets. Not as soft, but basically free.
Step-by-Step Instructions
- Make a slip knot with a long tail, leaving about 20 inches of yarn hanging.
- Slide the loop onto your right wrist and tighten slightly—this is your first “cast on” stitch.
- Reach into the loop, pull up a new loop of yarn, and slide it onto your left wrist. Repeat until you have 10–12 loops total across both arms.
- To knit: pull a loop from your right arm over the loop on your left arm, then slide the remaining loop back to your right arm. Keep repeating this motion, transferring loops back and forth.
- When you run out of yarn, tie a new skein to the old one with a tight knot and keep going.
- Once the blanket is as wide as you want (usually 30–40 inches), cast off by pulling each loop over the next one until only one loop remains. Cut the yarn, pull it through, and tuck in the tail.
Common Mistakes to Avoid
Don’t pull too tight—your loops should stay loose and puffy. Also, keep your tension even, or you’ll end up with a blanket that looks like a deflated balloon in the middle. And yes, your arms will get tired. Take breaks. Hydrate. You got this.
2. Upcycled Coffee Table Tray from a Picture Frame
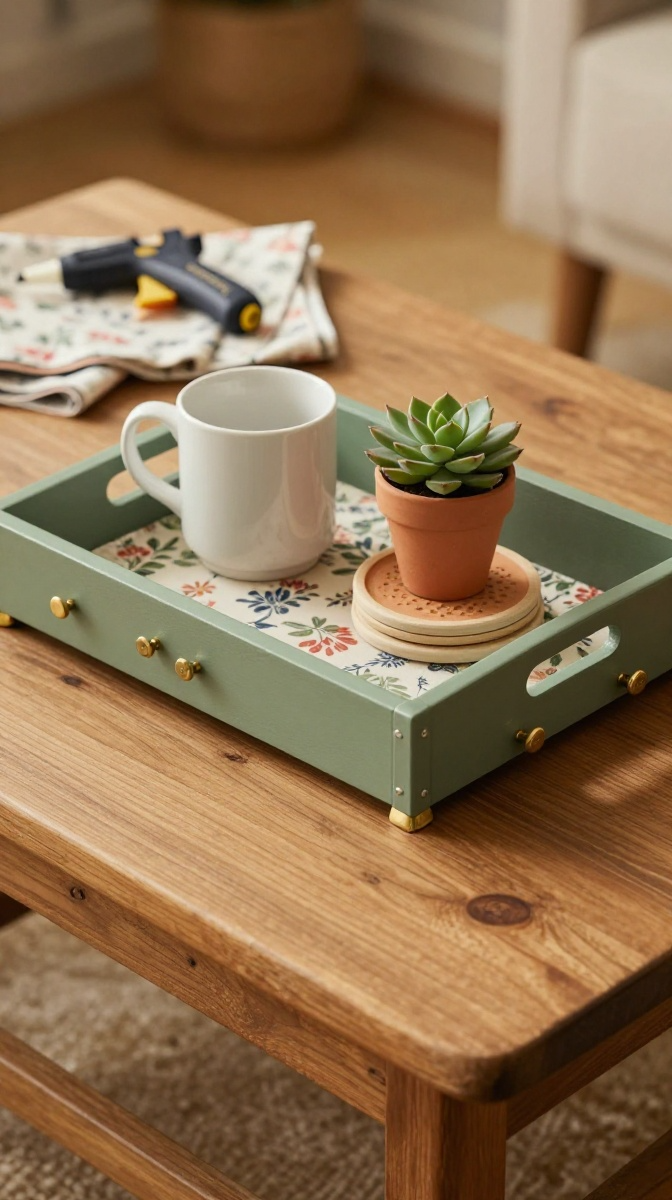
Got an old picture frame lying around? Turn it into a stylish tray for candles, remotes, and that one coaster you never use. This project takes 20 minutes and costs almost nothing.
Materials and Tools
- Old picture frame (any size, but 8×10 or larger works best)
- Spray paint or acrylic paint in your chosen color
- Four small drawer pulls or cabinet knobs
- Strong glue (E6000 or hot glue)
- Decorative paper, fabric, or paint for the inside
- Sandpaper (optional, for smoothing rough edges)
Step-by-Step Instructions
- Remove the glass and backing from the frame. If the frame has a stand, snap it off or sand it flat.
- Paint the frame in your chosen color. Two thin coats are better than one thick, drippy coat.
- Cut your decorative paper or fabric to fit the inside of the frame. Glue it to the frame’s inner ledge.
- Flip the frame over and glue a drawer pull to each corner. These become the tray’s feet.
- Let everything dry completely before using it. Seriously—don’t rush this part unless you enjoy glue smears on your coffee table.
Customization idea: Use chalkboard paint on the inside and write little notes like “Coffee first” or “Don’t touch my snacks.”
3. DIY Wall Art with Fabric Scraps
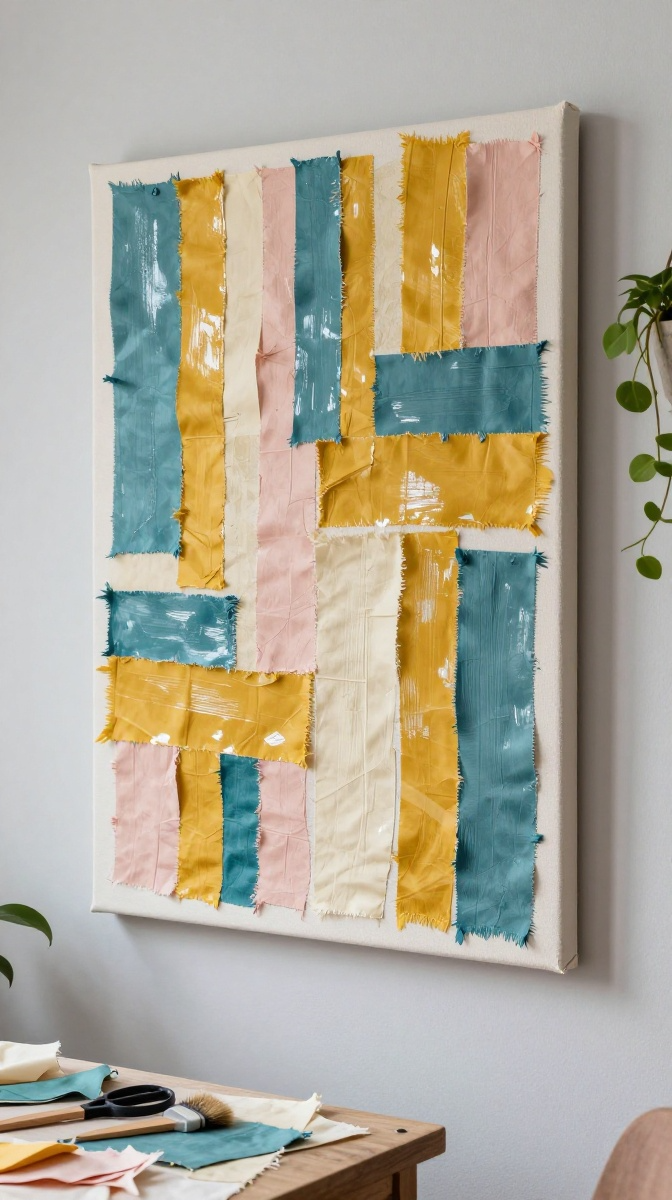
Blank walls are sad walls. But expensive art? Also sad for your wallet. This fabric scrap art is colorful, personal, and takes about 30 minutes.
Materials and Tools
- Canvas or a wooden board
- Fabric scraps in 3–5 coordinating colors
- Mod Podge or fabric glue
- Foam brush
- Scissors
Step-by-Step Instructions
- Cut fabric scraps into strips, squares, or random shapes. No need to be perfect—organic shapes look better anyway.
- Brush a thin layer of Mod Podge onto a small section of the canvas.
- Press a fabric piece onto the glue, then brush another layer of Mod Podge over the top. This seals it.
- Repeat, overlapping pieces until the canvas is covered. Leave some canvas showing if you like a raw, textured look.
- Let it dry for an hour, then hang it up.
Pro tip: Use a hair dryer on low to speed up drying. Just don’t hold it too close, unless you want melted fabric. (You don’t.)
4. Mason Jar Candle Holders with Twine and Lace
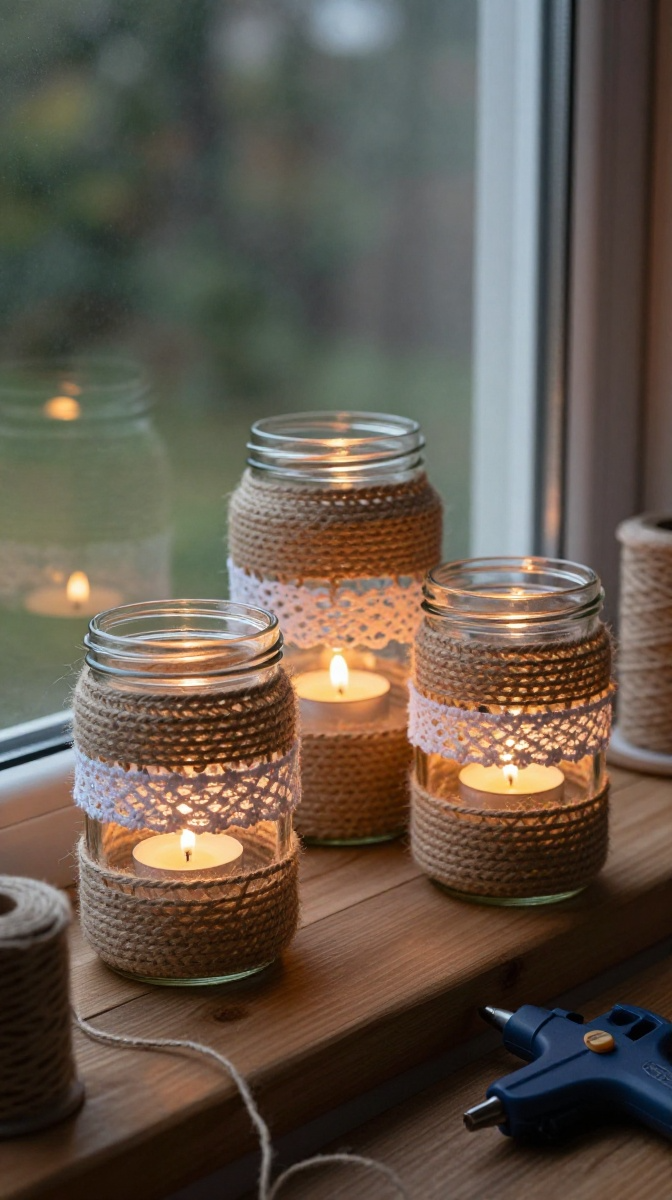
Mason jars are the Swiss Army knife of DIY decor. Turn them into rustic candle holders that look like they came from a boutique.
Materials and Tools
- Clean mason jars (any size)
- Twine or jute rope
- Lace ribbon or fabric strips
- Hot glue gun
- Tea lights or small pillar candles
Step-by-Step Instructions
- Wrap twine around the middle of the jar, gluing as you go. Keep the lines tight and parallel.
- Add a strip of lace over the twine for contrast. Glue it in place.
- Wrap more twine above and below the lace to frame it.
- Drop a candle inside. Light it. Admire your work.
Safety tip: Never leave burning candles unattended. Also, don’t use flammable glue near the flame. Common sense, but hey, it happens.
5. No-Sew Floor Cushion from an Old Sweater
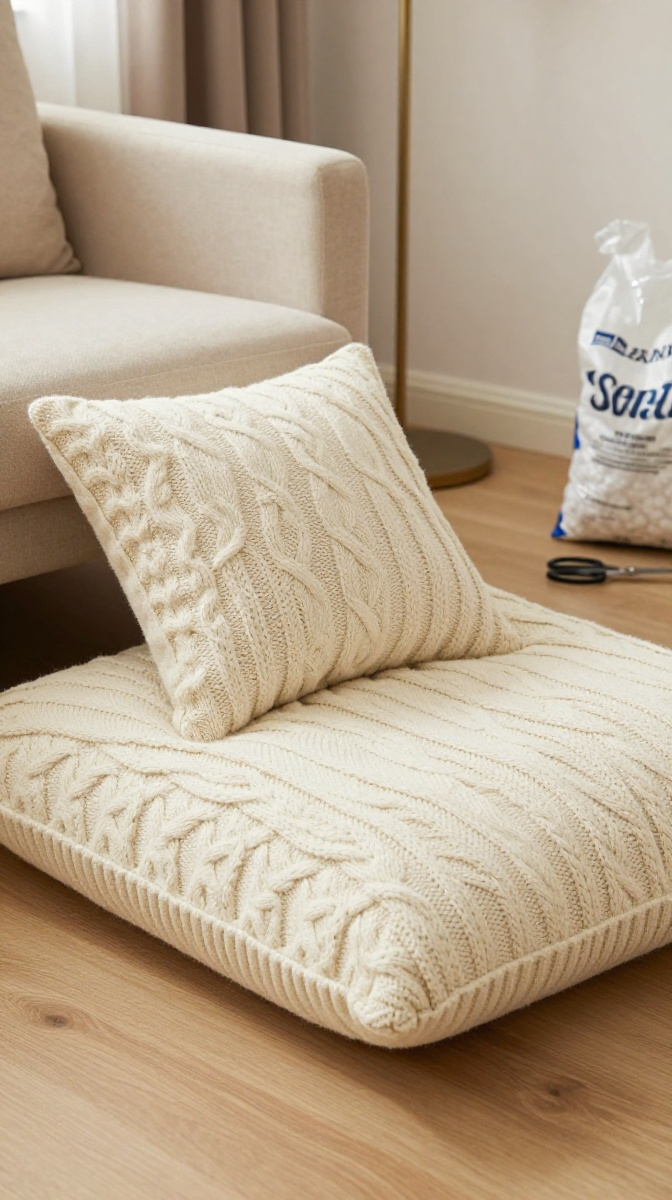
Got a sweater that shrunk in the wash? Turn that mistake into a floor cushion. No sewing machine required—just a pair of scissors and some stuffing.
Materials and Tools
- Old sweater (wool or cotton works best)
- Polyester fiberfill or old pillow stuffing
- Scissors
- Fabric glue or iron-on hem tape
Step-by-Step Instructions
- Cut the sleeves off the sweater and set them aside.
- Turn the sweater inside out and glue the neck opening shut.
- Turn it right side out and stuff it with fiberfill until it’s plump but not rock hard.
- Glue the bottom opening shut. Let it dry.
- Use the sleeves to make a small matching pillow if you’re feeling extra.
Troubleshooting: If the glue won’t hold, use safety pins on the inside as extra reinforcement. No one will see them.
6. Displaying and Using Your DIY Living Room Decor
Now that you’ve made a few pieces, where do they go? Here are some quick ideas:
- Layer textures: Put the chunky blanket over the couch and the floor cushion next to it.
- Group small items: Place the mason jar candles on the picture frame tray.
- Hang art at eye level: The fabric art should be 57–60 inches from the floor.
- Gift it: These projects make great housewarming gifts. Just don’t gift the sweater cushion if it smells like your dog.
FAQ’s
How much do these projects cost?
Most cost under $20. The chunky blanket is the priciest because of the yarn, but you can often find sales. The picture frame tray and mason jars are usually under $10 if you already have the basics.
What if I’m not crafty at all?
Start with the mason jar candles or the picture frame tray. Both are nearly foolproof. The chunky blanket takes practice, but you can unravel it and start over as many times as you need.
Can I use hot glue instead of fabric glue?
Yes, for most projects. Hot glue dries fast and holds well, but it can be lumpy. Fabric glue gives a cleaner finish on textiles.
How do I clean these DIY decor items?
Spot clean with a damp cloth. The chunky blanket can be hand-washed in cold water and laid flat to dry. Never machine dry it unless you want a Barbie-sized blanket.
Where can I find cheap materials?
Thrift stores, dollar stores, and online craft groups. Also, check your own closet—old sweaters, picture frames, and jars are probably hiding there right now.
Conclusion: Go Make Something Already
Your living room doesn’t need a full renovation. It needs a few personal touches that say, “I made this, and yes, I’m proud of it.” Pick one project from this list, gather your materials, and give it a shot. Worst case? You make a mess, laugh about it, and try again. Best case? You end up with a cozy, stylish space that cost less than a takeout dinner. Now go raid your closet and get crafting.