
Want to make your home look like you hired a decorator, without actually hiring one? Same here. These simple DIY home decoration ideas use cheap materials, basic tools, and zero complicated skills. You can knock out most of them in an afternoon, even if your last craft project ended in glitter everywhere and mild regret.
Why DIY Home Decor Is Worth Your Time
Store-bought decor is expensive, and honestly, half of it looks like everyone else’s living room. Making your own pieces lets you match your exact colors, sizes, and weird little style quirks. Plus, you get to say “I made that” every time someone walks in.
You also save money. A lot of these projects cost under $20, and some use stuff you already have lying around. That old vase collecting dust? It’s about to become a centerpiece.
Project 1: DIY Painted Mason Jar Vases
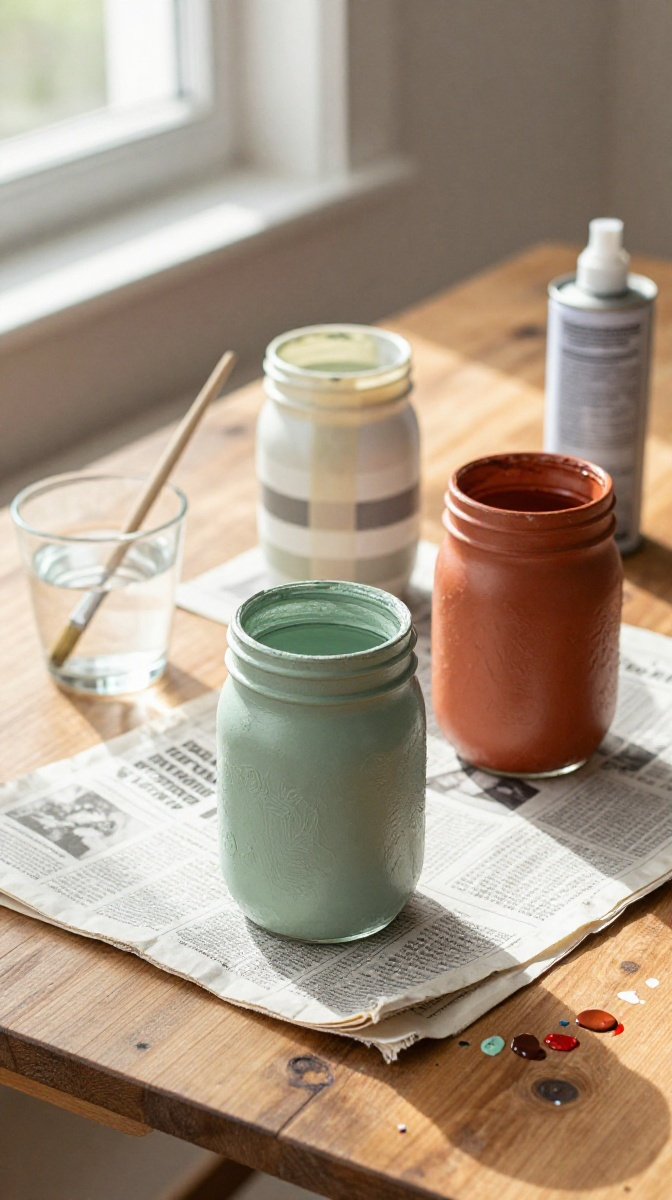
Mason jars are the Swiss Army knife of home decor. They hold flowers, pens, candles, and your hopes of becoming a organized person. Painting them takes about 20 minutes, plus drying time.
Materials and Tools
- Clean mason jars (any size, thrifted ones work great)
- Acrylic craft paint in your chosen colors
- Paintbrushes or a small foam roller
- Painter’s tape (for stripes or designs)
- Clear matte sealer spray
- Old newspaper or a cardboard box to protect your table
Budget swap: No acrylic paint? Leftover wall paint works fine. No sealer? A thin layer of Mod Podge does the job.
Step-by-Step Instructions
- Wash and dry your jars completely. Any grease or dust will make the paint peel.
- Tape off any sections you want to keep clear, like stripes or a window shape.
- Paint the outside of the jar in thin, even coats. Let each coat dry for about 15 minutes.
- Apply two to three coats until the color looks solid.
- Peel off the tape while the paint is still slightly tacky for clean lines.
- Once fully dry, spray with clear sealer in a well-ventilated area.
- Let the sealer cure for 24 hours before adding water or flowers.
Common mistake: Slapping on one thick coat. It drips, pools at the bottom, and looks lumpy. Thin layers are your friend.
Project 2: No-Sew Fabric Covered Bulletin Board
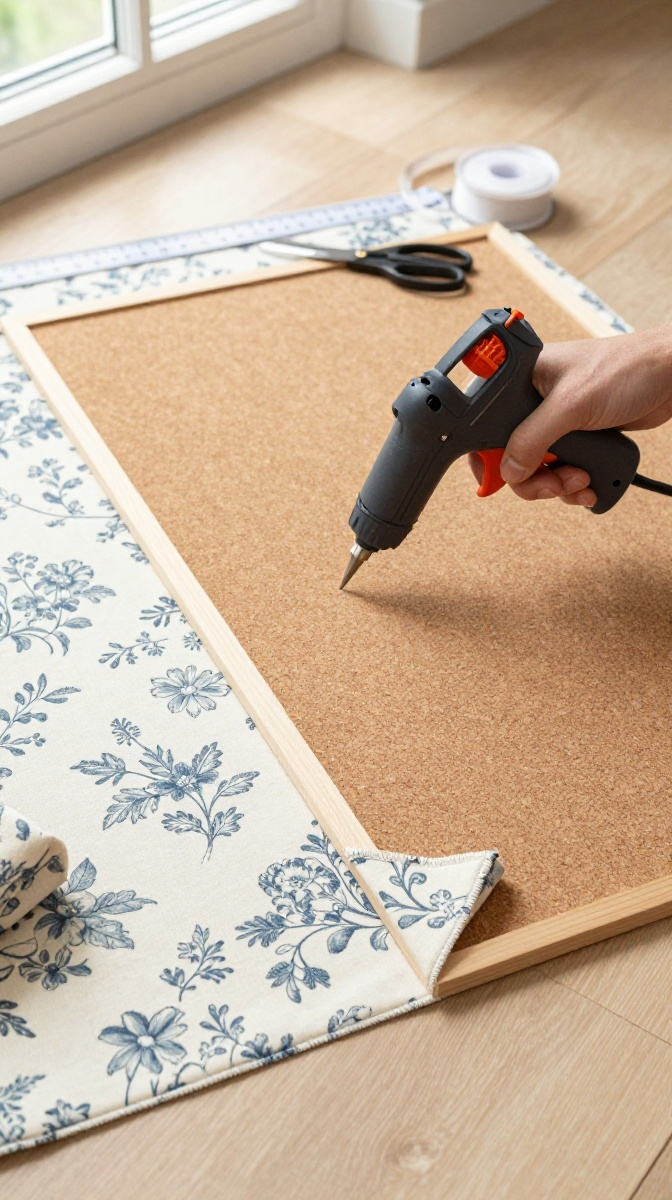
Blank walls are sad walls. This fabric-covered board adds color and gives you a place to pin photos, notes, and that takeout menu you refuse to throw away.
Materials and Tools
- Corkboard or a cheap foam board
- Fabric of your choice (1 yard usually covers a standard board)
- Hot glue gun and glue sticks
- Scissors
- Ribbon or trim (optional)
- Staple gun (optional, for a tighter hold)
Substitute tip: An old picture frame plus a piece of cardboard works if you don’t want to buy a corkboard.
Step-by-Step Instructions
- Iron your fabric to remove wrinkles. Wrinkled fabric looks messy, and not in a cute way.
- Lay the fabric face-down on a flat surface.
- Place the corkboard face-down on top of the fabric.
- Pull the fabric tightly over one edge and hot glue it to the back. Hold for a few seconds.
- Repeat on the opposite side, pulling firmly so the fabric stays taut.
- Fold the corners neatly like you’re wrapping a gift, then glue them down.
- Add ribbon or trim around the edges if you want a finished look.
- Let the glue cool completely before hanging.
Troubleshooting: If the fabric sags, you didn’t pull it tight enough. Peel it back and try again. Glue is forgiving like that.
Project 3: Geometric Rope Wall Hanging
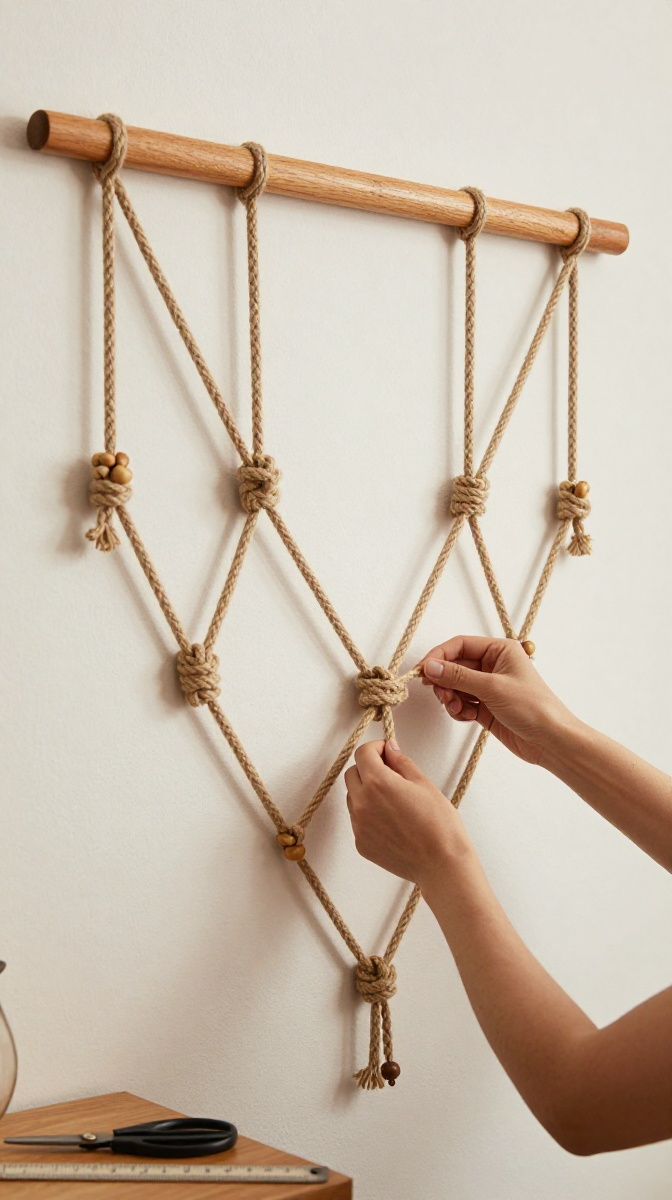
Wall hangings are trendy, but the store ones cost a fortune for what is basically string on a stick. Make your own for a few bucks and brag about it forever.
Materials and Tools
- Cotton rope or thick twine (about 20 feet)
- A wooden dowel or a straight branch from outside
- Scissors
- Hot glue or clear tape
- Ruler
Free option: A sturdy stick from your backyard works just as well as a dowel. Just clean it first.
Step-by-Step Instructions
- Cut your rope into six equal strands, each about 3 feet long.
- Fold each strand in half and loop it over the dowel using a simple lark’s head knot.
- Space the knots evenly across the dowel.
- Take the left strand of each pair and cross it over the right strand of the neighboring pair.
- Continue this pattern down the length, creating a diamond or chevron shape.
- Trim the bottom ends so they’re roughly even, or leave them uneven for a boho vibe.
- Secure the ends with a tiny dot of hot glue so they don’t unravel.
Design variation: Add wooden beads or a small painted ring in the middle for extra texture.
Project 4: Upcycled Candle Holder from Old Cans
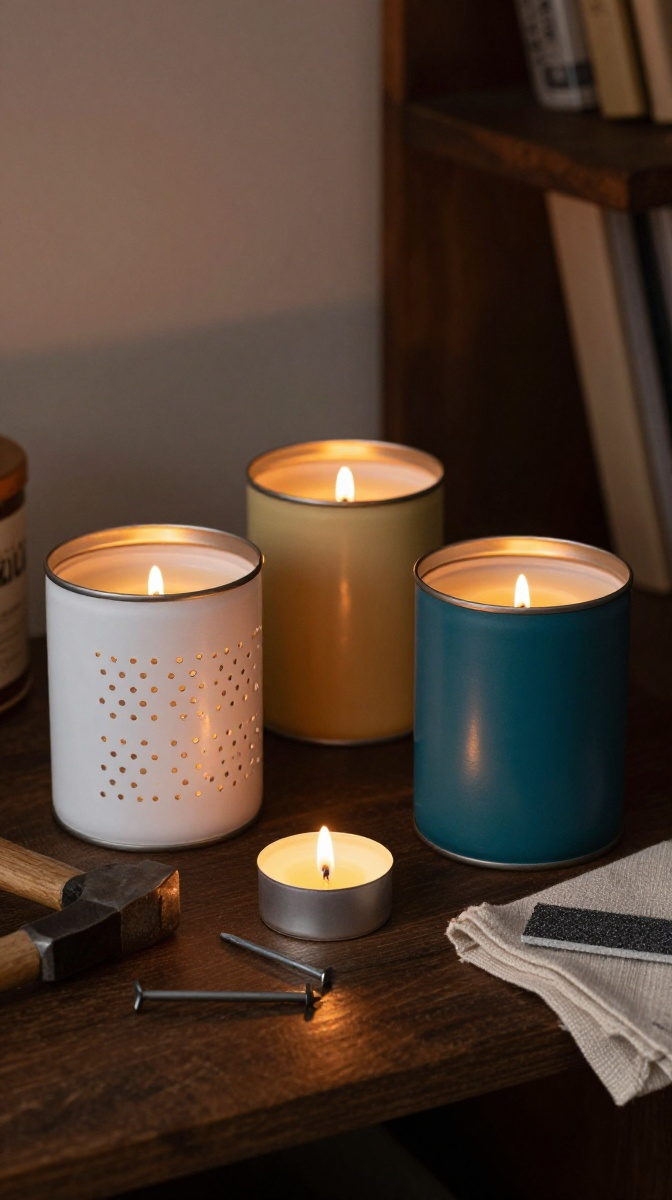
Those tin cans from canned tomatoes? They’re future candle holders. Clean them up, and nobody will ever guess they came from your pantry.
Materials and Tools
- Clean tin cans (remove labels and glue residue)
- Spray paint or acrylic paint
- Sandpaper (for smoothing rough edges)
- Tea lights or small pillar candles
- Hammer and nail (optional, for punched designs)
Safety note: Run your finger along the can’s rim. If it’s sharp, sand it down before you start painting. Your future self will thank you.
Step-by-Step Instructions
- Remove the label and wash the can with warm soapy water. Dry it completely.
- Sand any sharp edges or glue residue.
- If you want a punched design, fill the can with water and freeze it. This keeps the metal from denting.
- Hammer small holes in your pattern, then let the ice melt.
- Spray paint the outside in thin coats. Let dry between coats.
- Add a tea light inside and light it.
- Arrange several cans together for a glowing cluster.
Common mistake: Painting the inside. Don’t. Heat plus paint fumes equals a bad time.
Tips for Making Your DIY Decor Look Polished
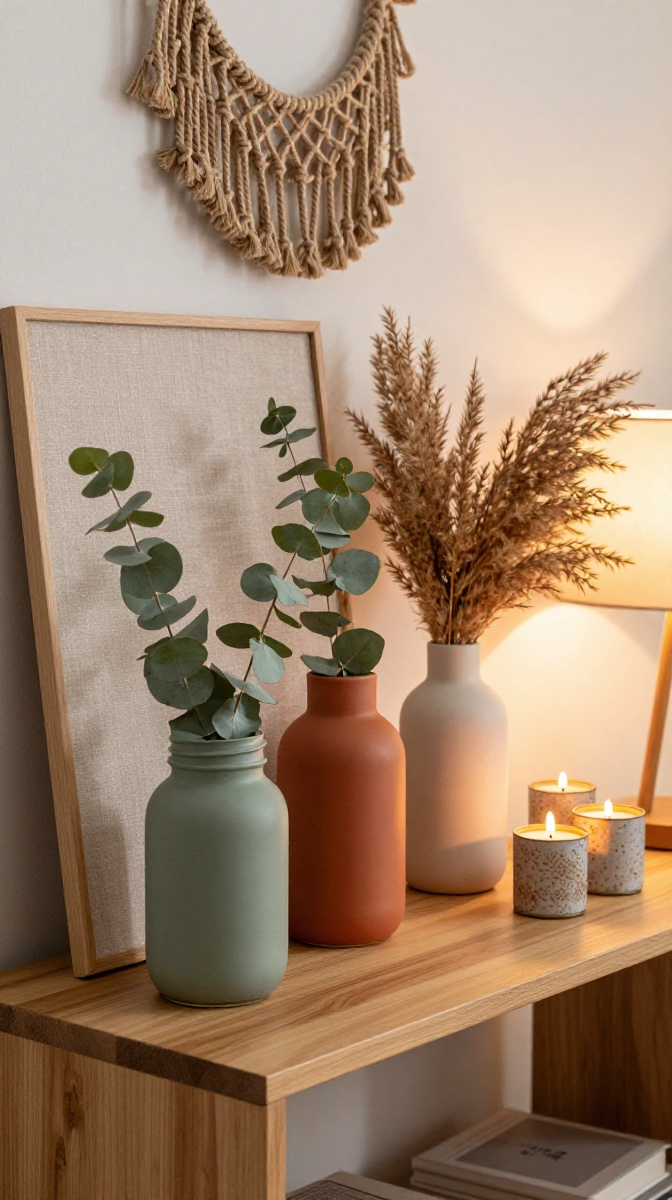
Homemade doesn’t have to mean homemade-looking. A few small moves make a big difference.
- Stick to a color palette. Pick two or three colors and repeat them across projects.
- Mix textures. Combine rough rope with smooth glass or soft fabric with hard wood.
- Group in odd numbers. Three vases, five candles, one wall hanging. Odd numbers just look better.
- Hide the messy parts. Glue blobs and uneven edges go against the wall or under ribbon.
- Take your time on the finishing touches. Sealer, trim, and clean edges separate “craft project” from “decor piece.”
Ways to Display, Gift, or Use Your Creations
Once you’ve made a few pieces, you have options. Here are some of my favorites.
- Gallery wall: Hang your rope wall art with the fabric board and a few framed photos.
- Entryway tray: Group painted mason jars on a tray near the door for keys and loose change.
- Gift sets: Pair a candle holder with a handmade card and some baked goods.
- Seasonal swaps: Change jar colors or fabric patterns to match holidays.
- Shelf styling: Stack books, add a candle holder, and lean the bulletin board behind it all.
FAQ’s
How much do these projects cost?
Most cost between $10 and $25 if you buy everything new. Thrift stores and dollar stores cut that in half. Using stuff you already own makes it nearly free.
What if I’m not crafty at all?
Start with the mason jars. Painting a jar is about as low-risk as it gets. If you mess up, you paint over it or toss it in the recycling.
How do I keep painted jars from peeling?
Clean the jar first, use thin coats, and always seal with a clear spray or Mod Podge. Skip the sealer and you’re asking for trouble.
Can I use these ideas for rental apartments?
Yes. None of these projects require drilling into walls. Use removable adhesive hooks for the wall hanging and bulletin board.
What’s the best glue for fabric on corkboard?
Hot glue works fast but can be lumpy. Spray adhesive gives a smoother finish but takes longer to set. Either one holds fine.
How do I avoid burning myself with the hot glue gun?
Keep a bowl of cold water nearby, use the low-temp setting, and don’t touch the glue until it turns opaque. Yes, I learned that the hard way.
Final Thoughts:
You don’t need a craft room, a Cricut, or a Pinterest-perfect setup. Pick one project, grab your supplies, and give it a shot. The worst case is you waste an afternoon and learn what not to do next time.
The best case? You end up with a home that feels personal, cozy, and completely yours. So which project are you trying first? Make something.