
Got a pile of photos stuck in your phone and zero wall space? Let’s fix that. This handmade wooden photo display turns scrap wood and twine into a rustic statement piece you’ll actually want to show off. No power tools required, no fancy skills needed, and yes, it looks way more expensive than it is. Grab a coffee, clear the kitchen table, and let’s make something cool.
Why This Project Rocks for Beginners
Most DIY decor tutorials assume you own a workshop and know what a miter saw does. Not this one. This project uses basic hand tools and affordable materials you can grab at any craft store or hardware shop.
It also forgives mistakes. Wood filler hides small gaps. Paint covers scratches. And if your twine lines end up a little crooked? Congratulations, that’s called “rustic charm.”
What You’ll Actually Need
- One wooden board, roughly 24 inches long, 12 inches wide, and 1 inch thick (pine or pallet wood works great)
- Medium-grit sandpaper (120 grit) and fine-grit sandpaper (220 grit)
- Wood stain or acrylic paint in your chosen color
- Clean rag or foam brush for staining
- Jute twine or hemp cord
- Small clothespins (mini ones look adorable)
- Picture-hanging hardware or sawtooth hangers
- Ruler and pencil
- Staple gun or hot glue gun
Budget swaps: Skip the stain and use watered-down acrylic paint for a washed look. No staple gun? Hot glue works fine; just press firmly for 30 seconds. And if you don’t have wood lying around, a thick foam board from the dollar store can work in a pinch.
Step-by-Step: Build Your Photo Display
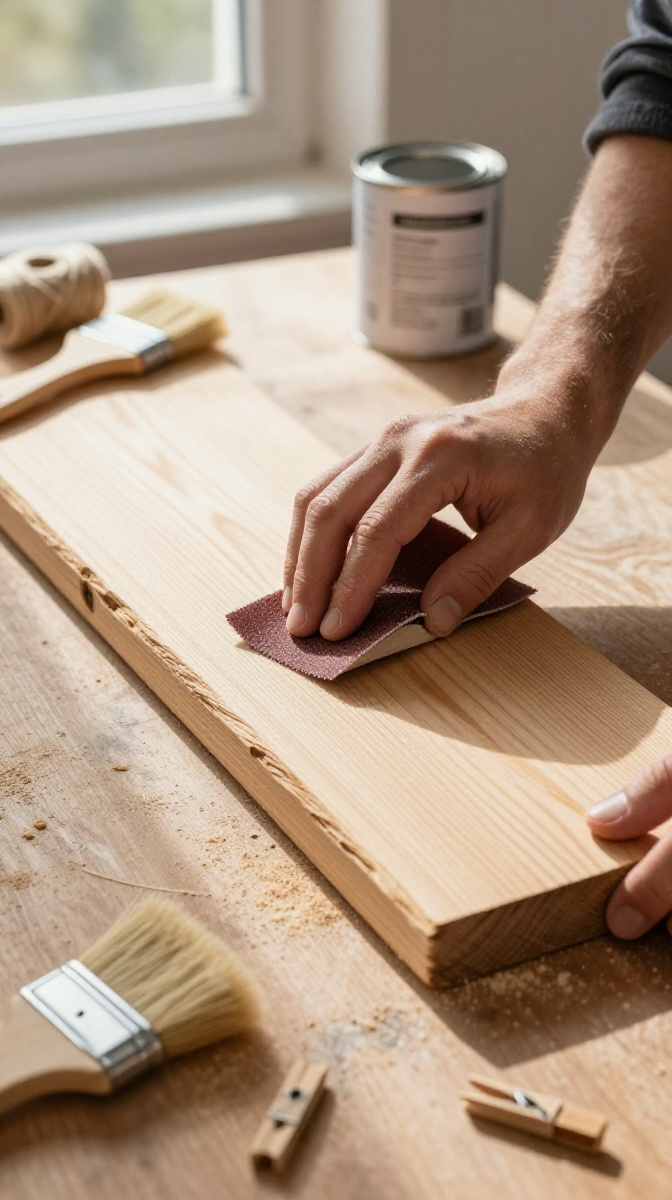
Ready to get your hands dirty? Here’s the whole process from bare wood to wall-worthy.
- Sand the board. Start with 120-grit sandpaper and go with the grain. Then switch to 220-grit for a smooth finish. Wipe off all dust with a damp cloth.
- Stain or paint. Apply your stain or paint with a foam brush or rag. Wipe off excess for a lighter look, or leave it on for deeper color. Let it dry completely (usually 2–4 hours).
- Mark your twine lines. Use a ruler and pencil to draw two or three horizontal lines across the board, spaced about 3 inches apart. These are your photo rows.
- Attach the twine. Staple or glue one end of the twine at the left edge of a marked line. Pull it taut across the board and secure the other end. Repeat for each line.
- Add hanging hardware. Flip the board over and attach your sawtooth hanger or picture wire. Measure to center it so the board hangs straight.
- Clip your photos. Use mini clothespins to attach photos, postcards, or notes to the twine. Step back and admire your work.
That’s it. Seriously. The whole thing takes about an hour plus drying time.
Design Twists to Make It Yours
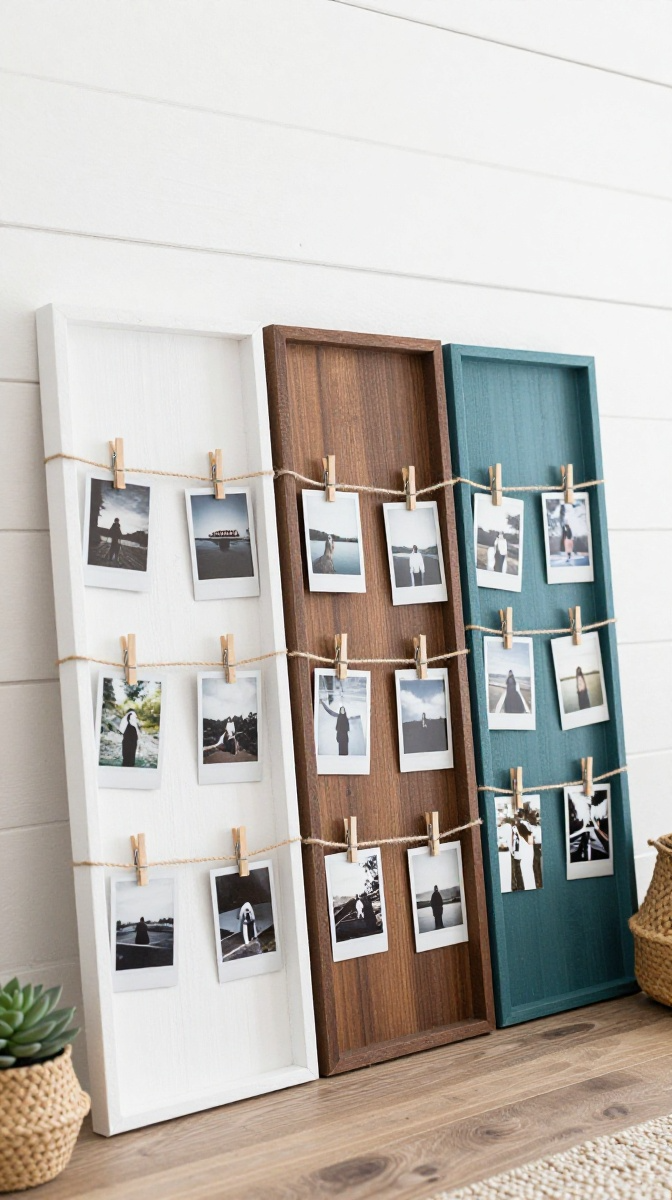
Boring is not allowed here. Try these variations to match your vibe.
Color and Finish Ideas
- Farmhouse chic: White chalk paint with light distressing on the edges
- Moody modern: Dark walnut stain with black hardware
- Boho bright: Teal or mustard paint with natural twine
- Rustic raw: Just sand and seal with clear wax
Functional Upgrades
Add small hooks along the bottom for keys or jewelry. Glue a tiny shelf on top for succulents. Or mount two boards side by side for a gallery effect.
Common Mistakes (And How to Dodge Them)
Learn from my craft fails so you don’t repeat them.
- Skipping the sanding. Rough wood snags twine and looks cheap. Sand it properly.
- Over-staining. More stain does not mean better color. Wipe it off quickly for a smooth finish.
- Loose twine. If your twine sags, your photos will slide into a sad little pile. Pull it tight before securing.
- Off-center hanger. Measure twice, attach once. A crooked board on the wall will haunt you.
Where to Put It (And Who to Gift It To)
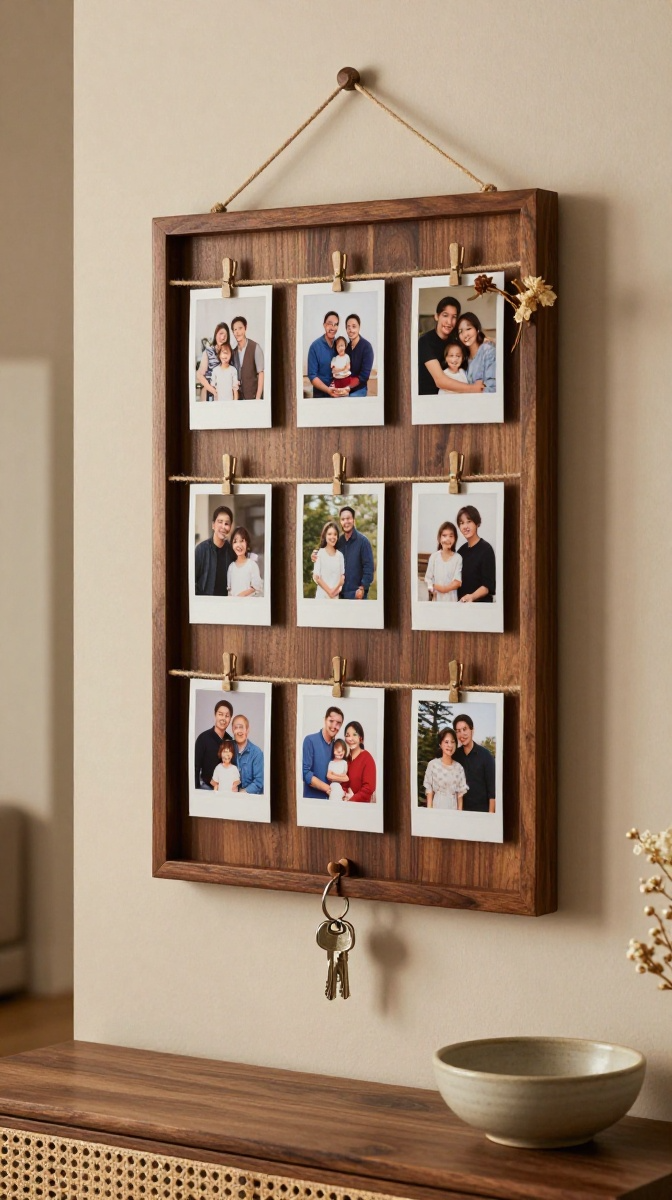
This piece works in almost any room. Hang it in an entryway for photos and reminders. Put it in a bedroom for polaroids and concert tickets. Or set it on a mantel leaning against the wall.
As a gift? It’s a winner for housewarmings, birthdays, or new parents. Bonus: pair it with a pack of mini clothespins and a few printed photos for a thoughtful, personal touch.
FAQ’s
Can I use a different type of wood?
Absolutely. Pine is cheap and easy to find, but oak, birch, or even reclaimed pallet wood work too. Just adjust your sanding time for harder woods.
How many photos can this hold?
Depends on your board size and photo size. A 24-inch board with three twine lines typically holds 12–18 standard 4×6 photos.
What if I don’t have a staple gun?
Hot glue works. So does strong double-sided tape in a pinch. Just test the hold before hanging.
Can I paint the clothespins?
Yes! Spray paint or acrylic paint both work. Let them dry completely before clipping photos.
How do I clean the board?
Dust it with a dry cloth or a soft brush. Avoid wet wipes, which can damage the stain or paint.
Go Make Something Already
You’ve got the steps, the materials list, and zero excuses. This handmade photo display is cheap, quick, and way more satisfying than another store-bought frame. Grab your supplies, embrace the imperfection, and hang up those memories. Then send me a photo of your finished piece—I promise I’ll only be a little jealous