
Want a home that looks expensive without actually being expensive? Same. You don’t need a designer budget or a fancy craft room to make your space look amazing. Grab a glue gun, raid your recycling bin, and let’s turn cheap materials into decor people will actually ask about. We’re starting with a super easy rope coil basket, then hitting six more budget-friendly projects you can knock out this weekend.
Project 1: The Rope Coil Basket That Looks Boutique
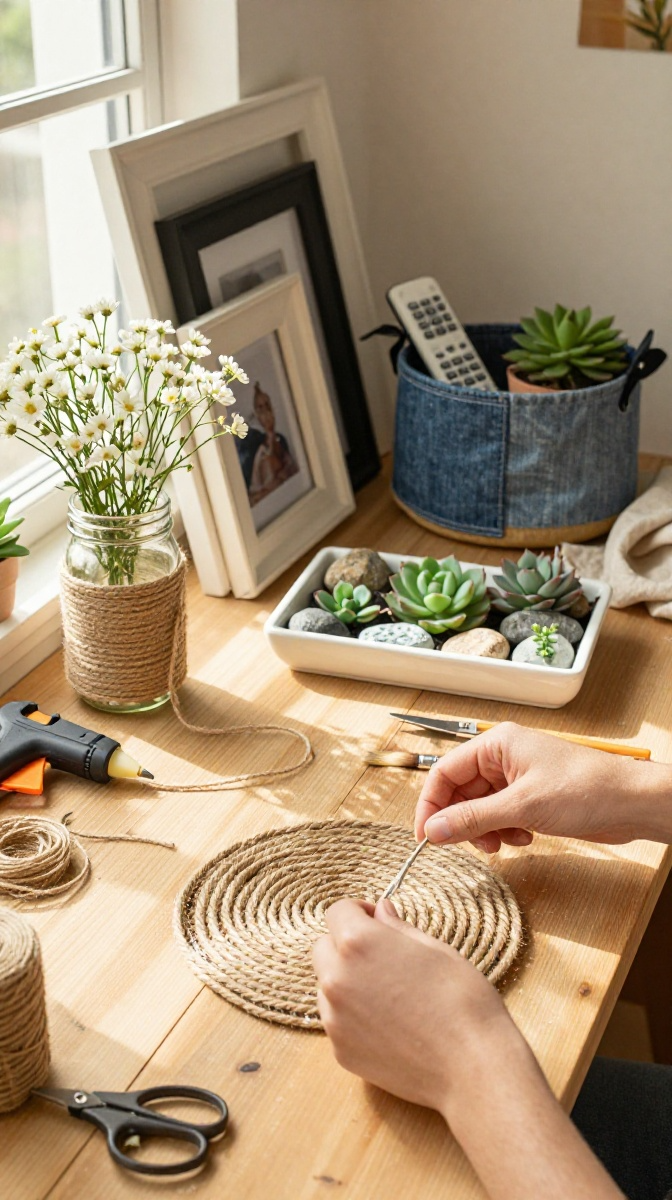
This is the project I recommend to every beginner. It’s basically sewing without a sewing machine, and the results look like something from a pricey home store. A small rope basket costs $30 to $60 at retail. You’ll make yours for under $10.
Materials and Tools
- Cotton rope, about 3/16 to 1/4 inch thick (100 feet makes a medium basket)
- Hot glue gun plus extra glue sticks (the high-temp kind holds better)
- Sharp scissors or a craft knife
- Optional: fabric dye, acrylic paint, or a small fabric scrap for a liner
Budget swap: if cotton rope feels pricey, jute twine works and costs less. It’s scratchier, though, so keep it out of reach of curious pets.
Step-by-Step Instructions
- Cut a 10-inch length of rope. Coil it into a tight spiral to form the base center.
- Glue the coils together as you go, pressing each new loop snug against the last one. Hold for a few seconds so the glue sets.
- Keep coiling and gluing outward until your base reaches the size you want, usually 6 to 8 inches across.
- Start building upward. Place each new coil slightly on top of the previous row instead of beside it, and glue as you go.
- Build the walls to your desired height. For a planter cover, stop around 4 inches. For a toy basket, go 8 inches or more.
- Trim the rope end at an angle, tuck it behind the last coil, and glue it down firmly.
- Let everything cool for 10 minutes, then press the sides gently into shape.
FYI, the glue gun will be hot. I know that sounds obvious, but everyone touches the metal tip at least once. Don’t be everyone.
Common Mistakes to Avoid
The biggest one is rushing. If you glue too far ahead of your coiling, the glue cools and your basket gets lumpy. Work in 3 to 4 inch sections.
Another trap: using too little glue. Sparse glue means your basket unravels the first time you put something heavy in it. Be generous.
Ways to Customize and Display
Dye the rope before you start for a dipped look, or paint the finished basket with two coats of acrylic. Place a small potted plant inside (with a saucer underneath, unless you enjoy water rings). Use a large one to corral remote controls, yarn, or the pile of mail you keep ignoring.
Project 2: Upcycled Glass Jar Lanterns
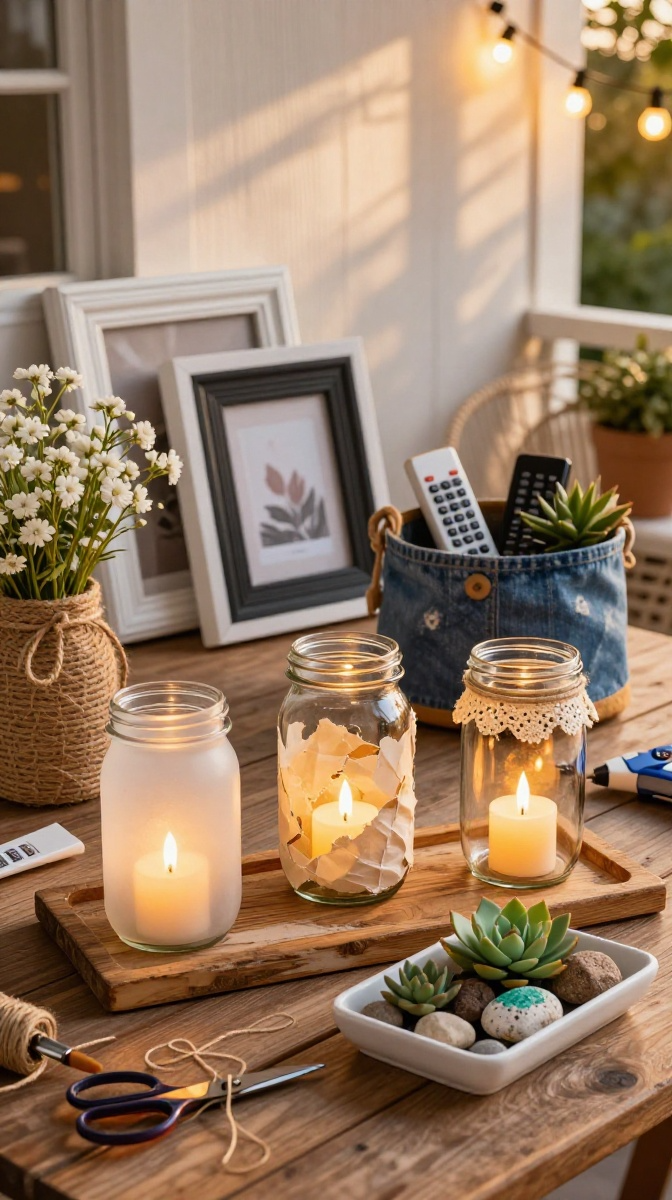
Empty pasta sauce jars are free decor waiting to happen. Turn them into glowing lanterns for your patio, mantel, or bathroom shelf. No one will guess they started life in your kitchen.
Materials and Tools
- Clean glass jars with labels removed
- Frosted glass spray or mod podge plus tissue paper
- Twine, lace, or ribbon
- Tea lights or flameless LED candles
- Rubbing alcohol for prep
Budget swap: tissue paper and mod podge cost less than specialty glass spray and give you more color options.
Step-by-Step Instructions
- Wipe the jar with rubbing alcohol and let it dry completely.
- If frosting, spray in light coats outdoors, two or three passes. If using tissue paper, tear it into small pieces and brush mod podge onto the jar, then press the paper on and seal with another coat.
- Let it dry for at least an hour.
- Wrap twine or lace around the neck and tie a bow.
- Drop in a tea light or LED candle.
Safety Note
Real candles plus glass plus paper equals a bad idea if you skip the saucer. Use flameless candles for anything paper-covered. If you want real flame, keep it to plain frosted glass and never leave it burning unattended.
Project 3: Fabric Scrap Wall Art
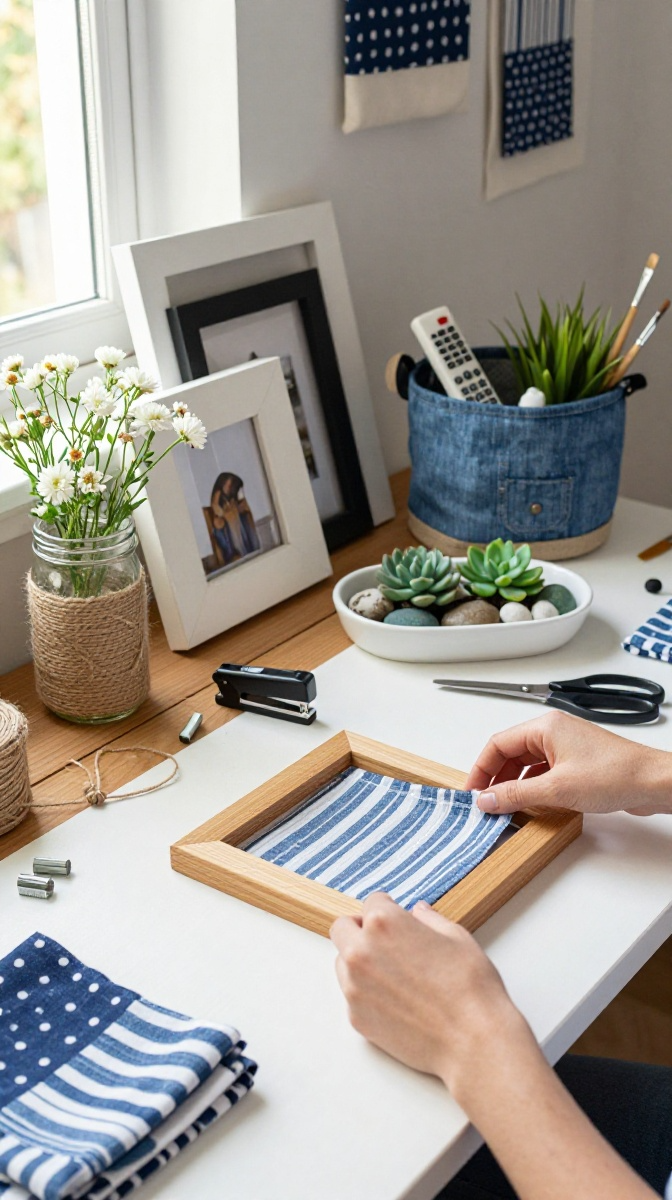
Got leftover fabric from old projects? Stretch it over a cheap canvas or an old frame and you’ve got instant texture on a blank wall.
Materials and Tools
- Fabric scraps or an old shirt or pillowcase
- Canvas or wooden frame (dollar store finds work great)
- Staple gun or hot glue
- Scissors
Step-by-Step Instructions
- Iron your fabric flat so it doesn’t look like it slept in a drawer.
- Cut it 3 inches larger than your frame on all sides.
- Center the fabric and staple or glue one side, pulling snug but not so tight it warps.
- Work opposite sides, then corners, folding them neatly like a present.
- Trim excess fabric and hang it up.
Design Variations
Go monochrome with one bold patterned fabric, or make a trio of small frames with coordinating prints. You can also paint a simple shape or stripe onto plain fabric before stretching for a custom look.
Project 4: Painted Mason Jar Vases
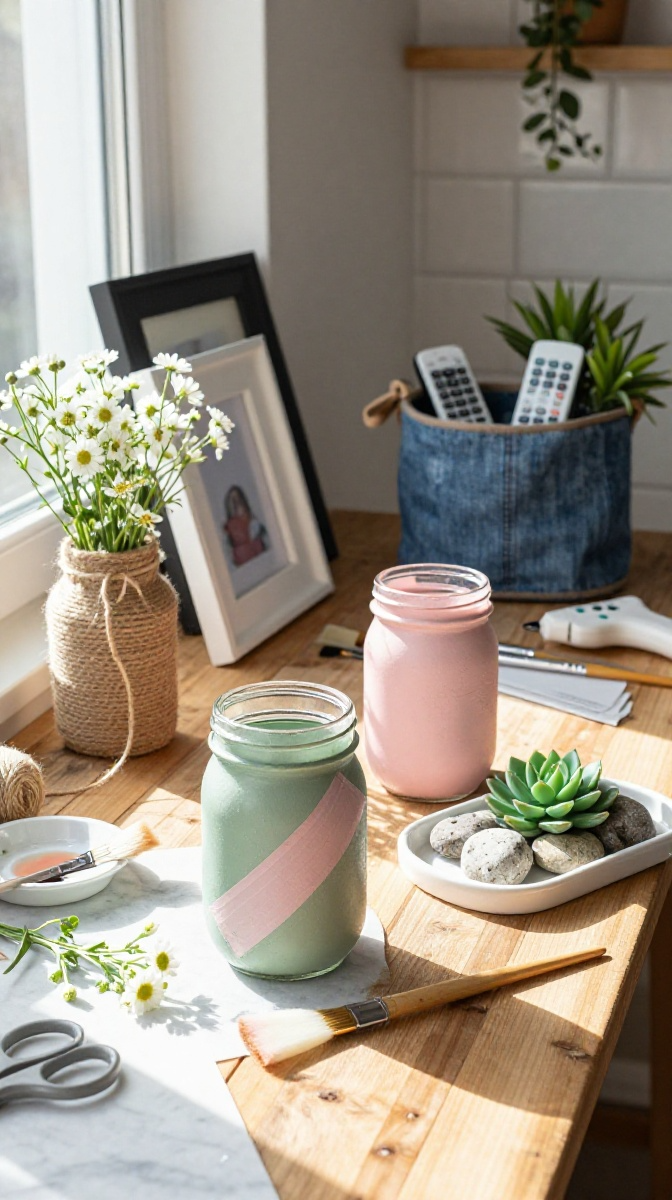
Mason jars are the Swiss army knife of budget decor. A little paint turns them into vases that look intentional instead of improvised.
Materials and Tools
- Mason jars or any glass jar
- Chalk paint or matte acrylic paint
- Paintbrush or foam brush
- Painter’s tape for stripes
Step-by-Step Instructions
- Wash and dry the jars completely.
- Tape off stripes or a dipped section if you want a pattern.
- Paint two thin coats, letting each dry between layers.
- Peel the tape while the paint is slightly tacky for clean lines.
- Let cure for 24 hours before adding water and flowers.
Troubleshooting
Paint peeling? You skipped the wash step and left oily residue. Paint looking streaky? Your coats were too thick. Thin layers always win.
Project 5: No-Sew Drop Cloth Pillow Covers
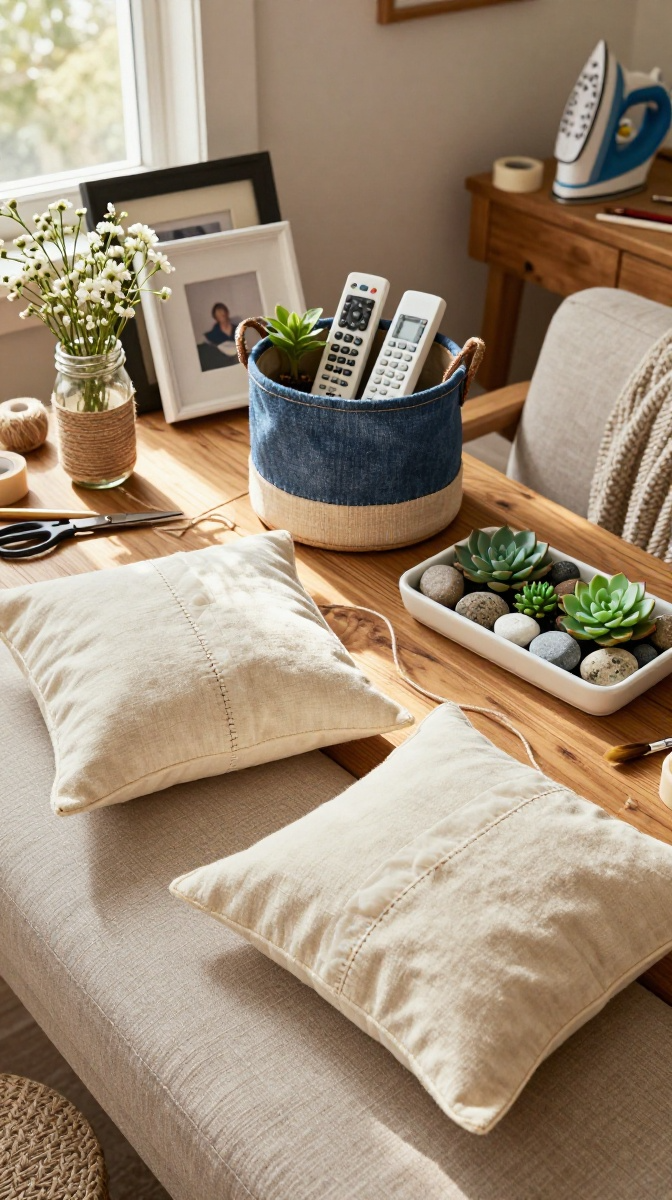
Canvas drop cloths are cheap, sturdy, and look way more expensive than they are. Fold one into a pillow cover and no one will know you dodged the sewing machine.
Materials and Tools
- Canvas drop cloth
- Fabric glue or iron-on hem tape
- Pillow insert
- Scissors and an iron
Step-by-Step Instructions
- Measure your insert and cut two fabric pieces slightly larger, leaving a flap on the back piece.
- Iron the edges under by half an inch on all sides.
- Glue or tape the side and bottom seams, leaving the flap open.
- Let it dry fully, usually a few hours.
- Stuff the insert through the flap and fluff.
Add a stencil or fabric paint design before assembling if plain canvas feels too plain for you. IMO, a simple stripe never fails.
Project 6: Wine Cork Coasters
If you’ve been hoarding wine corks “just in case,” this is the case. Coasters take 15 minutes and make great gifts.
Materials and Tools
- Wine corks, about 20 to 25 per coaster
- Hot glue gun
- Cork backing sheet or felt
- Sharp knife for trimming
Step-by-Step Instructions
- Cut corks in half lengthwise if you want a flat top surface, or leave them whole for a rustic look.
- Arrange them in a tight square or hexagon on your work surface.
- Glue them together side by side.
- Cut a backing piece to size and glue it to the bottom.
- Trim any uneven edges and let dry.
Decorating and Gifting Ideas
Stack a set of four with a ribbon and a tag for a housewarming gift. They also look great in a small basket on a coffee table, and they’re a sneaky conversation starter.
Project 7: Macrame Plant Hanger
Macrame looks intimidating until you realize it’s just knots. Three basic knots and you’re done.
Materials and Tools
- Cotton cord or jute rope, about 20 feet per hanger
- Metal ring or wooden hoop
- Scissors
- Small potted plant
Step-by-Step Instructions
- Cut four cords about 5 feet long. Fold them in half and loop them through the ring.
- Separate into four pairs and tie a simple knot about 3 inches down from the ring.
- Take one strand from each neighboring pair and tie them together, creating a diamond pattern.
- Repeat this alternating pattern three or four times until the hanger is tall enough for your pot.
- Gather all cords below the pot area and tie a thick finishing knot.
- Trim the ends and slide your plant in.
Hanging Tips
Use a ceiling hook rated for the weight of your plant plus the pot. Keep hangers away from vents and direct afternoon sun unless your plant likes being roasted.
FAQ’s
What’s the cheapest DIY home decor project for beginners?
The rope coil basket or wine cork coasters. Both cost under $10 and need no special skills beyond patience with a glue gun.
Do I really need a glue gun, or can I use regular glue?
Regular craft glue works for paper and fabric projects, but it’s slow and weak for rope and cork. A basic glue gun costs about $8 and pays for itself fast.
How do I keep DIY decor from looking homemade in a bad way?
Neat edges, matching colors, and a little restraint. Pick two or three projects that share a palette instead of displaying every craft you’ve ever made in one room.
Where can I find cheap materials?
Dollar stores, thrift shops, Facebook Marketplace, and your own recycling bin. Old jars, shirts, and frames are free decor waiting to happen.
Are these projects safe for renters?
Yes. Command hooks, freestanding shelves, and lightweight wall art keep your deposit intact. Skip anything that requires drilling unless your lease allows it.
How long do these projects take?
Coasters and lanterns take 15 to 30 minutes. The rope basket and macrame hanger take one to two hours. Perfect for a lazy Sunday.
Go Make Something Already
You don’t need a big budget or a perfect craft room. You need a free afternoon, a few cheap supplies, and the willingness to make one ugly version before you make a great one. Pick one project from this list and start today. Worst case, you learn something. Best case, your living room finally looks like the Pinterest board you’ve been staring at for months. Grab your glue gun and go.