
Pumpkin spice lattes are fine, but have you ever made a pumpkin that lasts forever? These easy DIY pumpkin decorations take about an afternoon, cost less than a fancy candle, and won’t rot on your porch by November. Grab a hot glue gun and let’s make something cute.
Why Make Your Own Pumpkin Decorations?
Store-bought pumpkins are pricey, and real ones turn into sad mush faster than you’d think. Making your own means you control the colors, the size, and the vibe. Want a pastel pumpkin? Go for it. Want a glittery one that matches your mantel? Absolutely.
Plus, DIY decor doubles as a fun activity for kids, a girls’ night, or a solo craft-therapy session. No judgment here.
Materials and Tools You’ll Need
You probably already own half of this stuff. Here’s the full list:
- Faux pumpkins — craft store foam or fabric ones work great; dollar store versions are fine too
- Acrylic paint — white, cream, sage, terracotta, or any color you love
- Paintbrushes — foam brushes for base coats, small detail brushes for accents
- Mod Podge — for decoupage and sealing; matte or gloss, your call
- Decorative napkins or fabric scraps — for the decoupage look
- Twine or jute rope — for stems and rustic wrapping
- Hot glue gun and glue sticks — the MVP of this project
- Ribbon, lace, or burlap — for bows and trim
- Faux leaves and flowers — optional but adorable
- Scissors and a craft knife — for trimming and carving foam
- Newspaper or a craft mat — protect your table, seriously
Budget swap: Skip fancy craft pumpkins and grab plain foam ones from the dollar store. Same result, way less cash.
Step-by-Step: Painted Pumpkin Makeover
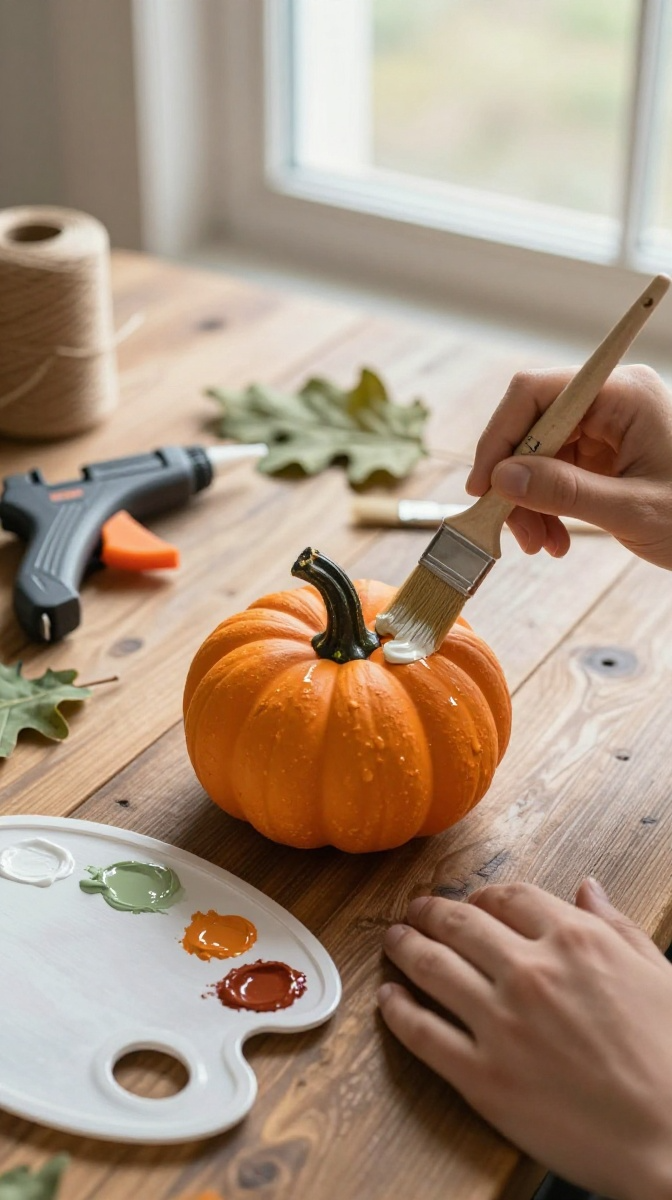
This is the easiest starter project. If you can paint a wall, you can do this.
- Clean your pumpkin. Wipe off dust with a damp cloth and let it dry completely.
- Base coat it. Paint the whole pumpkin with two thin coats of acrylic paint. Thin coats dry faster and look smoother.
- Let it dry. Give it about 30 minutes between coats. Patience pays off here.
- Add details. Once dry, paint stripes, dots, or a metallic stem. Get creative.
- Seal it. Brush on a layer of Mod Podge to protect the paint and add a subtle shine.
- Finish the stem. Wrap twine around the stem and secure it with hot glue for a rustic touch.
Design Variations to Try
Bored of solid colors? Try these:
- Ombre effect: Blend two colors with a damp sponge
- Polka dots: Use a pencil eraser as a stamp
- Metallic accents: Gold or copper paint on the stem and ridges
- Chalkboard pumpkins: Paint with chalkboard paint and write names or messages
Decoupage Pumpkin: The Fancy-Looking Shortcut
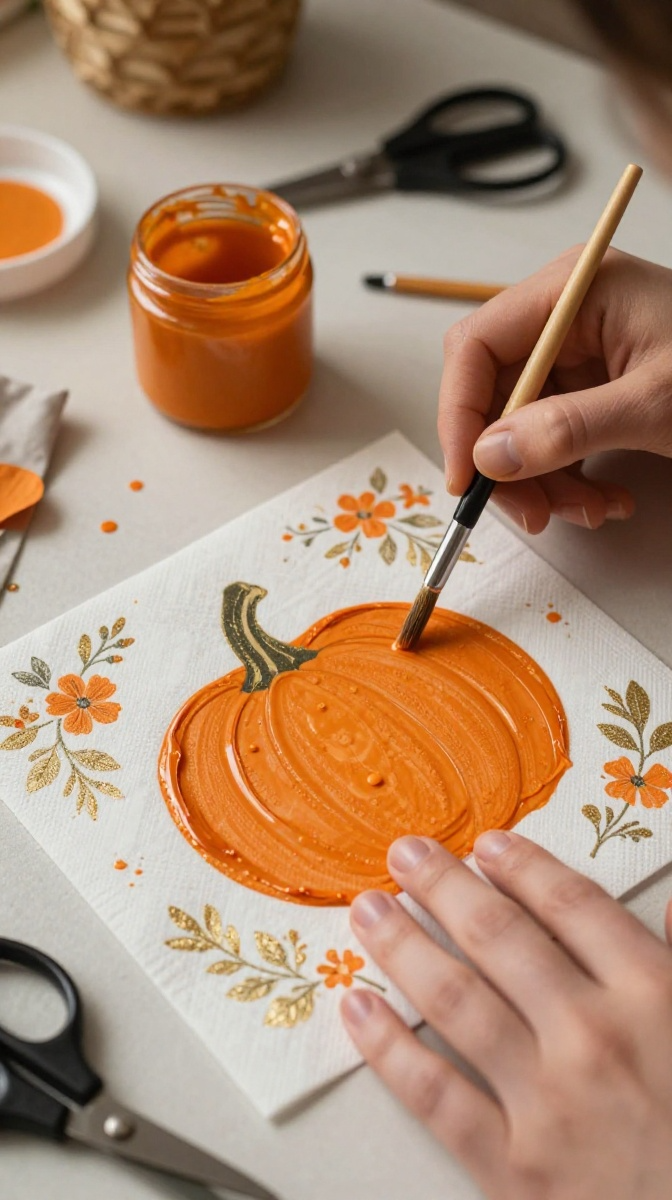
This one looks expensive but takes zero artistic skill. Perfect for those of us who can’t draw a straight line.
- Separate your napkin layers. Use only the top printed layer. The white backing goes in the trash.
- Cut out your designs. Flowers, leaves, and small patterns work best.
- Brush Mod Podge on the pumpkin. Work in small sections so it doesn’t dry too fast.
- Press the napkin on. Smooth it gently with your fingers or a soft brush.
- Seal over the top. Add another layer of Mod Podge over the napkin to lock it in.
- Let it cure. Give it a few hours. Then style it however you like.
Common Mistakes to Avoid
- Using too much glue. It wrinkles the napkin. Less is more.
- Skipping the top layer removal. The backing makes it look cloudy.
- Rushing the dry time. Wet Mod Podge smears. Walk away.
Twine-Wrapped Pumpkin for Rustic Charm
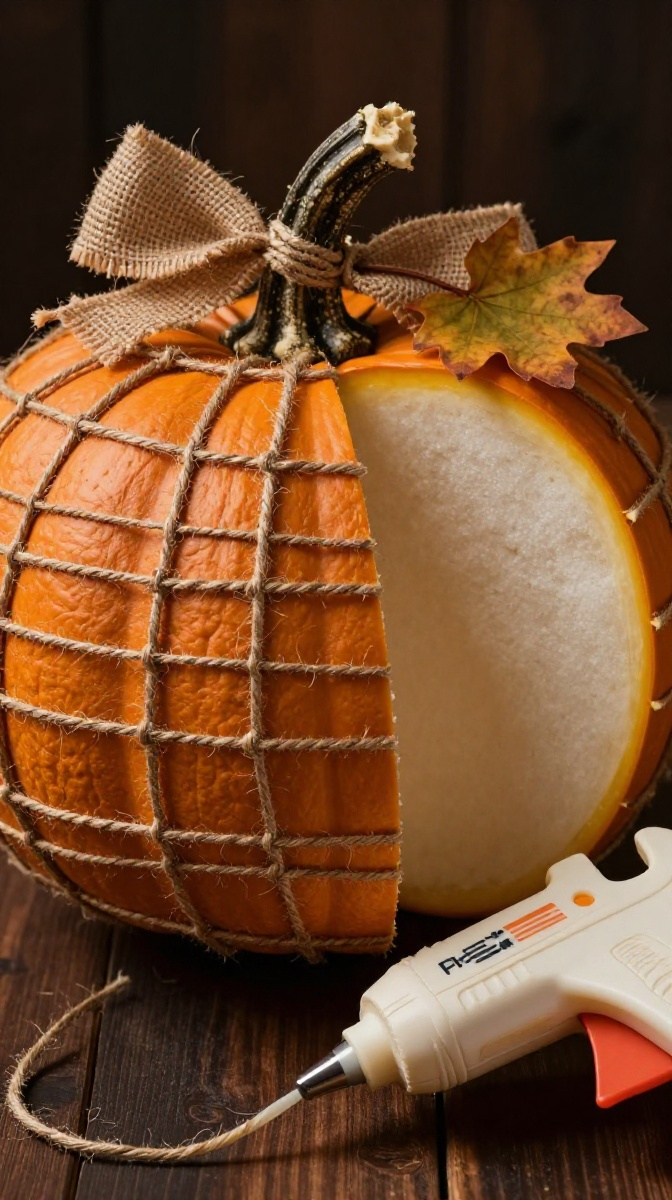
Want that cozy farmhouse look without the farmhouse price tag? This is it.
- Start at the top. Hot glue the end of your twine near the stem.
- Wrap tightly. Coil the twine around the pumpkin, pressing each row close to the last.
- Add glue as you go. A dot every few inches keeps it secure.
- Cover as much as you like. Full coverage or just the top half — both look great.
- Finish with a bow. Glue a ribbon or a faux leaf near the stem.
Tips for a Clean Wrap
Keep tension steady. If you pull too hard, the twine slips. If you pull too loose, it looks messy. Aim for “comfortable hug” tension.
Ways to Display, Gift, or Use Your Pumpkins
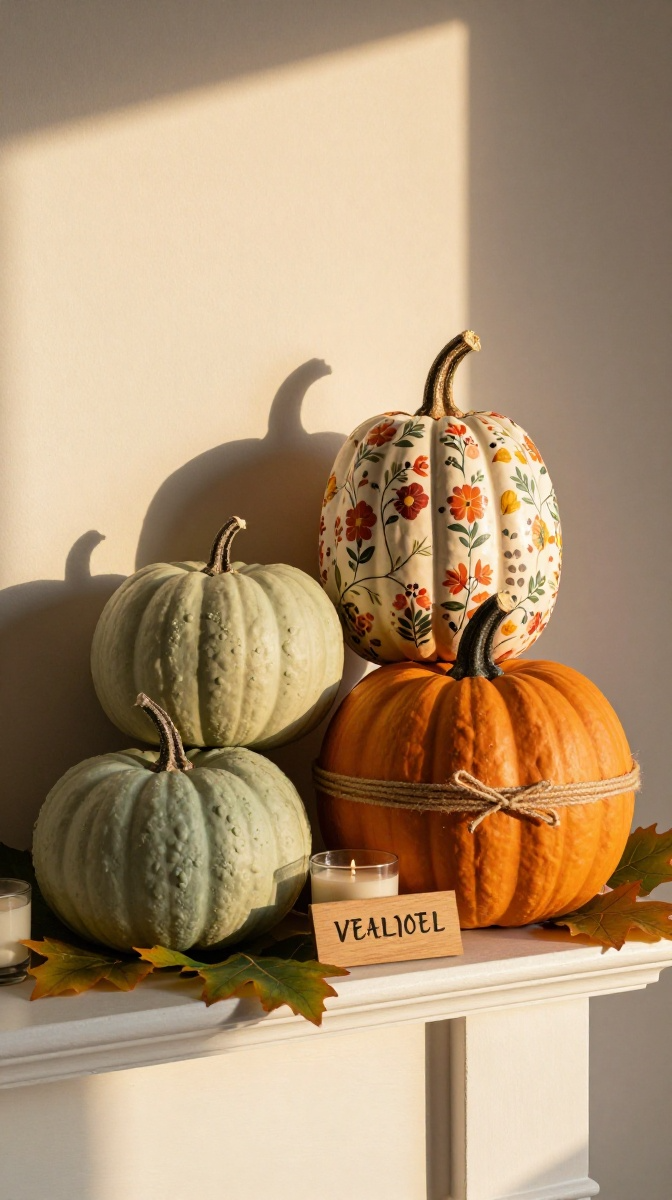
Now for the fun part — showing them off.
- Mantel display: Group three different sizes together
- Table centerpiece: Add faux leaves and a candle
- Front porch: Pair with mums and a welcome sign
- Gift them: Tie a tag on the stem and hand them to neighbors
- Use as place cards: Write names on mini chalkboard pumpkins
Customization Ideas
Match your pumpkin to your home decor. Pastels for a soft look, jewel tones for a bold statement, or neutrals for that cozy fall feel. You really can’t mess this up.
FAQ’s
How long do DIY pumpkin decorations last?
Faux pumpkins last for years if you store them carefully. Keep them in a cool, dry place and they’ll be ready next fall.
Can I use real pumpkins for these projects?
Yes, but real pumpkins rot. Painted ones last a few weeks. Decoupage and twine work better on faux pumpkins for long-term use.
What paint works best on foam pumpkins?
Acrylic paint is your best bet. It sticks well, dries fast, and comes in every color. Spray paint also works for a smooth finish.
Do I need Mod Podge, or can I skip it?
You can skip it, but your paint might chip. Mod Podge seals and protects, so it’s worth the few extra dollars.
How do I clean my finished pumpkins?
Dust them with a dry cloth or a soft brush. Avoid water, especially on decoupage and twine versions.
Can kids help with these crafts?
Absolutely. Just handle the hot glue gun yourself and let them paint and decorate. It’s a great family activity.
Final Thoughts: Go Make Something Cute
DIY pumpkin decorations don’t need to be perfect. The little imperfections are what make them charming. So grab your supplies, put on a fall playlist, and enjoy the process. Your home will look cozy, your wallet will thank you, and you’ll have a new favorite fall tradition. Happy crafting!