
Want a front door that screams “fall” without spending a fortune? This easy fall wreath DIY takes about 30 minutes and costs way less than those boutique wreaths at the craft store. No fancy skills required—if you can tie a knot and use a glue gun without burning your fingers (mostly), you’re qualified. Let’s make something gorgeous together.
Why Make Your Own Fall Wreath?
Store-bought wreaths are pricey. We’re talking $60 to $100 for something that’ll get rained on. Making your own means you control the colors, the size, and the vibe.
Plus, it’s honestly fun. There’s something satisfying about turning a pile of dollar store stems into a door decoration your neighbors will actually compliment. And if you mess up? Just rearrange it. No big deal.
Another perk: you can customize it to match your existing decor. Rustic farmhouse? Go with burlap and cotton stems. Moody and dramatic? Deep burgundy and navy. The wreath works with you, not the other way around.
Materials and Tools You’ll Need
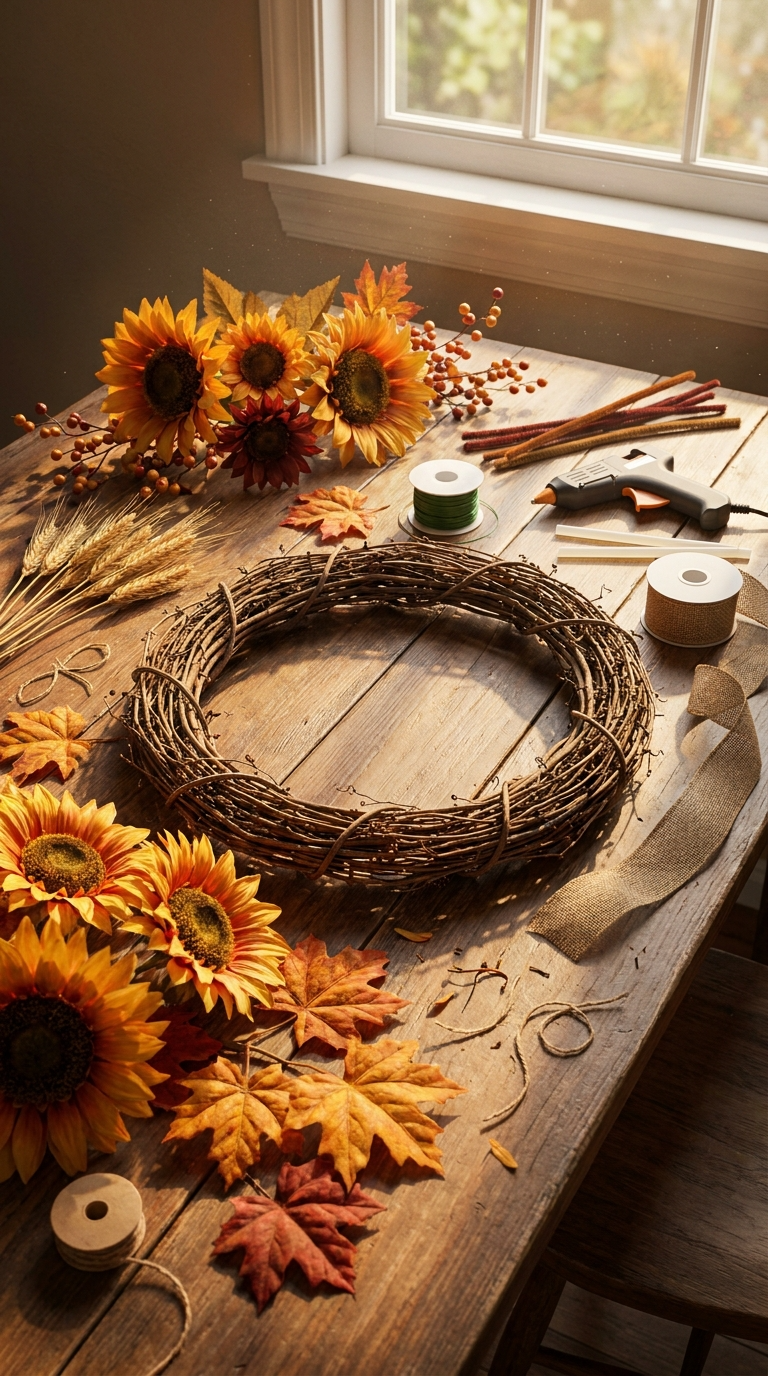
Here’s your shopping list. Most of this you can grab at Dollar Tree, Walmart, or Michaels—especially if you hit a sale.
- Grapevine wreath base (12–18 inches works for most doors; grab one at any craft store)
- Faux fall stems (think sunflowers, maple leaves, wheat, eucalyptus, berries—6 to 10 stems total)
- Floral wire or pipe cleaners (pipe cleaners are cheaper and easier for beginners)
- Hot glue gun and glue sticks
- Wire cutters or heavy-duty scissors
- Ribbon (burlap, satin, or buffalo check for a bow)
- Optional: small pumpkins, pinecones, faux acorns, or a wooden sign
Budget-Friendly Substitutes
Don’t want to buy floral wire? Pipe cleaners from the dollar store work perfectly. No grapevine wreath? A wire wreath form wrapped in burlap ribbon does the trick.
You can also skip the glue gun entirely and just tuck stems into the grapevine. It stays put surprisingly well. But IMO, a little glue at the end saves you from chasing fallen leaves down the driveway.
Where to Find Cheap Fall Stems
Dollar Tree is a goldmine for fall florals. So is Walmart’s clearance aisle after Halloween. Thrift stores sometimes have fake flower bundles for pennies. And if you’re feeling fancy, Michaels and Joann always have coupons floating around.
Pro tip: buy stems in odd numbers. Three, five, or seven. It just looks better. Don’t ask me why—it’s a design thing.
Step-by-Step: How to Make Your Fall Wreath
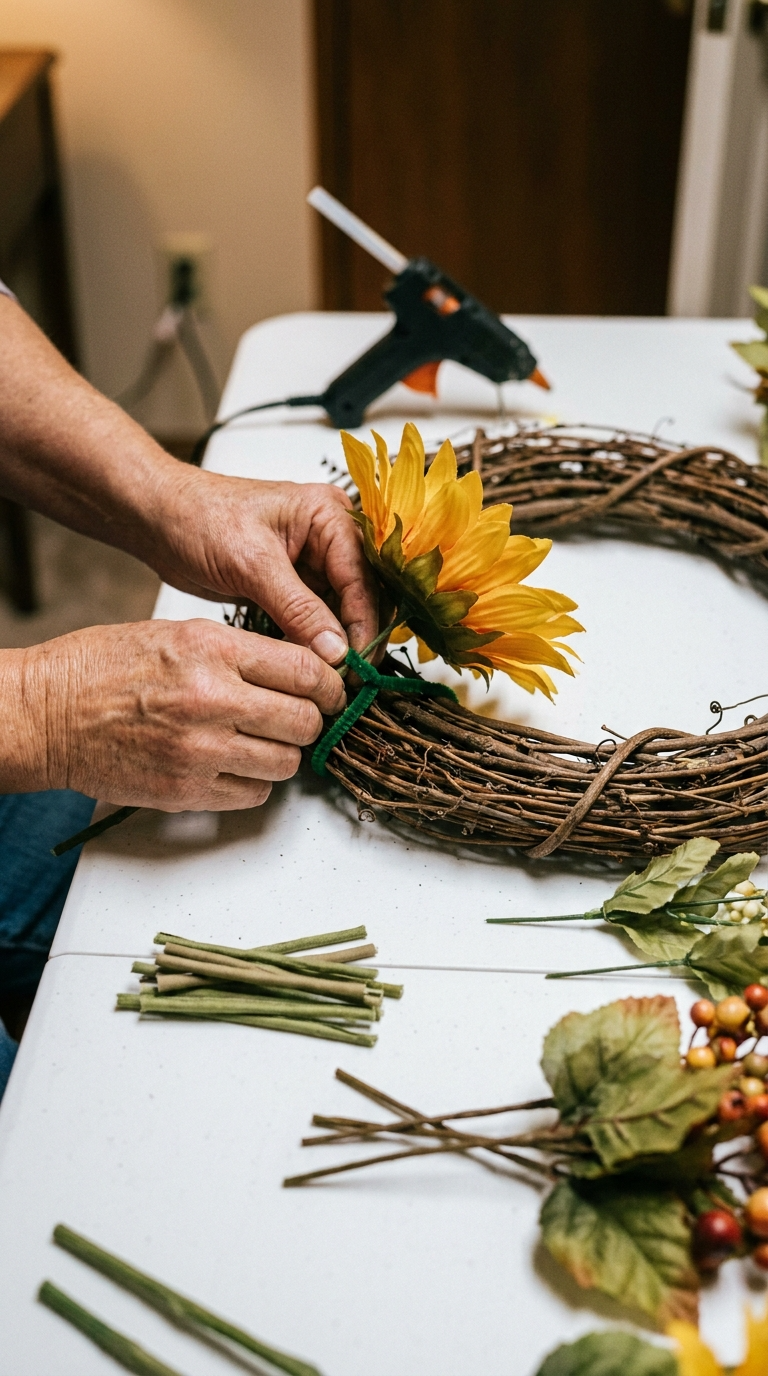
Ready? Let’s do this. Clear off a table, pour some coffee, and put on a podcast. This is the fun part.
- Prep your stems. Use wire cutters to snip stems into smaller pieces. You want 3–5 inch sections so they’re easy to work with. Keep the leaves and flowers intact.
- Lay out your design first. Before gluing anything, arrange your stems on the wreath base. Play with placement until it looks balanced. Nothing’s permanent yet, so experiment.
- Start with the biggest pieces. Attach your largest stems (like sunflowers or big maple leaves) first. Wrap floral wire or pipe cleaners around the stem and the grapevine. Twist tight.
- Fill in with medium and small stems. Add wheat, berries, and smaller leaves around the big pieces. Overlap them slightly so the grapevine doesn’t show through too much.
- Secure everything. Once you’re happy with the arrangement, add a dot of hot glue where each stem meets the wreath. This locks everything in place.
- Make your bow. Tie a simple bow with ribbon and glue or wire it to the bottom or side of the wreath. Not a bow person? Skip it. A bare wreath looks great too.
- Add accents. Glue on pinecones, mini pumpkins, or acorns for extra texture. Keep it balanced—don’t cluster everything in one spot.
- Hang and admire. Use a wreath hanger, a command hook, or a ribbon loop. Step back and bask in your crafty glory.
Common Mistakes to Avoid
Don’t overload one side. It’s tempting to pile everything on the bottom, but spread the love around. Also, don’t skip the glue step—wind will absolutely steal your leaves.
And please, test the wreath’s weight before hanging. If it’s too heavy, your hook might give up. Nobody wants a wreath crashing onto the porch.
Fun Design Variations to Try
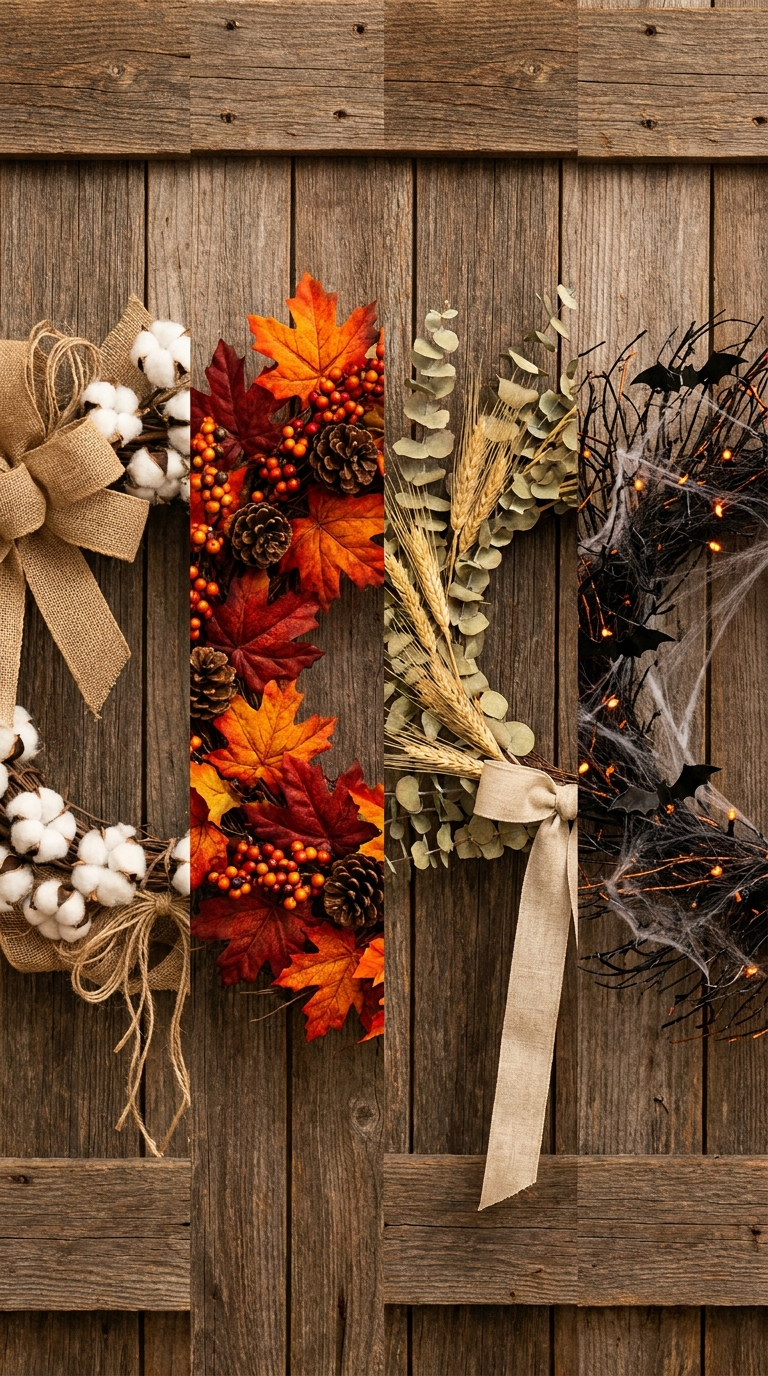
Once you’ve made one, you’ll want to make five. Here are some twists to keep things interesting.
Rustic Farmhouse Style
Use burlap ribbon, cotton stems, and white pumpkins. Add a wooden “Welcome” sign in the center. Neutral, cozy, and very Instagram-friendly.
Bold and Colorful
Go wild with orange, deep red, and golden yellow. Add fake berries and bright sunflowers. This one pops against a white or gray door.
Minimalist Modern
Stick to eucalyptus, wheat, and a simple black-and-white buffalo check bow. Less is more, and it looks super chic.
Spooky Halloween Twist
Add faux spiderwebs, tiny plastic bats, or a “Boo” sign. Keep the fall base and just swap a few accents. Two holidays, one wreath.
Tips for Displaying, Gifting, and Storing Your Wreath
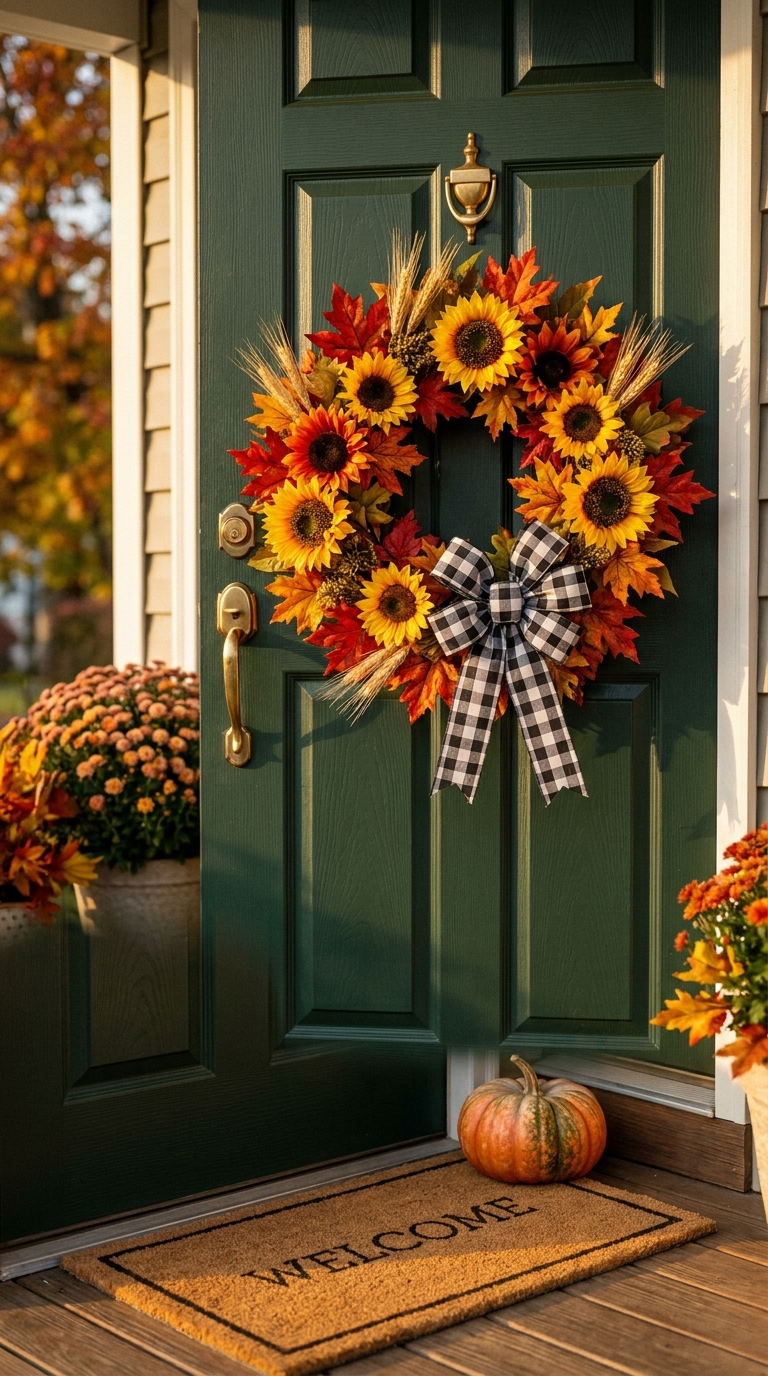
Hang your wreath on a covered porch if possible. Direct rain and sun will fade fake flowers over time. If your door gets full weather, bring it inside during storms.
This makes a fantastic gift. Wrap it in tissue paper, tie with twine, and hand it to a friend who loves fall. They’ll think you spent hours on it. You don’t have to correct them.
For storage, use a wreath box or a large garbage bag. Keep it in a cool, dry place. Next year, it’ll be ready to go with zero effort.
Quick Fixes for Wreath Emergencies
Leaf fell off? Glue it back. Bow looks wonky? Retie it. Wreath feels sparse? Tuck in a few extra stems from your stash. Nothing is unfixable here.
FAQ’s
How long does this fall wreath take to make?
About 30 to 45 minutes for a beginner. Once you get the hang of it, you can crank one out in 20 minutes.
Can I use real leaves and flowers?
You can, but they’ll wilt and turn brown fast. Faux stems last for years and look just as good. Stick with fake for longevity.
What if I don’t have a glue gun?
Use floral wire or pipe cleaners for everything. It’s secure and totally fine. Glue is just extra insurance.
How do I keep my wreath from fading?
Keep it out of direct sunlight and bring it inside during heavy rain. A covered porch is ideal.
Can I make this wreath for under $15?
Absolutely. Dollar Tree wreath base, a few stem bundles, and a roll of ribbon. You might even have enough left over for a second one.
What size wreath base should I buy?
12 to 18 inches is standard for most front doors. Go bigger (20–24 inches) for a large door or a statement piece.
Go Make Something Beautiful
You’ve got everything you need. Grab those supplies, crank up some music, and make a fall wreath that makes you smile every time you walk through the door. It’s easy, it’s affordable, and it’s way more fun than scrolling through Pinterest wishing you had the skills.
Spoiler: you do have the skills. Now go prove it.