
Pumpkin spice lattes are great, but have you ever made a pumpkin that never rots? That’s the magic of DIY fall pumpkin crafts. You can turn cheap supplies into decor that lasts all season and beyond. Grab a glue gun, roll up your sleeves, and let’s make something cute.
Why Fall Pumpkin Crafts Are Worth Your Time
Store-bought pumpkins are pricey, and real ones turn into sad mush by November. DIY versions fix both problems. You control the cost, the colors, and the size. Plus, nothing beats the bragging rights of saying, “I made that.”
These projects also work for almost any skill level. If you can cut, glue, and tie a knot, you’re qualified. No fancy tools required, I promise.
Materials and Tools You’ll Need
Before you start, gather your supplies. Most of these are cheap, and you probably own half of them already. Here’s the master list for all the projects below.
- Foam pumpkins or real small pumpkins (foam lasts forever)
- Acrylic craft paint in white, cream, and metallic gold
- Paintbrushes in small and medium sizes
- Chunky yarn or thick twine
- Burlap ribbon or fabric scraps
- Hot glue gun with extra glue sticks
- Mod Podge or white craft glue
- Faux fall leaves and small pinecones
- Cinnamon sticks and dried orange slices
- Scissors and a craft knife
- Twine for hanging and wrapping
No foam pumpkin? Use a paper bag stuffed with newspaper. No burlap? An old flannel shirt works great. Crafting is about improvising, not perfection.
Project 1: Yarn-Wrapped Pumpkins
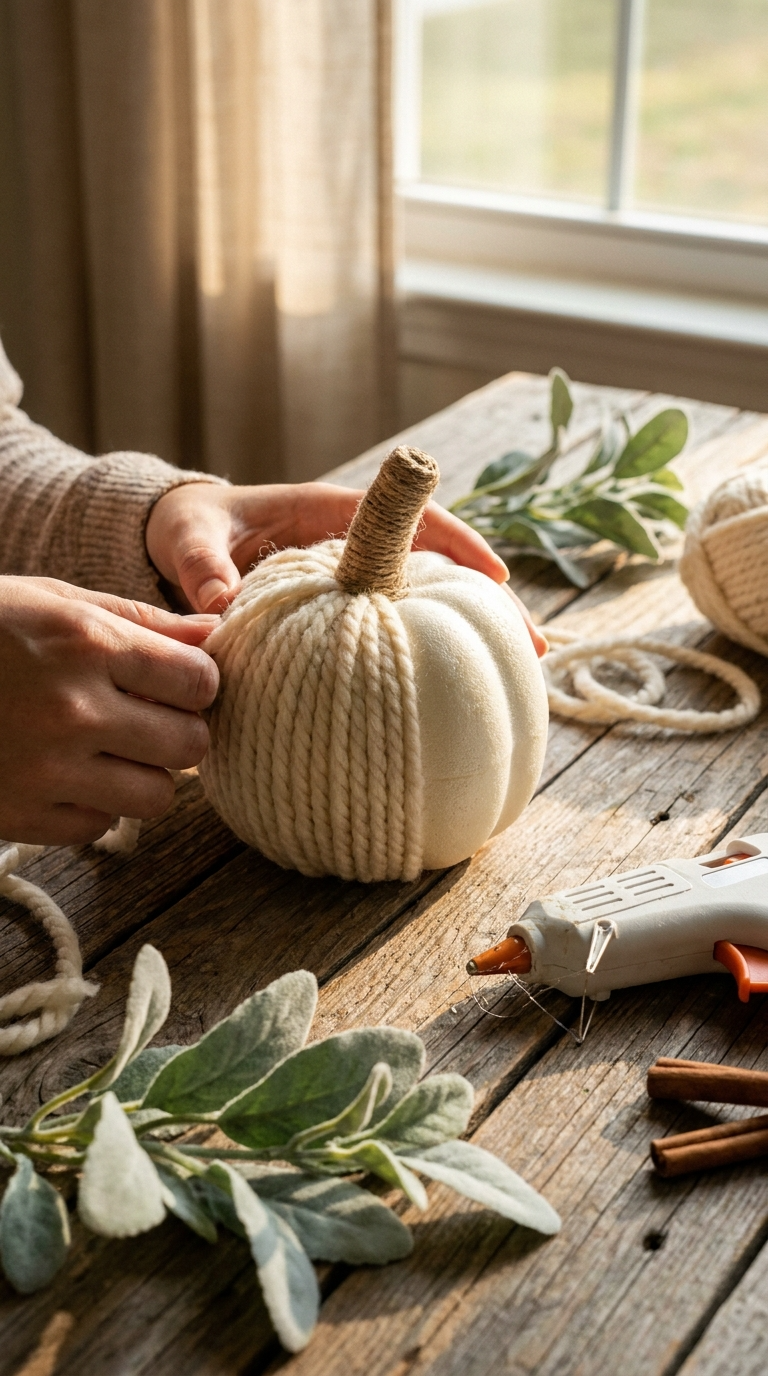
This is the easiest project on the list, and it looks like something from a boutique. The chunky texture hides every mistake. Win-win.
Step-by-Step Instructions
- Start at the top of your pumpkin and squeeze a dot of hot glue near the stem.
- Press the end of your yarn into the glue and hold for a few seconds.
- Wrap the yarn around the pumpkin, keeping strands close together.
- Add a small line of glue every few wraps so the yarn stays put.
- Keep wrapping until the whole pumpkin is covered.
- Trim the yarn and glue the tail down near the stem.
- Tuck in a faux leaf or a cinnamon stick for a finishing touch.
Yarn and Color Ideas
Cream and sage yarn gives a farmhouse look. Mustard yellow feels warm and retro. For a modern vibe, try black and white stripes by switching yarn colors as you wrap.
Common Mistakes to Avoid
Don’t use thin yarn unless you enjoy wrapping for three hours. Chunky yarn covers fast. Also, don’t skip the glue dots, or your yarn will slide off like a loose scarf.
Project 2: Painted White Pumpkins
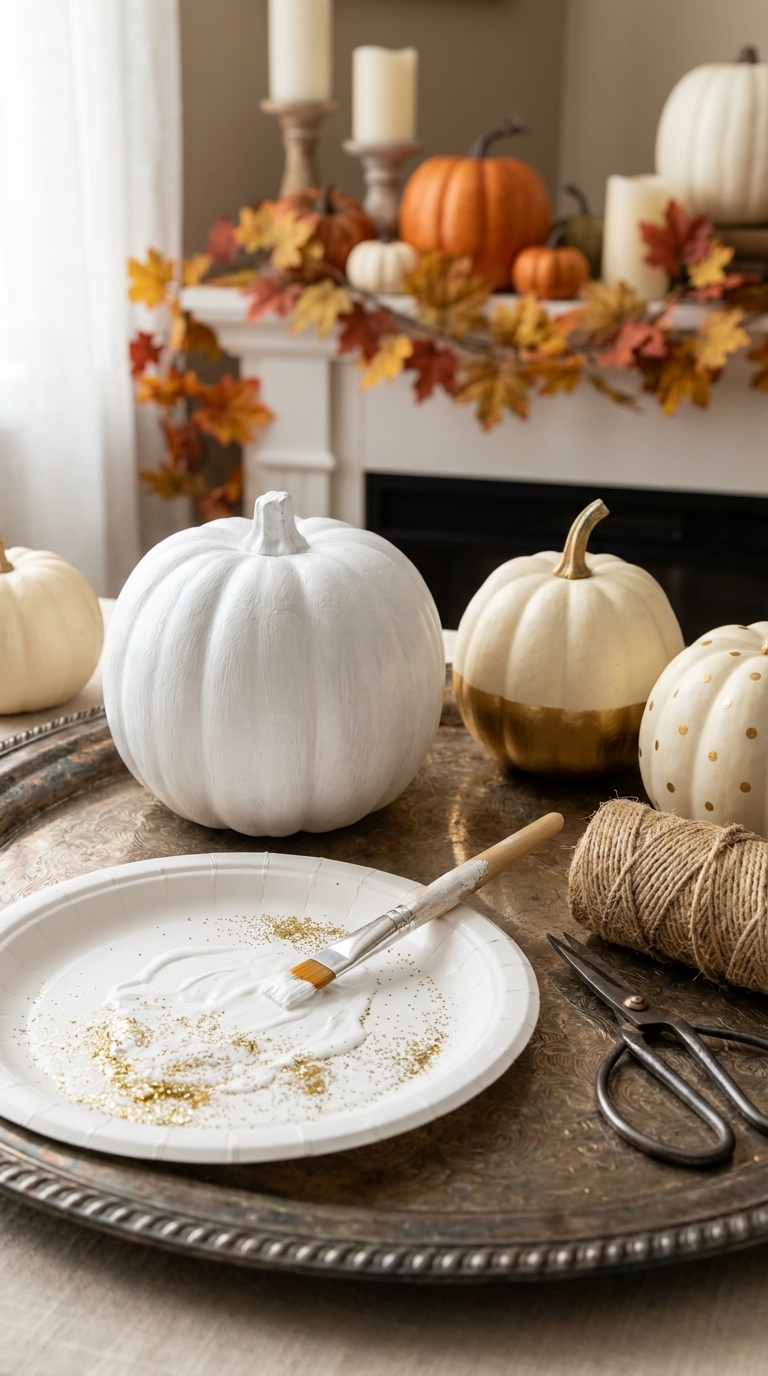
White pumpkins scream “cozy fall” without trying too hard. This project takes about twenty minutes plus drying time. Perfect for a craft night with friends.
Step-by-Step Instructions
- Wipe your pumpkin clean with a damp cloth and let it dry.
- Paint the whole pumpkin with white acrylic paint using smooth strokes.
- Let the first coat dry, then add a second coat for full coverage.
- While the paint is slightly tacky, sprinkle gold glitter on the top half.
- Let everything dry completely for about an hour.
- Wrap twine around the stem a few times and tie a bow.
Design Variations
Try a dipped look by painting only the bottom half gold. Or add polka dots with a cotton swab and metallic paint. You can also stencil a monogram for a personalized touch.
Safety Tips
Keep hot glue away from little fingers. If kids are helping, use tacky craft glue instead. It dries slower but it’s much safer.
Project 3: Burlap and Twine Pumpkins
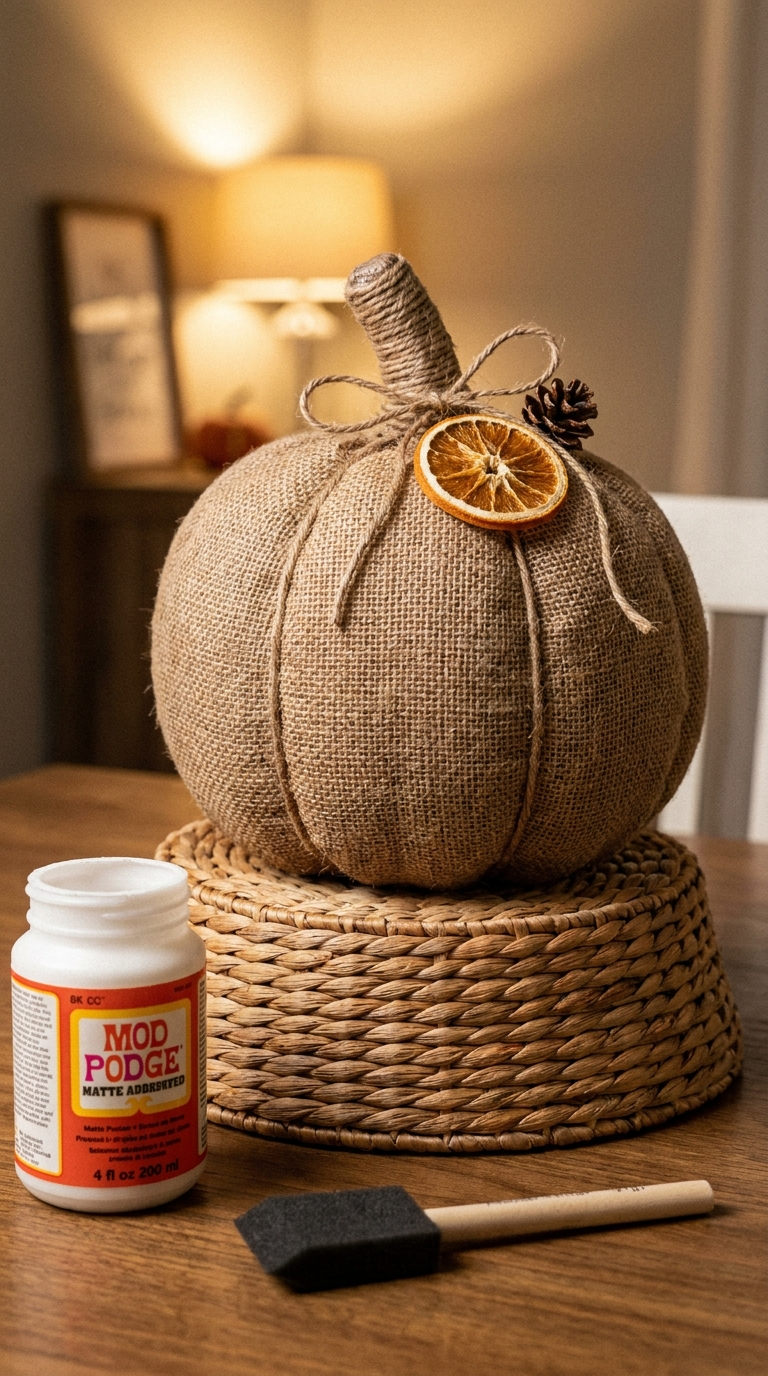
Burlap brings instant rustic charm. This version looks fancy but costs almost nothing. It’s also a great way to use up leftover ribbon.
Step-by-Step Instructions
- Cut a piece of burlap ribbon long enough to wrap around your pumpkin.
- Spread a thin layer of Mod Podge on the pumpkin’s surface.
- Press the burlap onto the glue and smooth out any bubbles.
- Wrap twine around the stem and let it dangle for a rustic touch.
- Glue a small pinecone or dried orange slice near the stem.
- Let it dry for thirty minutes before displaying.
Decorating Ideas
Group three burlap pumpkins in different sizes for a centerpiece. Add a candle in the middle for a warm glow. You can also tie a name tag on each one and use them as place settings for Thanksgiving.
Project 4: No-Carve Leaf and Pumpkin Combo
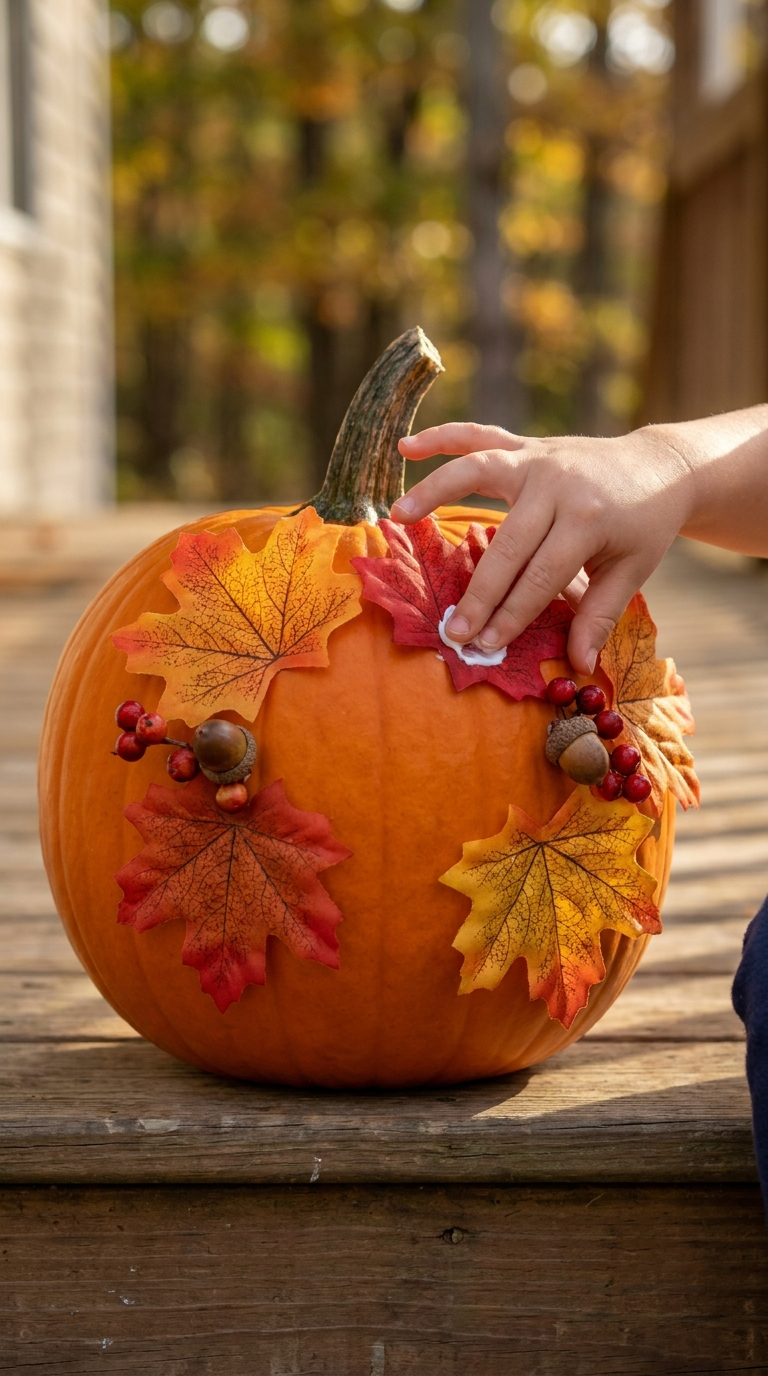
Want the fall look without the knife? This combo craft uses faux leaves and a plain pumpkin. It’s safe for kids and takes ten minutes flat.
Step-by-Step Instructions
- Pick five to seven faux leaves in different fall colors.
- Arrange them on your pumpkin until you like the layout.
- Glue each leaf down one at a time with hot glue or craft glue.
- Add small acorns or berries between the leaves.
- Wrap twine around the stem and tie a simple bow.
- Let the glue set, then place it on your porch or mantel.
Troubleshooting
If leaves keep popping off, your glue isn’t hot enough, or the surface is dirty. Wipe the pumpkin first and use fresh glue sticks. Also, press each leaf for ten seconds before moving on.
Practical Tips and Display Ideas
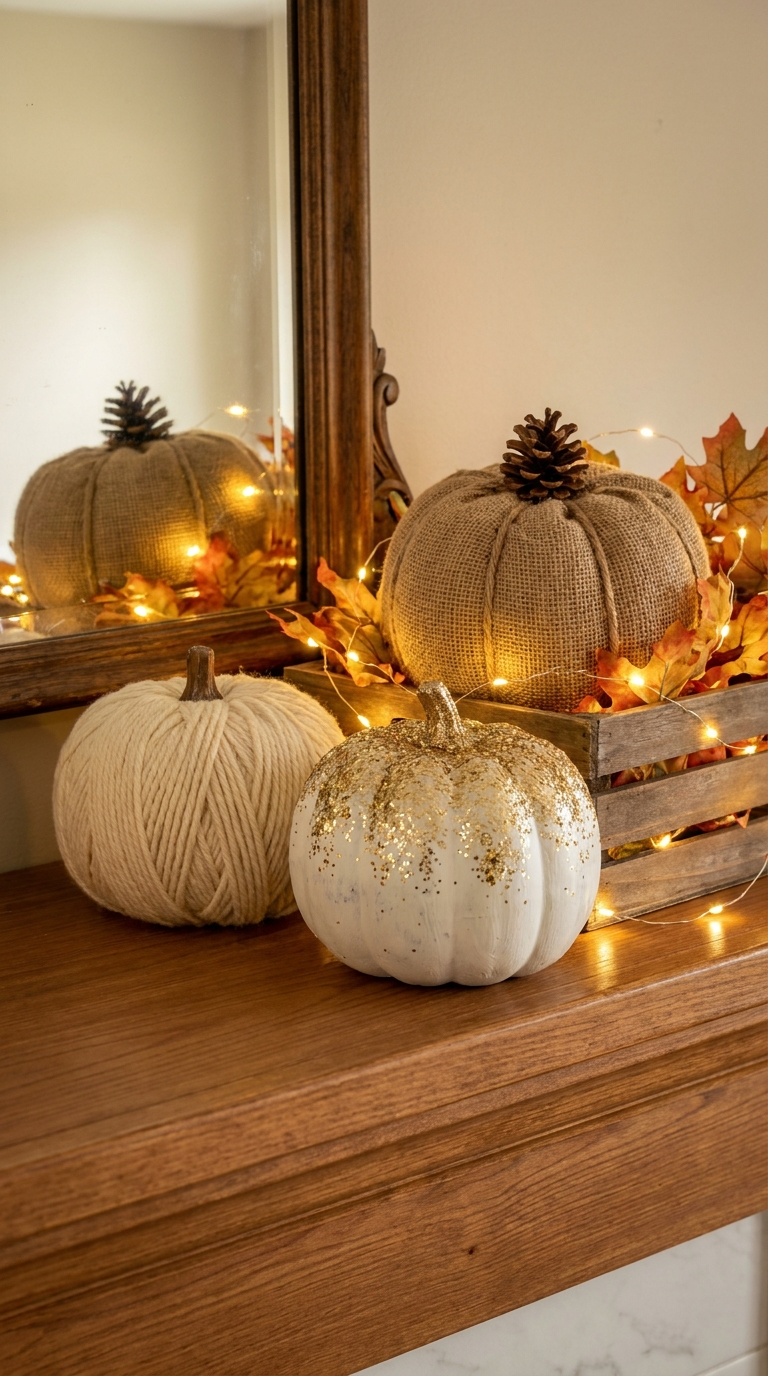
Want your crafts to look store-bought? Mix sizes and textures. Pair a tall yarn pumpkin with a small painted one and a leaf-covered one. Variety makes any display look intentional.
For displaying, try a wooden crate, a woven basket, or a vintage tray. Add a string of fairy lights for extra coziness. If you’re gifting your pumpkins, tie a ribbon around the stem and add a handwritten tag. Homemade gifts hit different, IMO.
Store your finished pumpkins in a dry box after fall ends. They’ll last for years, and you’ll save money next season. FYI, foam pumpkins can get dusty, so give them a quick wipe before displaying.
FAQ’s
How long do DIY pumpkins last?
Foam and fabric pumpkins last for years if stored properly. Painted real pumpkins last a few weeks before they start to soften.
Can I use real pumpkins instead of foam?
Yes, but real pumpkins rot faster. Paint them or seal them with Mod Podge to extend their life.
What if I don’t have a hot glue gun?
Tacky craft glue, fabric glue, or even double-sided tape works for most of these projects. Just allow extra drying time.
Are these crafts safe for kids?
Most of them are, if you swap hot glue for craft glue. Let kids handle painting, wrapping, and arranging leaves.
How do I clean dusty pumpkins?
Use a soft dry cloth or a lint roller. Avoid water on painted or burlap surfaces.
Can I make these pumpkins in other colors?
Absolutely. Swap fall colors for pastels, jewel tones, or whatever matches your home. Crafting has no rules.
Go Make Some Pumpkin Magic
You don’t need a craft room or a big budget to make adorable fall decor. Pick one project, grab your supplies, and start wrapping, painting, or gluing. Your home will look cozy, your wallet will stay happy, and you’ll have fun doing it. So which pumpkin are you making first?
Related Recipes :
- Easy Fall DIY Crafts for Home: Cozy Ideas to Try
- DIY Fall Decorations for Home: Easy Cozy Crafts
- Easy Fall Wreath DIY: Cozy Up Your Door in 30 Minutes