
Want to make your home feel a little more like fall without spending a fortune? Grab a few inexpensive supplies and turn them into warm, cozy decorations you’ll actually want to keep around. This easy fall DIY craft combines pumpkins, leaves, warm colors, and simple textures for a handmade autumn centerpiece. And yes, you can make it without turning your dining table into a permanent craft disaster.
Create a Cozy Fall Pumpkin and Leaf Centerpiece
A homemade fall centerpiece is one of the easiest ways to change the mood of a room. Instead of buying an expensive seasonal decoration, you can create your own using small pumpkins, faux leaves, twine, a wooden tray, and a few candles.
The best part? You can adjust the colors and size to match your existing home decor. Keep it neutral with cream and beige, or go traditional with orange, brown, rust, and deep red.
Why This Craft Works
The combination of natural-looking textures makes the arrangement feel warm without looking overly decorated. The pumpkins provide the main focal point, while leaves and twine fill the empty spaces.
For a modern look, stick to three or four main colors. Too many colors can make the arrangement look more like a clearance bin than intentional fall decor.
Materials and Tools You’ll Need
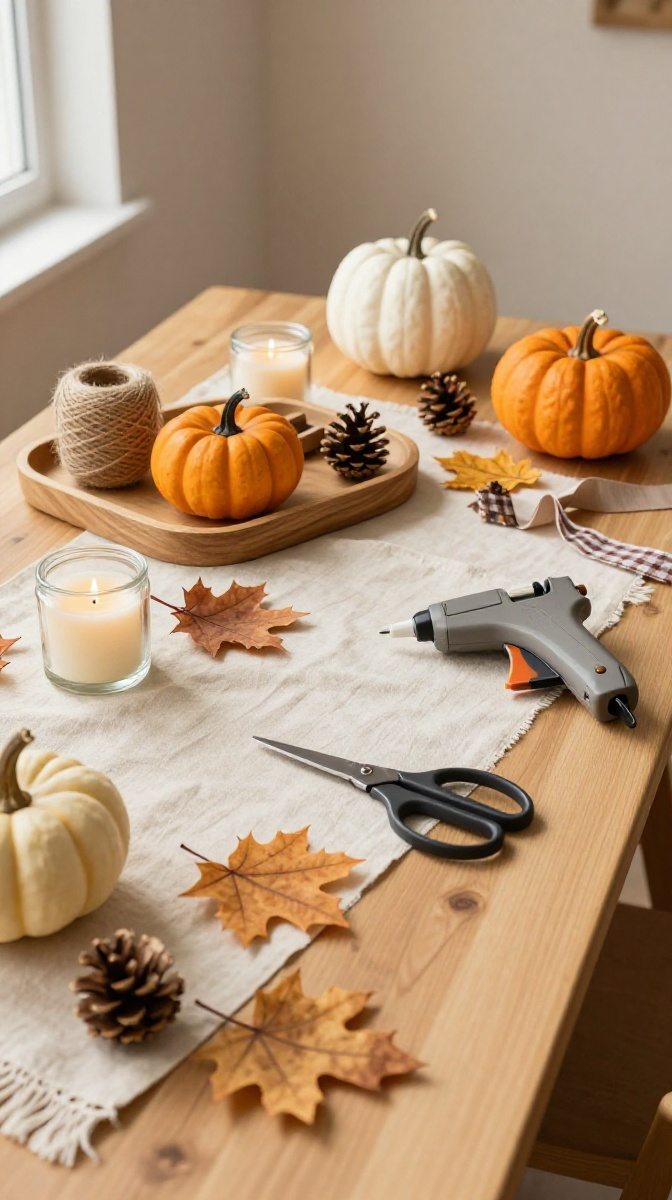
You don’t need a huge craft collection for this project. Most of the supplies are inexpensive and easy to find at a craft store, dollar store, or even around the house.
- Small decorative pumpkins – faux pumpkins work especially well because they can be reused every year.
- Artificial fall leaves – choose maple, oak, or mixed autumn leaves.
- Wooden tray – a shallow serving tray or old wooden board works perfectly.
- Jute or cotton twine – use it for small bows and rustic details.
- Battery-operated candles – safer than real flames for a table centerpiece.
- Small pinecones – collected or purchased ones add natural texture.
- Hot glue gun and glue sticks – optional, especially if you want pieces to stay permanently in place.
- Scissors – useful for trimming stems, twine, and leaves.
- Ribbon – burlap, velvet, plaid, or neutral cotton ribbon can all work.
- Small glass jars or cups – affordable substitutes for decorative candle holders.
Budget tip: If you already have a serving tray, mason jars, old ribbon, or leftover wrapping materials, use them. DIY is supposed to save money, not quietly become a shopping addiction.
Prepare Your Fall Decorations
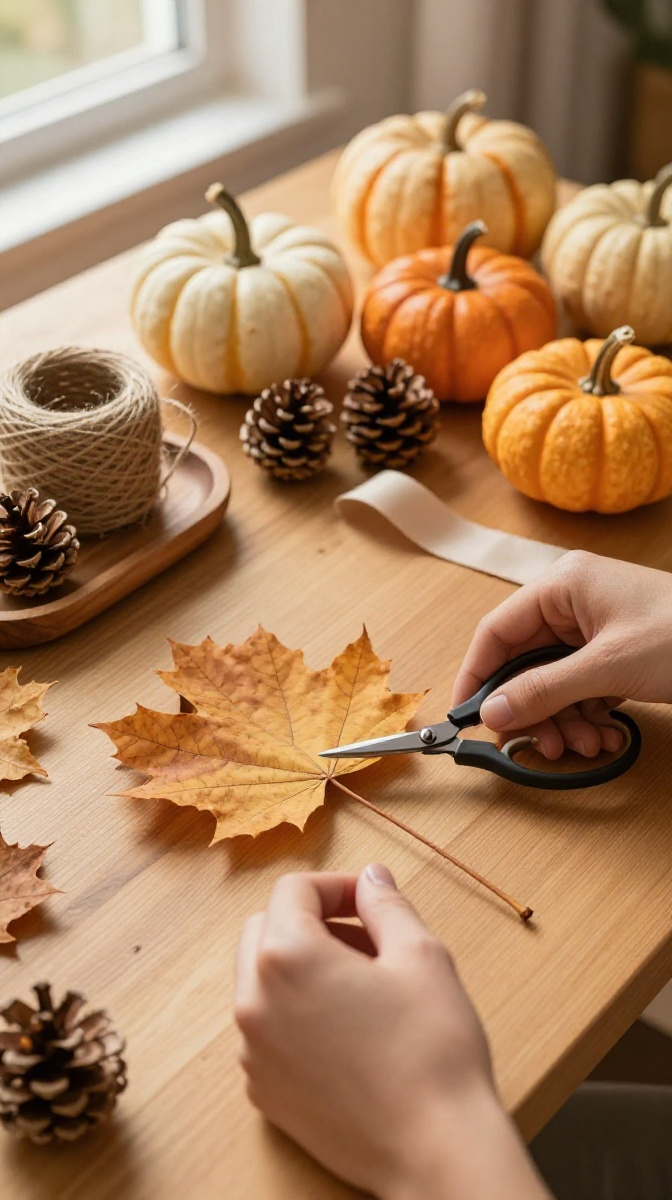
Before assembling anything, spread all your supplies across your workspace. This lets you see which colors and textures work together before you commit to the final arrangement.
Choose a Simple Color Palette
For a classic fall appearance, combine burnt orange, warm brown, cream, and muted green. For a farmhouse-inspired style, use beige, white, soft brown, and dusty orange.
If you prefer modern decor, try cream pumpkins with eucalyptus-style greenery and small touches of gold. The goal is contrast without visual chaos.
Prepare the Leaves and Stems
Separate the artificial leaves from their large stems if necessary. Trim anything that looks too long or sticks awkwardly outside the arrangement.
Don’t worry about making every leaf perfect. Real leaves aren’t perfectly symmetrical either, and that little bit of randomness makes the finished centerpiece look more natural.
Step-by-Step: Make the Fall Centerpiece
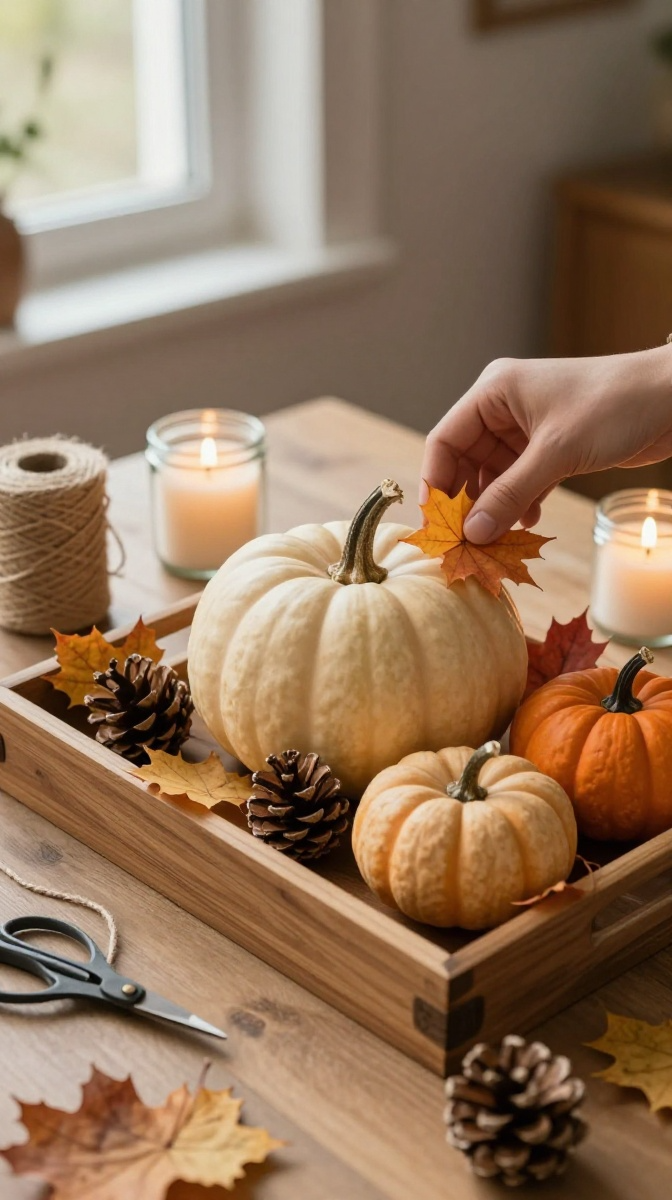
Now comes the fun part. The arrangement is simple enough for beginners, but a few small tricks will make it look much more polished.
- Place the tray on a clean workspace. Wipe it down and make sure it is completely dry before decorating.
- Position the largest pumpkin first. Place one medium or large pumpkin slightly off-center. Avoid putting it directly in the middle because an asymmetrical arrangement usually looks more natural.
- Add the smaller pumpkins. Place two or three smaller pumpkins around the main pumpkin. Vary their heights and directions instead of lining them up like soldiers.
- Arrange the fall leaves. Tuck artificial leaves underneath and around the pumpkins. Let a few leaves extend beyond the edge of the tray for a relaxed, fuller appearance.
- Add pinecones. Fill obvious empty spaces with small pinecones. Grouping two or three together usually looks better than spreading them evenly across the tray.
- Wrap twine around selected pumpkins. Cut a small piece of twine and wrap it around the stem or upper portion of a pumpkin. Tie a simple bow if you want extra texture.
- Add the candles. Place battery-operated candles in small jars or holders near the pumpkins. Keep them at different heights to create depth.
- Fill empty spaces. Step back and look at the arrangement from several angles. Add leaves, pinecones, or small decorative pieces wherever the composition feels too empty.
- Make the final adjustments. Turn pumpkins slightly, spread out crowded leaves, and remove anything that looks unnecessary. Sometimes taking one decoration away makes the whole arrangement look better.
How to Make It Look More Expensive
Here’s a little DIY secret: layers create the expensive-looking effect. Place taller elements toward the back, medium pieces in the middle, and smaller details toward the front.
You can also mix textures. Combine smooth ceramic pumpkins with rough pinecones, soft ribbon, wooden surfaces, and leafy greenery. That contrast makes a simple centerpiece feel much more intentional.
Easy Fall Variations to Try
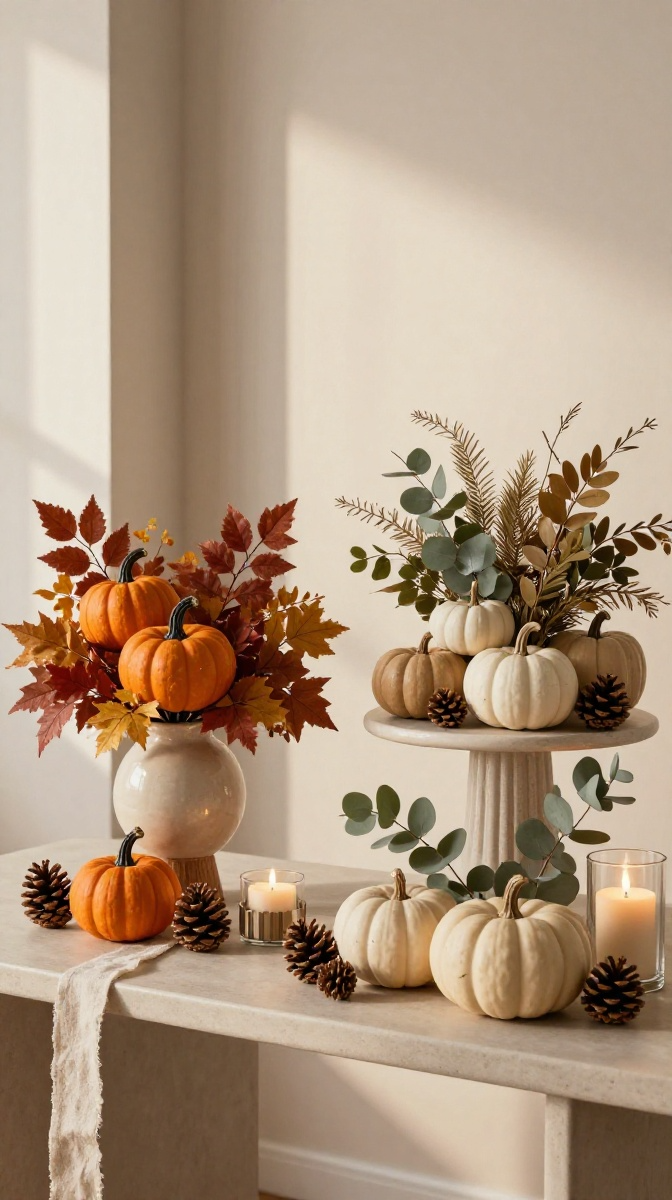
Once you understand the basic arrangement, you can customize it for almost any room.
Neutral Farmhouse Version
Use white pumpkins, beige leaves, natural wood, cream ribbon, and warm brown accents. This version works beautifully on a dining table, coffee table, or entryway console.
Traditional Orange Fall Version
Choose orange pumpkins, red and golden leaves, brown pinecones, and plaid ribbon. Add a small chalkboard-style sign if you want a more rustic appearance.
Elegant Modern Version
Try cream pumpkins, muted greenery, champagne-colored accents, and a simple white tray. Keep the arrangement minimal and avoid filling every available space.
Mini Tabletop Version
Working with a small apartment or limited table space? Use one tiny pumpkin, a few leaves, one small candle, and a miniature tray. The result can still look festive without taking over the room.
Common Mistakes to Avoid
Even easy crafts can go slightly sideways. Fortunately, most fall decorating mistakes are easy to fix.
Don’t use too many decorations. If every inch of the tray is covered, the individual pieces disappear. Leave some breathing room.
Don’t make everything the same height. Flat arrangements can look dull. Use pumpkins, leaves, jars, and pinecones at different levels.
Don’t ignore the background. A beautiful centerpiece can get lost on a cluttered table. Clear away unrelated objects before displaying it.
Don’t overuse hot glue. Glue only where necessary. If you want to reuse your pumpkins and leaves next year, removable arrangements are much more practical.
What If the Arrangement Looks Unbalanced?
Try taking a photo with your phone. Weirdly enough, you’ll often notice an imbalance in a photo that you completely missed in person.
If one side feels too heavy, move a pumpkin or add a few leaves to the opposite side. Think in terms of visual weight rather than perfect symmetry.
Ways to Display, Gift, and Reuse Your Fall Craft
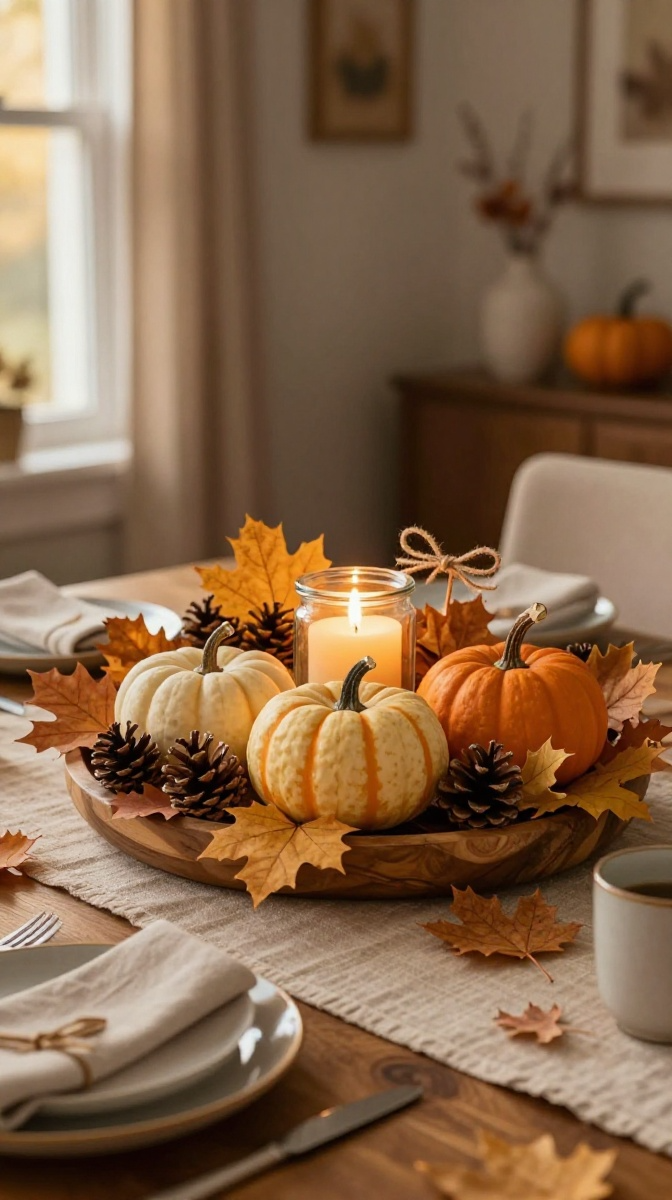
Your finished centerpiece doesn’t have to stay on the dining table. Place it on a coffee table, kitchen island, fireplace mantel, bookshelf, or entryway console.
You can also create several smaller arrangements instead of one large centerpiece. Put mini versions in the kitchen, guest room, bathroom, or office for small touches of autumn throughout the house.
Turn It Into a Handmade Gift
This project also makes a thoughtful fall hostess gift. Use a small wooden tray and arrange mini pumpkins, pinecones, leaves, and a battery candle inside it.
Wrap the tray with clear cellophane and a simple ribbon. Add a handwritten fall greeting, and suddenly your inexpensive DIY looks surprisingly gift-worthy.
Reuse It Next Year
Store the artificial leaves, pumpkins, ribbon, and pinecones in a labeled storage box after the season ends. Next year, simply rearrange them with a different tray or color combination.
FYI, changing just the ribbon and greenery can make the same decorations look completely different.
Fall DIY Craft Safety Tips
If you use a hot glue gun, always work on a heat-resistant surface and keep the hot nozzle away from your hands. Allow glued pieces to cool completely before moving them.
Battery-operated candles are the safest option for this project, especially if the centerpiece will sit near fabric, paper, children, or pets.
If you decide to use real candles, never leave them burning unattended. Keep flames away from artificial leaves, ribbon, pinecones, and other flammable decorations.
FAQ’s
Can I make this fall craft without a wooden tray?
Absolutely. Use a ceramic plate, shallow basket, cutting board, serving platter, or even a sturdy cardboard base covered with fabric. The tray simply keeps the arrangement visually connected.
Can I use real pumpkins?
Yes. Small real pumpkins and gourds look beautiful, especially for short-term seasonal displays. Just check them regularly for soft spots or moisture.
What colors work best for fall decorations?
Classic fall colors include orange, rust, mustard, brown, cream, burgundy, and muted green. For a softer modern look, use cream, beige, warm brown, and dusty orange.
How can I make the craft cheaper?
Use supplies you already own and shop at dollar stores or discount craft sections. You can also collect clean pinecones and fallen leaves from your yard, provided they are suitable for indoor use.
Can children help make this craft?
Yes, children can help choose colors, arrange pumpkins, place leaves, and tie simple ribbons. Adults should handle hot glue guns, sharp scissors, and candles.
How long does the finished centerpiece last?
A faux-pumpkin arrangement can last for many years when stored properly. Real pumpkins usually have a much shorter display life, depending on their condition and the temperature of the room.
Bring a Little Fall Home
You don’t need expensive decorations or advanced crafting skills to make your home feel ready for autumn. A few pumpkins, leaves, pinecones, and cozy textures can become a beautiful handmade centerpiece in an afternoon.
Start simple, experiment with the arrangement, and don’t stress if the first version isn’t perfect. Move things around, remove what feels unnecessary, and make it yours. After all, the best DIY decorations are the ones that look like they belong in your home—not like they escaped from a craft store display.