
Want your home to look Halloween-ready without spending a fortune on decorations? Grab some basic craft supplies and turn them into spooky little pieces that look surprisingly impressive. These DIY Halloween decorations are easy enough for beginners but fun enough to keep experienced crafters entertained. And honestly, making your own ghosts is way more satisfying than buying a plastic one and calling it a day.
1. Make a Spooky Hanging Ghost
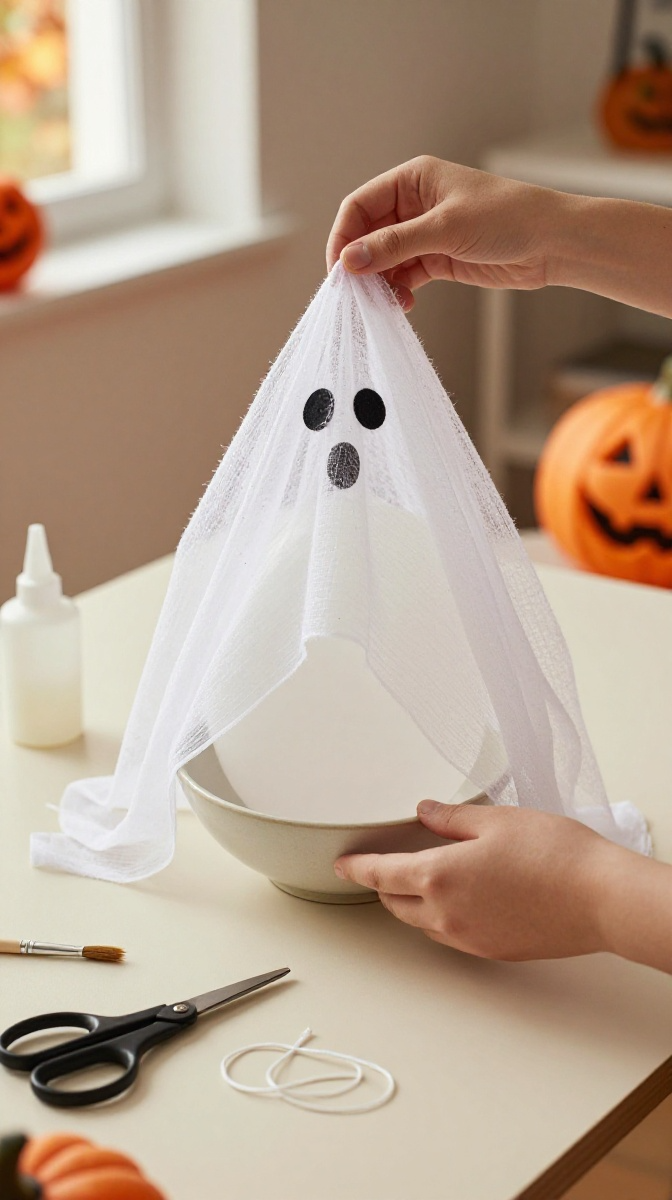
A hanging ghost is one of the easiest Halloween decorations you can make, and it instantly adds a spooky atmosphere. You only need a few inexpensive materials, so this is a great project for decorating a doorway, porch, bedroom, or party space.
Materials and Tools
- White cheesecloth or an old white cotton sheet
- One small balloon
- String or thin fishing line
- Black marker or black felt
- Small bowl
- Scissors
- Glue, optional
- Water and a little white craft glue for extra stiffness
Affordable substitute: If you don’t have cheesecloth, an old white pillowcase or lightweight bedsheet works surprisingly well.
Step-by-Step Instructions
- Blow up the balloon to the size you want your ghost’s head to be. Tie it securely so it doesn’t decide to haunt the room early.
- Place the balloon inside a small bowl so it stays steady while you work.
- Drape the cheesecloth or fabric over the balloon. Let the fabric hang unevenly around the sides for a more natural ghost shape.
- For a stiffer ghost, mix a little white craft glue with water and lightly brush the mixture over the fabric.
- Allow the fabric to dry completely. Avoid moving it too much while it is wet.
- Remove the balloon carefully once the fabric has hardened enough to hold its shape.
- Cut or draw two black eyes and a small spooky mouth.
- Attach string to the top and hang your ghost from a ceiling hook, doorway, tree branch, or porch.
For a group display, make three or four ghosts in different sizes. Hang them at slightly different heights so they look like they’re floating rather than forming a very organized ghost committee.
2. Create a DIY Halloween Mason Jar Lantern
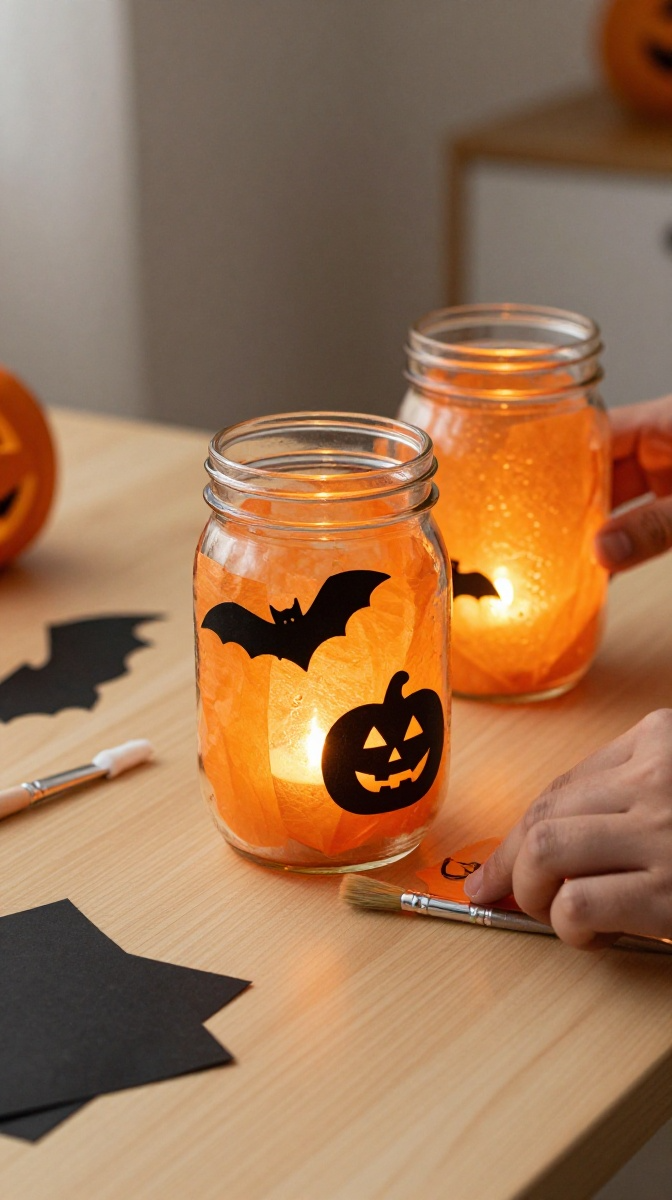
Turn ordinary glass jars into creepy glowing lanterns. They work beautifully on tables, shelves, windowsills, and outdoor party areas.
What You Need
- Clean glass jars or recycled food jars
- Black craft paper
- Orange or purple tissue paper
- Mod Podge or diluted white glue
- Paintbrush
- Scissors
- Battery-operated LED tea lights
How to Make It
- Clean and completely dry the jars before decorating them.
- Cut spooky shapes from black paper, such as bats, pumpkins, cats, spiders, or crooked haunted-house windows.
- Brush a thin layer of glue onto the outside of the jar.
- Place small pieces of orange or purple tissue paper over the glue-covered area.
- Carefully smooth the tissue paper with your fingers or a soft brush.
- Add your black Halloween shapes while the surface is still slightly tacky.
- Let the jar dry completely.
- Place an LED tea light inside and turn the light on when you’re ready for the spooky effect.
Safety tip: Use battery-operated LED lights rather than real candles, especially around children, pets, curtains, or paper decorations.
Design Variations
For a pumpkin theme, use orange tissue paper with black jack-o’-lantern faces. For a haunted theme, use pale gray tissue paper and silhouettes of crooked houses and flying bats. Want something more dramatic? Use several jars together and mix different Halloween designs.
3. Make a Hanging Bat Wall Display
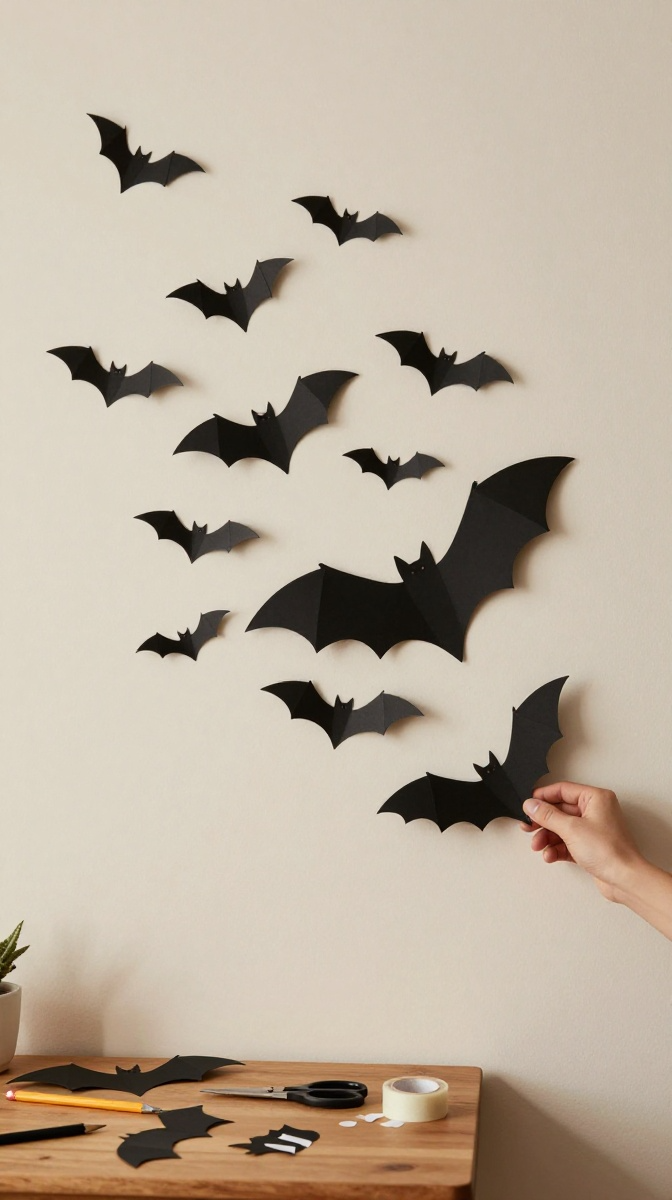
If you have a blank wall that looks painfully normal, give it a swarm of bats. This project is ridiculously simple but creates a big visual effect.
Materials
- Black cardstock or construction paper
- Scissors
- Pencil
- Bat template or your own simple bat shape
- Removable double-sided tape
- Optional black glitter paper for a few accent bats
Step-by-Step Instructions
- Draw one bat shape on cardstock or print a simple bat template.
- Cut it out and use it as a pattern for creating multiple bats.
- Make bats in several sizes rather than cutting every one identically.
- Fold each bat gently along the center to give the wings a little dimension.
- Attach small pieces of removable tape to the back.
- Start with a small group near one side of the wall.
- Gradually spread the bats outward and upward to create the appearance of a flying swarm.
Helpful trick: Don’t make the arrangement too symmetrical. A slightly random pattern looks much more natural and spooky.
4. Build a Creepy Halloween Wreath
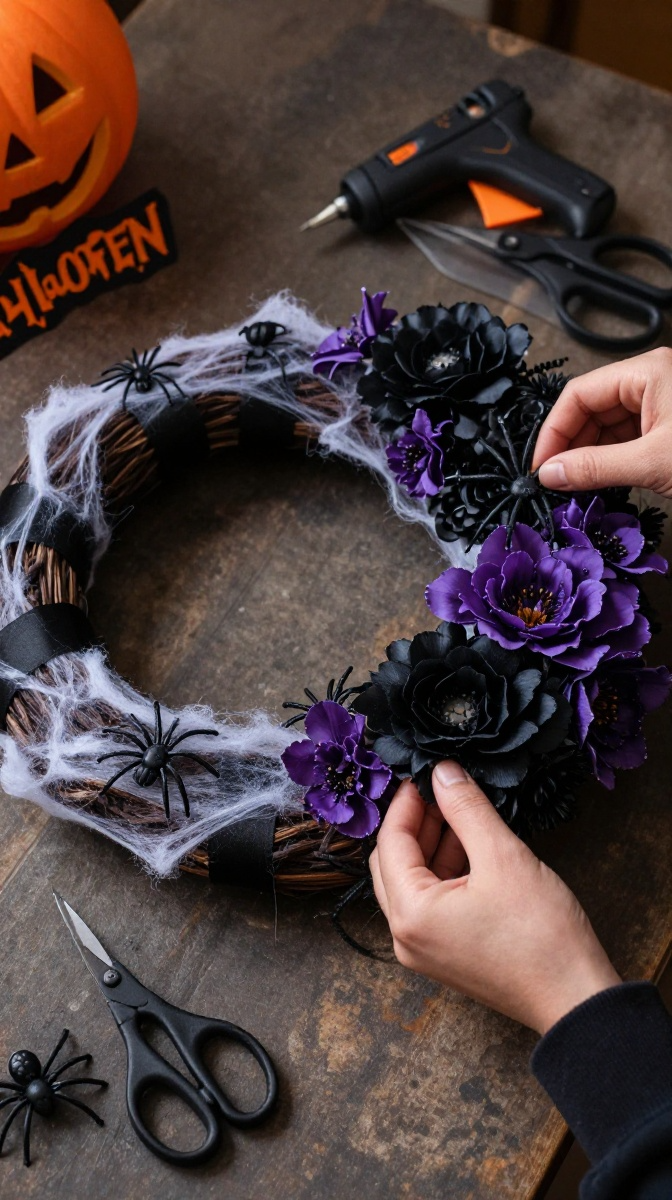
A Halloween wreath doesn’t need to be complicated. With a simple round base, black ribbon, faux spiders, and a few dramatic details, you can create a front-door decoration that looks store-bought without the store-bought price.
Materials and Tools
- Foam wreath form, grapevine wreath, or cardboard ring
- Black ribbon or black fabric strips
- Artificial spider web material
- Plastic spiders
- Black, orange, or purple faux flowers
- Hot glue gun and glue sticks
- Scissors
- Optional small Halloween sign
Assembly Instructions
- Wrap the wreath base with black ribbon or strips of fabric until the original surface is mostly covered.
- Secure the ends at the back using glue.
- Stretch artificial spider web loosely across different sections of the wreath.
- Add faux flowers around one side rather than evenly around the entire wreath.
- Glue several plastic spiders into the webbing.
- Add a small Halloween sign or paper cutout in the center if desired.
- Attach a ribbon loop to the top for hanging.
- Step back and check the wreath from a distance. Move anything that looks too crowded.
Easy Customization Ideas
For a cute Halloween look, add orange bows and smiling pumpkins. For a darker gothic style, stick with black flowers, silver details, spiders, and broad purple accents. You can also add a small handwritten sign saying “Beware,” “Boo,” or “Enter If You Dare.”
5. Turn Cardboard Boxes Into Haunted Houses
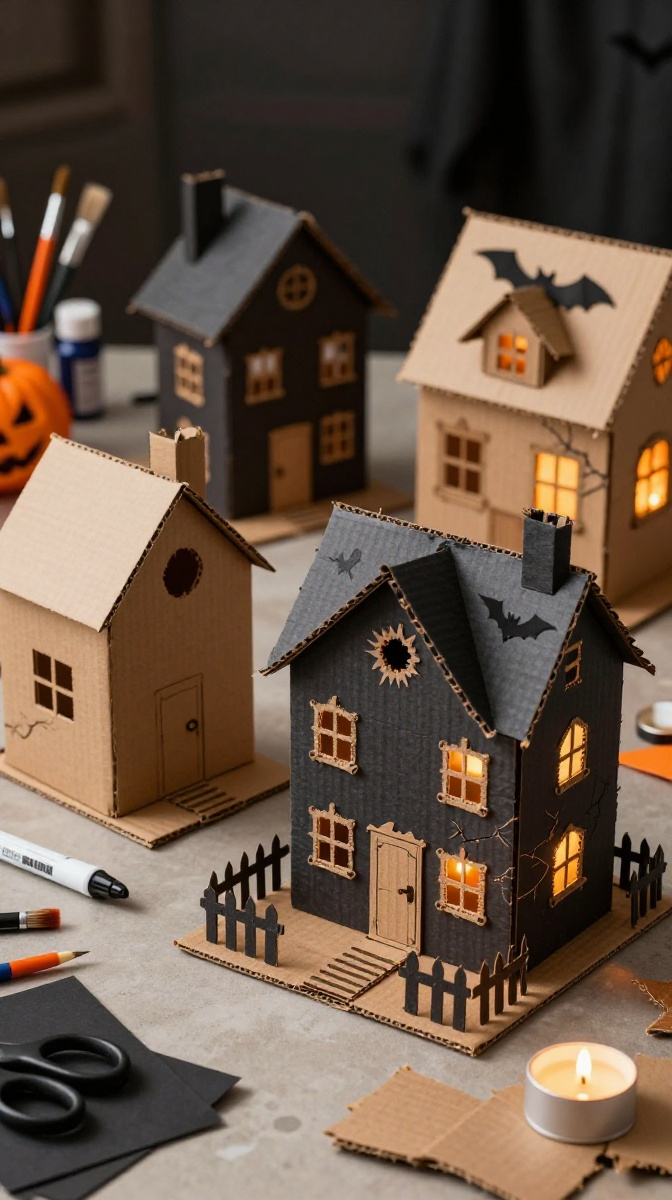
Don’t throw away those small cardboard boxes just yet. With a little paint and imagination, they can become a miniature haunted village for a mantel, shelf, party table, or Halloween centerpiece.
Materials and Tools
- Small cardboard boxes
- Black, gray, brown, or white acrylic paint
- Paintbrushes
- Black cardstock
- Scissors or craft knife
- White gel pen or paint marker
- Glue
- Battery-operated LED lights
Step-by-Step Instructions
- Remove labels and tape from the cardboard boxes.
- Paint the boxes in dark, muted colors and let them dry completely.
- Draw crooked windows and doors on the front and sides.
- Carefully cut out selected windows if you want the light to shine through.
- Add roof shapes using folded cardstock or leftover cardboard.
- Draw cracks, bricks, wooden boards, and other tiny details with a white or gray paint marker.
- Add small paper bats, pumpkins, or gravestones around the buildings.
- Place an LED light inside each house to create a glowing miniature haunted village.
IMO, the tiny details are what make this project special. A crooked chimney, uneven windows, tiny vines, or a miniature fence can make a simple cardboard box look like it has been sitting in a haunted forest for 100 years.
6. Easy Tips to Make Your Halloween Decorations Look Better
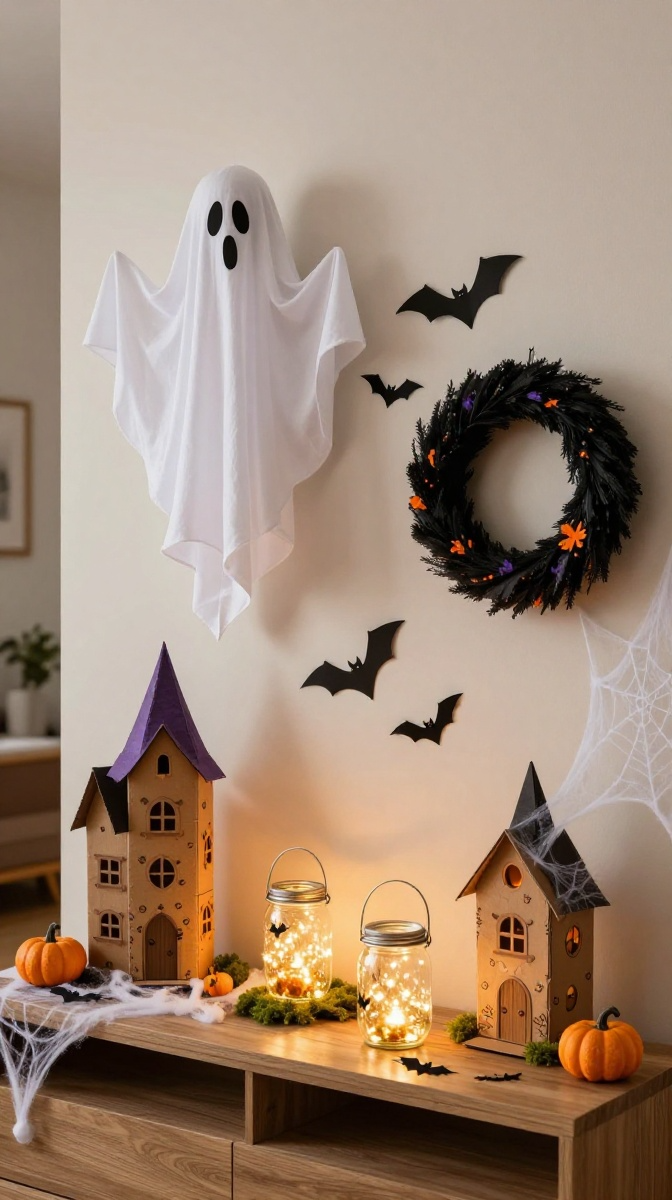
Use a Consistent Color Palette
You don’t need every Halloween color imaginable. Pick three or four main colors, such as black, orange, cream, and purple. Keeping the palette consistent makes homemade decorations look more coordinated.
Add Different Heights
Place small decorations in front and taller pieces behind them. Hanging ghosts can go above tabletop lanterns, while miniature haunted houses can sit underneath. Different heights instantly make a display feel more intentional.
Don’t Overdecorate Everything
More isn’t always better. Leave some empty space between decorations so individual pieces can stand out. A few dramatic objects usually look better than twenty random decorations fighting for attention.
Common Mistakes to Avoid
Using too much glue: Excess glue can leave shiny marks or make paper soggy.
Skipping drying time: Patience is boring, but repainting a decoration because you touched it too early is even more boring.
Using real flames near paper: Choose LED lights whenever possible.
Making everything identical: Small variations in size, shape, and placement make handmade decorations feel more interesting.
How to Display Your Finished Crafts
Use your decorations around the front door, on a fireplace mantel, across a dining table, or along a staircase. For a Halloween party, combine hanging ghosts, glowing jars, bats, and miniature haunted houses to create one connected display.
You can also use smaller crafts as party favors or handmade gifts. A decorated lantern or miniature haunted house can become a cute little Halloween gift for friends, neighbors, teachers, or family members.
7. Halloween Craft Safety Tips
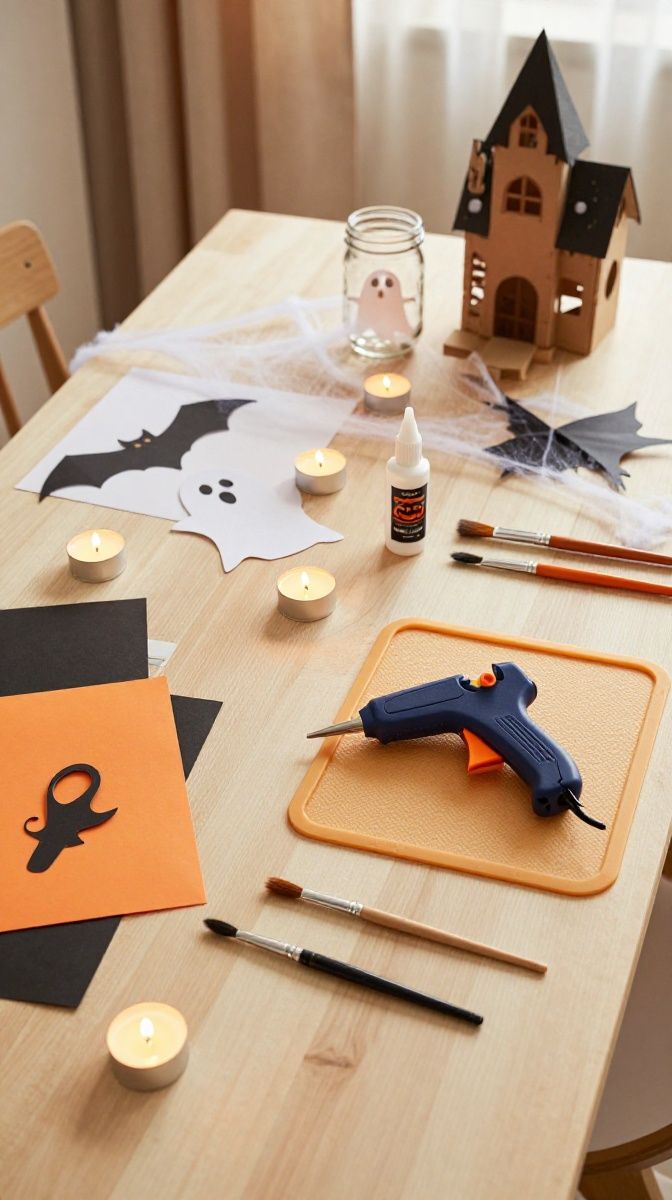
DIY Halloween decorations are supposed to be fun, so keep the crafting area safe. If you’re using a craft knife or hot glue gun, work carefully and keep them away from young children.
Keep candles away from paper, fabric, dried leaves, and artificial spider webs. LED lights are a safer choice for most indoor decorations. If you’re hanging decorations outdoors, make sure they are protected from rain and securely attached so they don’t fall or blow away.
And if you’re crafting with kids, let adults handle cutting, hot glue, and other sharp or hot tools. Kids can take over the fun parts like painting, arranging, and decorating.
FAQ’s
What is the easiest Halloween decoration to make?
Paper bats are probably one of the easiest options. They require only black paper, scissors, and removable tape, yet a large group of bats can completely transform a wall.
Can I make Halloween decorations with recycled materials?
Absolutely. Cardboard boxes, glass jars, old sheets, paper bags, toilet paper rolls, and leftover fabric can all become useful Halloween craft materials.
How can I make DIY decorations look less homemade?
Use a limited color palette, keep your materials neat, add small details, and avoid overcrowding. Consistent colors and good placement can make even inexpensive crafts look polished.
Are DIY Halloween decorations safe for children?
Many are, especially paper bats, painted jars, and simple cardboard decorations. However, adults should handle hot glue guns, craft knives, scissors when necessary, and any electrical components.
Can these decorations be used outside?
Some can, but paper and untreated cardboard should be protected from moisture. For outdoor decorations, use weather-resistant materials and secure everything properly.
How early should I make Halloween decorations?
Making them one or two weeks before Halloween gives you plenty of time to fix mistakes, add extra details, and decide where everything should go. Of course, if you’re the type who starts decorating on October 30, good luck to future you.
Give Your Halloween Space a Handmade Touch
You don’t need a huge budget or a garage full of craft supplies to create a spooky Halloween setup. A few simple materials, some imagination, and a little patience can turn ordinary household items into ghosts, lanterns, bats, wreaths, and haunted houses.
Start with one project and build from there. Before you know it, your home might look so spooky that even the delivery driver will hesitate before knocking.