
Halloween is the perfect excuse to turn ordinary household items into creepy, colorful decorations. With a few inexpensive supplies, you can make spooky crafts that look surprisingly impressive without needing expert crafting skills. These ideas are fun for kids, teens, and adults, and most can be finished in an afternoon. Ready to make your home look haunted—in the fun way?
1. Spooky Paper Plate Ghost Garland
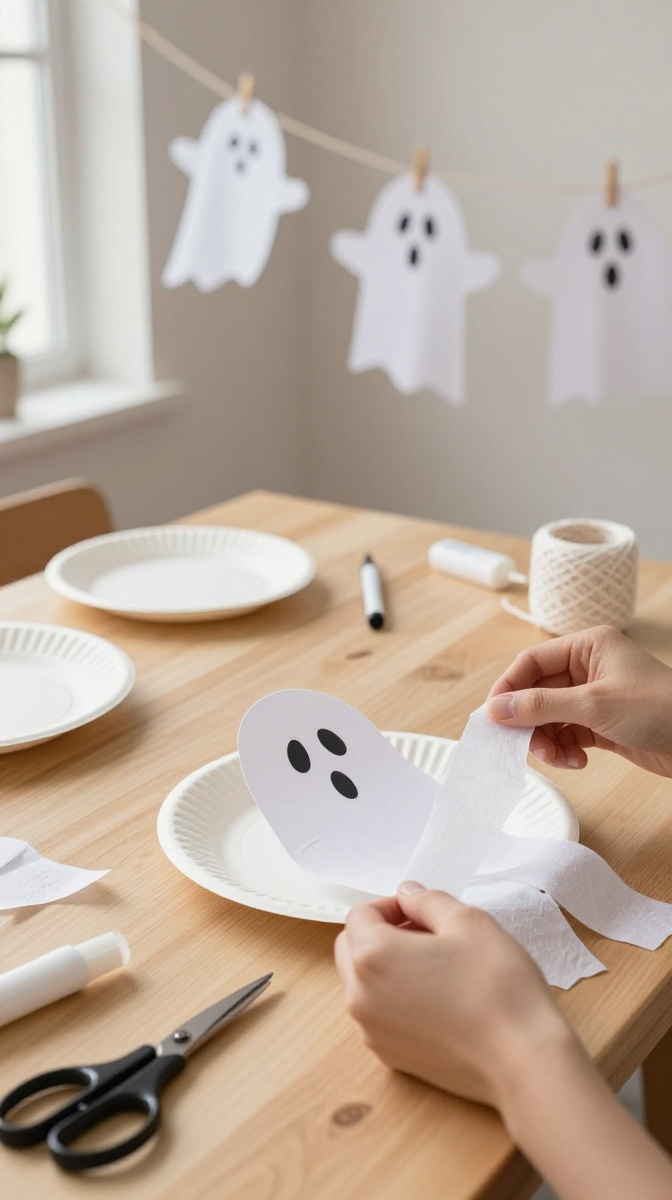
A ghost garland is one of those crafts that looks much harder than it actually is. Paper plates become friendly little ghosts with almost no effort, and you can hang them across a wall, doorway, window, or party table.
Materials and Tools
- White paper plates
- Black marker or black paper
- White tissue paper, crepe paper, or thin fabric strips
- Glue or double-sided tape
- Scissors
- White string or twine
- Hole punch
Affordable substitute: If you don’t have paper plates, cut ghost shapes from white cardboard, cereal boxes, or old packaging.
Step-by-Step Instructions
- Prepare the plates. Place each white paper plate flat on your work surface. Wipe away any dust or crumbs because glue and mystery Halloween crumbs are not a great combination.
- Create the ghost face. Draw two large oval eyes and a small surprised mouth with a black marker. For a more polished look, cut the features from black paper and glue them onto the plate.
- Add the ghost body. Cut several strips of tissue paper or crepe paper. Make the strips different lengths so the bottom looks uneven and floaty.
- Attach the strips. Glue or tape the strips to the back of each plate. Let them hang downward like a ghost’s flowing body.
- Make hanging holes. Punch one small hole near the top of each plate.
- Build the garland. Thread the plates onto string, leaving a little space between each ghost.
- Hang it up. Place the garland somewhere visible and gently separate the paper strips so every ghost has its own shape.
Design Variations
Make every ghost slightly different. Give one huge eyes, another tiny eyes, and another a dramatic screaming mouth. Different expressions make the garland feel handmade rather than mass-produced.
2. DIY Halloween Mason Jar Lanterns
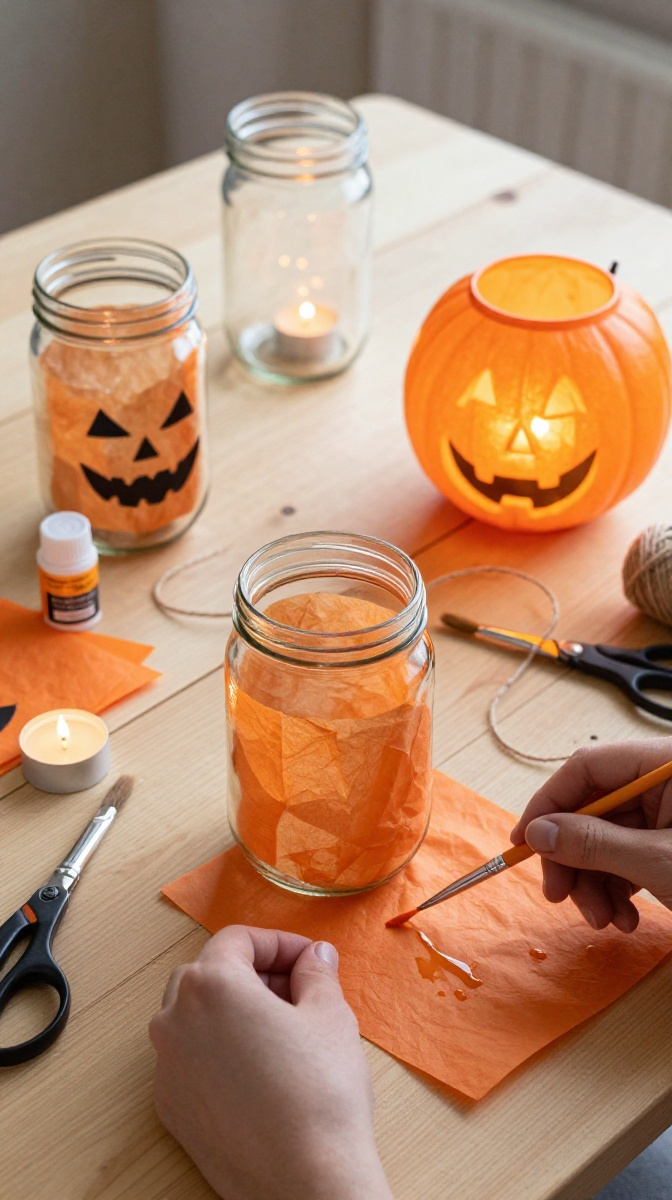
Want something that looks magical after sunset? Turn simple glass jars into glowing Halloween lanterns. They work beautifully as table decorations, porch accents, or party lighting.
What You’ll Need
- Clean glass jars or recycled food jars
- Battery-powered LED tea lights
- Black paper or black craft vinyl
- Orange, purple, or white tissue paper
- Mod Podge or diluted white glue
- Paintbrush
- Scissors
- Twine or ribbon
Safety tip: Use battery-powered LED lights instead of real candles, especially around children, curtains, paper decorations, or pets.
How to Make the Lantern
- Clean the jar. Remove labels and wash the glass thoroughly. Dry it completely before decorating.
- Cut your tissue paper. Tear or cut orange tissue paper into small pieces. Don’t worry about perfect edges—the slightly uneven texture adds character.
- Apply the first layer. Brush a thin layer of Mod Podge or diluted glue onto the outside of the jar.
- Add tissue paper. Place the pieces over the glue and gently brush another thin layer on top.
- Create the face. Cut triangular eyes, a nose, and a jagged mouth from black paper. Attach them once the tissue layer has dried.
- Let it dry. Give the jar plenty of time to dry before moving it around.
- Add the light. Place an LED tea light inside and watch your little pumpkin glow.
Make Them Look More Expensive
Use three jars in different sizes and group them. Add a small amount of black or orange twine around the neck of each jar. Clusters of different heights create a much more interesting display than one lonely jar sitting in the corner.
3. Paper Pumpkin Wall Decorations
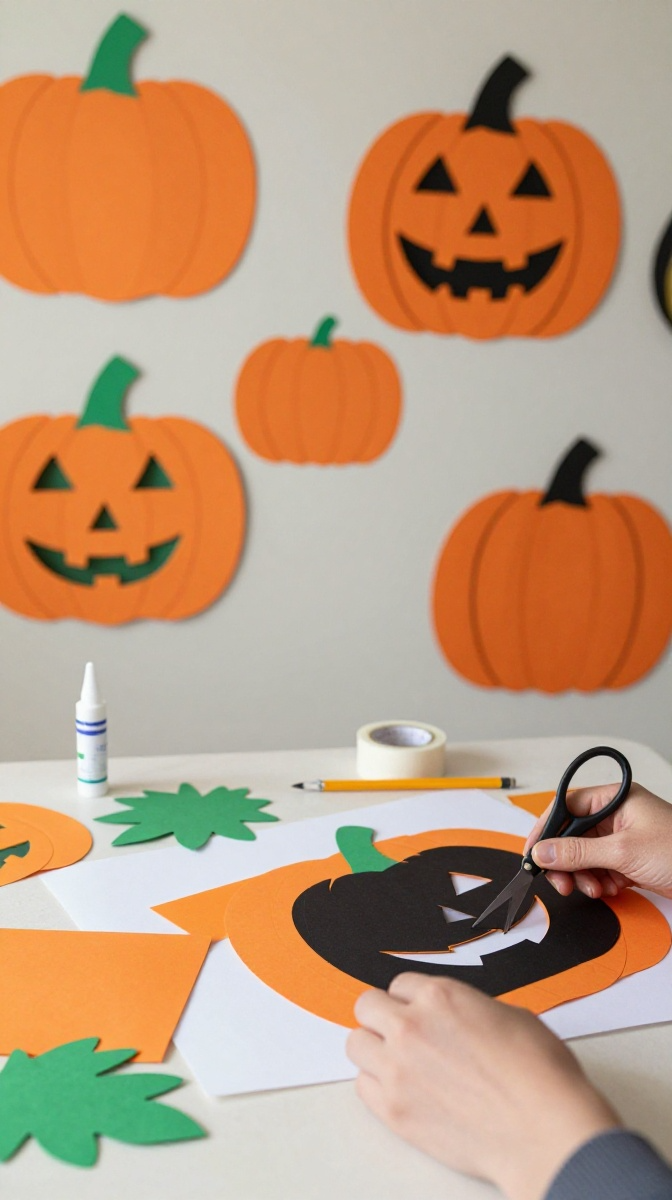
If your walls need a Halloween makeover, paper pumpkins are cheap, lightweight, and easy to customize. You can make a few for a subtle look or create an entire pumpkin patch indoors.
Materials
- Orange construction paper or cardstock
- Green paper
- Black marker
- Scissors
- Glue
- String or removable wall tape
Step-by-Step Process
- Cut pumpkin shapes. Draw several oval pumpkin shapes on orange paper. Make some large and some small.
- Add pumpkin lines. Fold each shape vertically and unfold it, or draw curved lines with a marker to create the appearance of pumpkin ridges.
- Create faces. Cut or draw different Halloween expressions. Try a classic jack-o’-lantern smile, a sleepy face, or a goofy grin.
- Add stems and leaves. Cut small green leaves and brown or black stems from paper.
- Assemble the pieces. Glue the stems and leaves onto the pumpkins.
- Arrange them. Place the pumpkins at different heights on a wall to create a playful pumpkin patch.
Customization Ideas
Don’t limit yourself to orange. Try white pumpkins with black faces for a modern look, purple pumpkins for a playful theme, or black pumpkins with metallic details for a more dramatic decoration.
FYI, removable wall strips are a smart choice if you’re decorating a rented home. Nobody wants their Halloween decoration to take a chunk of paint with it.
4. Creepy Hanging Spider Decorations
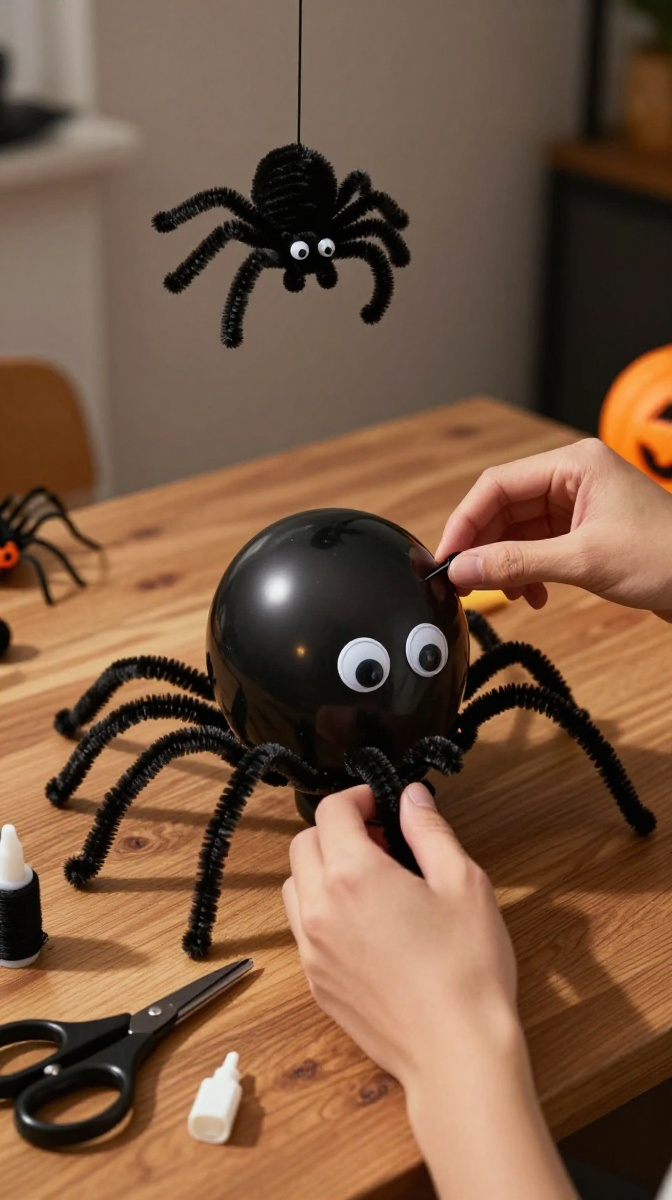
Spiders are basically Halloween’s unofficial mascots, so why not make a few giant ones? These hanging spiders are especially fun around doorways, windows, and party tables.
Materials and Tools
- Black balloons or black paper balls
- Black pipe cleaners
- Googly eyes or white paper
- Black cardstock
- Glue
- Scissors
- Black thread or fishing line
Make Your Spider
- Create the spider body. Inflate a black balloon to the desired size. For a sturdier decoration, use a black paper ball instead.
- Make the legs. Cut eight pipe cleaners into suitable lengths. Slightly bend each one so it looks like a spider leg.
- Attach the legs. Arrange four legs on each side of the body and secure them with glue or tape.
- Add the eyes. Attach two, four, or even eight eyes. Halloween rules are extremely flexible here.
- Add a hanging loop. Tie black thread around the top or attach it securely with tape.
- Hang your spider. Suspend it from the ceiling, a curtain rod, or a doorway at a safe height.
Make It Extra Creepy
For a spider web effect, stretch cotton batting or white fiberfill around the spider. Keep it loose and wispy rather than packing it tightly. A little unevenness makes the web look much more realistic.
5. DIY Halloween Wreath From Cardboard
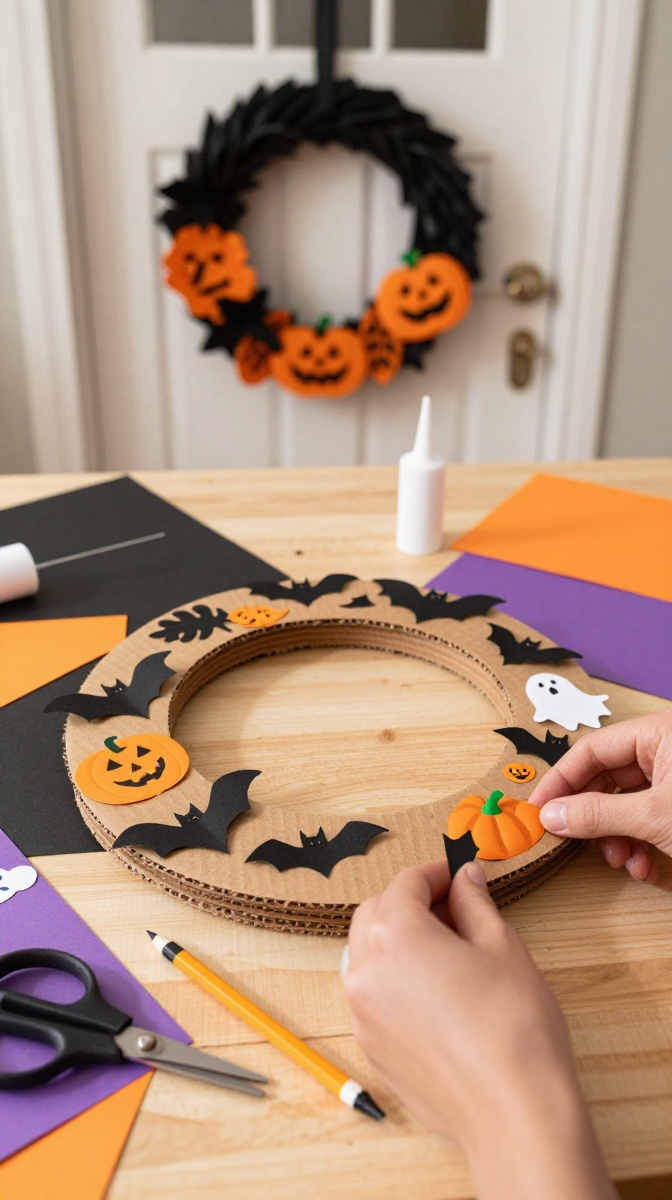
A Halloween wreath instantly makes a front door feel festive. The best part? You can build the base from cardboard, so there is no need to spend a fortune on a craft-store wreath form.
Materials
- Old cardboard box
- Black, orange, purple, and white paper
- Glue
- Scissors or craft knife
- Ribbon or twine
- Optional: fake leaves, small plastic spiders, paper bats
Step-by-Step Instructions
- Cut the wreath base. Draw a large circle on cardboard and cut it out. Draw another smaller circle inside it and carefully remove the center.
- Cover the cardboard. Wrap the ring with black paper, orange paper, fabric scraps, or ribbon.
- Create decorations. Cut small bats, pumpkins, ghosts, stars, or leaves from colored paper.
- Arrange everything. Place the decorations around the wreath before gluing them down. This makes it much easier to change the layout.
- Attach the pieces. Glue each decoration securely onto the wreath.
- Add a hanging ribbon. Tie a strong loop at the top of the wreath.
- Display it. Hang it on your front door, interior door, wall, or party backdrop.
Decorating Tip
Choose one main color and two supporting colors instead of throwing every Halloween color onto the wreath. A simple black-and-orange design usually looks cleaner and more intentional.
6. Easy Halloween Craft Tips and Common Mistakes
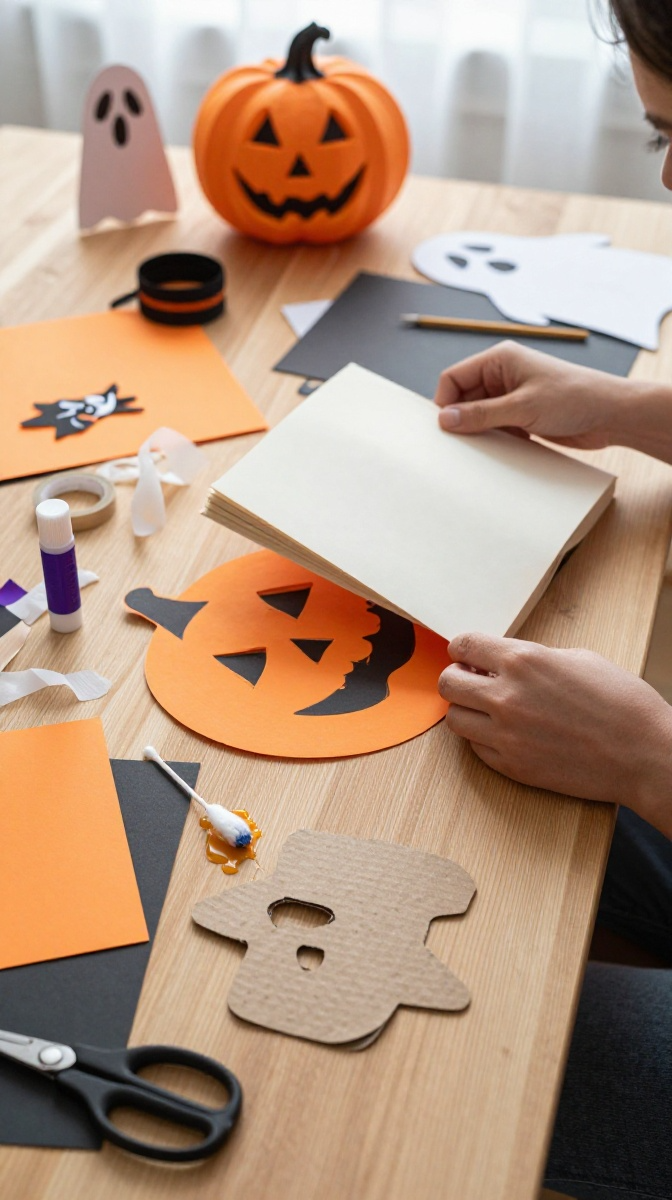
DIY crafts are supposed to be fun, but a little planning can save you from glue-covered fingers and decorations that fall apart five minutes after you hang them.
Use the Right Glue
Regular school glue works well for paper crafts, but heavier decorations may need hot glue or strong craft adhesive. Always let the glue fully dry before hanging anything.
Don’t Overdecorate
More isn’t always better. Give your decorations some space so each piece can actually be seen. Three well-made decorations can look better than fifteen random ones fighting for attention.
Keep Safety in Mind
Use battery-powered lights instead of open flames whenever possible. Keep scissors, hot glue guns, small decorative pieces, and cords away from young children unless an adult is supervising.
7. Creative Ways to Display and Use Your Halloween Crafts
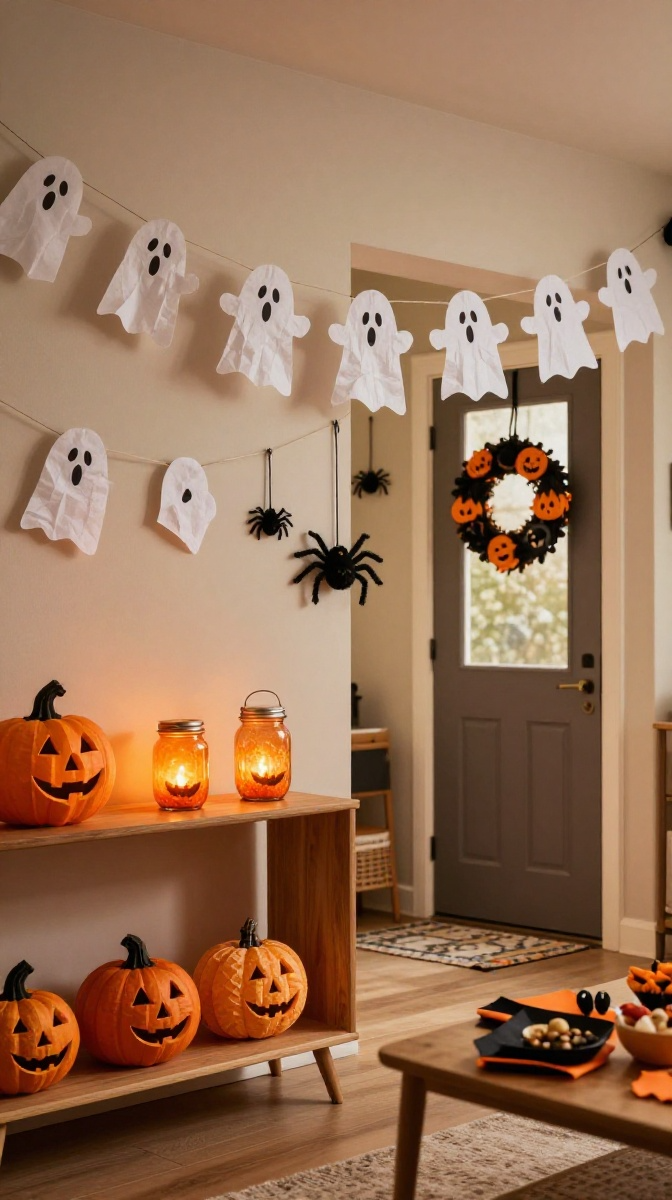
Once your crafts are finished, don’t hide them in a box. Use the ghost garland above a snack table, place glowing jars along a shelf, or arrange paper pumpkins around a doorway.
You can also turn these crafts into a Halloween party activity. Prepare the materials beforehand and let guests create their own pumpkin, ghost, or spider decoration. It’s inexpensive entertainment, and everyone gets to take home a handmade souvenir.
These projects also make cute seasonal gifts. Put a small LED lantern in a decorative gift bag or give someone a mini Halloween wreath for their bedroom door.
FAQ’s
What are the easiest Halloween crafts for beginners?
Paper ghosts, paper pumpkins, and decorated jars are excellent beginner projects. They require inexpensive materials and don’t need complicated crafting techniques.
Can children make these Halloween crafts?
Yes. Children can safely participate in many of these projects with adult supervision. Adults should handle sharp craft knives, hot glue guns, and any other potentially dangerous tools.
What can I use instead of craft paper?
Try cereal boxes, paper grocery bags, old cardboard packaging, newspapers, or leftover wrapping paper. Paint or cover the material to give it a completely different appearance.
How can I make Halloween decorations look less homemade?
Stick to a simple color palette, use consistent shapes, and avoid overcrowding the display. Clean spacing and repeated colors can make inexpensive crafts look surprisingly polished.
How long can I keep these decorations?
Paper decorations can last for several seasons if you store them flat and somewhere dry. Glass jar lanterns and cardboard wreaths can also be reused as long as they aren’t exposed to moisture.
What is the best way to make Halloween crafts cheaply?
Start by checking what you already have at home. Cardboard, jars, paper scraps, old boxes, string, and leftover wrapping supplies can become surprisingly useful Halloween materials.
Give These Halloween Crafts a Try
You don’t need expensive supplies or professional crafting skills to make your home feel ready for Halloween. Pick one project, gather a few basic materials, and start creating. Whether you make a spooky spider, glowing lantern, cheerful ghost garland, or dramatic wreath, the little imperfections are part of the charm. So grab those scissors and get crafting—Halloween isn’t going to decorate itself.