
Want to decorate for fall without spending a fortune? DIY pumpkin crafts are the answer. They’re cheap, beginner-friendly, and almost impossible to mess up. Grab a pumpkin (real or fake), and let’s make something cute.
Why DIY Pumpkin Crafts Are Worth Your Time
Store-bought fall decor costs way too much for something you’ll pack away in six weeks. Making your own is cheaper, more fun, and you get bragging rights.
Plus, pumpkin crafts work for every skill level. If you can hold a paintbrush, you’re qualified. And if you can’t? Glitter hides everything, IMO.
Materials and Tools You’ll Need
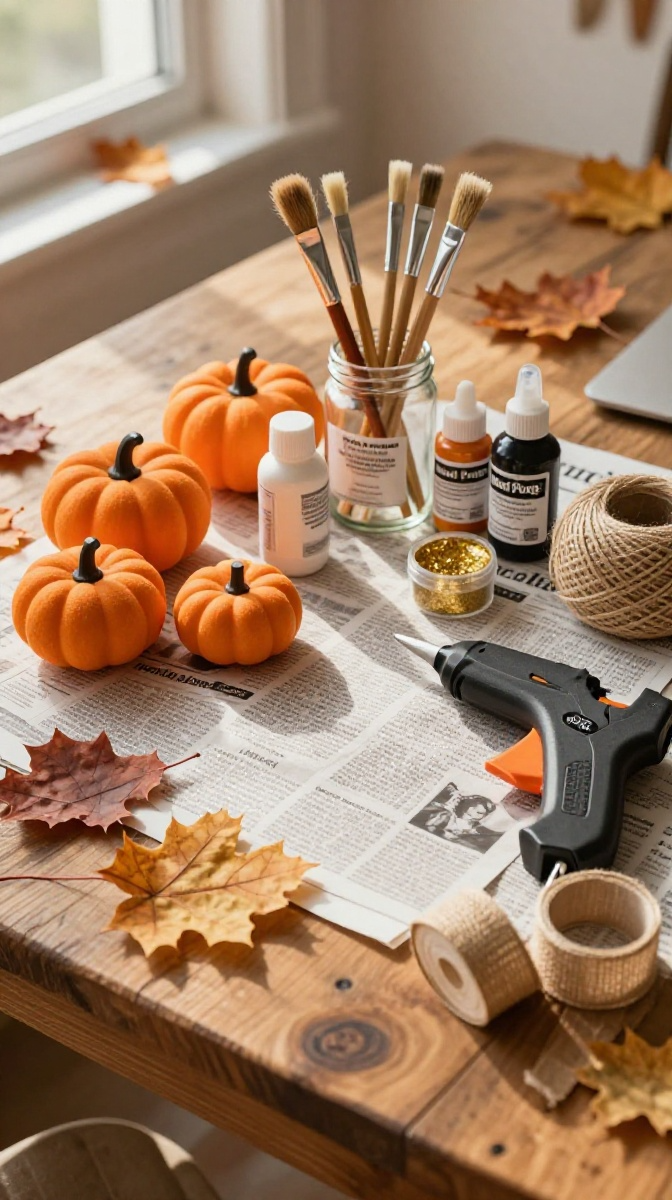
Here’s your starter kit. Grab what you can, substitute what you can’t.
- Pumpkins — real, foam, or plastic. Fake ones last for years.
- Acrylic paint — white, gold, black, and whatever colors you love.
- Paintbrushes — foam brushes work great and cost less.
- Mod Podge — for decoupage. Elmer’s glue mixed with water works too.
- Glitter — fine and chunky. Fair warning: it gets everywhere.
- Hot glue gun — low-temp is safer if kids are helping.
- Faux leaves, twine, and ribbon — for embellishments.
- Sharp knife or carving tools — only if you’re carving a real pumpkin.
- Newspaper or a drop cloth — trust me on this one.
Budget swap: Skip fancy craft store pumpkins and check the dollar store. Same look, way less money.
Project 1: Painted Pumpkins (The Easiest Win)
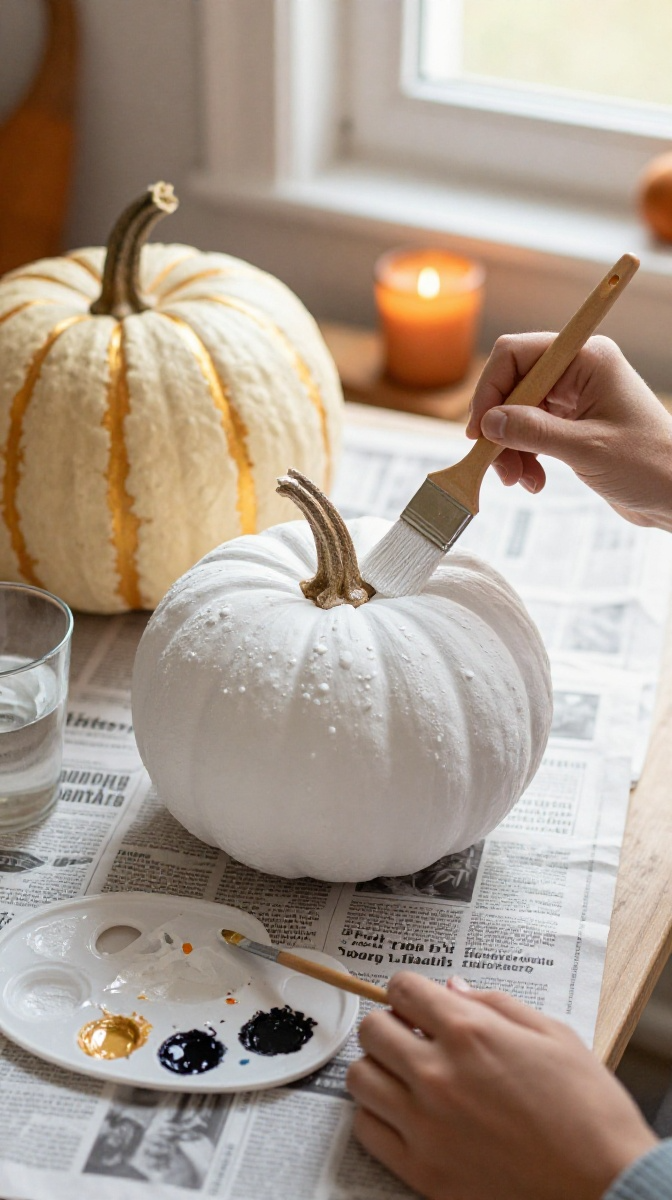
This is the project I recommend for total beginners. No carving, no mess, no stress.
- Wipe your pumpkin clean and let it dry completely.
- Paint a base coat in your chosen color. White and cream look amazing.
- Let it dry for about 30 minutes.
- Add a second coat if you can still see orange.
- Decorate with stripes, dots, or a monogram using a smaller brush.
- Seal with a clear spray sealer for outdoor use.
Design Ideas That Actually Look Good
Try color-blocking the bottom half in gold. Or paint the whole pumpkin matte black and add white brush strokes. Buffalo check is a crowd-pleaser, but it takes a steady hand.
Common Mistakes to Avoid
Don’t paint a real pumpkin and expect it to last forever. Real pumpkins rot, painted or not. Use fake ones for decor you want to keep.
Also, don’t skip the drying time between coats. Impatience equals smudges. Ask me how I know.
Project 2: Decoupage Pumpkins with Napkins
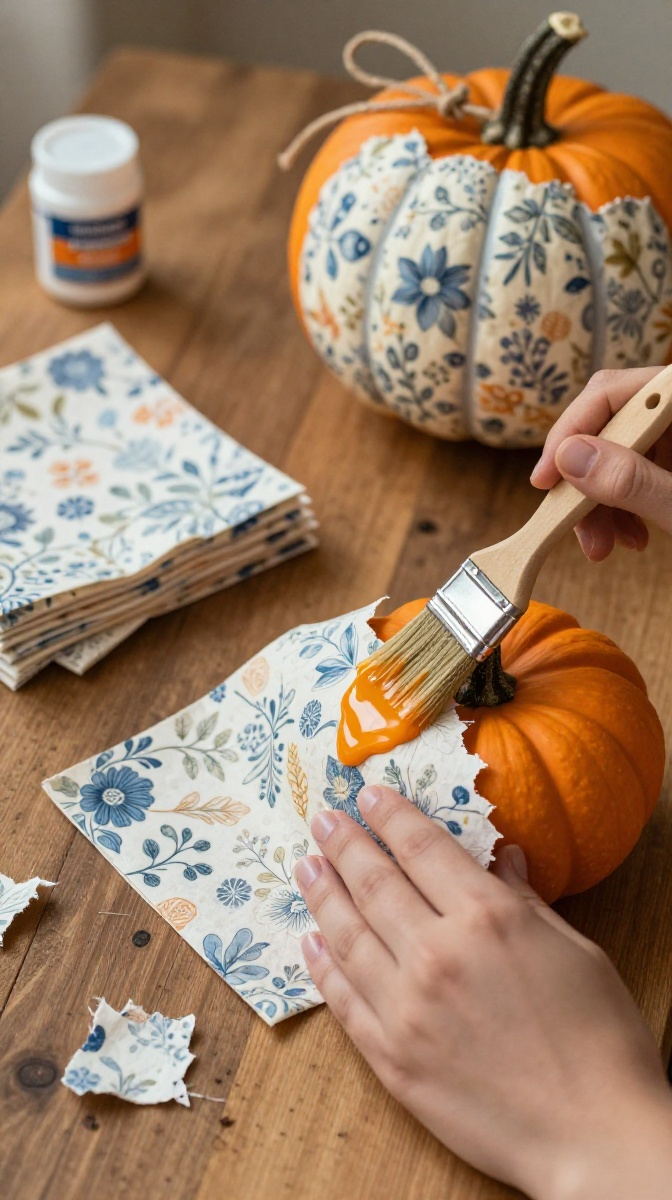
Got pretty paper napkins lying around? Turn them into art. This technique makes your pumpkin look hand-painted, but it’s basically cheating.
- Separate the napkin so you’re only using the top printed layer.
- Tear the napkin into small pieces — torn edges blend better than cut ones.
- Brush a thin layer of Mod Podge onto the pumpkin.
- Press a napkin piece on top and smooth it down.
- Brush more Mod Podge over the top to seal it.
- Repeat until the pumpkin is covered, then let it dry fully.
Best Papers for Decoupage
Napkins, tissue paper, and thin scrapbook paper all work. Avoid thick cardstock — it wrinkles and peels.
Project 3: No-Carve Pumpkin Decorating for Kids
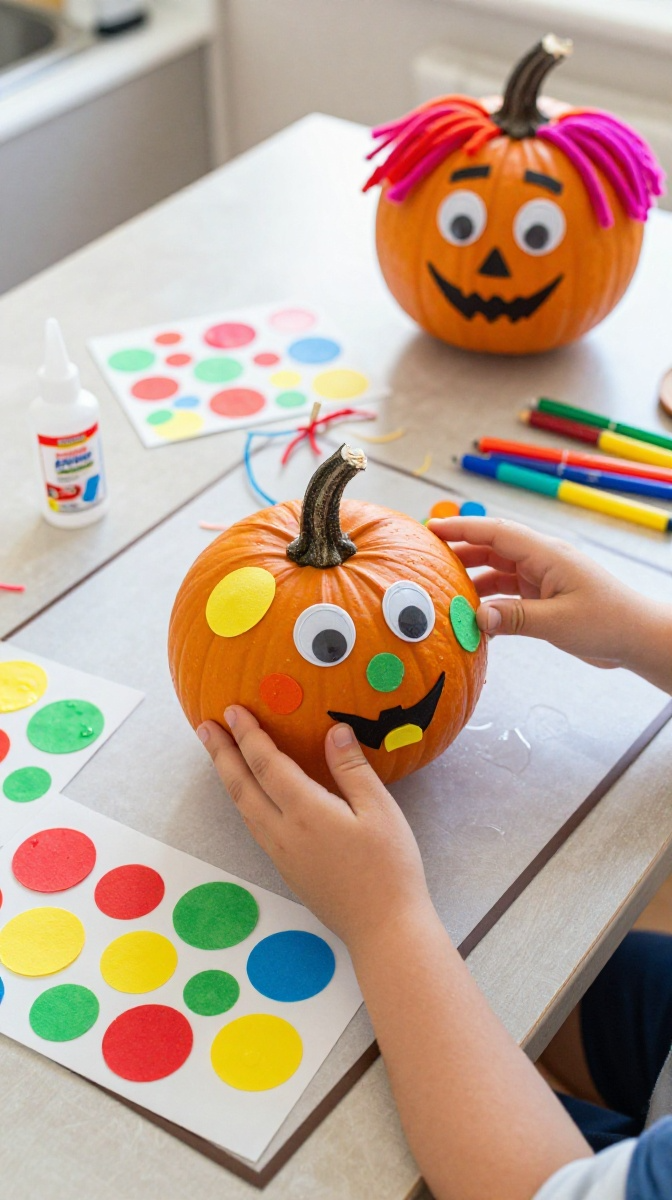
Carving with kids is chaos. Skip the knives and let them go wild with stickers, markers, and glue.
- Set out foam stickers, googly eyes, and pipe cleaners.
- Let kids stick on faces, hats, and hair.
- Use washable markers for drawing details.
- Add yarn hair with a dab of glue.
- Display proudly on the porch.
Safety Tips for Little Crafters
Use low-temp glue guns only, and keep an adult on glue duty. Skip glitter with toddlers unless you enjoy vacuuming it for months.
Project 4: Twine-Wrapped Pumpkins
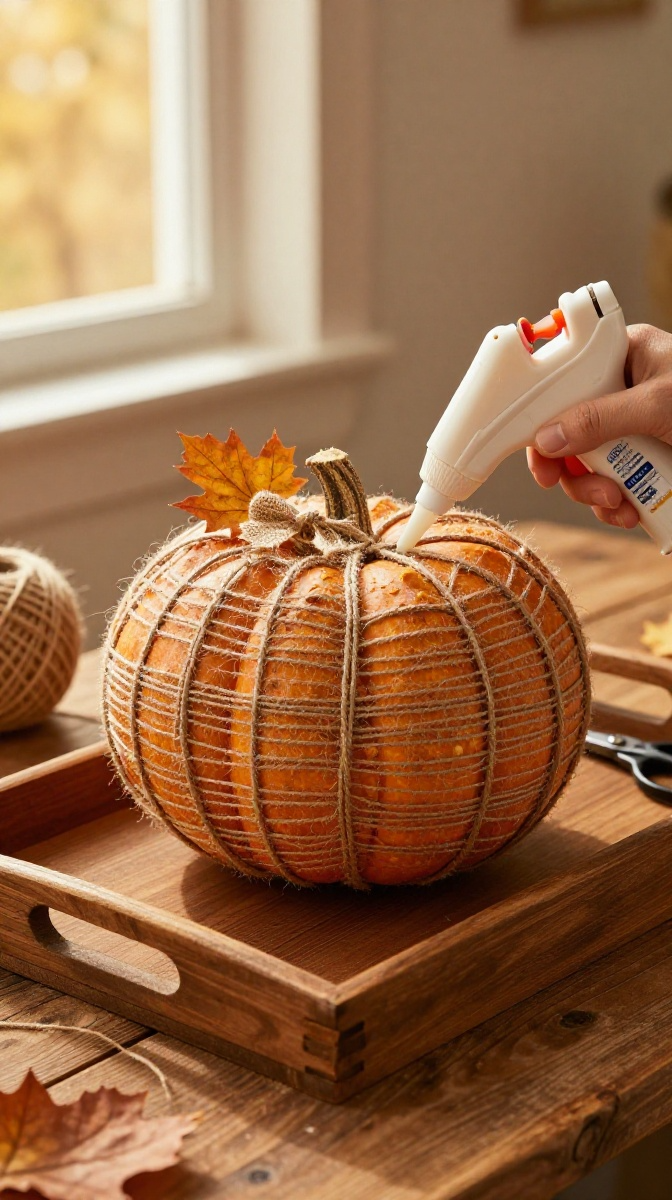
This one gives you that cozy farmhouse look without the farmhouse price tag.
- Start at the top of the pumpkin and glue the twine end down.
- Wrap the twine around, adding a dot of glue every few wraps.
- Keep going until the pumpkin is covered or you like the look.
- Add a faux leaf or a small bow at the top.
Pro tip: Leave some orange peeking through for contrast. Full coverage takes forever and honestly looks a bit much.
How to Display, Gift, or Use Your Pumpkin Crafts
Stack different sizes on a mantel or entryway table. Group three together for a quick centerpiece.
These also make great gifts. Fill a painted pumpkin with a gift card, or hand one to a neighbor just because. Teachers love them, too.
Customization Ideas
Match your pumpkin colors to your home decor. Add family names in vinyl lettering. Turn a small pumpkin into a place card holder for Thanksgiving dinner.
FAQ’s
How long do painted real pumpkins last?
Usually one to two weeks indoors. Paint traps moisture, which speeds up rotting. Fake pumpkins last forever.
Can I use real pumpkins for these crafts?
Yes, but fake ones hold up better, and you can reuse them next year. Real ones are best for short-term display.
What’s the best paint for pumpkins?
Acrylic paint works best. It’s cheap, dries fast, and covers well. Spray paint is faster for full coverage.
How do I stop glitter from shedding everywhere?
Seal it with a clear spray sealer after the glue dries. It won’t be perfect, but it helps a lot.
Can kids do these projects?
Absolutely. Skip the hot glue and knives, and let them handle painting, stickers, and wrapping.
How do I clean fake pumpkins for reuse?
Wipe them with a damp cloth. Don’t soak them in water, since foam pumpkins can warp.
Final Thoughts: Go Make Something Cute
You don’t need fancy supplies or perfect skills to make great pumpkin crafts. Pick one project, grab your materials, and just start.
Worst case? You end up with a lopsided pumpkin that’s still adorable. Best case? Your porch looks amazing and everyone asks where you bought it. Now go get crafting.