
Fall is the coziest season, and it practically begs you to get crafty. The crisp air, the pumpkin-spice everything, the excuse to stay inside with a hot drink — it is all basically a crafting invitation. If you have never made anything with your hands since that lopsided clay bowl in third grade, relax. I have got you.
These easy fall crafts for beginners use cheap supplies, take under an hour, and forgive your mistakes. Let’s make something adorable before the leaves finish falling.
Why Fall Is the Best Time to Start Crafting
Fall gives you free art supplies. Acorns, pinecones, colorful leaves, and dried corn husks are literally lying on the ground. Free is my favorite price.
The season also comes with built-in color palettes. Oranges, deep reds, mustard yellows, and warm browns look good together no matter what you do. You would have to try hard to make an ugly fall craft.
Plus, cozy indoor time means no guilt about staying in. Rainy afternoon? Perfect crafting weather. Beginner-friendly fall crafts are low-risk, high-reward, and that is exactly what we want.
Project 1: DIY Fall Mason Jar Candle Holders
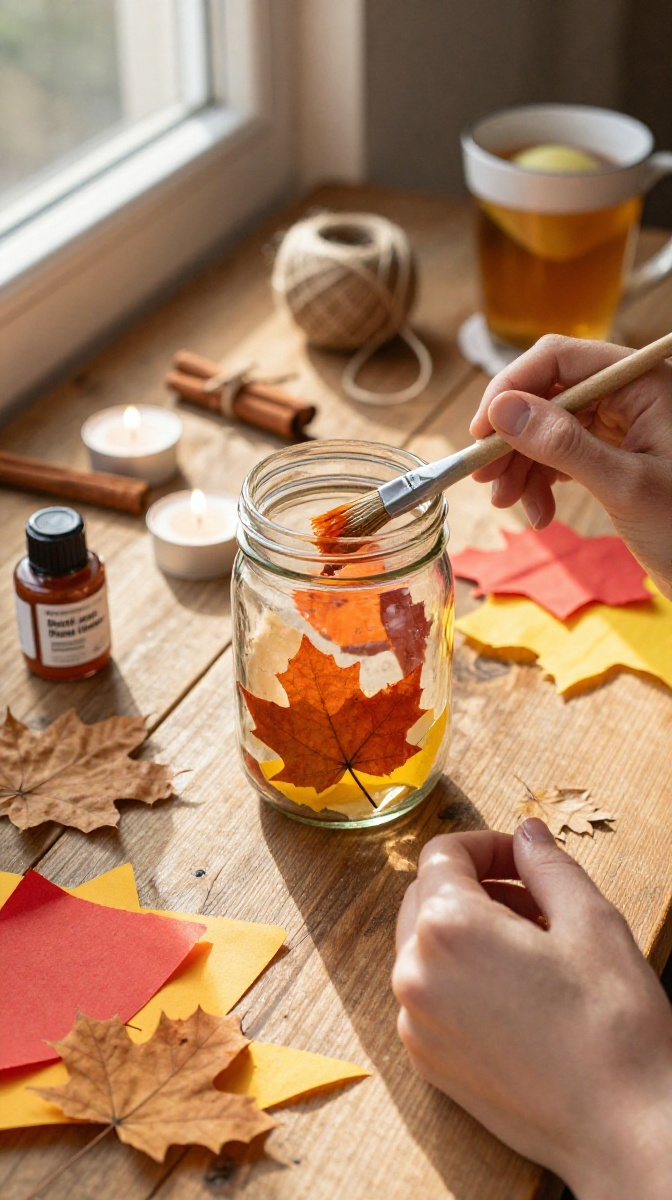
This is the classic starter craft, and for good reason. It is cheap, fast, and looks way fancier than the effort involved. You will feel like a rustic-chic design guru. Nobody has to know it took 20 minutes.
Materials and Tools You Will Need
- Clean glass mason jars (any size — thrift stores sell them for a dollar)
- Mod podge or white school glue mixed with a little water
- Fall-colored tissue paper, torn into small pieces
- Pressed leaves or fake fall leaves (real ones work if they are dry)
- Twine or jute string
- A small paintbrush or foam brush
- Tea lights or small LED candles
- Scissors
Affordable swap: Skip mod podge and use watered-down school glue. It dries clear and costs pennies. Skip real candles and use LED tea lights so you can relax without fire anxiety.
Step-by-Step Instructions
- Wash and dry your jars completely. Any grease or dust will make your tissue paper peel. Ask me how I know.
- Brush a thin layer of glue or Mod Podge onto a small section of the jar.
- Press a piece of tissue paper or a leaf onto the glued area. Smooth it down gently with your fingers.
- Repeat, overlapping pieces until the jar looks how you want. Leave a little glass showing for that glowy look.
- Brush one final thin layer of glue over everything to seal it. Don’t soak it — a light coat is enough.
- Let it dry for about an hour. Patience is annoying but necessary here.
- Wrap twine around the rim a few times and tie a little bow.
- Drop in a tea light and admire your work.
Common Mistakes to Avoid
Using too much glue is the number one beginner blunder. It makes the paper wrinkle and takes forever to dry. Thin layers win every time.
Also, don’t use thick fresh leaves. They trap moisture and turn brown and gross inside your jar. Pressed or fake leaves only.
Fun Variations to Try
Add a cinnamon stick bundle tied with the twine for a cozy scent. Use metallic gold tissue paper for a glam look. Or paint the jar’s bottom half with chalkboard paint and write “hello fall” on it. Cute, right?
Project 2: Pinecone Owl Ornaments
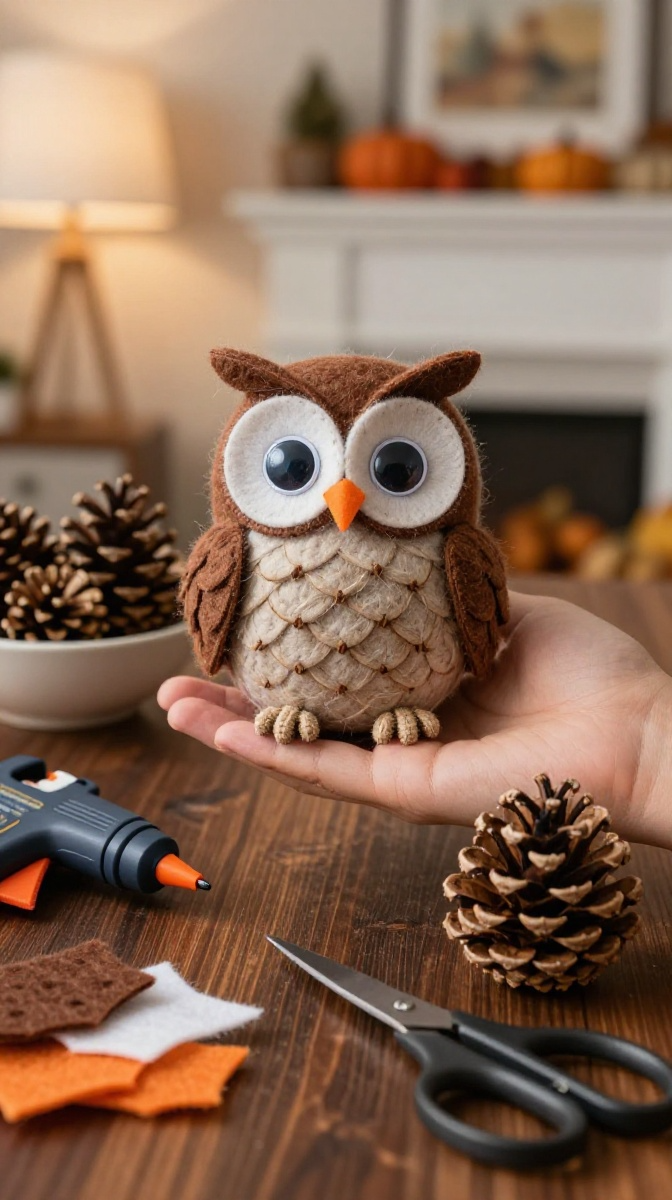
Yes, you are making owls out of pinecones. It sounds silly until you finish one and realize it is the most charming thing on your shelf. Kids love this one, and honestly, so do adults.
Materials and Tools You Will Need
- Clean, dry pinecones (bake them at 200°F for 30 minutes to kill any critters — yes, really)
- Felt scraps in brown, orange, and white
- Googly eyes or small black buttons
- Hot glue gun or strong craft glue
- Small twigs for feet (optional)
- Ribbon or twine for hanging
- Scissors
Safety note: Hot glue guns are amazing but they bite. Keep a bowl of cold water nearby for finger emergencies. Or use craft glue if you are crafting with little kids.
Step-by-Step Instructions
- Start with a clean, dry pinecone. If it is closed up, that is fine — it will still work.
- Cut two small felt circles for eyes and a tiny triangle for a beak.
- Glue the eyes near the top of the pinecone, close together.
- Glue the beak just below and between the eyes.
- Cut two small wing shapes from brown felt and glue them on the sides.
- Add tiny felt feet or twig pieces at the bottom if you want.
- Tie a loop of twine around the top for hanging, or just set your owl on a shelf.
- Make a whole parliament of owls. (Yes, a group of owls is called a parliament. You learn something new every day.)
Troubleshooting Tips
If your pinecone is prickly and hard to handle, wear thin gardening gloves. If pieces keep sliding off, hold them in place for 30 seconds while the glue sets.
Uneven googly eyes? Honestly, that makes the owl look more charming. Lean into it.
Project 3: Leaf-Print Canvas Art
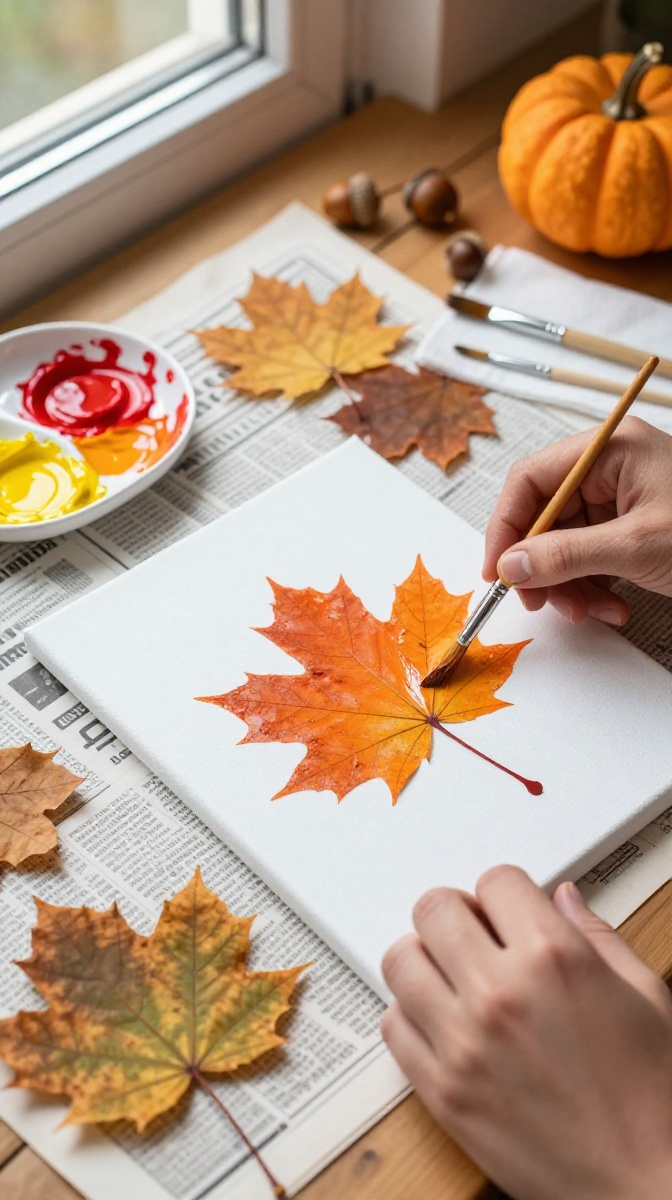
This one makes you look like a real artist with almost zero skill required. You press leaves into paint, stamp them on canvas, and boom — gallery-worthy fall decor.
Materials and Tools You Will Need
- A small canvas or thick paper
- Acrylic paint in fall colors
- Fresh leaves with strong veins (maple and oak are great)
- A foam brush or paintbrush
- Paper towels
- Newspaper to protect your table
Affordable swap: Use cardboard from a delivery box instead of canvas. Paint it white first and nobody will know the difference.
Step-by-Step Instructions
- Lay newspaper over your workspace. Paint is messy and your table deserves mercy.
- Paint a thin, even layer of acrylic paint onto the veiny side of a leaf.
- Press the painted side onto your canvas. Press firmly with your fingers or a paper towel.
- Peel the leaf off slowly and carefully. This is the magic moment.
- Repeat with different leaves and colors, overlapping as you like.
- Let it dry completely, then display it.
Design Ideas
Try a single large leaf in the center for a minimalist look. Or cover the whole canvas in overlapping prints for a bold, busy pattern. Add a quote with a paint pen once it dries — something like “falling for you” if you are feeling cheesy.
Project 4: Fall Gratitude Garland
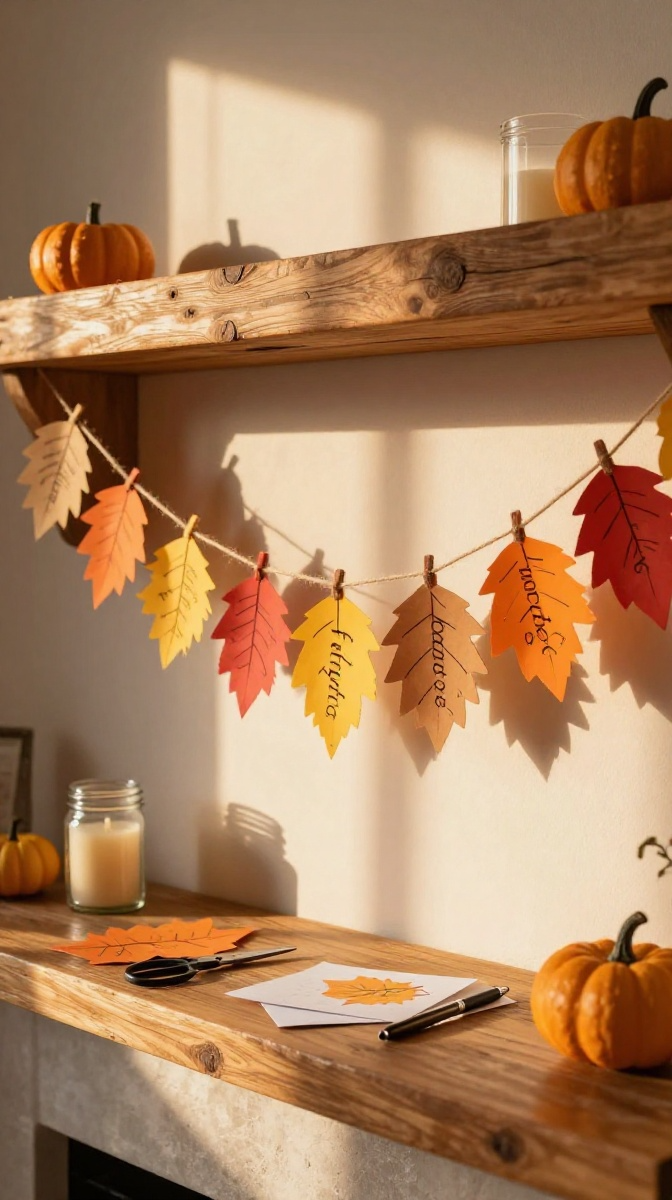
This craft is part decoration and part warm fuzzy feelings. You write things you are thankful for on paper leaves, string them up, and instantly cozy up your space.
Materials and Tools You Will Need
- Cardstock or construction paper in fall colors
- A leaf-shaped template or cookie cutter
- Scissors
- A hole punch
- Twine or yarn
- Markers or a pen
Step-by-Step Instructions
- Trace leaf shapes onto your paper using a template or cookie cutter.
- Cut out 10 to 20 leaves. Podcast time, honestly.
- Punch a hole near the top of each leaf.
- Write one thing you are grateful for on each leaf.
- Thread the twine through the holes, spacing the leaves evenly.
- Hang your garland on a mantel, wall, or doorway.
Pro tip: Make this a family activity. Everyone writes their own leaves. The results are hilarious and heartfelt.
Practical Tips for Beginner Crafters
Start small. One project at a time. Do not buy a hundred supplies for a hobby you have not tried yet.
Keep a “craft box” for scraps, ribbon, and leftover paper. Future you will thank present you.
Accept imperfection. Handmade means handmade. Wobbly lines and uneven glue are part of the charm. Finished beats perfect every single time.
Set up a comfortable workspace with good lighting. Crafting in dim light leads to squinting, mistakes, and mild rage.
Ways to Display, Gift, or Use Your Fall Crafts
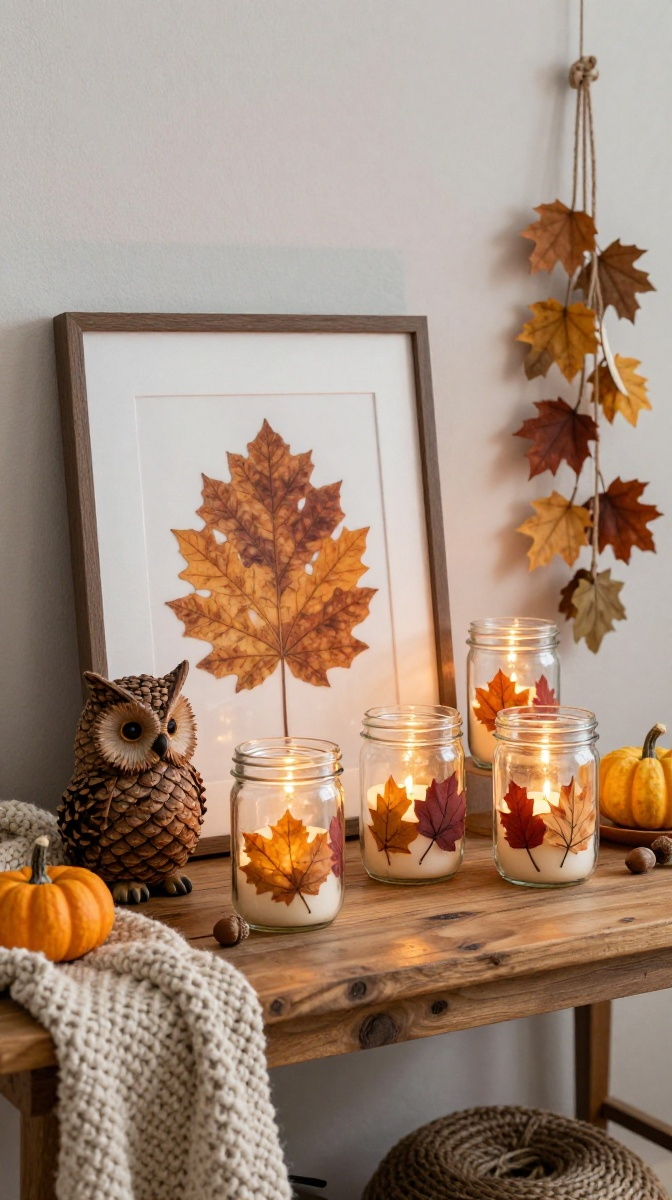
Mason jar candles look gorgeous on a dinner table or porch step. Pinecone owls make adorable gifts for teachers, neighbors, or coworkers. Leaf-print art works as a card or a framed gift.
The gratitude garland is perfect for Thanksgiving. Hang it up in November and let guests add their own leaves.
You can also gift a “craft kit” version. Toss the supplies in a basket with instructions and let someone else have the fun.
FAQ’s
How much do these crafts cost?
Most of these projects cost under $10 if you already own scissors and glue. Free leaves and pinecones bring the price down even more.
Can kids help with these projects?
Absolutely. Just swap the hot glue gun for craft glue and skip any steps involving open flames.
How long do these crafts take?
Most take 20 to 45 minutes, plus drying time. The garland is the quickest, and the mason jars need the longest dry.
What if I don’t have Mod Podge?
Use white school glue mixed with a splash of water. It works great and dries clear.
How do I stop real leaves from crumbling?
Press them between heavy books for a week first. You can also seal them with a thin glue coat.
Where should I store my fall crafts?
Keep them in a labeled bin wrapped in tissue paper. Next fall, you will feel like you found treasure.
Final Thoughts: Grab Your Glue Gun and Go
You do not need talent to make these easy fall crafts. You need paper, glue, a free afternoon, and maybe a snack. That is it.
Pick one project and try it this week; if it turns out amazing, great. If it turns out weird, even better — weird crafts have stories. So what are you waiting for? Gather some leaves and make something cozy.