
Leaves are changing, the air smells like cinnamon, and your wallet is already bracing for holiday spending. Before you buy more pumpkin-spiced everything, how about making some fall decor with your own two hands? These simple fall crafts use cheap supplies and take an afternoon at most. Grab a glue gun and let’s get messy.
Why Fall Is the Best Crafting Season
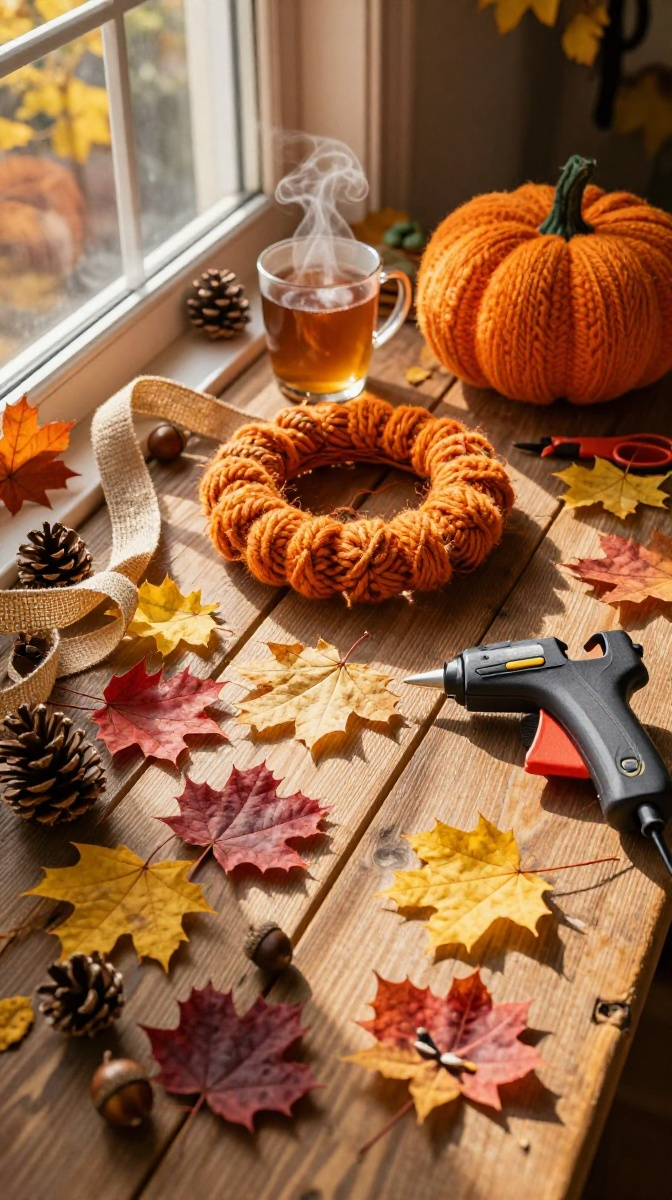
Fall gives you free craft supplies. Seriously. Acorns, pinecones, colorful leaves, and branches are lying all over your yard or local park. Combine that with cozy textures like burlap, flannel, and chunky yarn, and you have endless project options.
The stakes are also low. A crooked pumpkin centerpiece? It’s rustic. A lopsided wreath? It’s charming. Fall crafts forgive mistakes better than any other season, so beginners can relax and enjoy the process.
Project 1: DIY Pumpkin Yarn Wreath
This is the project I recommend for total beginners. It looks impressive, costs under $15, and requires zero sewing skills. You basically wrap yarn around a ring until it looks full. That’s it.
Materials and Tools
- One 12-inch wire wreath frame (or a foam ring as a substitute)
- One skein of chunky orange yarn (about 150 yards)
- Small piece of green felt for leaves
- Hot glue gun and glue sticks
- Scissors
- Optional: a cinnamon stick or twine for a rustic touch
Step-by-Step Instructions
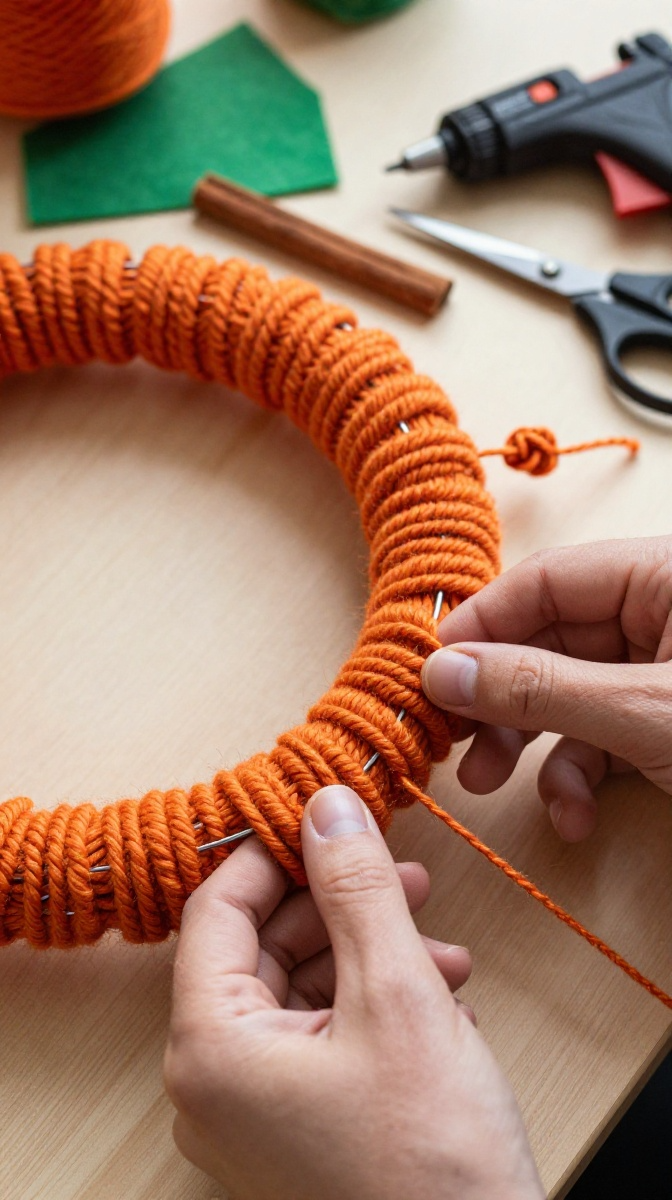
- Tie the yarn to the wire frame with a simple knot, leaving a short tail.
- Wrap the yarn tightly around the frame, pushing each loop close to the last one.
- Keep wrapping until the entire ring is covered. This takes about 30 to 45 minutes.
- Tie off the yarn at the back and tuck the loose end under the wraps.
- Cut two small leaf shapes from green felt.
- Glue the leaves near the top of the wreath, then add a cinnamon stick for a stem if you like.
- Attach a loop of twine at the back for hanging.
Common Mistakes to Avoid
Don’t wrap too loosely or you’ll see the wire frame peeking through. Also, don’t pull the yarn so tight that the frame bends. If you run out of yarn mid-wreath, just tie on a new skein at the back and keep going. Nobody will notice.
Display and Gift Ideas
Hang it on your front door, above a fireplace, or on a gallery wall. This wreath also makes a great housewarming gift. Add a bow in your friend’s favorite color to personalize it.
Project 2: Mason Jar Leaf Lanterns
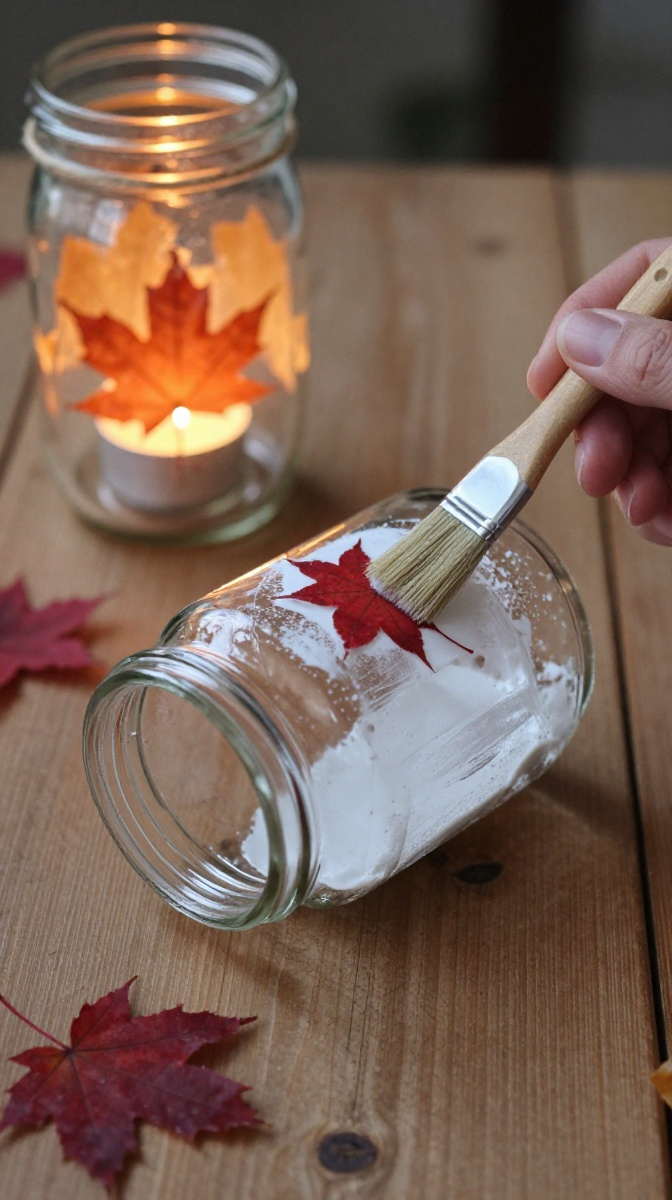
Want a cozy glow without buying expensive candles? These lanterns use real or faux leaves and a simple battery tea light. FYI, they look gorgeous on a mantel or porch step.
Materials and Tools
- Clean glass mason jars (any size)
- Mod Podge or white school glue mixed with water
- Pressed fall leaves (real or fake)
- Foam brush
- Battery-operated tea lights
- Twine or ribbon
Step-by-Step Instructions
- Press your leaves flat under a heavy book for a few hours if they’re fresh.
- Brush a thin layer of Mod Podge on a small section of the jar.
- Press a leaf onto the glued area and smooth it down.
- Brush another layer of Mod Podge over the leaf to seal it.
- Repeat around the jar, leaving small gaps between leaves.
- Let the jar dry completely for about an hour.
- Drop in a battery tea light and tie twine around the rim.
Troubleshooting Tips
If leaves start curling, add more glue and press them down again. Real leaves may brown over time, so faux leaves work better for long-term decor. Never use real candles with dried leaves nearby. That’s a fire waiting to happen, and not the cozy kind.
Project 3: Pinecone Owl Ornaments

These little guys are ridiculously cute and use supplies you probably already have. Kids love making them too, though you’ll want to handle the hot glue yourself.
Materials and Tools
- Clean pinecones
- Felt scraps in brown, white, and orange
- Googly eyes
- Hot glue gun
- Small twine loop for hanging
- Optional: acorn caps for hats
Step-by-Step Instructions
- Cut two small circles from white felt for eye patches.
- Cut a tiny triangle from orange felt for the beak.
- Cut two wing shapes from brown felt.
- Glue the eye patches onto the pinecone, then add googly eyes on top.
- Glue the beak below the eyes.
- Attach the wings on the sides.
- Glue a twine loop to the top and hang your owl.
Variations to Try
Make a whole owl family in different sizes. Use white felt for a snowy owl or gray for a barn owl. Glue them to a grapevine wreath for a woodland-themed door decoration.
Project 4: Fall Leaf Garland
This is the easiest craft on the list, and it fills a whole wall with color. You can finish it while watching a movie. IMO, that’s the best kind of project.
Materials and Tools
- Faux fall leaves with wire stems
- Jute twine or yarn
- Scissors
- Optional: small wooden beads
Step-by-Step Instructions
- Cut a long piece of twine, about 6 feet for a standard doorway.
- Slide a wooden bead onto the twine if you’re using them.
- Wrap the wire stem of a leaf around the twine and twist it tight.
- Space leaves every 3 to 4 inches.
- Alternate leaf colors and sizes for a fuller look.
- Hang the garland across a mantel, window, or headboard.
Decorating Ideas
Mix in small pinecones or cinnamon sticks for extra texture. For a Thanksgiving version, add a few paper cutouts of pumpkins between the leaves. Store it in a loose coil so it’s ready to reuse next year.
Project 5: Pumpkin Spice Scented Sachets
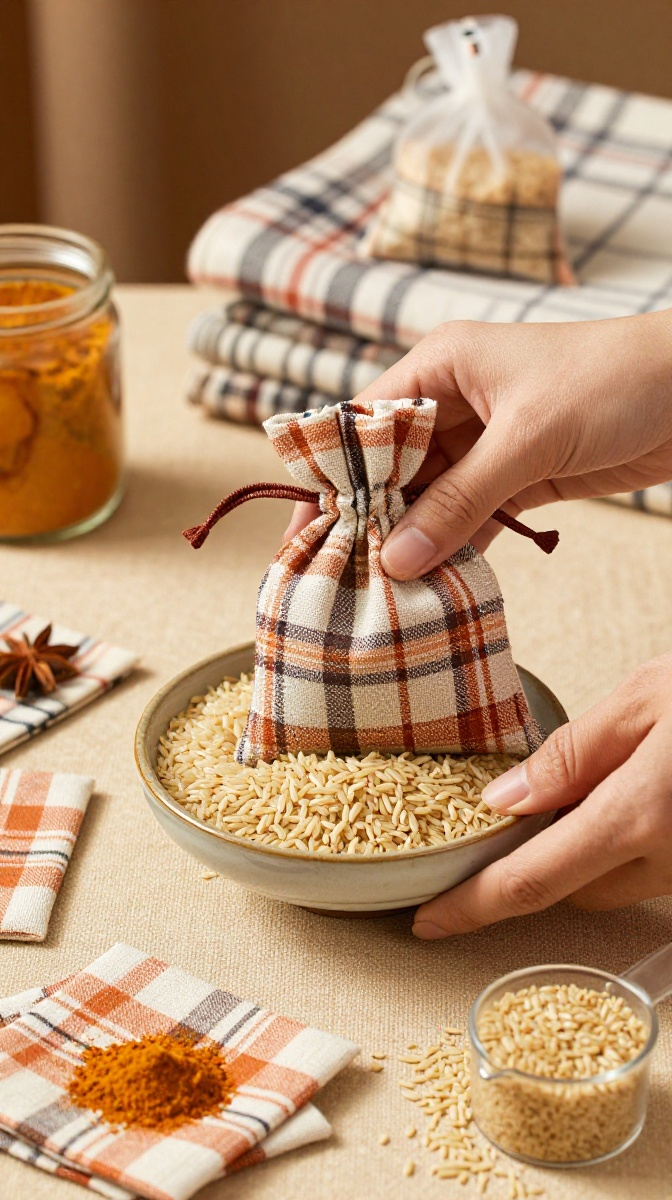
Your house can smell like a fall candle shop without the fire risk. These no-sew sachets take about ten minutes each and make lovely gifts.
Materials and Tools
- Fabric squares in fall prints (about 4×4 inches)
- Dried rice or flaxseed
- Pumpkin pie spice or cinnamon
- Fabric glue or a needle and thread
- Ribbon
Step-by-Step Instructions
- Mix one cup of rice with two tablespoons of pumpkin pie spice.
- Place two fabric squares with the patterned sides facing each other.
- Glue or sew three sides together, leaving one side open.
- Turn the pouch right side out.
- Fill it with the scented rice mixture.
- Glue or sew the open side shut.
- Tie a ribbon around the top for decoration.
Safety and Storage Tips
These sachets are for scent only, not for eating. Keep them away from pets and small children. Refresh the scent by squeezing the pouch or adding a drop of cinnamon oil. Store extra sachets in a sealed bag to keep them potent.
FAQ’s
How long do these fall crafts take?
Most take under an hour. The yarn wreath is the longest at about 45 minutes, while the garland and sachets are quick 10 to 15-minute projects.
Can I use real leaves instead of faux ones?
Yes, but press and dry them first. Real leaves work great for lanterns and garlands, though they may fade or crumble over time.
What if I don’t have a hot glue gun?
Fabric glue, tacky glue, or even double-sided tape can work for many of these projects. Just allow extra drying time.
Are these crafts kid-friendly?
Absolutely. The garland, sachets, and owl ornaments are great for kids. Just handle the hot glue and scissors yourself.
How do I store fall crafts for next year?
Keep them in labeled bins away from moisture and direct sunlight. Wrap wreaths in tissue paper and coil garlands loosely to avoid tangles.
Where can I find cheap craft supplies?
Dollar stores, thrift shops, and after-season clearance sales are gold mines. You can also swap supplies with friends who craft.
Final Thoughts: Grab Your Glue Gun and Go
You don’t need a craft room or a big budget to make your home feel festive. Pick one project, gather your supplies, and give it a try. If it turns out a little wonky, call it rustic and move on. The best fall crafts are the ones you actually finish, so start simple and have fun. Your cozy autumn vibe is waiting.