
Want to spruce up your space without dropping serious cash? You’re in the right place. These easy DIY home decor crafts use cheap materials and take just an afternoon to finish. No fancy tools required, and no crafting degree needed. Let’s make something cute.
Why Easy DIY Home Decor Crafts Are Worth Your Time
Store-bought decor is fine, but it’s generic. Everyone has the same mass-produced vase from the big-box store. When you make your own decor, you get something that actually fits your style and your space.
Plus, it’s cheaper. Like, way cheaper. A store-bought decorative tray can run you $40. You can make one for under $10 with a few simple supplies.
And here’s the bonus: crafting is weirdly relaxing. It gives your hands something to do while your brain takes a break. So grab a coffee, put on some music, and let’s get started.
Project 1: Mason Jar Twine Vases
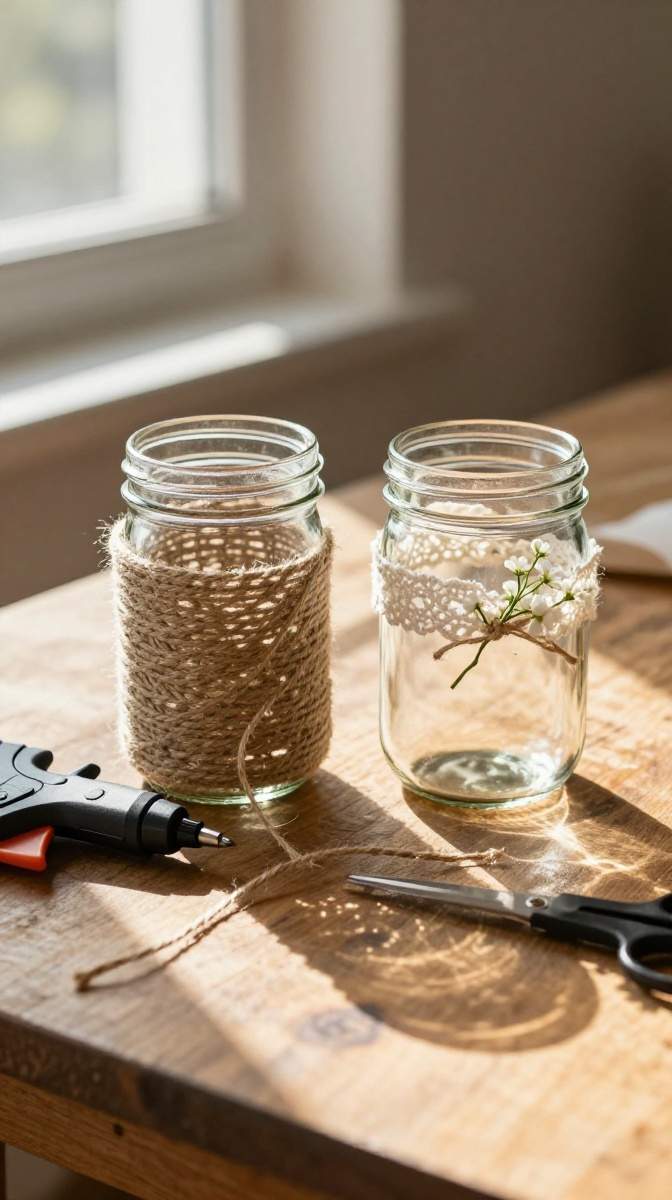
This is the perfect beginner project. It takes about 20 minutes, and the results look like something from a boutique.
Materials and Tools
- Mason jars (any size, clean and dry)
- Jute twine (about 30 feet per jar)
- Hot glue gun and glue sticks
- Scissors
- Optional: lace ribbon, small faux flowers, or acrylic paint
No mason jars? Use empty pasta sauce jars or pickle jars. Just wash them well to remove any smell. FYI, the sticky label residue comes off easily with a little rubbing alcohol.
Step-by-Step Instructions
- Start at the bottom of the jar and squeeze a small line of hot glue.
- Press the end of your twine into the glue and hold for a few seconds.
- Wrap the twine around the jar, adding small dots of glue every inch or so.
- Keep wrapping upward until you reach the top or your desired height.
- Trim the twine and glue the final end down neatly.
- Add a ribbon, bow, or faux flowers for extra charm.
Common Mistakes to Avoid
Don’t use too much glue. It squishes out and looks messy. A thin line is all you need. Also, wrap tightly so there are no gaps between the twine rows.
If your twine keeps slipping, you’re not using enough glue. If it looks lumpy, you’re using too much. Find the middle ground.
Project 2: DIY Photo Frame Gallery Wall
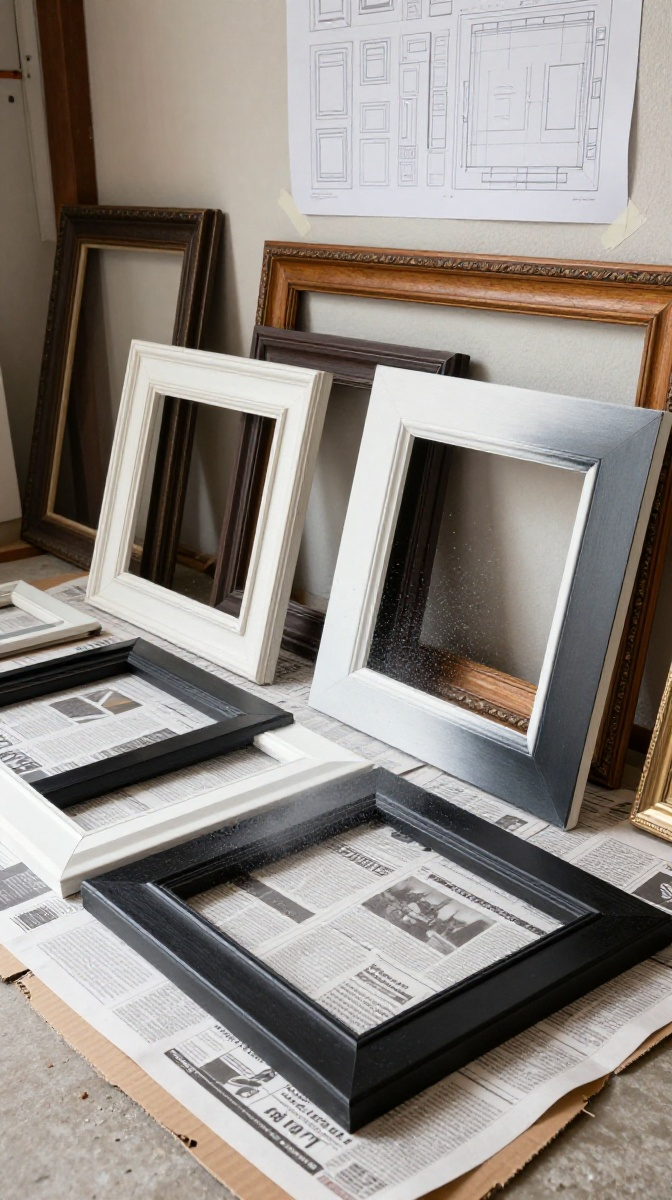
Gallery walls look expensive. They’re not. You can build one from thrifted frames and a can of spray paint.
Materials and Tools
- Old picture frames (thrift stores sell them for $1–$3)
- Spray paint in a uniform color (matte white or black works great)
- Command strips or small nails
- Printed photos or free printable art
- Newspaper or cardboard for spraying
Skip the spray paint if you love the mismatched look. A mix of wood tones and gold frames can look vintage and cozy.
Step-by-Step Instructions
- Remove the glass and backing from each frame.
- Wipe down the frames to remove dust and grime.
- Lay them on newspaper in a well-ventilated area.
- Spray paint in thin, even coats. Let dry between coats.
- Print photos or free art to fit each frame.
- Arrange the frames on the floor first to plan your layout.
- Hang them using Command strips or nails.
Layout Tips
Start with the largest frame in the center and build outward. Keep about 2 inches of space between frames. This keeps the wall from looking cluttered.
Not sure about your layout? Trace each frame onto paper, cut out the shapes, and tape them to the wall. Move them around until it looks right. Then hang the real frames over the paper.
Project 3: No-Sew Fabric Baskets
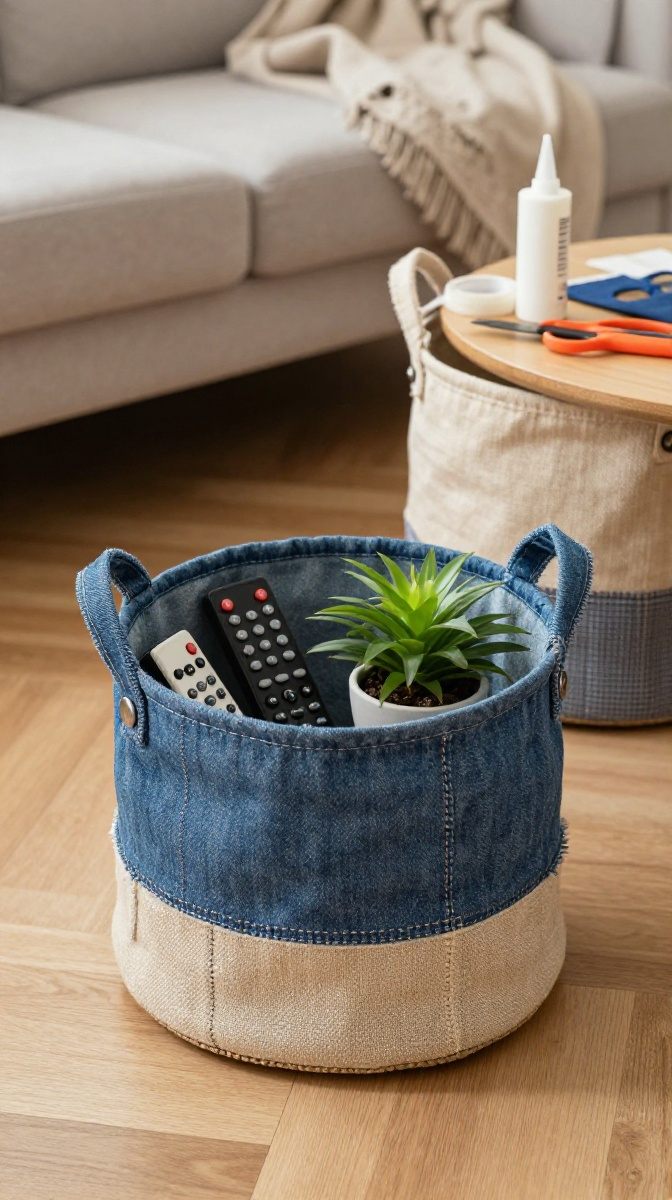
These soft fabric baskets are perfect for holding remotes, craft supplies, or bathroom items. And you don’t need a sewing machine.
Materials and Tools
- Sturdy fabric (canvas or cotton duck works best)
- Fabric glue or iron-on hem tape
- Fabric scissors
- Measuring tape
- Iron
Old jeans work great for this project. Cut off the legs and use the denim. It’s tough and looks cool.
Step-by-Step Instructions
- Cut two squares of fabric, about 12×12 inches each.
- Place them wrong sides together.
- Glue or tape the side seams, leaving the top open.
- Fold the top edge down about an inch and secure it.
- Push the bottom corners flat to create a base.
- Glue the corners in place to hold the shape.
- Let everything dry completely before using it.
Customization Ideas
Add a handle by gluing a fabric strip to two sides. Paint a design with fabric paint. Or stitch on a patch for a pop of color.
Project 4: Painted Rock Succulent Planters
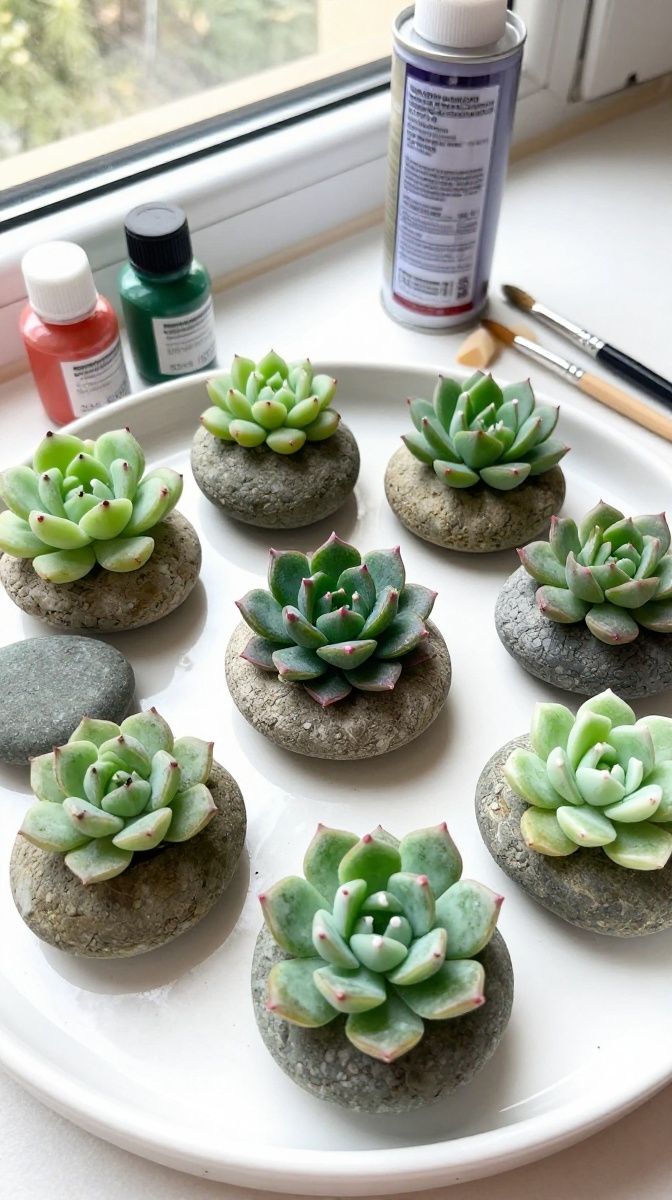
Real succulents are great, but they need care. These painted rocks never die. IMO, that’s a win.
Materials and Tools
- Smooth river rocks (gather them outside or buy a bag)
- Acrylic paint in green shades
- Small paintbrushes
- Clear sealant spray
- Small pots or a decorative tray
Step-by-Step Instructions
- Wash and dry your rocks completely.
- Paint the base of each rock a light green.
- Add darker green layers in petal shapes.
- Let each layer dry before adding the next.
- Add a tiny white or pink tip to each petal.
- Seal with a clear spray once fully dry.
- Arrange the rocks in pots or on a tray.
Don’t rush the layers. Wet paint smears. Give each coat 10–15 minutes to dry.
Tips for Crafting on a Budget
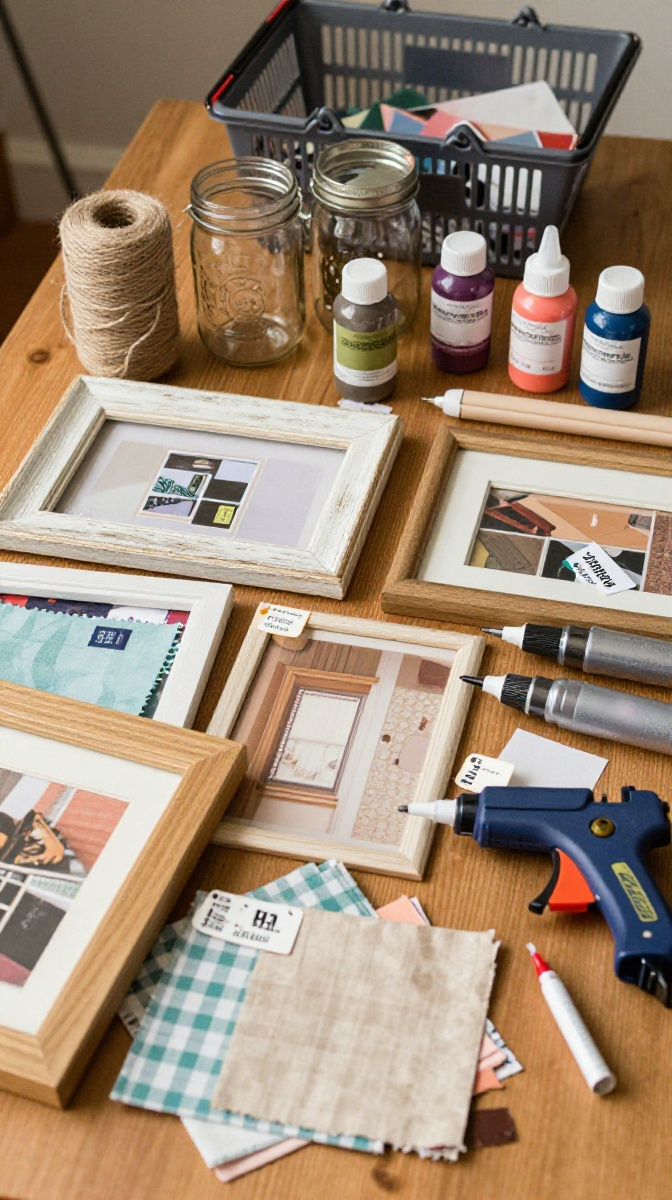
Check thrift stores and dollar stores first. They’re goldmines for cheap craft supplies. Also, save jars, boxes, and fabric scraps. You never know when they’ll come in handy.
Buy supplies in bulk when you can. A big roll of twine costs less per foot than small packs. And join local swap groups online. People give away craft supplies all the time.
How to Display or Gift Your DIY Decor
Group similar items together for a bigger impact. Three twine vases on a shelf look better than one. Stack fabric baskets in a corner for a cozy vibe.
These crafts also make great gifts. Fill a fabric basket with bath items. Give a set of painted rocks with a small plant. Add a handwritten note, and you’re done.
FAQ’s
How long do these projects take?
Most take 20 minutes to an hour. Drying time adds extra hours, so plan accordingly. The gallery wall takes the longest because of paint drying.
Do I need a hot glue gun?
It helps, but you can use fabric glue or craft glue instead. Just allow more drying time. Hot glue is faster and holds better on glass and twine.
What if I’m not crafty at all?
Start with the twine vase or painted rocks. Both are nearly foolproof. If you can wrap string and hold a paintbrush, you’re qualified.
Where can I find cheap supplies?
Dollar stores, thrift shops, and online marketplace groups. Also check clearance aisles after holidays. Craft stores mark down seasonal items fast.
Can kids help with these crafts?
Yes, with supervision. Skip the hot glue gun for young kids. Let them paint rocks or arrange frames instead. They’ll love being involved.
How do I keep my DIY decor looking good?
Dust regularly and keep items out of direct sunlight. Seal painted surfaces to prevent chipping. Handle fabric baskets gently so they keep their shape.
Get Crafting and Make Your Space Shine
You don’t need a big budget or fancy skills to make your home look amazing. Grab some twine, a few rocks, or an old frame and start creating. Your space will feel more personal, and you’ll have fun doing it.
So what are you waiting for? Pick one project and try it this weekend. Worst case, you make a mess and learn something. Best case, you end up with decor you actually love.
Happy crafting!