
Want to give your room a glow-up without spending a fortune? Same here. These easy DIY room decor ideas use cheap supplies, take an afternoon, and look way more expensive than they actually are. Grab your glue gun and let’s make your space feel like you.
Why DIY Room Decor Is Worth Your Time
Store-bought decor is fine, but it’s everywhere. Everyone has the same candle holders and the same wall prints. Making your own stuff means your room actually looks like you live there.
Plus, you save money. A lot of these projects cost under $15. Some cost almost nothing if you already have the supplies lying around.
Bonus: crafting is weirdly relaxing. Put on a playlist, spread out your materials, and forget about your inbox for an hour.
Project 1: DIY Fairy Light Mason Jars
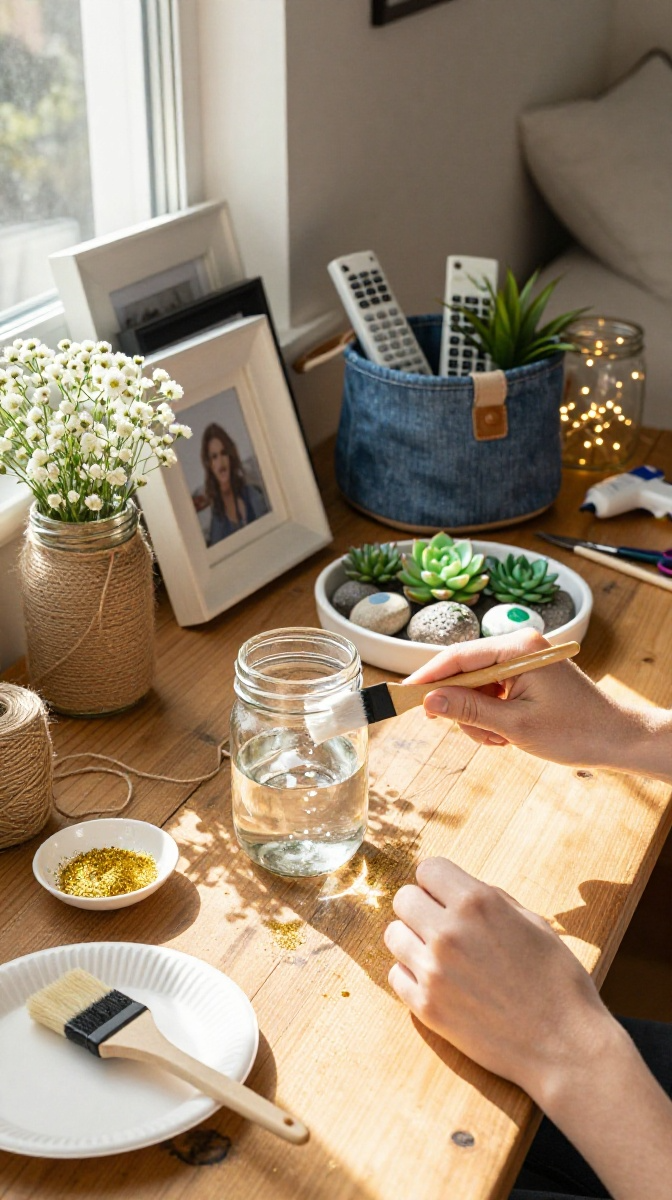
This is the project I recommend to total beginners. It’s almost impossible to mess up, and the result looks magical at night.
Materials and Tools
- Clean mason jars (any size — thrift stores sell them for a dollar)
- Fairy lights with a battery pack (Amazon or dollar stores)
- Mod Podge or white school glue
- Paintbrush or foam brush
- Fine glitter (optional but fun)
- Twine or ribbon
No mason jars? Use old pasta sauce jars. Just wash them well, or your room will smell like marinara.
Step-by-Step Instructions
- Wash and dry your jar completely. Any moisture will make the glue slide around.
- Brush a thin layer of Mod Podge over the outside of the jar. Don’t go too thick or it will drip.
- Sprinkle glitter over the wet glue. Work over a plate so you can reuse the extra.
- Let it dry for about an hour, then add a second coat of Mod Podge on top to seal the glitter.
- Once everything is dry, gently stuff the fairy lights inside. Tuck the battery pack behind the jar or under it.
- Wrap twine around the rim for a rustic touch. Done!
Common Mistakes to Avoid
Don’t skip the sealing coat. Without it, you’ll find glitter on your floor, your clothes, and somehow in your hair for weeks.
Also, keep the battery pack accessible. Nothing’s worse than a dead fairy light jar you can’t turn off.
Customization Ideas
Try gold glitter for a glam look, or skip glitter entirely and use frosted glass spray paint. You can also add a few drops of essential oil to the inside of the jar for a subtle scent.
Project 2: No-Sew Fabric Wall Hanging

Can’t sew? Neither can I, and this project still works. It’s basically organized knotting, and it looks great above a bed or desk.
Materials and Tools
- Fabric scraps or cheap fabric quarters (cotton works best)
- Wooden dowel or a stick from outside
- Twine or yarn
- Scissors
- Ruler
Old bedsheets or t-shirts work great as substitutes. Cut them into strips and you’re set.
Step-by-Step Instructions
- Cut your fabric into strips about 2 inches wide and 20 inches long. Make around 20 to 30 strips.
- Tie a loop of twine to each end of your dowel so you can hang it later.
- Fold each fabric strip in half. Loop it around the dowel and pull the ends through the loop to make a knot. This is called a lark’s head knot.
- Repeat across the whole dowel, pushing the knots close together.
- Trim the bottom ends so they’re roughly even, or leave them uneven for a boho look.
- Hang it up and admire your handiwork.
Decorating and Display Tips
Hang it above your bed as a headboard alternative. Or drape it over a plain wall to break up empty space. You can also weave in a few strands of yarn or beads for extra texture.
Project 3: Upcycled Candle Holder Jars
Got old jars and a few candles lying around? Turn them into a matching set of candle holders. This one takes about 20 minutes.
Materials and Tools
- Small glass jars
- Spray paint (matte white, gold, or black)
- Painter’s tape
- Tea lights or small pillar candles
- Newspaper or cardboard for spraying
Step-by-Step Instructions
- Clean your jars and remove any labels. Goo Gone helps with sticky residue.
- Use painter’s tape to block off a stripe or pattern on the glass.
- Spray paint in thin coats. Two or three light coats beat one heavy coat every time.
- Let them dry completely, then peel off the tape to reveal your design.
- Drop in a tea light and light it up.
Safety Tips
Never leave candles burning unattended. Also, keep painted jars away from the flame itself. The paint should only be on the outside, and the candle should sit low inside.
Project 4: DIY Photo Clip String Lights
This is the easiest project on the list. It’s also the most personal, because it shows off your favorite memories.
Materials and Tools
- String lights (the kind with small bulbs)
- Mini wooden clothespins
- Printed photos
- Small nails or command hooks
Step-by-Step Instructions
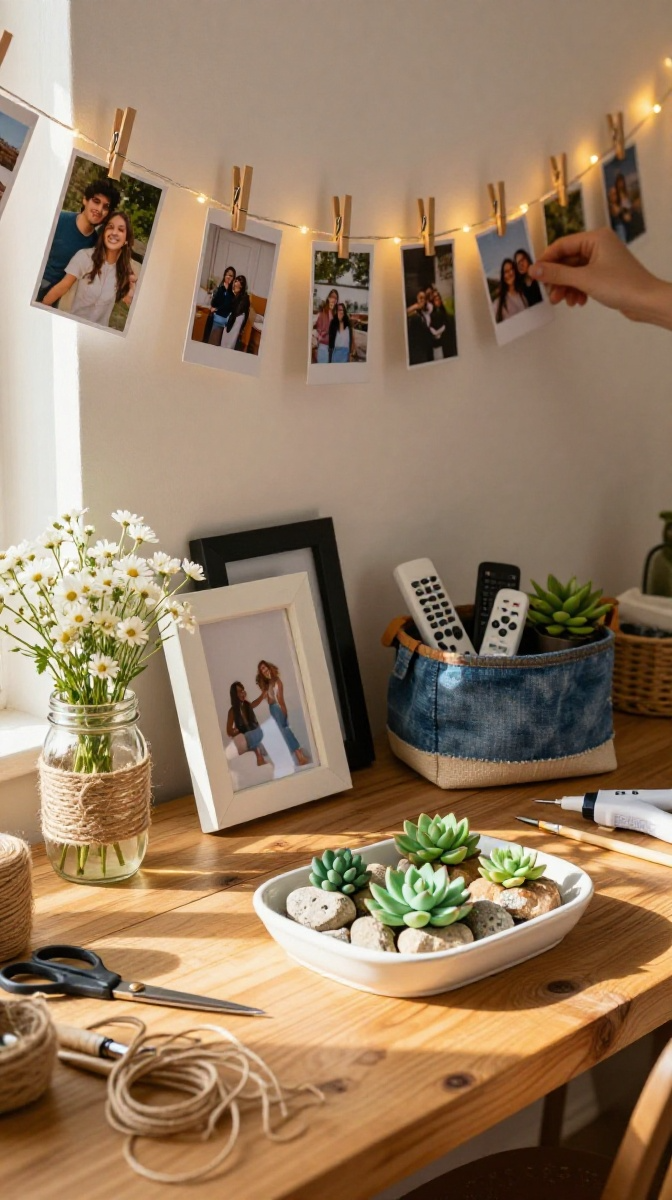
- Decide where you want the lights to go. Drape them first before hanging anything.
- Secure the ends with command hooks or small nails.
- Clip photos onto the wire between bulbs using the clothespins.
- Space the photos evenly, or go for a messy collage vibe.
- Turn off the big light and enjoy the glow.
Photo Ideas
Use polaroids, printed phone photos, or even handwritten notes. Mix in ticket stubs or pressed flowers for variety.
Practical Tips for Any DIY Room Decor Project
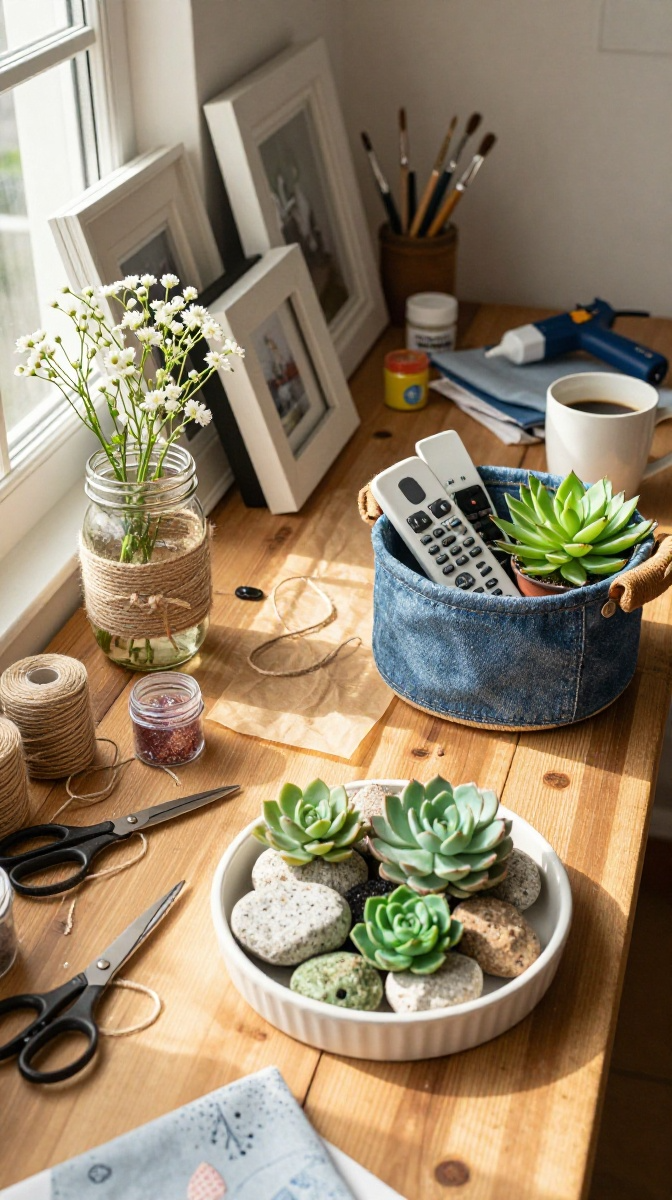
Work on a surface you don’t care about. Cardboard is your best friend. Glue, paint, and glitter will land where you least expect it.
Read through the whole project before starting. I’ve made the mistake of jumping in and then realizing I needed to wait two hours for paint to dry. Not fun.
Start small. If you’re new to crafting, pick one project and finish it before buying supplies for five more. Trust me, the unfinished project pile is real.
FAQ’s
How much do these projects cost?
Most of them cost between $5 and $20. If you shop at dollar stores or use supplies you already own, it’s even less.
Can I do these projects with kids?
Yes, but skip the spray paint and hot glue. The fairy light jars and photo clip lights are great kid-friendly options.
What if I don’t have a glue gun?
Use craft glue or double-sided tape. Glue guns are faster, but not always necessary. For fabric projects, fabric glue works well.
How do I hang things without damaging walls?
Command hooks are your best bet. They come off clean and hold a decent amount of weight. For lightweight items, removable mounting putty works too.
How long do these projects take?
Most take one to two hours, plus drying time. The fairy light jars need about two hours of drying, so plan accordingly.
Where can I find cheap craft supplies?
Dollar stores, thrift shops, and clearance aisles are gold mines. Facebook Marketplace often has free or cheap craft supplies too.
Final Thoughts: Just Start Creating
Your room doesn’t need a full renovation to feel fresh. One afternoon, a few supplies, and a little patience can totally change the vibe. Pick one project from this list and give it a shot this weekend.
Worst case? It looks a little wonky, and you learn something. Best case? You’ve got a room that feels cozy, personal, and completely yours. Either way, you made something. That counts.
Now go dig through that junk drawer and find some jars. Your room is waiting.