
Blank walls are boring. Store-bought art is pricey. So let’s fix both problems with our own two hands. Grab a glue gun and let’s make some wall decor that actually looks good.
Why DIY Wall Decor Beats Store-Bought Art
Walk into any home decor store, and you’ll see the same mass-produced prints at absurd prices. A framed quote about “living, laughing, loving” for forty bucks? Come on.
DIY wall decor gives you three things store-bought stuff can’t. First, it’s cheaper — most of these projects cost under $25. Second, it’s custom — you pick the colors, sizes, and style. Third, it’s actually yours, not the same canvas your neighbor bought last weekend.
Plus, there’s something satisfying about pointing at your wall and saying, “Yeah, I made that.”
Project 1: Geometric Wood Slice Wall Art
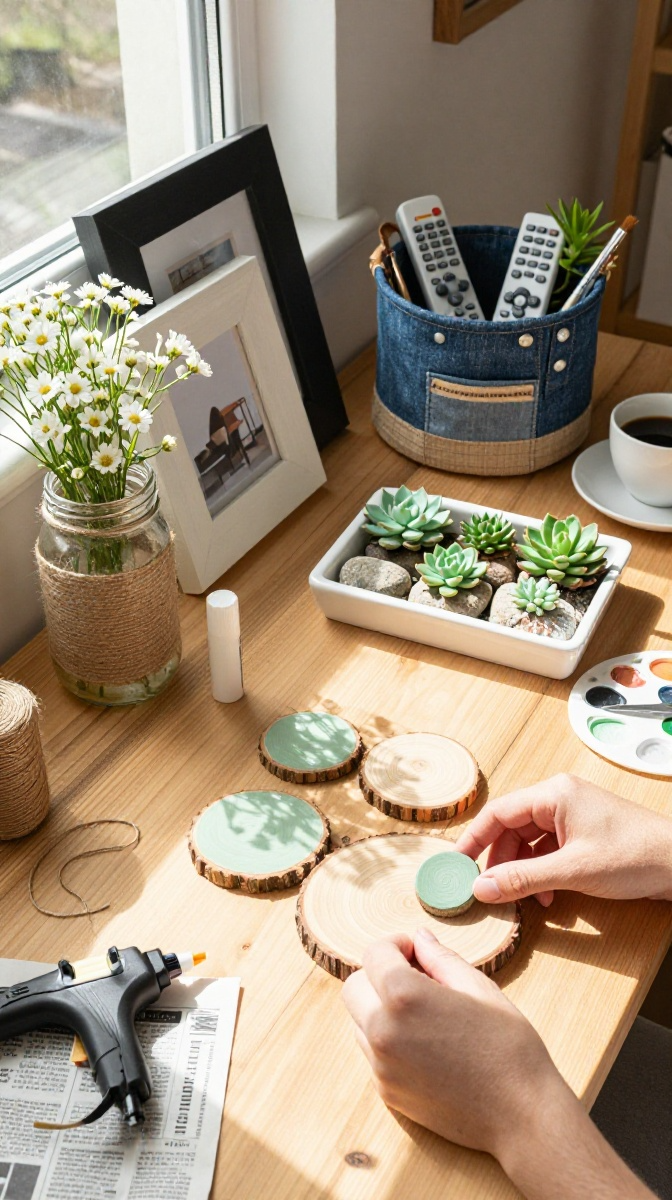
This one’s a crowd-pleaser. Wood slices arranged in a pattern create a warm, organic look that fits almost any room.
Materials and Tools
- Wood slices in various sizes (craft stores sell packs, or ask a friend with a saw)
- Acrylic paint in 2–3 colors
- Paintbrushes (foam brushes work great and cost pennies)
- Strong adhesive or a hot glue gun
- Picture-hanging strips or small nails
- Newspaper or a drop cloth
Budget swap: Instead of wood slices, use cardboard circles cut from delivery boxes. Paint them thick and nobody will know the difference from two feet away.
Step-by-Step Instructions
- Lay out your wood slices on the floor in the pattern you want. Try a hexagon shape, a wave, or a random cluster. Play around until it looks right.
- Paint each slice with your chosen colors. Let some show natural wood grain for contrast. Two coats give better coverage than one thick, gloppy layer.
- Let everything dry completely. This takes about an hour, so go make a snack.
- Flip the slices over and arrange them again in your pattern. Use tape to mark where each one goes.
- Glue the slices together at the edges where they touch. Work in small sections so the glue doesn’t dry before you position everything.
- Let the whole piece dry overnight. Yes, overnight. Don’t rush this part.
- Attach picture-hanging strips to the back of a few slices and press the whole piece onto your wall.
Common Mistakes to Avoid
Don’t skip the layout step. Trust me, trying to rearrange glued slices is a nightmare. Also, don’t use too much glue — it oozes out and looks messy.
And please, don’t hang this above your bed unless you’re confident in your adhesive skills. Wood slices are heavier than they look.
Project 2: Macrame Wall Hanging for Beginners
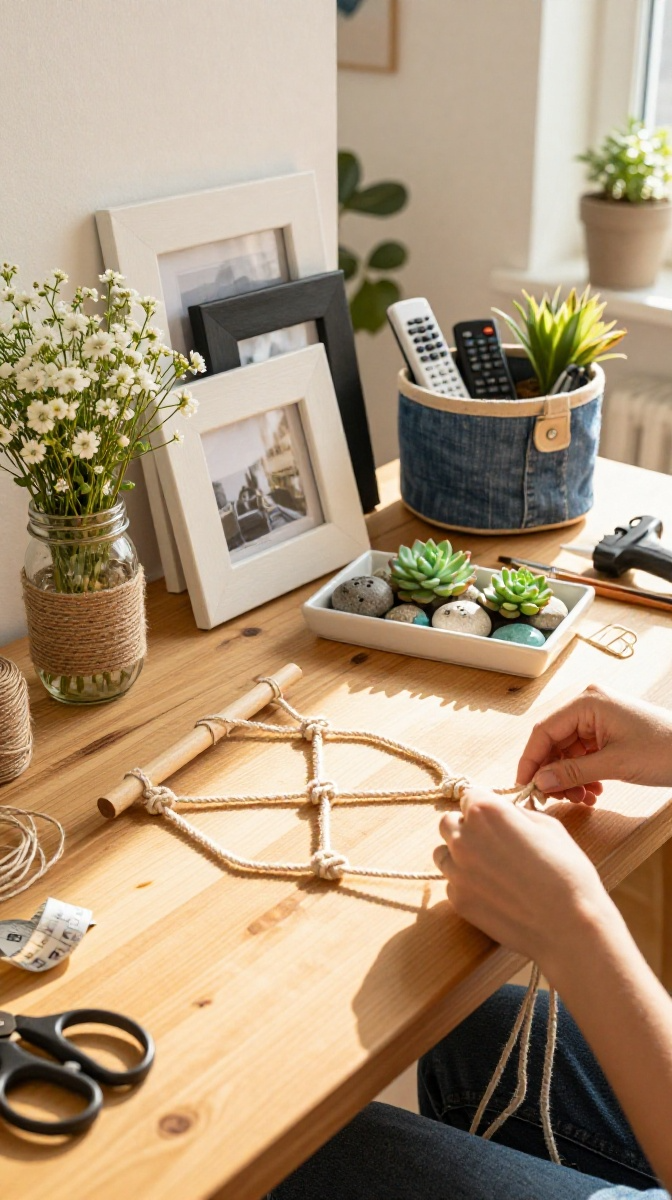
Macrame sounds intimidating. It’s not. If you can tie your shoes, you can tie these knots.
Materials and Tools
- Cotton macrame cord (3mm or 4mm works well)
- A wooden dowel or a stick from your backyard
- Scissors
- A measuring tape
- Masking tape (for holding the dowel steady)
Budget swap: Old t-shirts cut into strips work as cord. They give a different texture but still look cool.
Step-by-Step Instructions
- Cut 12 strands of cord, each about 4 feet long. Fold each in half and attach to the dowel using a simple loop knot.
- Tape the dowel to a table or chair back so it stays put while you work.
- Separate the strands into pairs. Tie a basic square knot with each pair — left over right, then right over left.
- Keep knotting in rows. After each row, alternate which strands you pair up to create a diamond pattern.
- When you’re happy with the length, tie a final row of tight knots and trim the ends to your preferred length.
- Hang it on a nail or hook. Step back and admire your work.
Design Variations
Add wooden beads between knots for extra flair. Dip the ends in fabric dye for an ombre effect. Or weave in a few strands of metallic thread for a subtle shimmer.
Project 3: Pressed Flower Frame Art
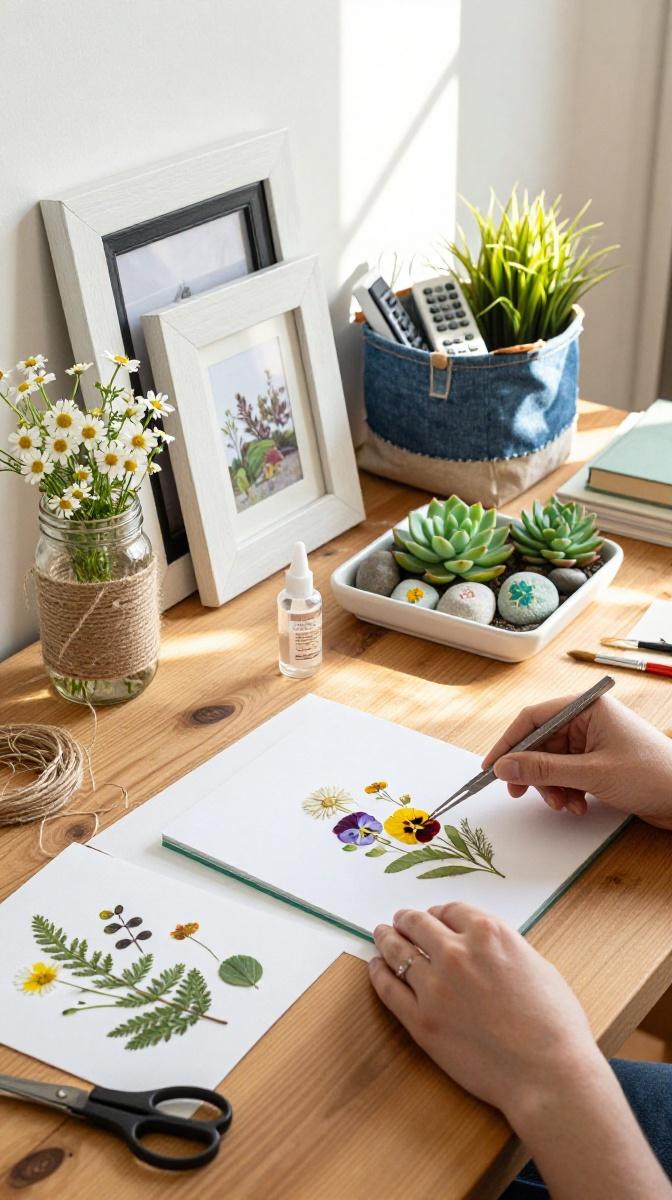
This project turns free garden flowers into gallery-worthy art. It’s basically magic, but with more patience.
Materials and Tools
- Fresh flowers and leaves (flat ones work best — think daisies, ferns, pansies)
- Heavy books or a flower press
- Parchment paper
- A clean picture frame with glass
- White cardstock or watercolor paper
- Tweezers
- Clear craft glue
Step-by-Step Instructions
- Pick flowers in the morning after the dew dries. Choose ones that are fully open but not wilting.
- Place each flower between two sheets of parchment paper. Flatten gently with your fingers.
- Stack the parchment sheets between heavy books. Add more books on top for weight.
- Wait 2–3 weeks. I know, that’s forever. But rushing leads to brown, crinkly flowers.
- Once dry, use tweezers to arrange the flowers on your cardstock. Move them around until you love the layout.
- Glue each piece down with a tiny dot of craft glue. Press gently and let dry.
- Place the artwork in the frame and hang it up.
Decorating Ideas
Group three small frames together for a gallery wall. Use flowers from a wedding bouquet for a sentimental piece. Or make seasonal versions and swap them out every few months.
Project 4: Upcycled Fabric Scrap Wall Hanging
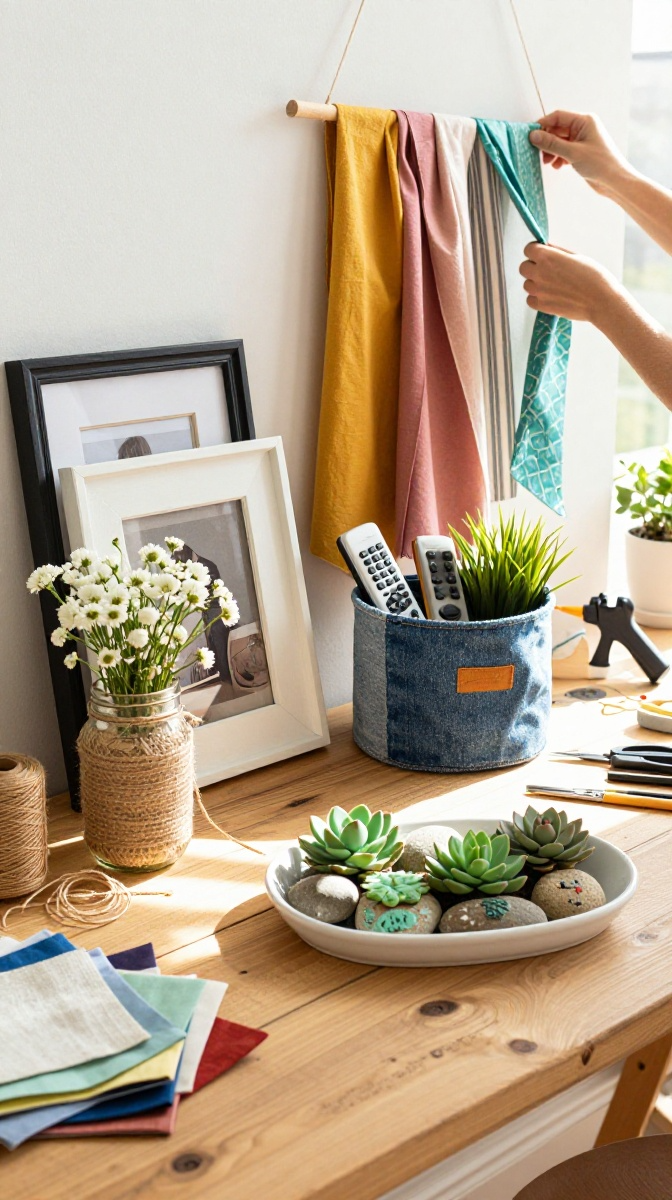
Got old clothes or fabric scraps lying around? Turn them into a colorful, textured wall hanging.
Materials and Tools
- Fabric scraps in various colors and patterns
- A sturdy stick or dowel
- Twine or yarn
- Fabric scissors
- A hot glue gun or fabric glue
Step-by-Step Instructions
- Cut your fabric into strips about 1 inch wide and 12–18 inches long.
- Tie each strip onto the dowel using a simple knot. Alternate colors and patterns as you go.
- Keep adding strips until the dowel is full.
- Trim the bottoms so they’re roughly even — or leave them uneven for a boho look.
- Tie a piece of twine to each end of the dowel for hanging.
- Hang it up and fluff the strips with your fingers.
Troubleshooting
If your fabric frays too much, use pinking shears or add a dab of fabric glue to the ends. If the hanging feels too heavy, use a thicker dowel.
Project 5: Minimalist Line Art on Canvas
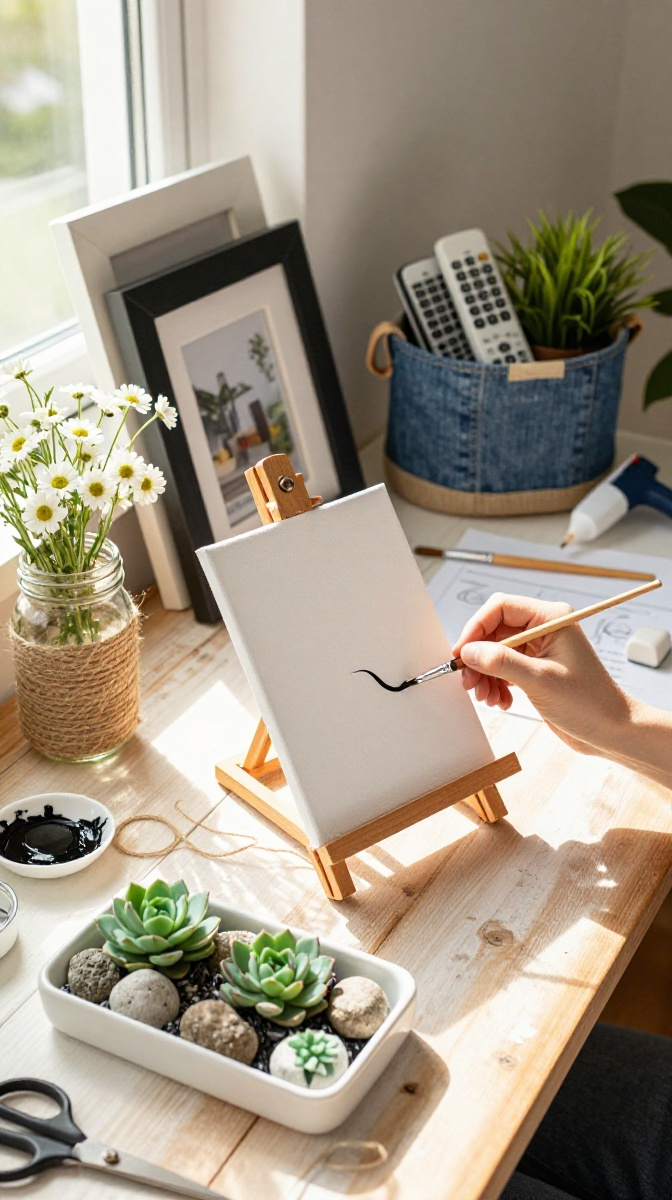
Can’t draw? Neither can I. But this abstract line art is basically fancy doodling, and it looks surprisingly professional.
Materials and Tools
- A blank canvas (any size — start small)
- Black acrylic paint or a thick black marker
- A thin paintbrush
- Pencil and eraser
Step-by-Step Instructions
- Lightly sketch a simple shape with pencil — a face profile, a leaf, or random curved lines.
- Go over the sketch with black paint or marker. Keep the lines smooth and confident.
- Add a few abstract dots or short lines for interest.
- Let it dry, then erase any visible pencil marks.
- Hang it solo or pair it with a second canvas for a diptych.
FAQ’s
What if I don’t have a hot glue gun?
Use strong craft glue or double-sided mounting tape. Hot glue is faster, but not essential.
How do I hang heavy DIY wall decor without damaging walls?
Use damage-free hanging strips rated for the weight. For heavier pieces, use a small nail or a picture hook.
Can I make these projects with kids?
Yes! The fabric scrap hanging and pressed flower art are great for kids. Skip the hot glue and use school glue instead.
How do I keep pressed flowers from fading?
Keep them out of direct sunlight. UV-protective glass in the frame also helps.
What’s the cheapest project on this list?
The minimalist line art. A small canvas and a black marker cost less than $10 total.
Final Thoughts
Your first DIY wall decor project won’t be perfect. That’s fine. Nobody’s judging your crooked macrame knots or slightly wonky wood slice arrangement.
Pick one project from this list. Gather your materials. Set aside an afternoon. Then text me a photo when it’s done — okay, fine, you can’t actually text me, but you get the idea.
Your walls are waiting. Go make something awesome.