
Paper crafts are the ultimate low-risk, high-reward hobby. You probably already have everything you need sitting in a drawer somewhere. No fancy equipment, no expensive supplies, and no pressure to be perfect. Let’s make something cute, slightly imperfect, and totally worth showing off.
Why Paper Crafts Are Perfect for Beginners
Paper is forgiving. Mess up a fold? Grab another sheet. Cut something crooked? Nobody will notice once it’s hanging on the wall. That low stakes vibe makes paper the ideal starting point for anyone who’s ever thought, “I’m just not crafty.”
It’s also cheap. A pack of colored paper costs less than a coffee, and it’ll keep you busy for hours. Plus, most projects take under 30 minutes, so you get that instant satisfaction hit without committing your whole afternoon.
Materials and Tools You’ll Need
Before we dive in, let’s round up the basics. Nothing here requires a trip to a specialty store.
- Colored paper or cardstock — regular printer paper works too, but cardstock holds shape better
- Scissors — sharp ones make cleaner cuts; kids’ safety scissors are a fine substitute
- Glue stick or white craft glue — glue sticks are less messy, white glue is stronger
- Ruler — for straight folds and measuring
- Pencil — for marking lines you’ll erase or hide later
- Bone folder or popsicle stick — for creasing folds sharply
- Markers or googly eyes — optional, for adding personality
Don’t have cardstock? Cereal boxes and old greeting cards are great free substitutes. No bone folder? Your thumbnail works in a pinch.
Project 1: The Classic Paper Crane
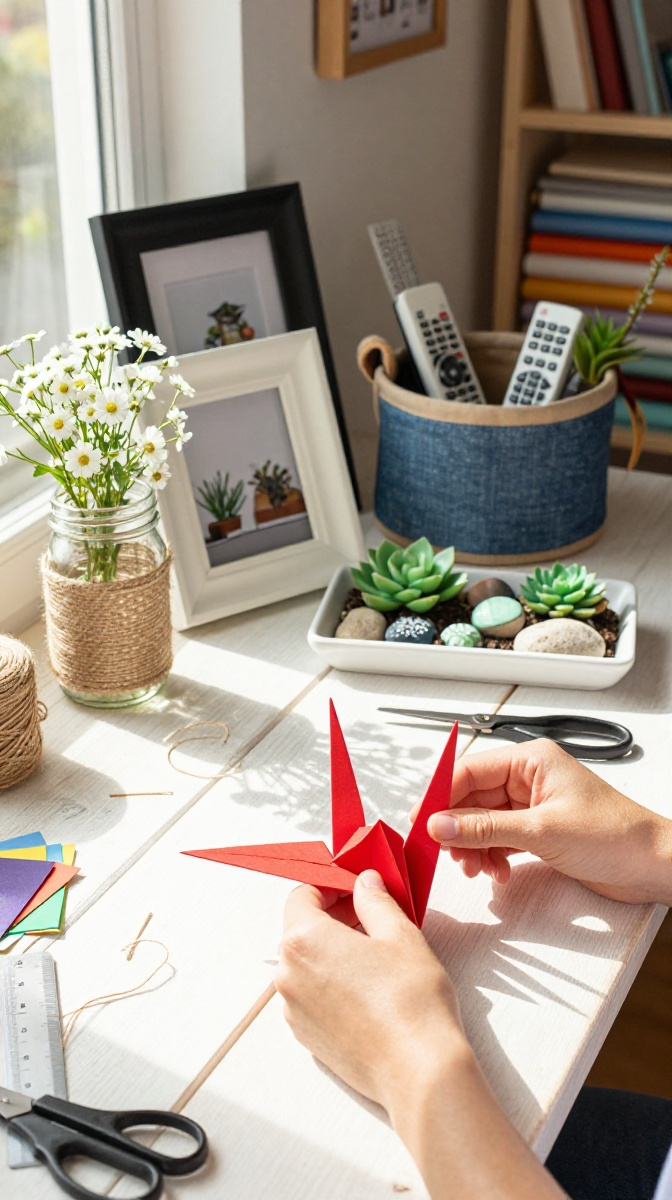
Yes, it’s the poster child of paper crafts, but there’s a reason it’s so popular. The crane teaches you foundational folds you’ll use in almost everything else.
Step-by-Step Instructions
- Start with a square piece of paper. If yours is rectangular, fold one corner down to the opposite edge and trim the excess.
- Fold the square in half diagonally both ways, then unfold. You should see an X crease.
- Flip it over and fold in half horizontally and vertically, then unfold. Now you have a star crease pattern.
- Push the sides inward along the creases to collapse the paper into a smaller diamond shape.
- Fold the top flaps toward the center line on both sides, creating a kite shape.
- Unfold those flaps, lift the top layer, and squash it flat into a long diamond.
- Flip the paper over and repeat steps 5 and 6 on the other side.
- Fold the bottom points up to meet the top point on both sides.
- Inside reverse fold the legs and neck outward, then fold down the head.
- Gently pull the wings apart and puff air into the body to give it shape.
If your crane looks a little squished, that’s normal. Mine looked like a sad pigeon the first five times.
Common Mistakes to Avoid
Rushing the creases is the number one issue. Take an extra second to press each fold firmly. Sloppy creases snowball into a lopsided crane. Also, make sure your starting square is actually square — eyeballing it rarely works.
Project 2: Simple Paper Flowers
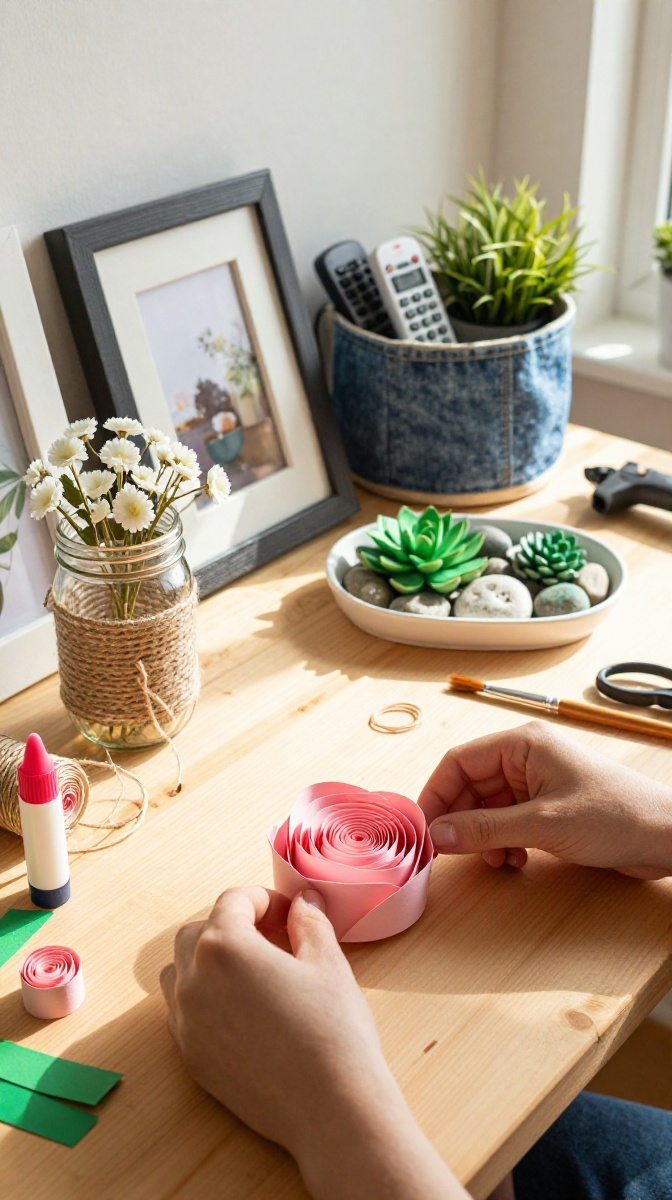
These never wilt and never need watering. Perfect for people who kill real plants.
Materials for This Project
- Colored paper in petal shades (pink, yellow, purple)
- Green paper for stems
- Scissors
- Glue stick
- Button or small circle of paper for the center
How to Make Them
- Cut a circle about 4 inches wide from your petal-colored paper.
- Cut a spiral shape starting from the outside edge, working inward.
- Starting from the outer end, roll the spiral tightly toward the center.
- Let it relax slightly — it’ll naturally form a rose shape.
- Glue the center down so it holds its shape.
- Cut a thin strip of green paper and roll it into a stem, then glue it to the base.
- Add a button or paper circle to the middle for a finished look.
Want variety? Try different spiral widths. Tighter spirals make compact buds; looser ones make open blooms.
Project 3: Paper Chains That Don’t Look Cheesy
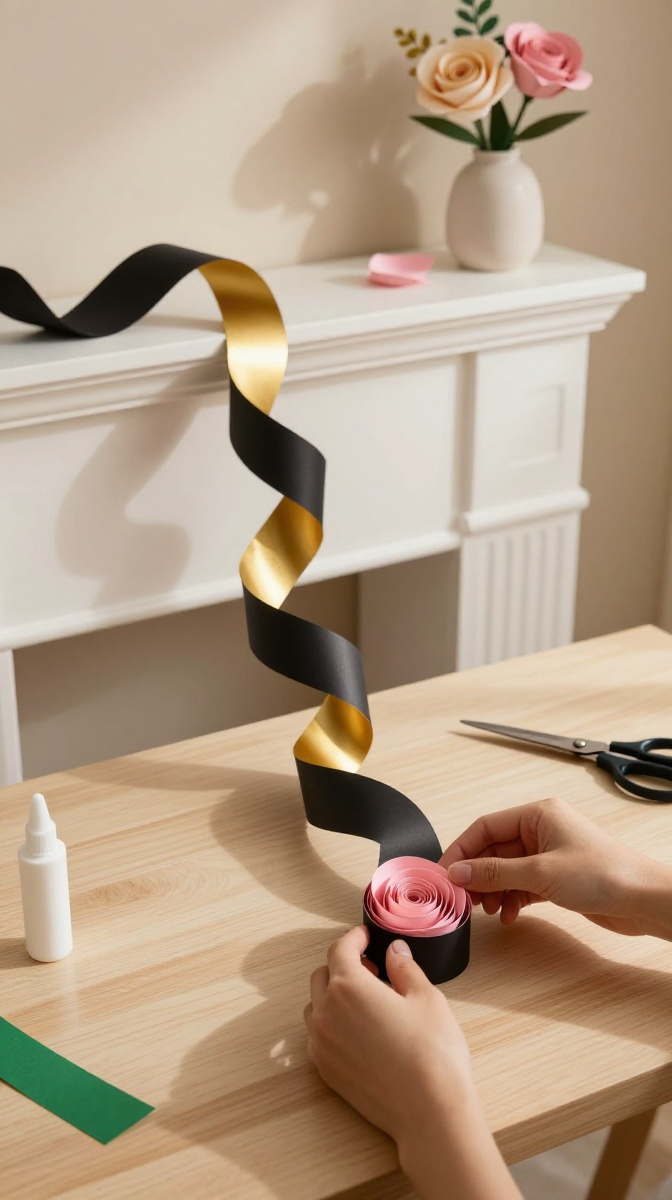
Paper chains get a bad rap because we all made them in kindergarten. But with the right paper, they actually look chic. Think matte black and gold for a party, or pastel tones for a nursery.
- Cut strips of paper about 1 inch wide and 6 inches long.
- Loop the first strip into a circle and glue the ends together.
- Thread the next strip through the first loop, then glue its ends.
- Keep going until you reach your desired length.
- Hang them across a doorway, drape them on a mantel, or coil them into a decorative bowl.
Pro tip: mix paper types. Combine matte and metallic for a look that feels intentional rather than preschool.
Tips for Making Your Crafts Look Polished
Choosing the Right Paper
Weight matters more than color. Thin paper tears easily and won’t hold folds. Look for paper around 65–80 lb weight for the best balance of flexibility and sturdiness.
Decorating Ideas
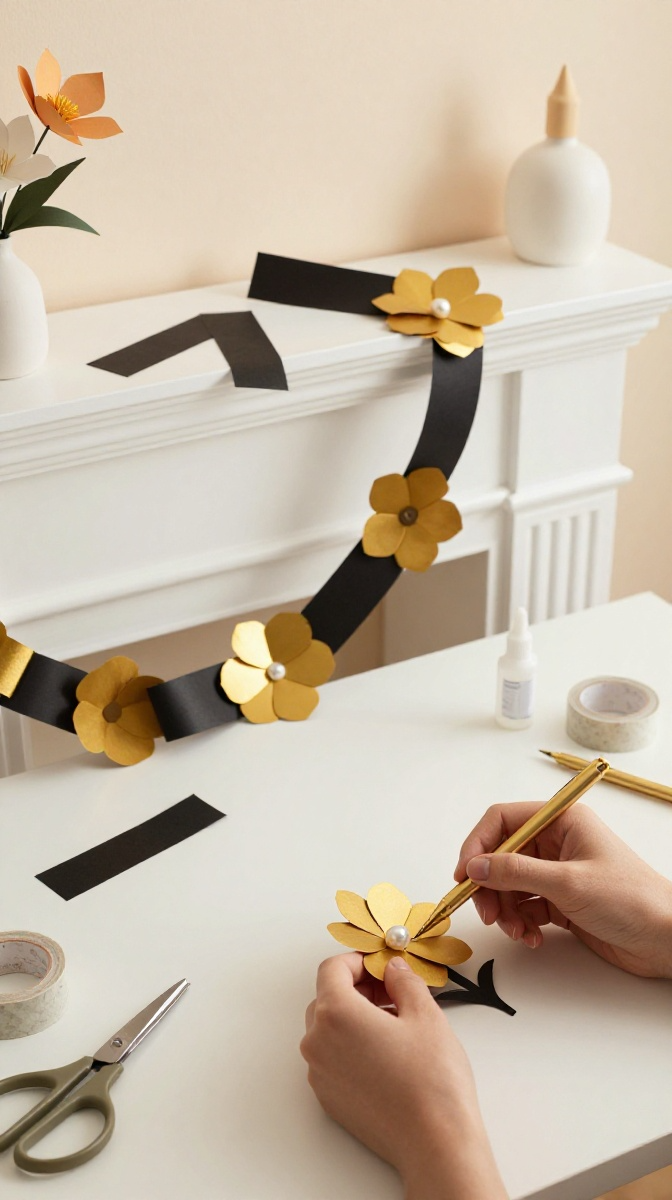
Add details with metallic pens, washi tape, or small stickers. A tiny bit of contrast goes a long way. You can also distress edges with a bit of ink for a vintage feel.
Displaying and Gifting Your Work
Paper crafts make great gifts when presented well. Pop a paper flower into a small vase, or string cranes into a mobile. For cards, mount your creation on folded cardstock and write a note inside.
FAQ’s
What’s the best paper for beginners?
Start with origami paper or colored cardstock. Both are affordable and easy to work with. Avoid glossy magazine pages until you’re comfortable with basic folds.
How do I keep my folds sharp?
Use a bone folder or the edge of a ruler to press down firmly on each crease. Your fingernail works too, just be gentle so you don’t tear the paper.
Can kids do these projects?
Absolutely. The paper chain and paper flowers are great for kids with adult supervision. The crane is better for ages 8 and up since it requires more precise folds.
What if my project doesn’t look like the picture?
Welcome to crafting. Nobody’s first attempt looks perfect. Adjust, try again, and remember that handmade means handmade — imperfections are part of the charm.
How do I store finished paper crafts?
Keep them flat in a folder or box away from moisture. Direct sunlight will fade colors over time, so store them in a cool, dark spot if you want them to last.
Final Thoughts: Just Start Folding
You don’t need talent to enjoy paper crafts. You just need paper, a little patience, and a willingness to laugh when your crane looks more like a chicken. Pick one project, grab your supplies, and give it a shot. Worst case? You recycle it and try again. Best case? You discover a new hobby that costs almost nothing and brings a ridiculous amount of joy.
Now go fold something. Your scissors are waiting.