
Grab a stack of paper and clear the kitchen table. We are making something cute in the next twenty minutes. No fancy tools, no expensive kits, and no guilt about that abandoned scrapbook in the closet. Just paper, scissors, and a little patience.
Why Paper Crafts Are the Best Low-Stakes Hobby
Paper is cheap, forgiving, and everywhere. Mess up a fold? Grab another sheet. That is the whole beauty of it. Unlike woodworking or resin, paper crafts let you experiment without crying over wasted materials.
They are also weirdly calming. There is something satisfying about turning a flat rectangle into a three-dimensional object with your own hands. Plus, you end up with gifts people actually keep.
What You Will Need Before We Start
You probably already own most of this stuff. If not, a dollar store run will cover it.
- Paper — printer paper, construction paper, cardstock, or old magazines. Cardstock holds folds better, but printer paper works fine for practice.
- Scissors — sharp craft scissors. Dull ones crumple paper instead of cutting it.
- Glue stick or liquid glue — glue sticks are less messy. Liquid glue holds heavier folds.
- Ruler — for straight lines and measuring folds.
- Pencil — light marks you can erase.
- Bone folder or popsicle stick — for creasing edges. A fingernail works in a pinch.
- Decorating supplies — markers, washi tape, stickers, glitter (if you enjoy vacuuming glitter for weeks).
Affordable substitute tip: Old cereal boxes make sturdy cardstock. Junk mail envelopes work for small projects. Do not buy specialty paper until you know you love the craft.
Project 1: The Classic Paper Crane (Yes, Really)
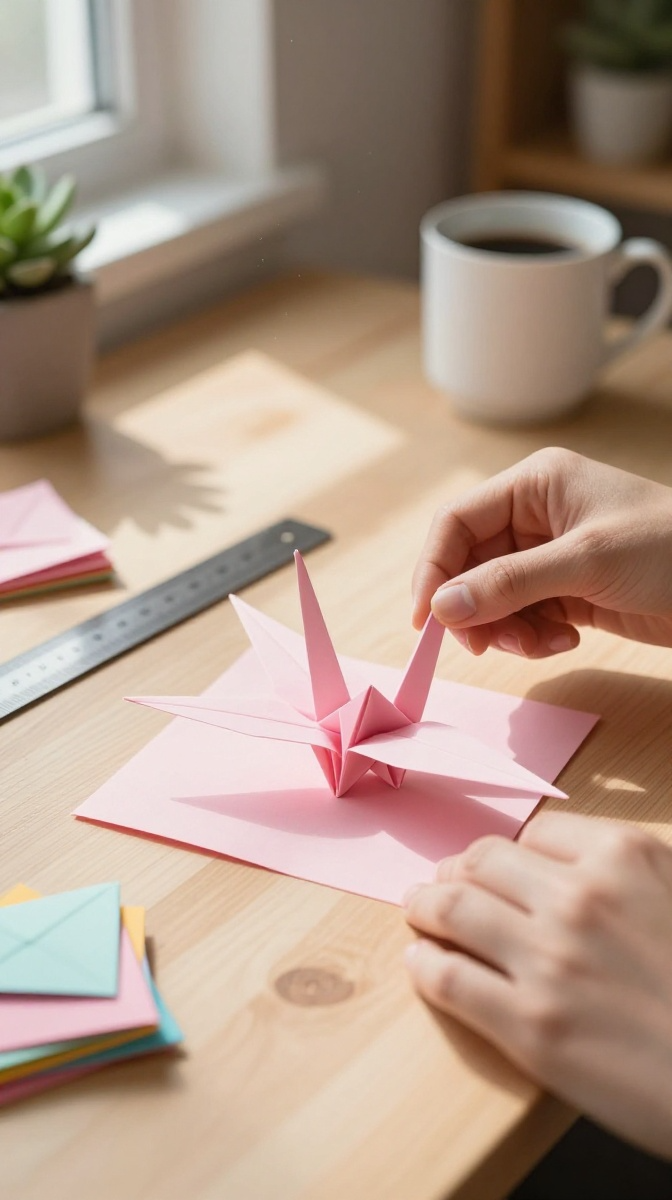
I know, I know. The paper crane is the pumpkin spice latte of paper crafts. Everyone has done it. But it is popular for a reason: it teaches you the basic folds that unlock everything else.
Step-by-Step Instructions
- Start with a square piece of paper. If yours is rectangular, fold one corner down to the opposite edge and trim the extra strip.
- Fold the square in half diagonally both ways, then unfold. You now have an X crease.
- Flip the paper over and fold it in half horizontally and vertically. Unfold. Now you have a star crease pattern.
- Push the sides inward so the paper collapses into a smaller diamond shape. This is called a square base.
- Fold the top layers of the diamond toward the center crease on both sides. Flip and repeat.
- Fold the top triangle down and unfold. This creates a guide crease.
- Open the side flaps and lift the bottom point upward, using the crease as a guide. Flatten everything. You now have a bird base.
- Fold the outer edges toward the center on both sides. Flip and repeat.
- Fold the bottom points upward to form the neck and tail. Inside-reverse fold the tip for the head.
- Fold the wings down gently. Blow into the bottom hole to puff out the body. Adjust the wings and head.
Common Mistakes to Avoid
The biggest issue is rushing the creases. If your folds are sloppy, the crane looks lumpy. Press each crease firmly with a bone folder or fingernail.
Another mistake is using thick paper. Cardstock is too stiff for cranes. Stick with regular printer paper or thin origami paper.
Display and Gift Ideas
String cranes on fishing line for a floating mobile. Fill a clear jar with tiny cranes as a get-well gift. Or leave one on a coworker’s desk and watch them wonder who is secretly nice to them.
Project 2: Paper Flowers That Do Not Die
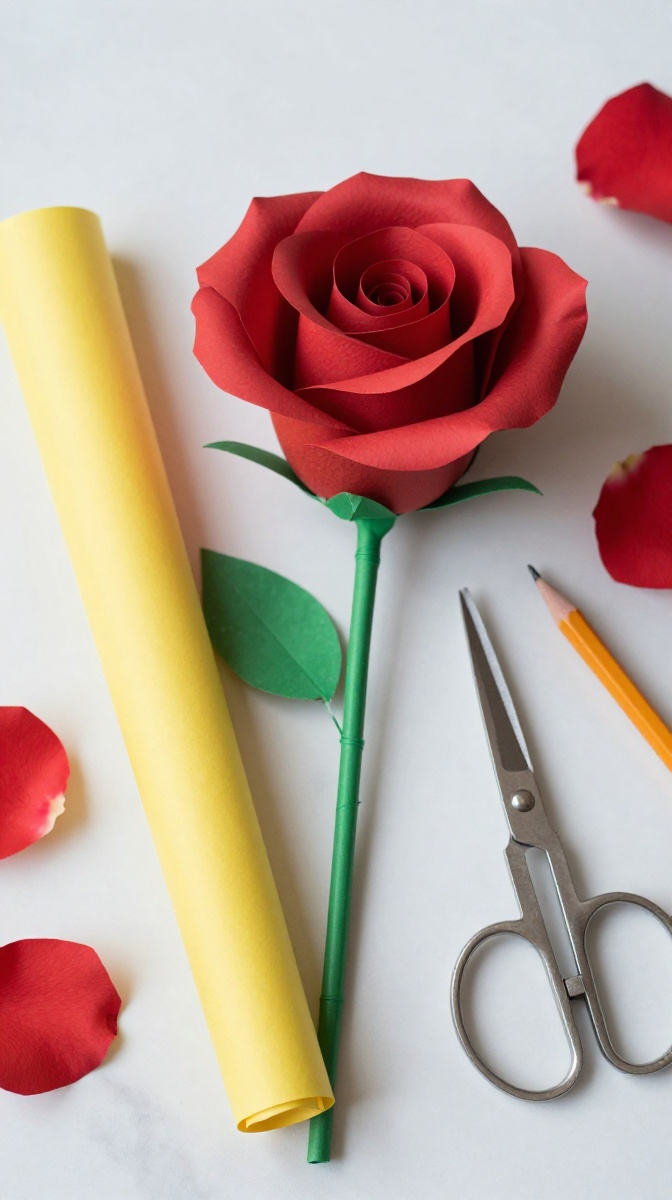
Real flowers wilt in three days. Paper flowers last until you accidentally crush them. Plus, you can make them in colors that do not exist in nature, which is fun.
Materials for One Flower
- 3–5 sheets of colored paper or cardstock
- Scissors
- Glue
- Green pipe cleaner or rolled paper stem
- Pencil for curling petals
Step-by-Step Instructions
- Cut a circle from your paper. Any size works, but a 4-inch circle is a good starting point.
- Cut a spiral into the circle, starting from the outside edge and working inward. Leave a small circle at the center.
- Starting from the outer edge, roll the spiral tightly toward the center.
- Let it loosen slightly so the petals fan out.
- Glue the center circle to the base to hold the shape.
- Wrap a pipe cleaner around the base for a stem.
- Curl the outer edges of the petals with a pencil for a natural look.
- Repeat with different colors and sizes for a bouquet.
Design Variations
Use book pages for a vintage look. Paint the edges with watercolor for a soft gradient. Add a drop of essential oil to the center for a subtle scent.
Pro tip: If your flower looks more like a cinnamon roll than a rose, roll it looser next time. Tight rolls hide the petals.
Project 3: Paper Lanterns for Cozy Vibes
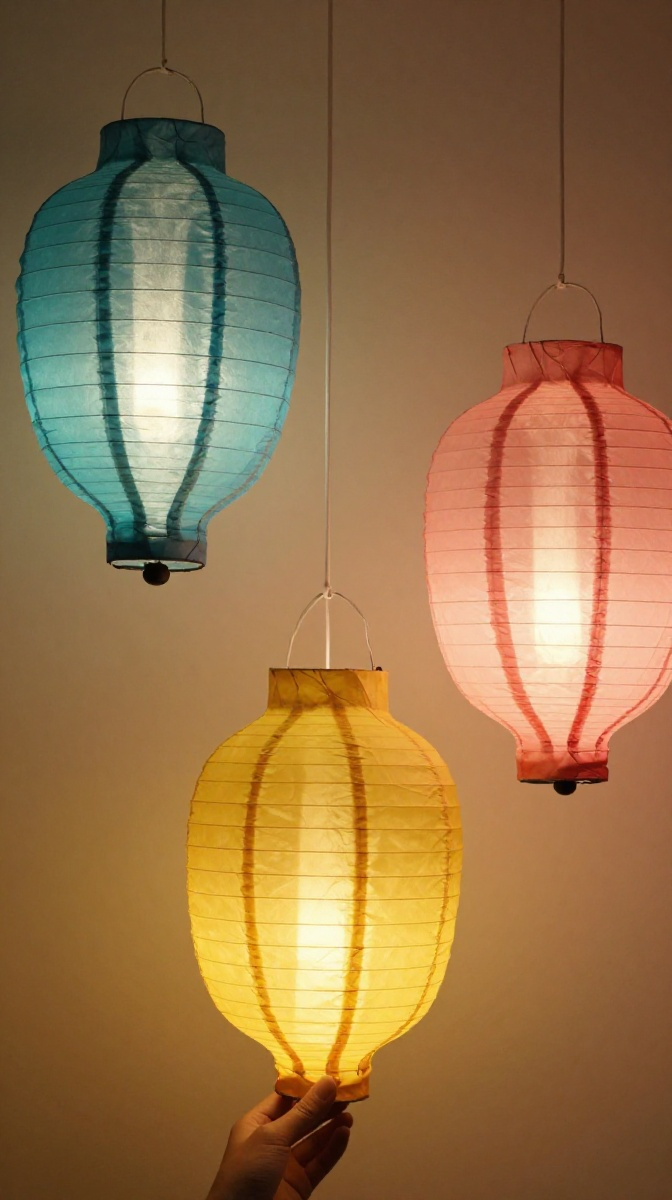
These are ridiculously easy and look impressive hanging from a ceiling. They also cost almost nothing, which is my favorite price point.
What You Need
- Rectangular paper (any color)
- Scissors
- Ruler
- Pencil
- Tape or glue
- String or fishing line
- LED tea light (optional)
Step-by-Step Instructions
- Fold the paper in half lengthwise.
- Starting from the folded edge, cut slits about one inch apart. Stop about one inch from the open edge.
- Unfold the paper. You now have a striped pattern.
- Roll the paper into a cylinder and glue or tape the short edges together.
- Gently press down to flatten the lantern slightly. The slits will bow outward.
- Cut a thin strip of paper for a handle and attach it to the top.
- Hang with string and place an LED tea light inside if you want a glow.
Safety Note
Do not use real candles. Paper plus fire equals a very bad time. LED tea lights are cheap and safe.
Project 4: Paper Chain Wall Art
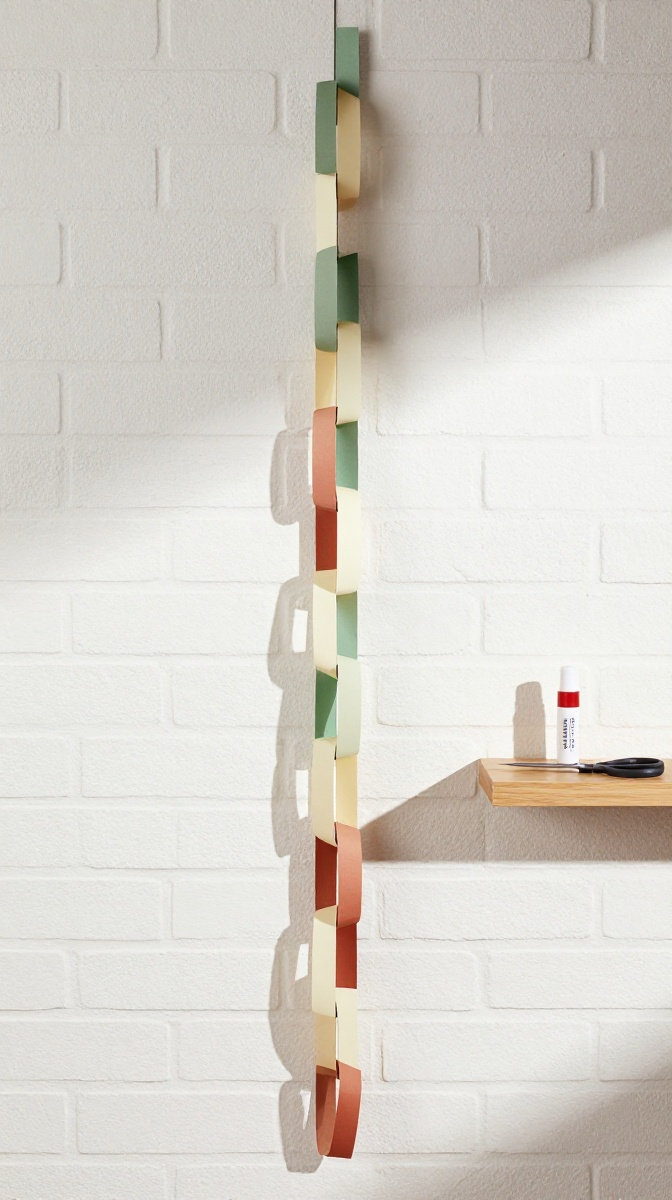
Remember making paper chains in elementary school? We are doing that again, but making it look intentional instead of chaotic.
How to Make It
- Cut paper into strips about one inch wide and six inches long.
- Loop the first strip into a circle and glue the ends together.
- Thread the next strip through the first loop, form a circle, and glue.
- Continue until the chain is the length you want.
- Hang the chain vertically, drape it across a wall, or coil it into a wreath shape.
Customization Ideas
Use a color scheme that matches your room. Alternate patterns and solids. Add small paper hearts or stars between links for extra flair.
IMO, this looks best when the strips are slightly different lengths. Perfect symmetry is overrated.
Practical Tips for Better Paper Crafts
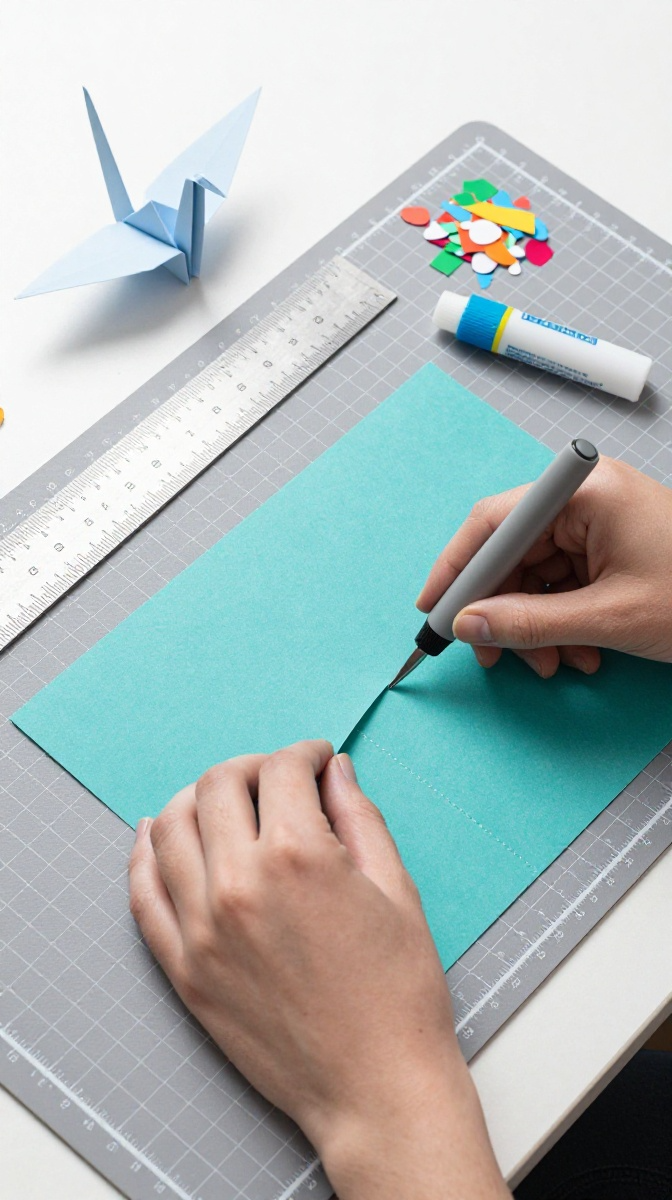
- Score before folding. Lightly run a dull knife or bone folder along the fold line. This prevents cracks in thick paper.
- Keep your hands clean. Oils and lotion smudge paper and weaken glue.
- Work on a cutting mat. It protects your table and gives you a straight edge guide.
- Store finished projects flat. Gravity is not kind to paper crafts.
- Practice with cheap paper first. Save the fancy stuff for when you know what you are doing.
FAQ’s
What is the best paper for beginners?
Regular printer paper is fine for practice. Once you get comfortable, switch to origami paper or lightweight cardstock for sturdier results.
Can I make these crafts with kids?
Yes, most of them. The paper chain and lanterns are great for kids. The crane is trickier and better for older children or adults who enjoy a challenge.
How do I keep my paper crafts from falling apart?
Use enough glue but not too much. Let everything dry fully before handling. For extra hold, use double-sided tape on folds.
What if I do not have craft scissors?
Kitchen scissors work in a pinch. Just clean them first unless you want butter stains on your art.
How do I store paper crafts long-term?
Keep them in a cool, dry place away from sunlight. A flat box or plastic bin works well. Humidity is the enemy.
Can I sell my paper crafts?
Absolutely. Paper flowers, lanterns, and cranes sell well at craft fairs and online. Just make sure your folds are clean and your colors are consistent.
Conclusion: Go Make Something Already
You do not need a fancy studio or a degree in origami. You need paper, scissors, and twenty minutes. Start with the lanterns if you want instant success. Try the crane if you want a challenge. Either way, you will end up with something handmade and way cooler than another screen scroll.
So grab that paper stack. Make a mess. Laugh at the wonky folds. Then make another one. That is how you get good.