
Got a bored kid and a stack of paper? Perfect. We’re making paper crafts that actually work, take minutes, and don’t require a trip to the craft store. Grab some paper, scissors, and glue, and let’s turn “I’m bored” into “Look what I made!”
Why Paper Crafts Are a Parent’s Secret Weapon
Paper is cheap, plentiful, and forgiving. If a project flops, you’re out one sheet of printer paper, not twenty dollars of art supplies.
Paper crafts also sneak in real skills. Kids practice cutting, folding, measuring, and following steps without realizing they’re learning anything. Sneaky, right?
Plus, most of these projects use stuff you already own. No special orders, no waiting for delivery. Just raid the recycling bin and get started.
Gather Your Paper Craft Supplies
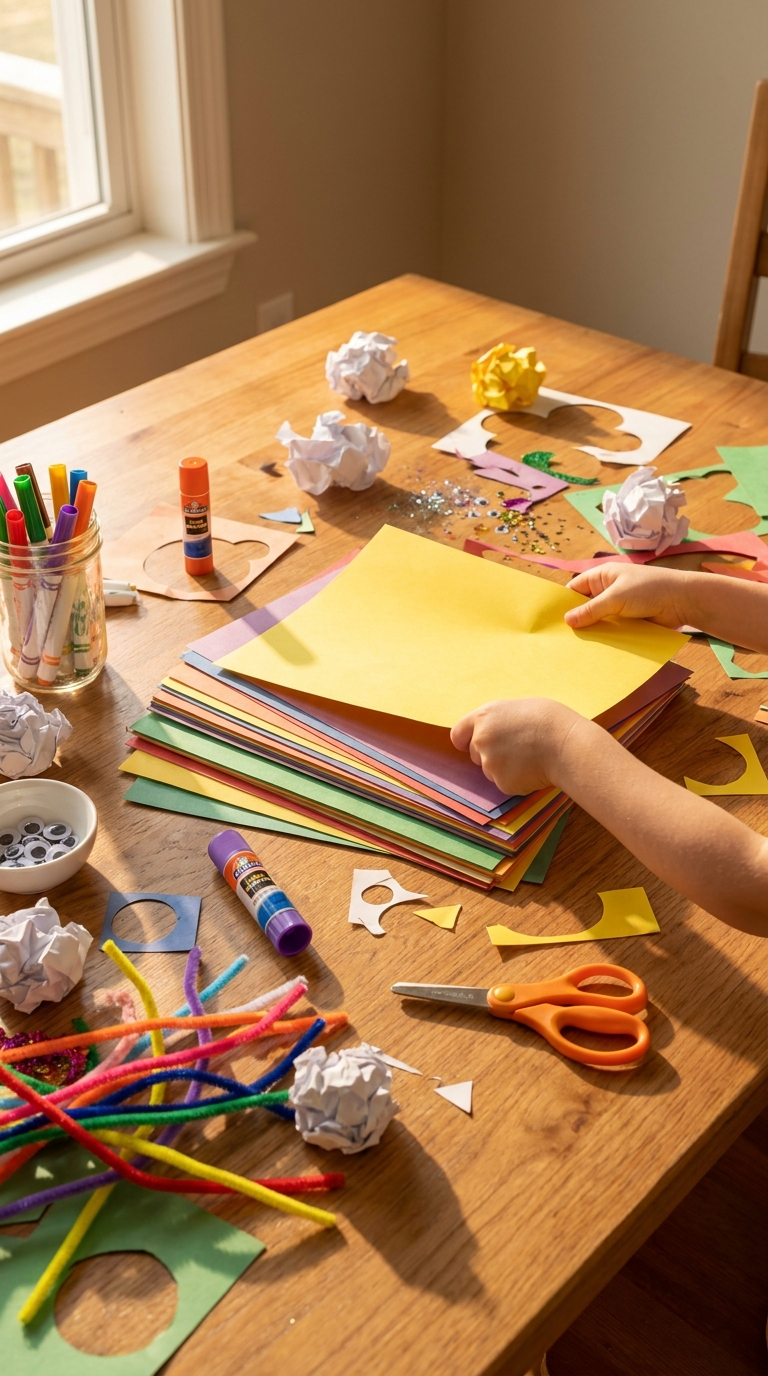
Before you start, round up the basics. You probably have most of this within arm’s reach right now.
- Paper — printer paper, construction paper, cardstock, or old magazines
- Safety scissors — blunt tips for little hands, regular scissors for older kids
- Glue stick — less messy than liquid glue (trust me on this one)
- Markers or crayons — for faces, patterns, and general decorating chaos
- Tape — masking tape or washi tape works great
- Googly eyes — optional, but they make everything instantly better
- Pipe cleaners — handy for handles and antennae
- Ruler — for folding straight lines
Budget-Friendly Substitutes
No cardstock? Cereal boxes work perfectly for sturdy bases. No googly eyes? Draw them on with a marker.
Out of glue sticks? A tiny dab of white glue on a cotton swab does the job. Just warn kids it needs drying time.
Project 1: The Classic Paper Airplane (That Actually Flies)
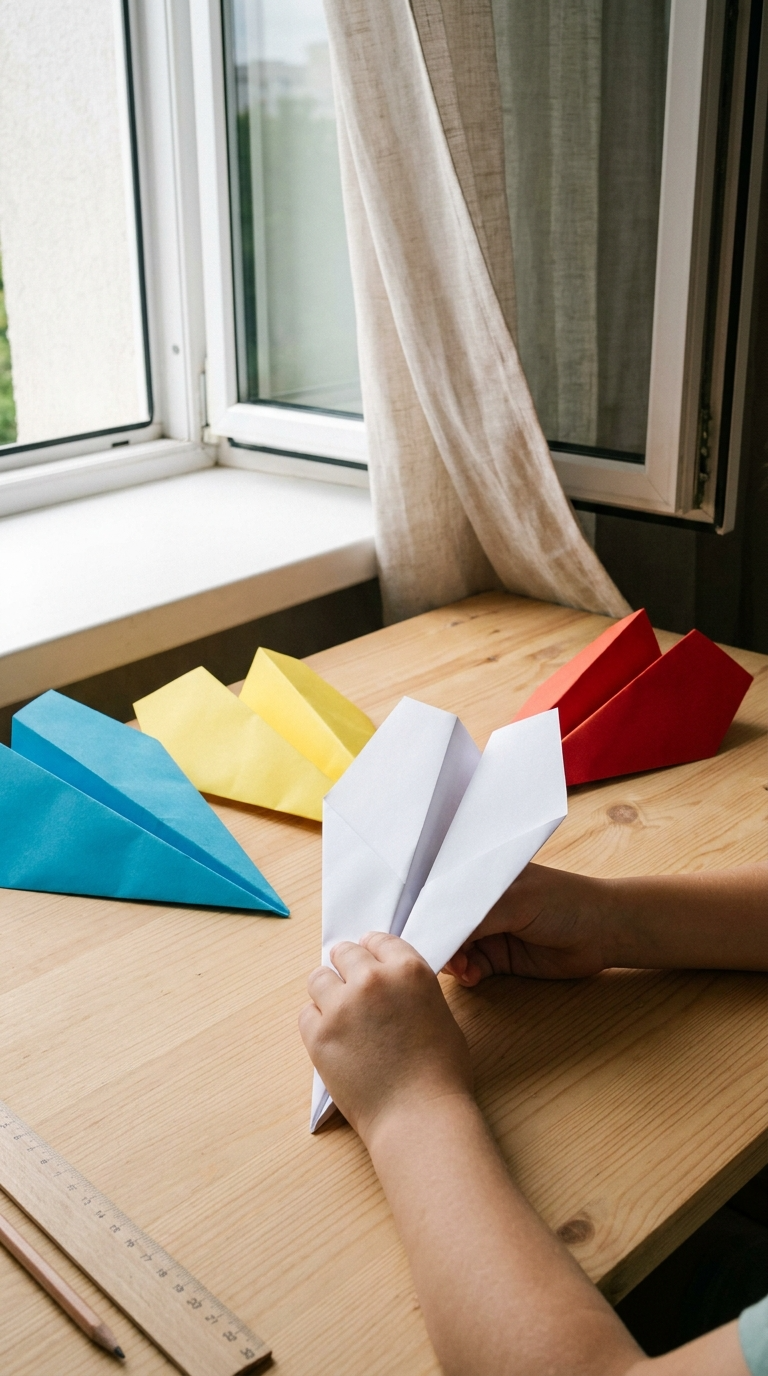
Every kid tries to make a paper airplane. Most of them nose-dive immediately. Let’s fix that.
Materials
- One sheet of printer paper (A4 or letter size)
- A flat surface
- Patience for two or three test throws
Step-by-Step Instructions
- Fold the paper in half lengthwise, then unfold it. This crease is your center guide.
- Fold the top two corners down to meet at the center crease. You now have a triangle shape at the top.
- Fold those same angled edges in again to the center line. The top should look like a narrow arrow.
- Fold the whole thing in half along the original center crease, with the flaps on the outside.
- Fold each wing down so its edge lines up with the bottom of the body.
- Open the wings slightly so they form a shallow “Y” shape when you look from the front.
- Hold the bottom of the body and throw with a gentle, smooth motion — not a hard flick.
Troubleshooting: Why Your Plane Crashes
If it dives, bend the back edges of the wings up slightly. If it stalls and flops, bend them down a touch.
Uneven wings? Refold them so both sides match. Symmetry matters more than you’d think.
Project 2: Paper Fortune Tellers (The Nostalgia Pick)
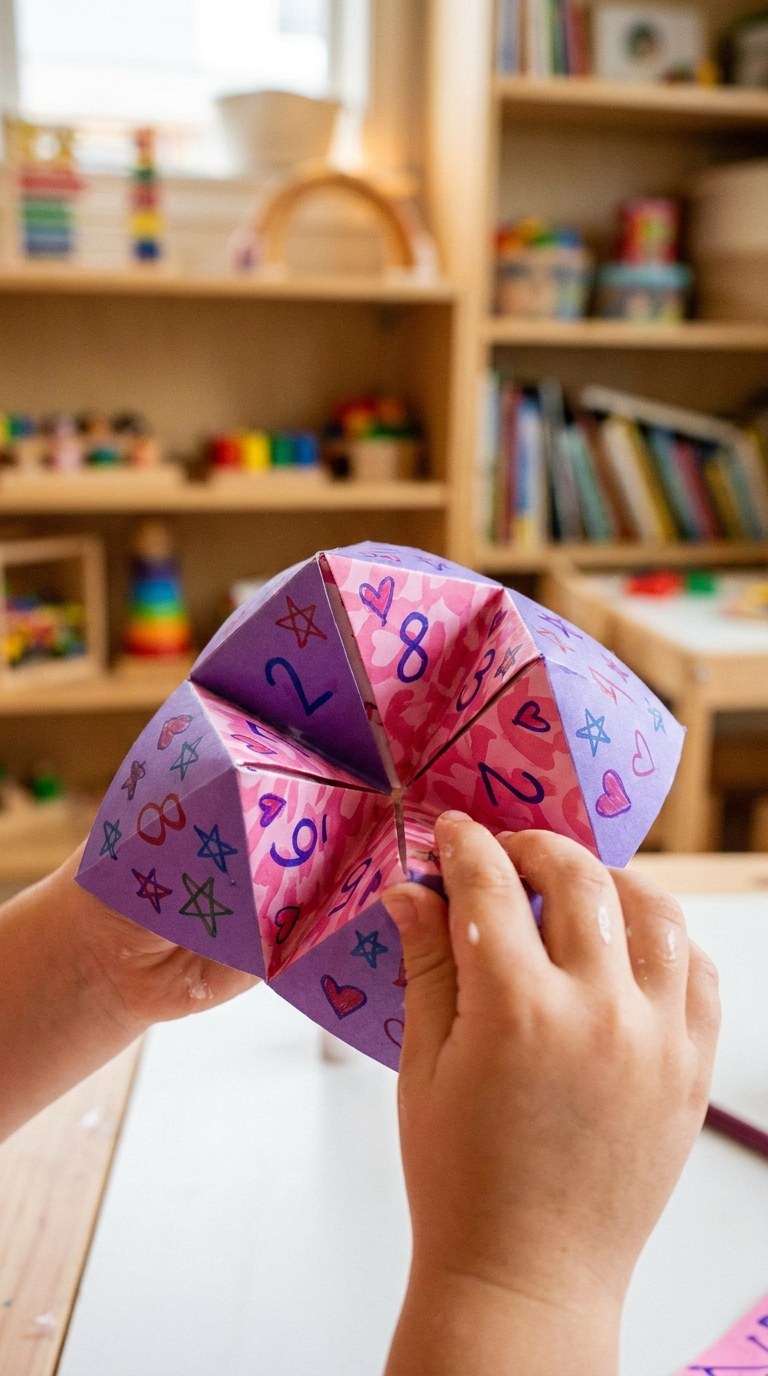
Remember these from school? They’re back, and kids still love them.
Materials
- Square paper — 6×6 inches works well
- Markers for writing fortunes
- Stickers for decorating
Step-by-Step Instructions
- Start with a square piece of paper. Fold it in half diagonally both ways, then unfold.
- Fold all four corners into the center point, creating a smaller square.
- Flip it over and fold all four corners into the center again.
- Fold the square in half and slide your fingers under the flaps to open the pockets.
- Write numbers 1–8 on the outer flaps and fortunes inside.
- Slide your thumbs and index fingers under the flaps to operate it.
Fortune Ideas Kids Love
“You will find a dollar in your pocket.” “Your pet thinks you’re the best.” “Something awesome happens this weekend.”
Let kids write their own. The sillier, the better, IMO.
Project 3: Paper Chain Animals
Paper chains are classic, but turn them into animals and suddenly they’re a whole new craft.
Materials
- Colored construction paper or painted printer paper
- Scissors
- Glue stick or tape
- Markers for faces
Step-by-Step Instructions
- Cut paper into strips about 1 inch wide and 6 inches long.
- Loop the first strip into a circle and glue the ends together.
- Thread the next strip through the first circle, loop it, and glue. Repeat for the body length you want.
- For a caterpillar, add googly eyes and antennae made from pipe cleaners.
- For a snake, taper the strips smaller toward the tail and add a red paper tongue.
- Let everything dry completely before playing.
Decoration Ideas
Use patterned paper for a fancy caterpillar. Add stickers for spots. Draw tiny feet on the bottom of each loop.
Hang completed chains across a doorway or drape them along a shelf for instant room decor.
Project 4: Origami Jumping Frog
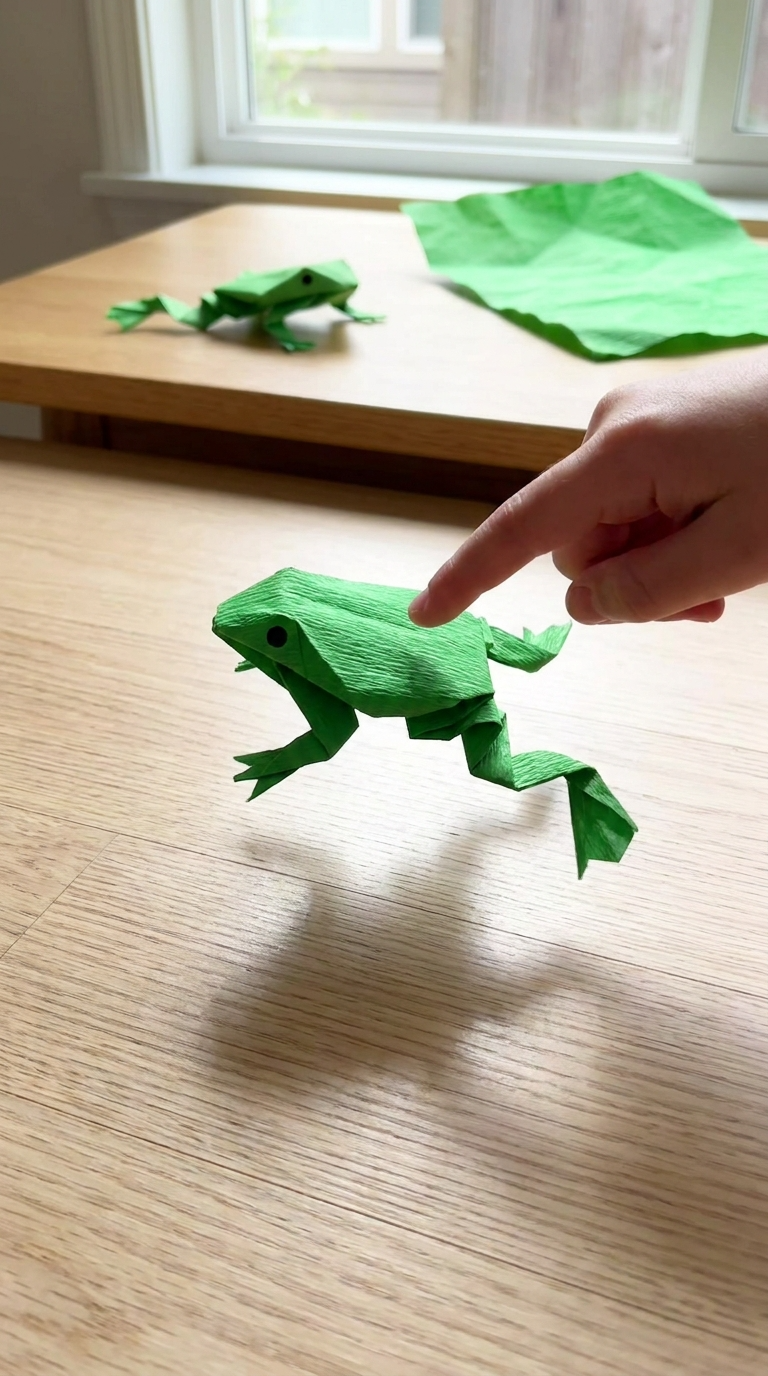
This one’s a crowd-pleaser because it actually moves. Press down on its back and watch it hop.
Materials
- Rectangular paper — half a sheet of printer paper works
- Flat surface
- Markers for eyes
Step-by-Step Instructions
- Fold the rectangle in half horizontally and unfold.
- Fold the top corners down to the center crease, forming a triangle.
- Fold the sides of the triangle inward to the center, creating a diamond shape.
- Fold the bottom edge up to the base of the diamond, then fold it back down halfway.
- Fold the whole thing in half away from you, then fold the back legs down.
- Press firmly on the frog’s back and release to make it jump.
Making It Jump Farther
Smaller frogs jump farther proportionally. Crease every fold sharply with a fingernail.
Thicker paper gives more spring. Try cardstock if regular paper feels floppy.
Project 5: Paper Plate and Paper Fish Mobile
Combine paper plates with paper cutouts for a hanging decoration that catches the light.
Materials
- Paper plates
- Blue and green paper for fish
- String or yarn
- Hole punch
- Markers and glitter (if you’re brave)
Step-by-Step Instructions
- Cut fish shapes from colored paper — simple teardrops with triangle tails.
- Decorate the fish with markers, scales, and eyes.
- Punch a hole in each fish’s top fin and tie on a length of string.
- Paint or color the paper plate as an underwater scene.
- Tie the strings to the bottom of the plate at different lengths.
- Hang the plate from a doorway or ceiling hook.
Safety Tips for Little Crafters
Pre-cut the fish shapes for kids under five. Let them handle decorating while you handle scissors.
Skip glitter if you value your vacuum cleaner. Stickers and markers work just as well.
Ways to Display and Share Your Paper Crafts
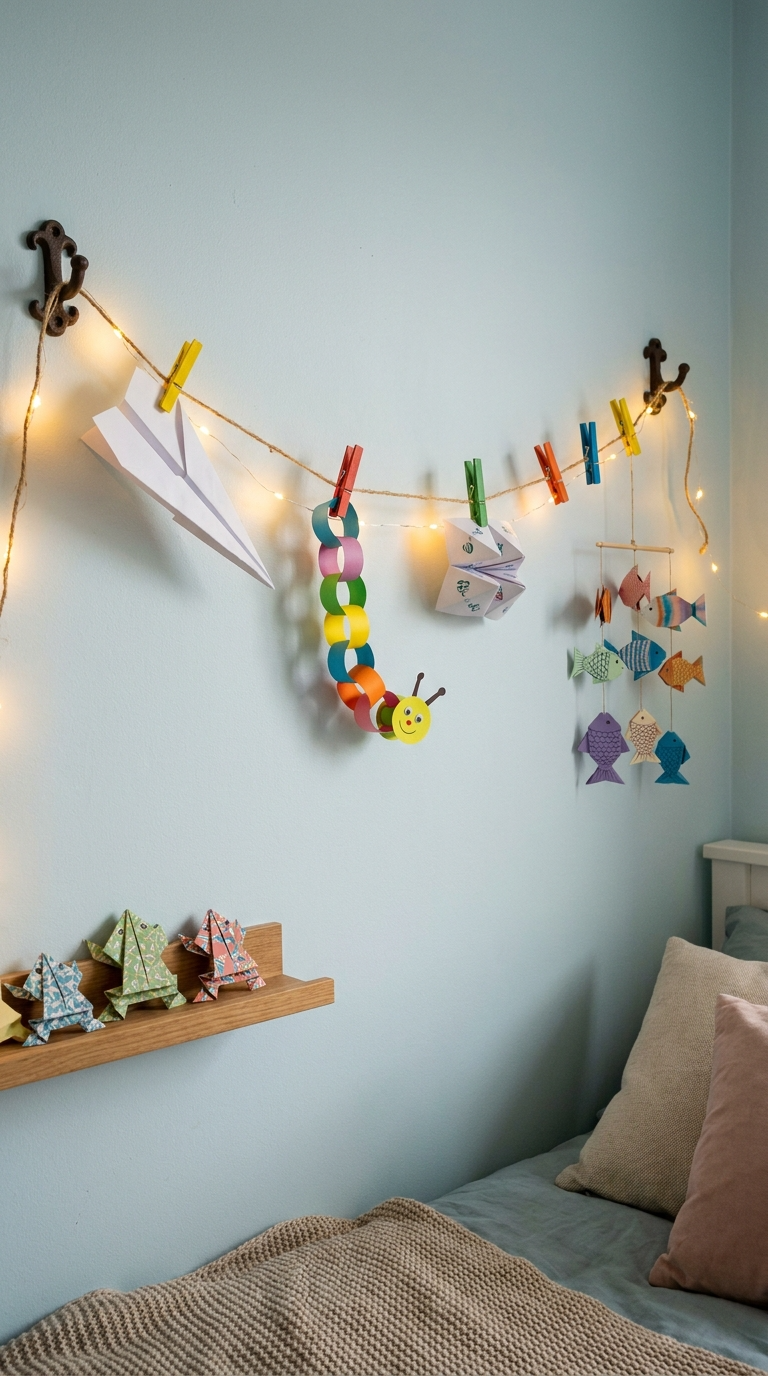
Paper crafts deserve better than the bottom of a backpack. Here are some ideas.
- Hang a clothesline across a wall and clip projects with clothespins
- Make a gallery shelf for standing projects like frogs and planes
- Gift fortune tellers to grandparents — they’ll actually keep them
- Turn paper chains into party decorations for birthdays
- Mail a flat craft to a friend or relative as a surprise
FYI, paper crafts also make great rainy-day activity stations. Set up a table with supplies and let kids rotate through projects.
Common Mistakes to Avoid
Rushing the folds. Sharp creases make everything work better, so slow down and press hard.
Using too much glue. A little goes a long way, and soggy paper tears.
Skipping the test throw or test jump. Adjustments are part of the fun.
Forgetting to label artwork. Write names and dates on the back so you know who made what.
FAQ’s
What age is best for these paper crafts?
Most projects work for ages 5 and up. Younger kids need help with scissors and precise folds.
What paper works best for origami?
Thin, crisp paper folds cleanly. Printer paper works fine, but actual origami paper is thinner and holds creases better.
How do I keep paper crafts from getting crushed?
Store flat projects in a folder or between books. Hanging projects stay safe on a wall or from a ceiling hook.
Can I use recycled paper?
Absolutely. Magazines, junk mail, and old wrapping paper all work. Just avoid anything too flimsy or already wrinkled.
What if my kid gets frustrated?
Switch to a simpler project like paper chains or free-drawing. The goal is fun, not perfection.
How long do these crafts take?
Most take 5–15 minutes. Fortune tellers and frogs go fast. Mobiles take a bit longer with drying time.
Ready, Set, Fold
Paper crafts are the easiest win in the crafting world. They’re cheap, quick, and kids actually play with the results.
Pick one project, gather your supplies, and give it a shot. If it flops, crumple it up and try again. That’s the beauty of paper — there’s always another sheet.
So what are you waiting for? Go make something awesome. And maybe hide the good scissors first.