
Paper is cheap, colorful, and surprisingly versatile. You probably have a stack of it sitting in a drawer right now. So why not turn that plain paper into something that actually looks good on your wall? These easy paper decoration crafts take minutes to learn and look way more expensive than they are.
I have messed up more paper projects than I can count, so trust me when I say these are beginner-proof. Grab some scissors, glue, and a little patience, and let’s make something cute.
Why Paper Crafts Are the Best Place to Start
Paper does not judge you. If you cut a shape wrong, you just cut another one. There is no expensive machine to buy and no fancy skills required.
It is also one of the most forgiving materials out there. You can fold it, paint it, curl it, or layer it, and it still holds up. Plus, kids and adults can both enjoy these projects.
And honestly? A handmade paper decoration hits different than something from a store. It has personality, and it costs almost nothing.
Paper Fan Rosettes: The Classic Crowd-Pleaser
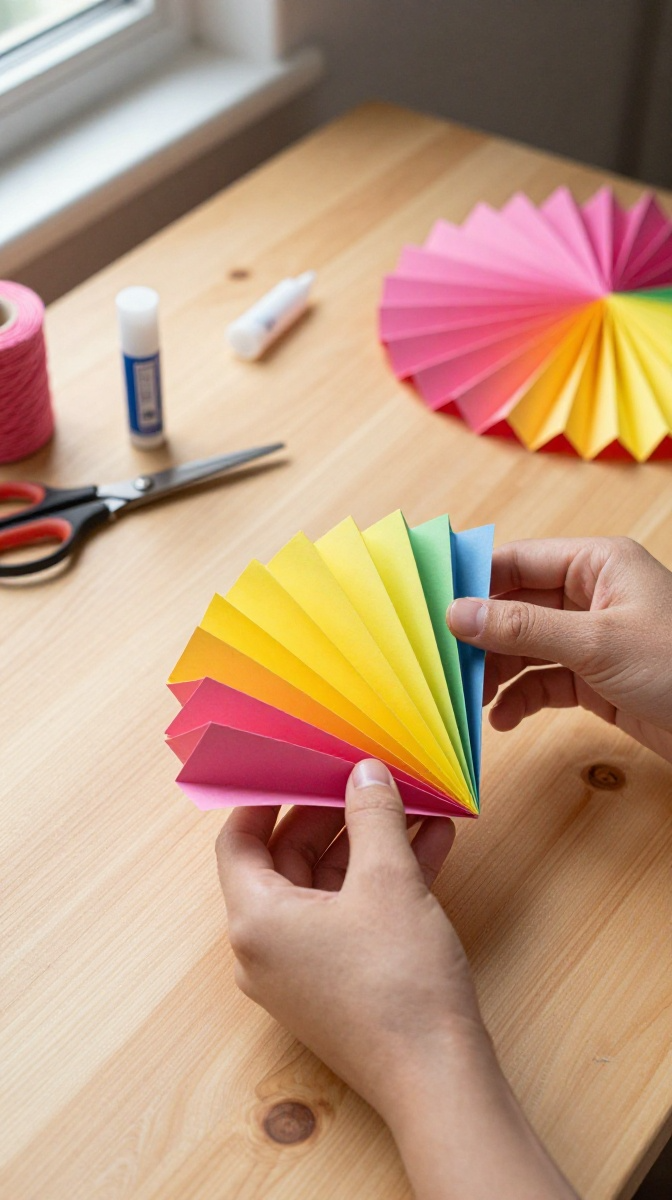
Paper fan rosettes look like something you would buy at a party store. They are actually just folded paper glued together, and they are ridiculously satisfying to make.
What You Will Need
- Cardstock or thick scrapbook paper (regular printer paper works, but it can flop)
- Scissors
- Glue stick or hot glue gun
- String or ribbon for hanging
- Buttons, stickers, or a paper circle for the center
If you do not have cardstock, use two sheets of regular paper glued together. It is a solid substitute and nobody will notice.
Step-by-Step Instructions
- Cut your paper into a rectangle. A standard sheet folded in half works fine.
- Fold the paper back and forth like an accordion, about one inch per fold.
- Pinch the folded stack in the middle and tie it with string.
- Fan out both sides until they meet to form a circle.
- Glue the two outer edges together so the circle stays closed.
- Cover the center with a button or a small paper circle.
- Attach a loop of string to the back for hanging.
That is it. You just made a decoration that looks store-bought in about five minutes.
Paper Garlands That Actually Look Good
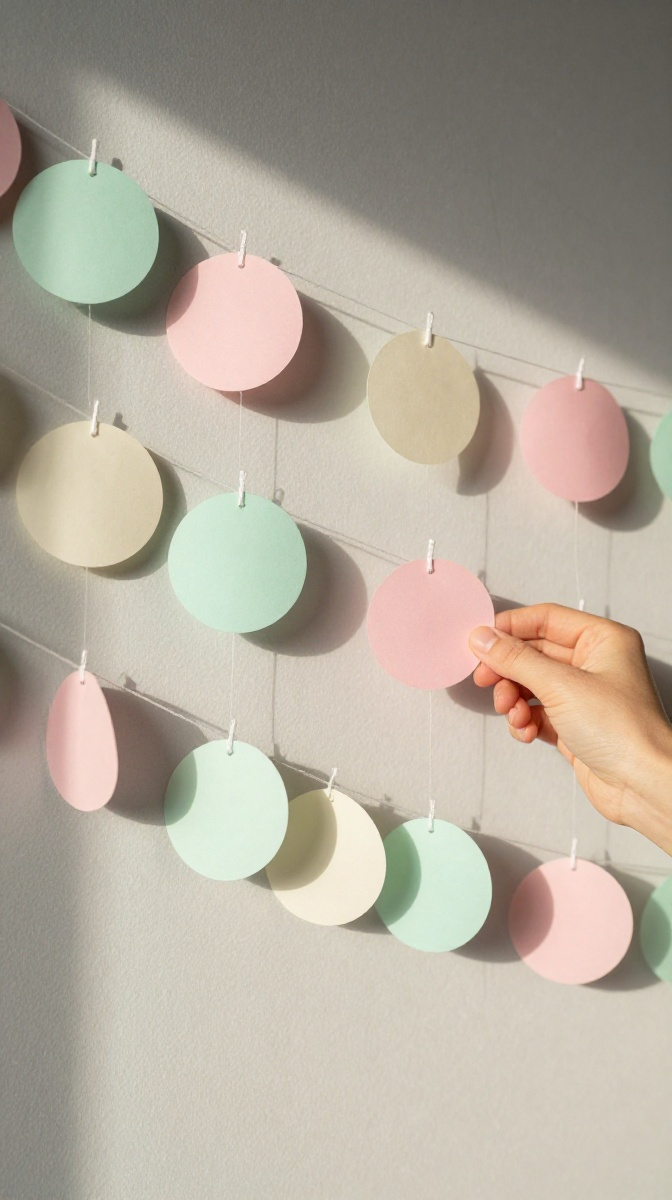
Garlands are the easiest way to fill empty wall space. They also work for birthdays, holidays, or just because your wall looks sad.
Design Variations to Try
- Heart garlands for Valentine’s Day or a cozy bedroom
- Star garlands for a kids’ room or party
- Circle garlands using scrap paper in mixed colors
- Leaf garlands for fall or a nature-themed space
How to Make a Simple Circle Garland
- Trace circles onto your paper using a cup or jar lid.
- Cut out as many circles as you want. More circles means a fuller garland.
- Lay the circles in a pattern you like.
- Sew through them with a needle and thread, or glue them onto a long piece of string.
- Leave a few inches of string at each end for hanging.
- Drape it across a wall, window, or doorway.
Pro tip: Mix paper sizes for a more interesting look. Big circles next to small ones add visual texture.
Paper Flowers That Never Wilt
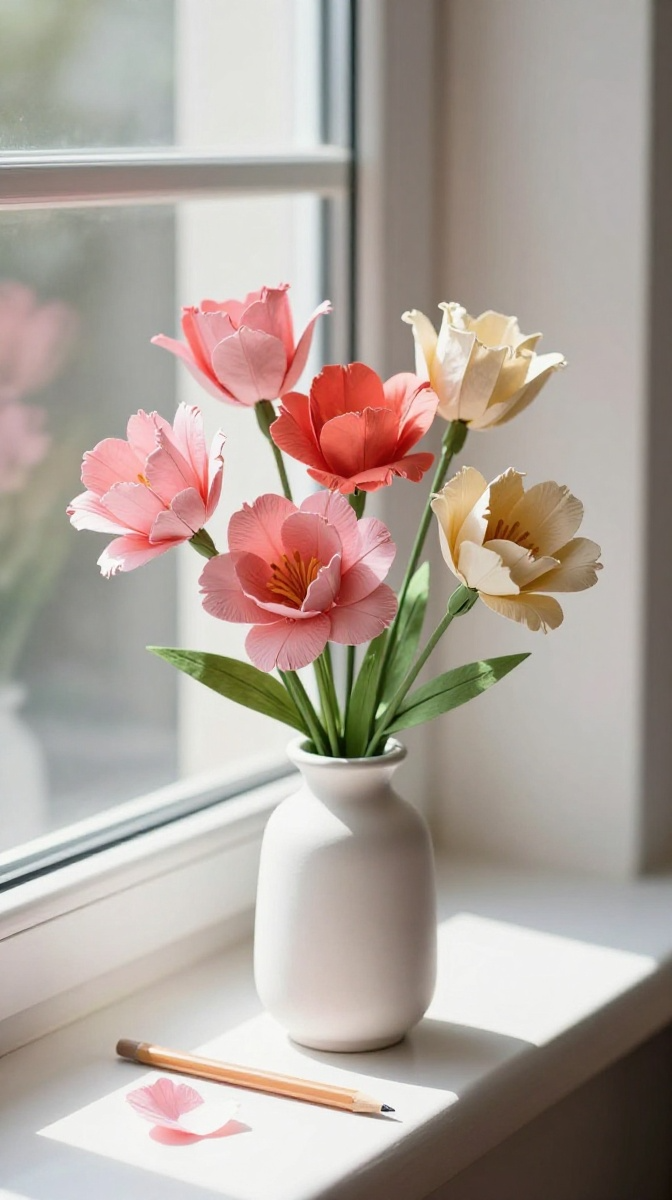
Real flowers die. Paper flowers just sit there looking pretty forever. That is a win in my book.
Materials and Tools
- Colored paper or tissue paper
- Scissors
- Pipe cleaners or floral wire
- Glue
- Pencil for curling petals
Tissue paper gives a soft, delicate look. Cardstock gives a bold, structured flower. Both are great, so pick based on the vibe you want.
Making a Simple Paper Flower
- Cut five to six petal shapes from your paper.
- Stack the petals and pinch them together at the base.
- Wrap a pipe cleaner around the base to hold everything.
- Curl each petal outward using a pencil.
- Fluff the petals until the flower looks full.
- Arrange several flowers in a vase or attach them to a gift.
These look amazing as a bouquet, and they never need water. Take that, real flowers.
Paper Snowflakes and Wall Art
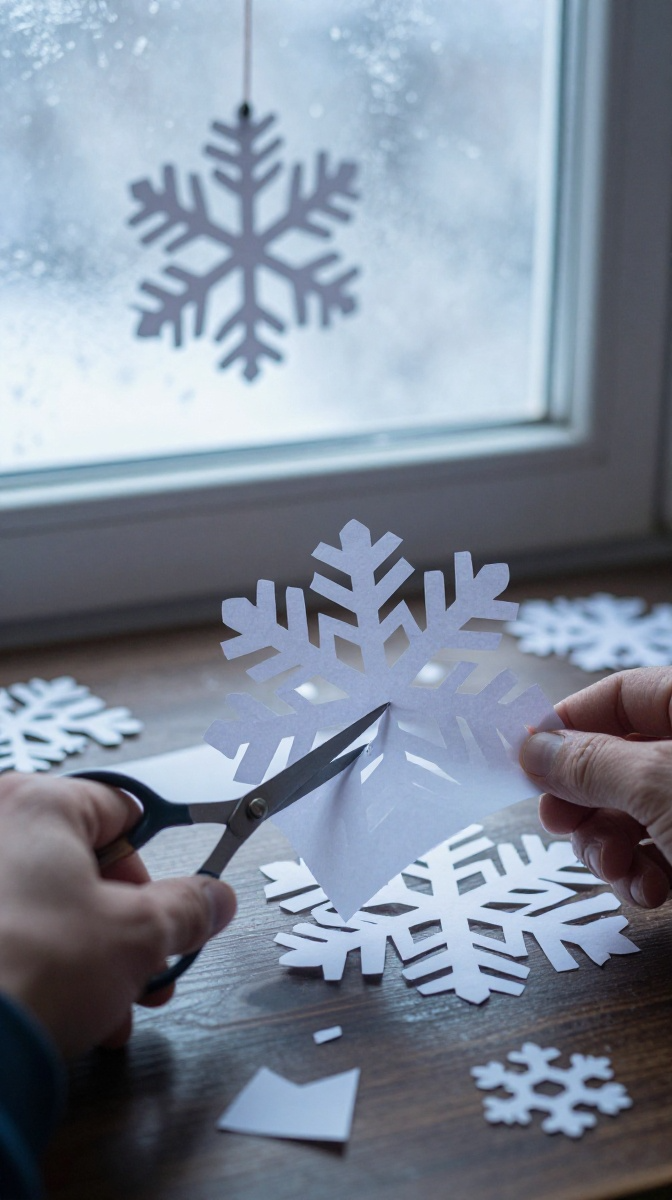
Paper snowflakes are nostalgic, simple, and weirdly addictive. You cut one, then suddenly you have made twelve.
Common Mistakes to Avoid
- Cutting through the folded edge and losing the shape
- Using dull scissors, which tears the paper
- Folding too thick, making it impossible to cut cleanly
Keep your folds loose and your cuts confident. If it rips, no big deal. Just start over with a fresh sheet.
Ways to Display Them
- Tape them to windows for a wintery look
- Hang them from the ceiling with fishing line
- Glue them onto a canvas for instant wall art
- String them together as a mobile
FYI, snowflakes are not just for winter. Use colorful paper and they work year-round.
Tips for Making Your Paper Crafts Last
Paper is delicate, but a few small tricks can keep your decorations looking fresh for months.
- Use cardstock for anything that hangs or gets handled
- Laminate flat decorations if you want them to survive humidity
- Store them flat between sheets of cardboard
- Keep them out of direct sunlight to prevent fading
- Use acid-free glue if you care about long-term quality
IMO, a little care goes a long way. You spent time making it, so protect it.
Customization Ideas to Make It Yours
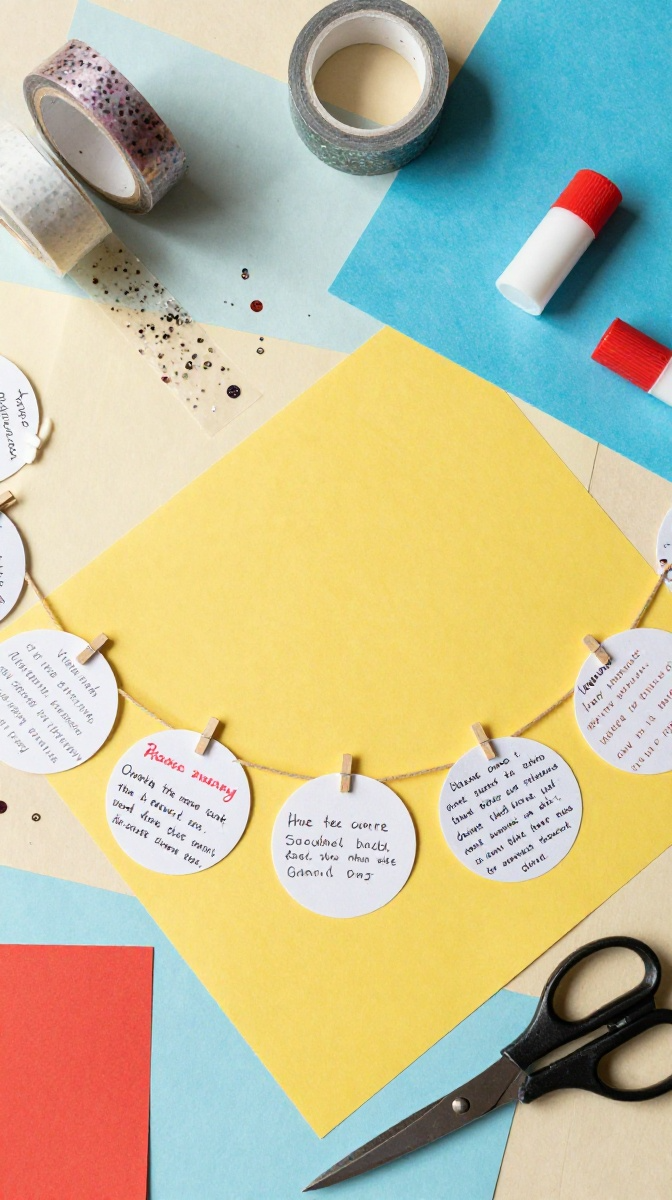
This is where you get to have fun. There are no rules here.
- Paint patterns on your paper before folding
- Add glitter, sequins, or washi tape
- Use book pages or sheet music for a vintage look
- Mix metallic and matte papers for contrast
- Write messages on the back of garland pieces
Make it match your room, your party theme, or your mood. That is the whole point.
Ways to Use and Gift Your Paper Decorations
These crafts are not just for your own space. They make great gifts too.
- Attach a paper flower to a wrapped present
- Give a handmade garland as a housewarming gift
- Use rosettes as party backdrops
- Frame a paper snowflake as minimalist art
- Make a bouquet of paper flowers for a friend
Handmade gifts hit differently. People remember them.
FAQ’s
What kind of paper works best for these crafts?
Cardstock and scrapbook paper hold their shape best. Tissue paper works for soft flowers. Regular printer paper is fine for practice or simple garlands.
Can kids do these paper crafts?
Yes, most of them are kid-friendly. Just swap hot glue for a glue stick and help with scissors if they are young.
How do I keep paper decorations from falling apart?
Use strong glue, reinforce joints with tape, and store them flat when not in use. Cardstock lasts longer than thin paper.
Can I make these decorations waterproof?
You can laminate flat pieces or spray them with a clear sealant. Keep them away from direct moisture and they will hold up fine.
How long do paper decorations last?
Indoors and away from sunlight, they can last for years. Cheap paper may yellow over time, but cardstock holds up well.
What if I mess up a cut or fold?
Just start over. Paper is cheap, and mistakes are part of the process. Nobody is grading you on this.
Go Make Something Already
You do not need fancy tools or a big budget to make your space look great. A stack of paper and an afternoon is enough. Pick one project, try it out, and see how it goes.
Worst case? You waste some paper. Best case? You end up with a room full of cute decorations you made yourself. That is a pretty good trade.
So grab that paper. Start folding. Your walls will thank you.