
Paper flowers never wilt, never need water, and never judge you for forgetting they exist. They just sit there looking pretty while you take all the credit. Today, we’re making them from scratch — no fancy machines, no expensive kits, just paper, scissors, and a little patience. Grab a coffee (or wine, I’m not your boss) and let’s make something that lasts longer than your last houseplant.
Why Make Paper Flowers?
Real flowers are great until they turn brown and sad three days later. Paper flowers stay vibrant for years, cost almost nothing, and let you have peonies in December if you feel like it. They’re perfect for gifts, party decor, or just filling that weird empty vase you bought on impulse.
Plus, this is a beginner-friendly project. If you can fold a piece of paper, you can do this. I promise.
Materials and Tools You’ll Need
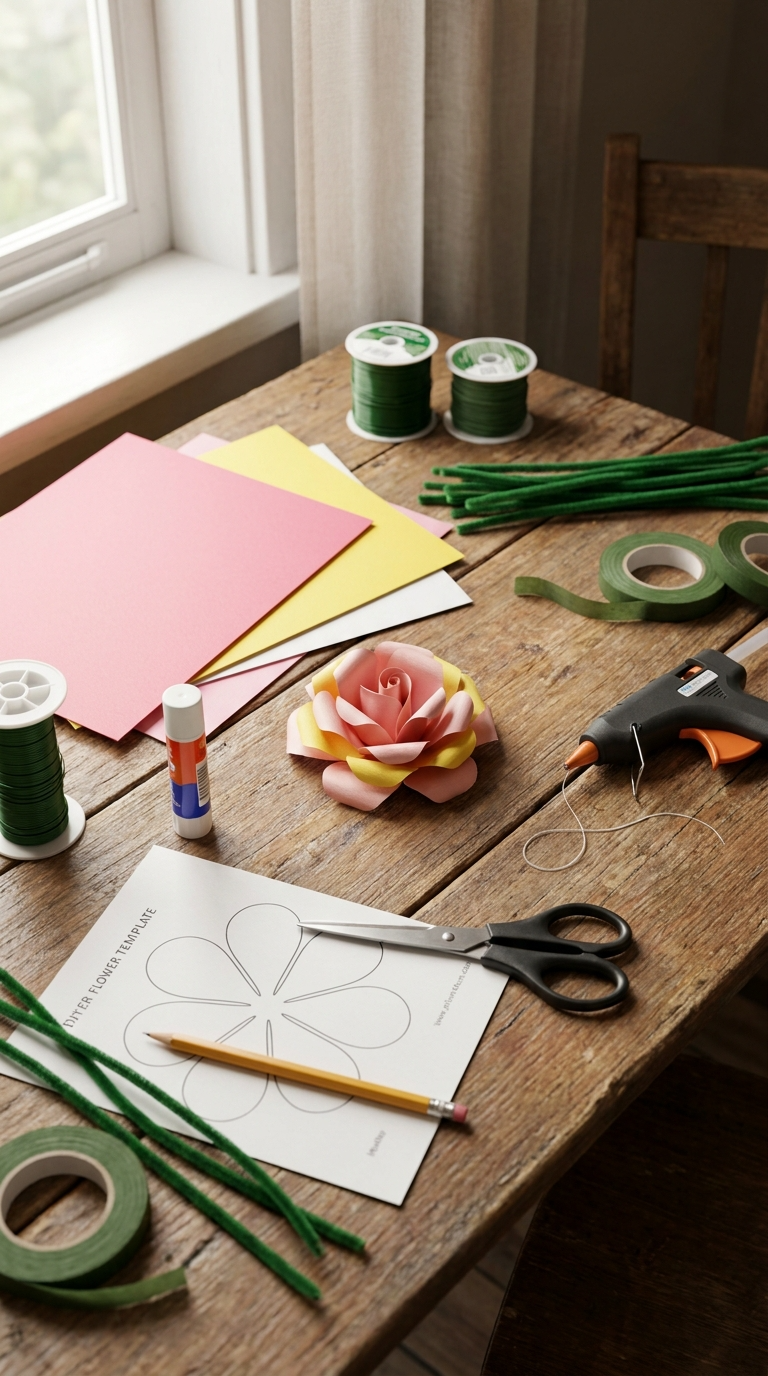
Before we dive in, gather your supplies. Nothing here requires a trip to a specialty store — most of it is probably already in your house.
- Cardstock or construction paper — Cardstock holds shape better, but construction paper works in a pinch. Even printer paper can work for smaller blooms.
- Scissors — Sharp ones. Dull scissors will make you question your life choices.
- Glue stick or hot glue gun — A glue stick is safer for kids; hot glue is faster and holds better for stubborn petals.
- Floral wire or pipe cleaners — For stems. Pipe cleaners are cheaper and easier to find.
- Green tape or ribbon — To wrap the stems and hide your crimes.
- Pencil — For curling petals. A pen works too, but pencil gives a softer curl.
- Flower template — You can draw your own or print one online. Free templates are everywhere.
Affordable Substitutes
No floral wire? Use bamboo skewers or even stiff plastic straws. No green tape? Paint the stems or wrap them in green paper. No cardstock? Cereal boxes work surprisingly well — just saying.
Step-by-Step: How to Make Paper Flowers
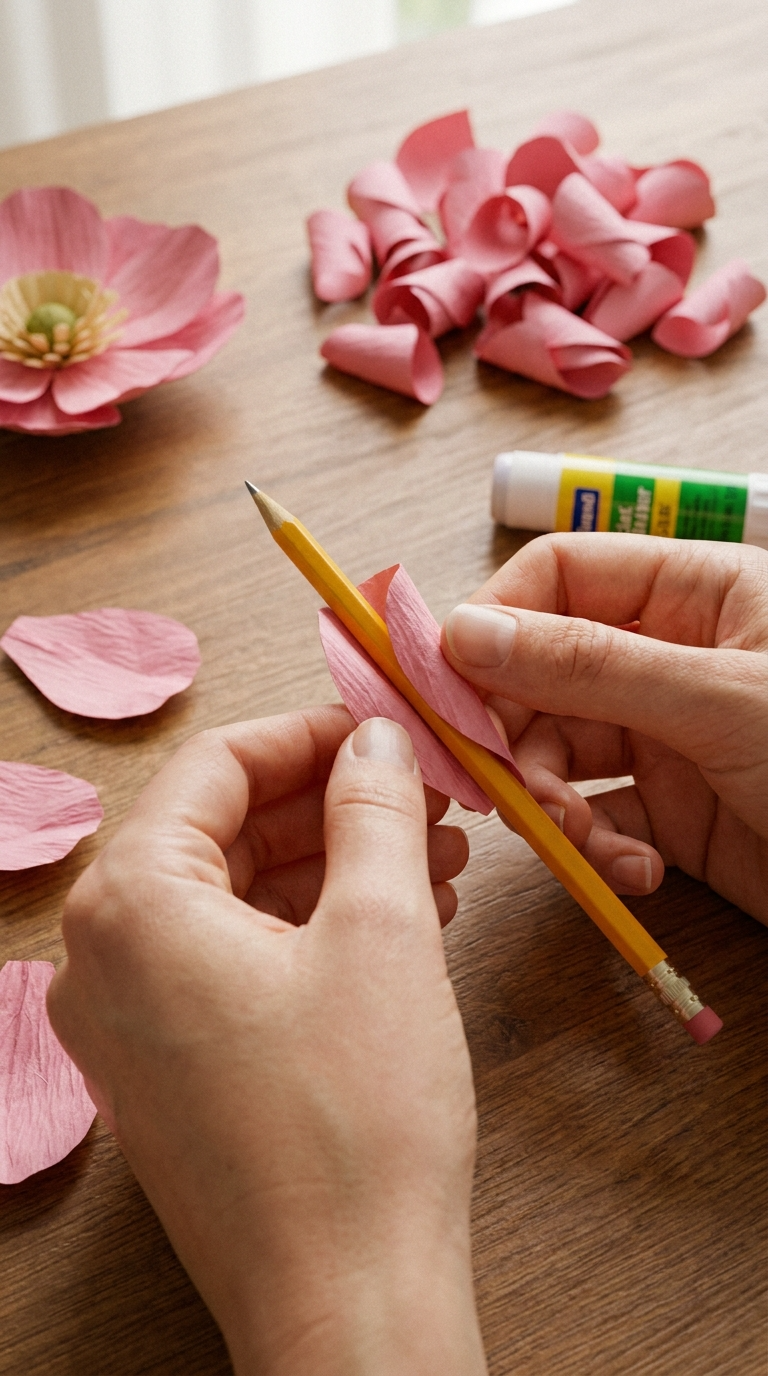
Here’s the main event. Follow along, and don’t stress if your first flower looks a little… abstract. That’s part of the process.
- Cut your petals. Draw or print a petal shape on your paper. You’ll need about 5–7 petals per flower for a full look. Cut them out carefully — jagged edges will show.
- Curl the petals. Wrap each petal around a pencil or pen and gently roll it. Hold for a few seconds, then release. This gives the petals a natural curve instead of looking flat and sad.
- Create the center. Cut a small circle of paper (contrasting color works great). This is the flower’s center. You can also use a button, bead, or tiny crumpled paper ball for texture.
- Glue the petals. Arrange your petals in a circle around the center piece. Glue them one by one, overlapping slightly. Hold each petal for a few seconds to let the glue set.
- Attach the stem. Once the flower head is dry, glue a floral wire or pipe cleaner to the back. Let it dry completely before moving on — patience, friend.
- Wrap the stem. Cover the wire with green tape or ribbon. Start at the base of the flower and wrap downward, overlapping as you go.
- Fluff and shape. Gently bend the petals upward or outward to give the flower dimension. This is where it starts looking real. Congrats, you made a flower.
Quick Tips for Better Results
- Layer your petals — Use two sizes of petals for a fuller, more realistic bloom.
- Mix paper types — Combine matte and glossy paper for visual interest.
- Don’t rush the glue — Rushing leads to sliding petals and frustration. Let it set.
- Make a batch — One flower is cute. A bouquet is impressive. Assembly-line it.
Common Mistakes to Avoid
I’ve made every mistake possible so you don’t have to. Here are the big ones:
- Using too much glue. It seeps out, makes a mess, and looks gross. A little goes a long way.
- Skipping the curl. Flat petals look like paper cutouts, not flowers. Curling takes 30 seconds and changes everything.
- Cutting petals too small. Tiny petals are hard to work with and don’t fill out well. Go bigger than you think you need.
- Not letting glue dry. I know you’re excited. Wait anyway.
Fun Variations to Try
Once you’ve mastered the basic flower, switch it up. Here are some ideas:
- Roses — Use layered, rounded petals and curl them tightly inward.
- Daisies — Thin, long petals with a bright yellow center.
- Tulips — Fewer petals, cupped shape, simple and elegant.
- Giant flowers — Scale up the template for statement pieces. Great for party backdrops.
- Ombre effect — Use gradient-colored paper or paint the petal tips.
Decorating Ideas
Add glitter to the petal edges. Paint veins on the petals with a fine brush. Use patterned scrapbook paper for instant flair. String small flowers into a garland. The options are endless, and honestly, half the fun is experimenting.
How to Display, Gift, or Use Your Flowers
Now that you’ve got a pile of paper blooms, what do you do with them?
- Arrange in a vase — Mix sizes and colors for a natural look. Add fake greenery for extra oomph.
- Make a bouquet — Wrap stems in brown paper and tie with twine. Instant gift.
- Create a wreath — Glue flowers onto a foam or wire ring. Hang on your door.
- Use as gift toppers — Tape a small flower to a wrapped present instead of a bow.
- Decorate a wall — Arrange flowers in a pattern on a blank wall using removable adhesive.
- Hair accessories — Glue small flowers to hair clips or headbands.
IMO, the best use is a big ol’ bouquet for someone who needs a pick-me-up. Nothing says “I care” like handmade flowers that took you an entire afternoon.
FAQ’s
How long do paper flowers last?
Indefinitely, if you keep them away from water and direct sunlight. They might collect dust, but a quick blast with a hairdryer on a low setting fixes that.
What’s the best paper for beginners?
Cardstock is the sweet spot — sturdy but easy to cut. Construction paper is fine for practice. Printer paper works for tiny flowers but tears easily.
Can kids make these?
Absolutely. Swap hot glue for a glue stick and skip the wire stems (use pipe cleaners instead). Ages 6 and up can handle most of it with a little help.
My petals keep falling off. What am I doing wrong?
Probably not enough glue or not waiting for it to dry. Try hot glue for a stronger bond, and press each petal down for a full 10 seconds.
How do I make the flowers look more realistic?
Layer different petal sizes, curl them gently, and add subtle color variations. Real flowers aren’t perfect, so embrace slight asymmetry.
Can I use these outdoors?
Only in dry, sheltered spots. Rain will ruin them, and wind will send them on an adventure. Keep them inside for best results.
Final Thoughts
Paper flowers are one of those crafts that look way harder than they actually are. Once you get the hang of the basic technique, you can crank out a whole bouquet in an afternoon. So grab your paper, embrace the occasional lopsided petal, and make something that’ll outlast every real bouquet you’ve ever bought. Happy crafting — and FYI, you’re going to be obsessed.