
Got a blank wall staring at you like it’s judging your life choices? Let’s fix that with paper. Yes, plain old paper. It’s cheap, it’s everywhere, and with a little folding and cutting, it turns into wall art that looks way more expensive than it actually is. Grab your scissors and let’s make something your guests will actually notice.
Why Paper Wall Decor Is a Total Game-Changer
Paper decor gets a bad rap. People think “paper” means “flimsy craft project that falls apart by Tuesday.” Not true. Done right, paper wall art holds up for months and looks stunning.
Here’s why I love it:
- Budget-friendly: A pack of cardstock costs less than one fancy store-bought frame.
- Renter-friendly: Most paper decor hangs with tape or tiny pins. No landlord drama.
- Swappable: Bored of the design? Make a new one in an afternoon.
- Beginner-proof: If you can fold and cut, you can do this.
IMO, paper is the most underrated decor material out there. Let’s change that.
Materials and Tools You’ll Need
Before we dive into projects, let’s round up the basics. You probably own half of this already.
- Cardstock or thick paper — 180–250 gsm works best. Regular printer paper is too floppy for most of these.
- Craft knife or scissors — A knife gives cleaner lines, but scissors are fine for beginners.
- Cutting mat — Protects your table. A thick magazine works as a cheap substitute.
- Ruler and pencil — For measuring and marking folds.
- Glue stick or double-sided tape — Tape is less messy; glue is more forgiving.
- Command strips or painter’s tape — For hanging without wall damage.
- Bone folder — Optional, but it makes crisp folds. A spoon works in a pinch.
Where to Save Money
Skip the fancy craft store aisles. Dollar stores sell cardstock packs, and old magazines or wrapping paper make great accent pieces. FYI, thrift stores sometimes have unused craft paper bundles for almost nothing.
Project 1: Easy Paper Fan Wall
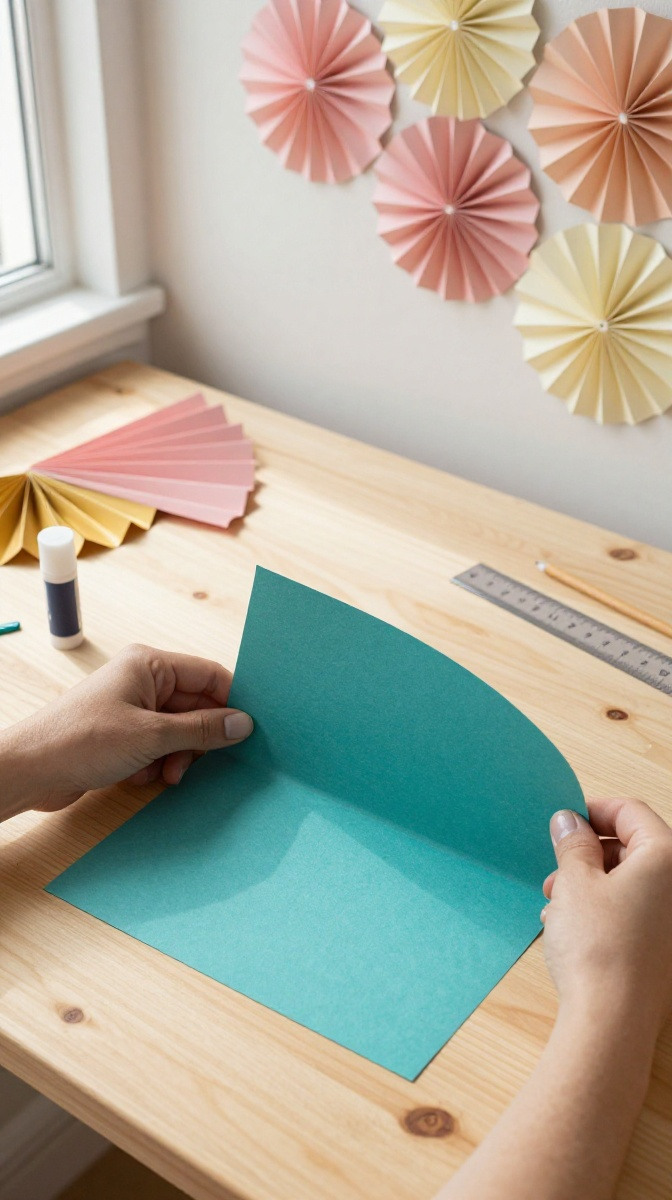
This is the project I recommend to every beginner. It’s fast, forgiving, and looks like you spent way more effort than you did.
Step-by-Step Instructions
- Cut your cardstock into rectangles. 8 x 10 inches is a good starting size.
- Fold each rectangle accordion-style, about half an inch per fold. Keep folds even for a clean look.
- Fold the stack in half to find the center, then pinch it tightly.
- Glue the two inner edges together to create a fan shape. Hold for 30 seconds.
- Repeat until you have 5–9 fans in mixed sizes.
- Arrange them on the floor first. Trust me, this saves wall regret.
- Attach each fan to the wall with double-sided tape or a Command strip.
That’s it. Seriously.
Design Variations
Use metallic cardstock for a glam look, or mix pastel shades for a nursery. You can also layer two fans together for a two-tone effect.
Common Mistakes to Avoid
- Uneven folds — they make the fan lopsided.
- Using weak glue — the fan pops open overnight.
- Skipping the floor layout — you’ll end up with a crooked wall arrangement.
Project 2: 3D Paper Butterflies That Pop
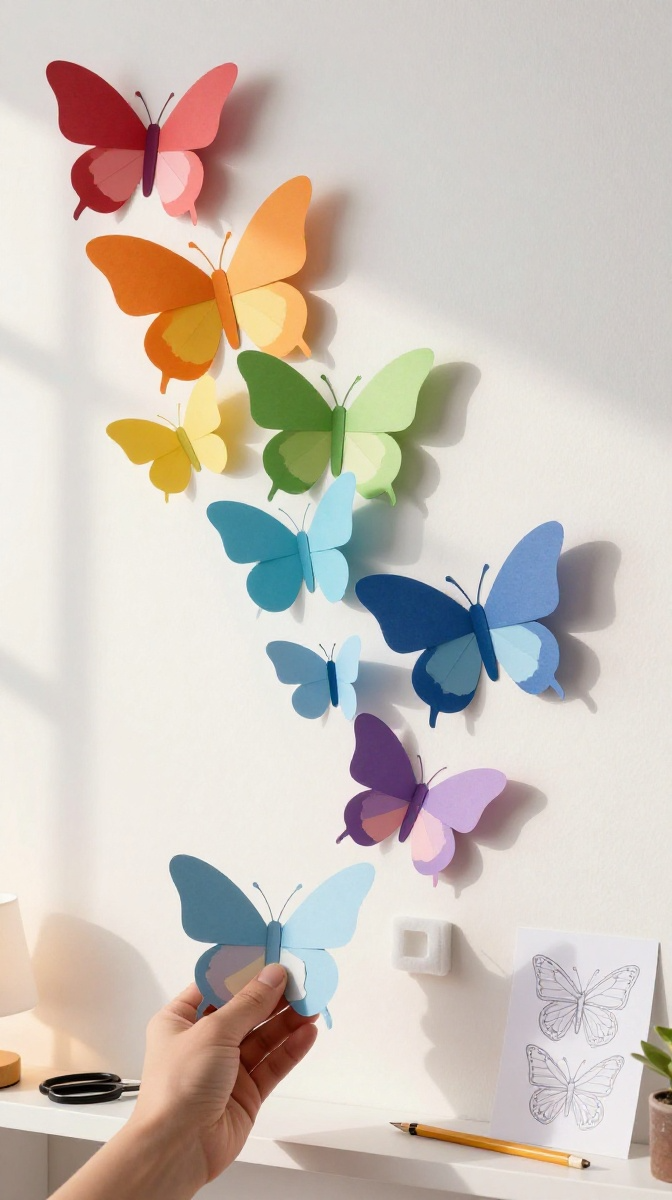
These little guys look like they’re about to fly off the wall. They’re perfect for bedrooms, nurseries, or anywhere that needs a little whimsy.
What You’ll Need
- Colored cardstock
- Butterfly template (print one free online)
- Scissors
- Glue dots or foam tape
- Pencil
How to Make Them
- Print or draw a butterfly outline on cardstock.
- Cut out two identical butterflies per decoration.
- Fold both butterflies gently down the center.
- Stack them with a foam tape square in the middle so the wings lift.
- Glue a small paper body strip over the center to hide the tape.
- Arrange them in a climbing pattern up your wall.
The foam tape is the secret sauce. It creates a shadow effect that makes the wings look real.
Decorating Ideas
Try a rainbow gradient, or stick to two colors for a modern look. You can also hang them from the ceiling with fishing line for a floating effect.
Project 3: Paper Flower Wall for Statement Walls
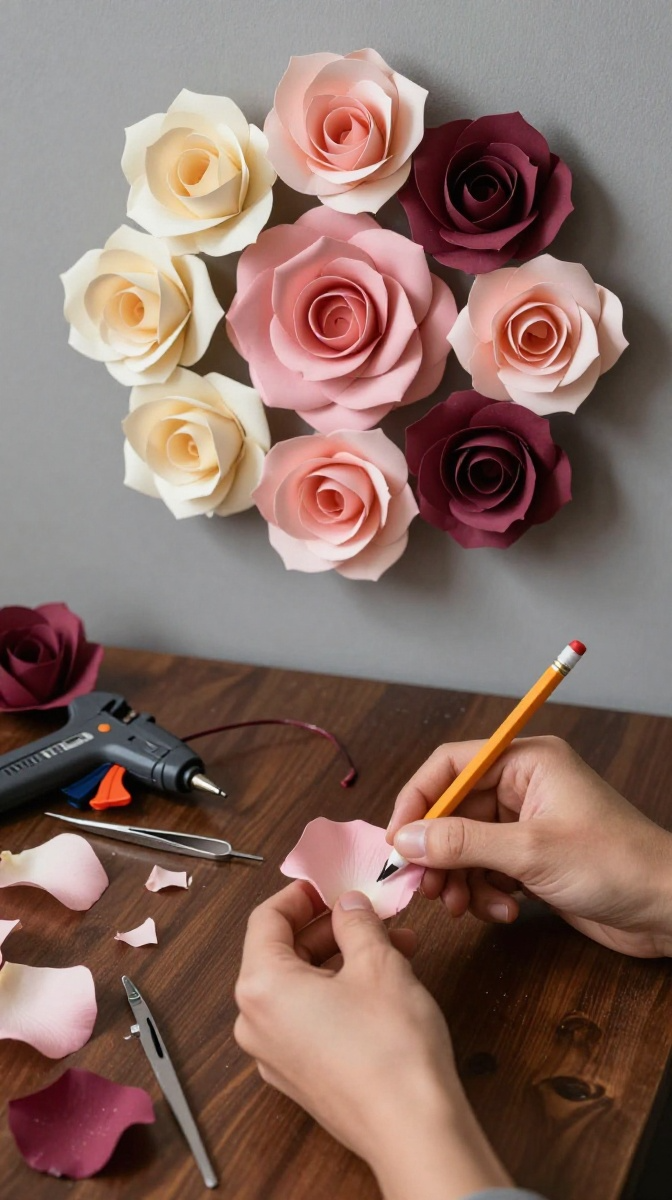
Want a wall that screams “I have my life together”? Paper flowers do that. They’re a bit more work, but the payoff is huge.
Materials List
- Cardstock in 2–3 shades per flower
- Hot glue gun
- Scissors
- Flower templates (rose, peony, or daisy)
- Pencil
Making a Simple Paper Rose
- Cut 3–5 petal shapes in decreasing sizes.
- Curl the petal edges around a pencil for a natural curve.
- Start with the smallest petal and roll it into a tight center.
- Glue each additional petal around the center, overlapping slightly.
- Fluff the petals outward once the glue dries.
- Attach the finished flower to the wall with a glue dot.
Make 10–15 flowers for a cluster, or spread them out for a scattered look.
Safety Tips
Hot glue burns. Keep a bowl of cold water nearby, and don’t press glue with your fingers. Use a stick or tweezers instead.
Troubleshooting
If your flowers look flat, you’re not curling the petals enough. If they won’t stick, your wall might be dusty — wipe it first.
Project 4: Geometric Paper Wall Art
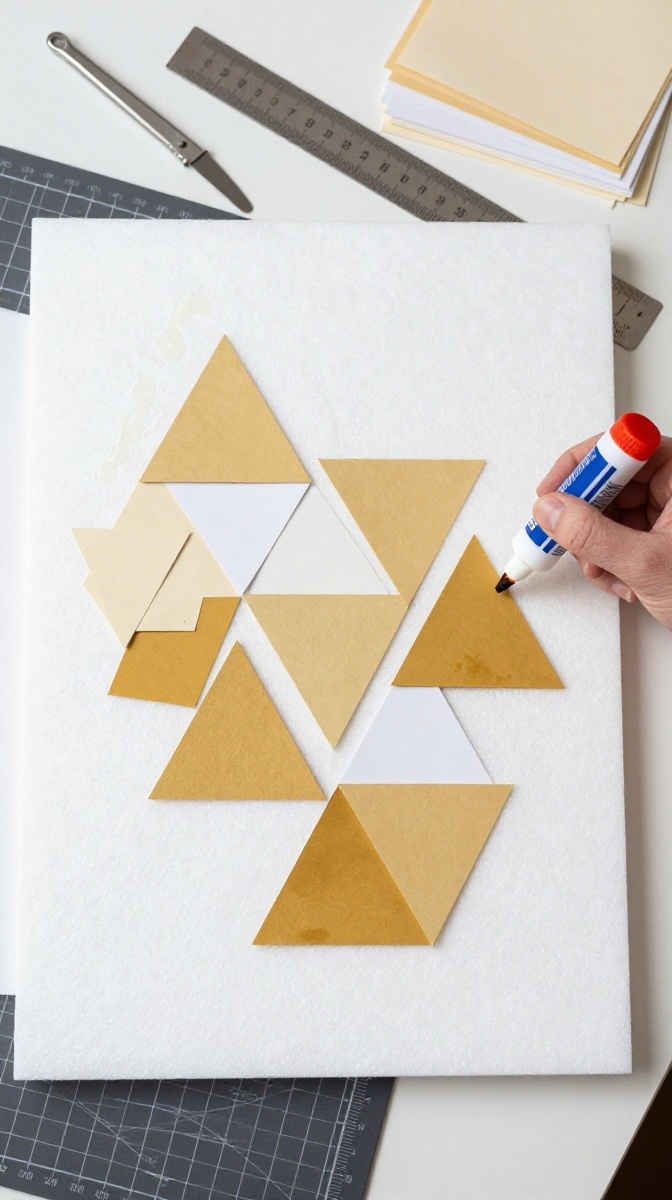
This one’s for the minimalists. Clean lines, bold shapes, zero fuss.
How to Make It
- Cut triangles, hexagons, or diamonds from colored cardstock.
- Arrange them in a pattern on the floor — ombre, checkerboard, or random.
- Glue each shape to a large backing sheet of paper or foam board.
- Trim the backing so it’s slightly smaller than your shape cluster.
- Hang the whole panel with two Command strips.
This is a great way to use up paper scraps. Nothing goes to waste.
Customization Ideas
Use gold foil cardstock for a luxe look, or black and white for a graphic statement. You can also frame it for a gallery-style finish.
Project 5: Paper Lantern Wall Sconces
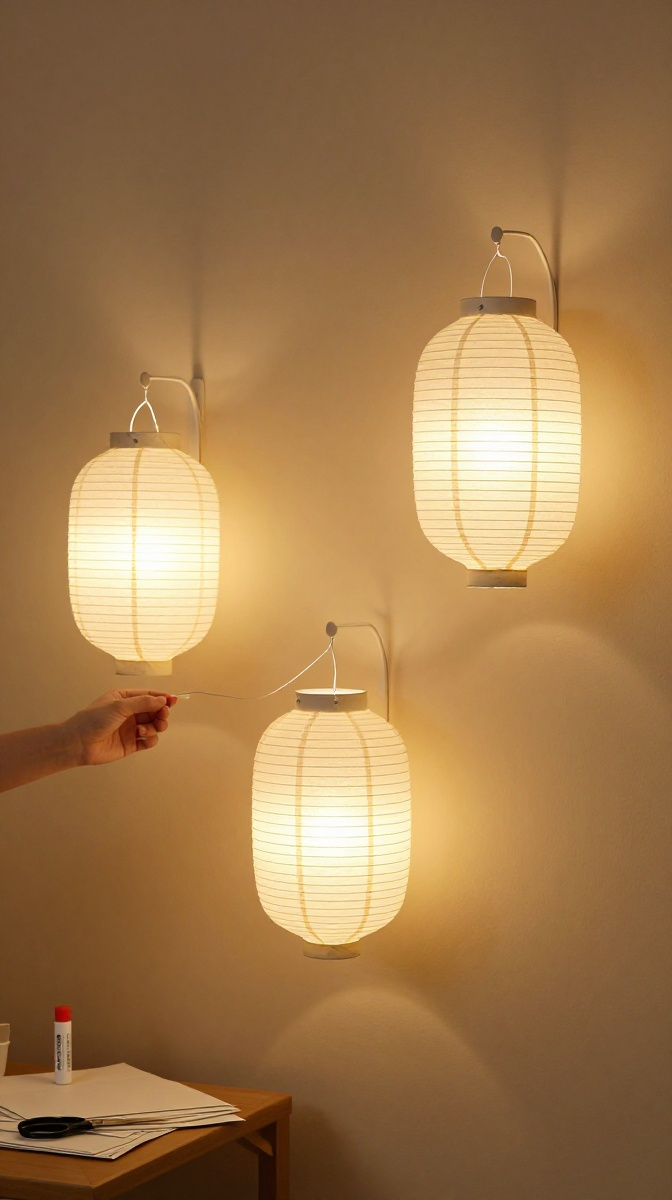
These add warmth and texture. They’re not real lights, but they look like they could be.
Steps
- Cut a rectangle of cardstock and fold it in half lengthwise.
- Make evenly spaced cuts from the folded edge, stopping an inch from the open edge.
- Unfold and roll the paper into a cylinder, gluing the short edges.
- Press gently so the cuts bow outward.
- Add a battery-operated tea light inside if you want a glow.
- Hang with string or mount flat against the wall.
Group three at different heights for a cozy, layered look.
Display and Gift Ideas
These make great gifts for housewarmings. Pair a set with a pack of battery tea lights and you’ve got a thoughtful, handmade present.
Practical Tips for Long-Lasting Paper Decor
- Keep it out of direct sunlight — colors fade fast.
- Avoid humid rooms — paper warps near showers or stoves.
- Dust gently — a dry paintbrush works better than a cloth.
- Store extras flat — folded decor creases permanently.
FAQ’s
How long does paper wall decor last?
Indoors and away from moisture, most paper decor lasts 6–12 months. Cardstock holds up better than regular paper.
Can I use regular printer paper?
You can, but it’s floppy and tears easily. Cardstock gives much better results for almost every project.
What’s the best way to hang paper decor without damaging walls?
Command strips and painter’s tape are your best friends. Glue dots work for lightweight pieces.
Will paper decor look cheap?
Not if you choose good colors and clean folds. Metallic, textured, or patterned cardstock elevates the look instantly.
Can kids help with these projects?
Absolutely. Skip the craft knife and hot glue for young kids. Scissors, glue sticks, and folding are all safe and fun.
How do I stop paper fans from unravelling?
Use strong double-sided tape or hot glue at the inner edges. Clothespins hold everything in place while the glue sets.
Go Make Something Already
Your walls are begging for personality, and paper is the cheapest, fastest way to deliver. Pick one project, grab your supplies, and give it a shot. Even if your first fan looks a little wonky, nobody’s grading you. Have fun with it, tweak the colors, and make it yours. Happy crafting!